Wonderfarr

Categories
Outdoors for Beginners backpacking for beginners backpacking tools Gear Articles

How To Track Your Mileage While Backpacking 4 Different Ways.

How To Track Your Mileage While Backpacking? (4 Different Ways)

Disclosure: Some links on this page are affiliate links, and if you go through them to make a purchase or a booking, I may earn a commission. Using these links DO NOT affect the cost of the product/booking. The price remains the same affiliate link or not.

how to track your mileage while backpacking

If you are a fitness nerd like myself and obsessed with collecting data points throughout workouts surely the question of how to track your mileage while backpacking has come across your mind at some point.  Fortunately for you, there are a ton of different ways to do this!  The major ways you can keep track of your mileage while backpacking includes:

Recording your hike through a fitness app or smartwatch

Or

Knowing your mileage before going out on the trail

Keeping Track Of Your Mileage Backpacking Using A Smartwatch:

There are a ton of different smartwatches available on the market that can track your mileage backpacking.  But for this article, I am going to focus on the two most common ones.  

  • Garmin smartwatch
  • The Apple Watch

A Garmin Watch

Garmin is a major player in the smartwatch market, with many different models available for purchase.  I will specify the details of the Garmin Fenix as it is the watch I use.   Garmin watches are designed with fitness and outdoor enthusiasts in mind, so they have great functionality when it comes to hiking or backpacking.  

Not only can you track your mileage while backpacking with the Garmin Fenix, but you can also see your:

  • Pace
  • Elevation profile
  • Hiking time
  • GPS Location
  • Calories burned
  • Average heart rate
  • Training effect
  • And more!

Pros:

  • Excellent battery life will last about 14 days while tracking, give or take, depending on the version and other watch features you use while hiking. 
  • It gives a TON of data points.
  • It can sync with other fitness apps such as the apple health app and Strava.

Cons:

  • Expensive
  • Low screen resolution compared to the applewatch

The Apple Watch:

One of the most popular smartwatches on the market, the Apple Watch has several different features and downloadable apps that can be useful for any backpacker.  

To record a hike, you don’t need to download anything extra you can just go to the workout app that comes pre-installed and select “hike.”  While tracking with your Apple Watch, you will be recording several data points, including elevation gain, distance, and average heart rate.  You can also upload your workouts to different fitness apps such as Strava.  

I will say one of the significant drawbacks of the Apple Watch compared to a Garmin Watch has to be the battery life.  If you are recording a hike using an Apple Watch on the trail for more than a day it will require additional charges using a power bank, whereas a Garmin watch can last multiple days of continuous tracking without needing a charge.  

Pros: 

  • High-resolution colorful screen
  • User friendly

Cons: 

  • Poor battery life ~6hrs will require a charge when backpacking multiple days
  • Fewer data points compared to the Garmin
  • Expensive

Recording Your Mileage While Backpacking Using Strava:

The super-popular fitness tracking social media app Strava is an excellent way to track your backpacking mileage.  All you need to do with this one is to have the app downloaded on your smartphone and start it when hiking.

 You will get helpful data on your hike such as your time hiked, average speed, and of course your total mileage.  After recording your hike you can then share it on the social media app to flex with your friends.   

Pros:

  • Free to download
  • Easy to use
  • Can flex on your friends

Cons:

  • Can only last as long as your phone battery.
  • Few data points.

Tracking Your Mileage Backpacking With A Map:

map and compass

Another way of measuring your backpacking mileage would be by simply mapping your route and elevation prior to your hike (which you should be doing anyway)  while it may not be as accurate as using a smart device in tracking your exact mileage and data points t will give you a general overview of how much mileage you covered over the course of your backpacking trip.  

Pros:

  • Free (other then map expense)

Cons:

  • Not as accurate as the above options especially if you are exploring side trails or venture off-trail during your trip
  • No other data points.  You just get the elevation gain and mileage that you can read on a map.

That's All!

Although tracking your mileage isn’t a necessity for your backpacking trip, it is fun to see how far you hiked and to keep track of your progress as a hiker.  Let me know how you track your hikes in the comments section below! 

Categories
Capitol Reef National Park

Backpacking The Upper Muley Twist In Capitol Reef National Park (2022)

Backpacking The Upper Muley Twist In Capitol Reef National Park. (2022)

Backpacking The Upper Muley Twist In Capitol Reef National Park

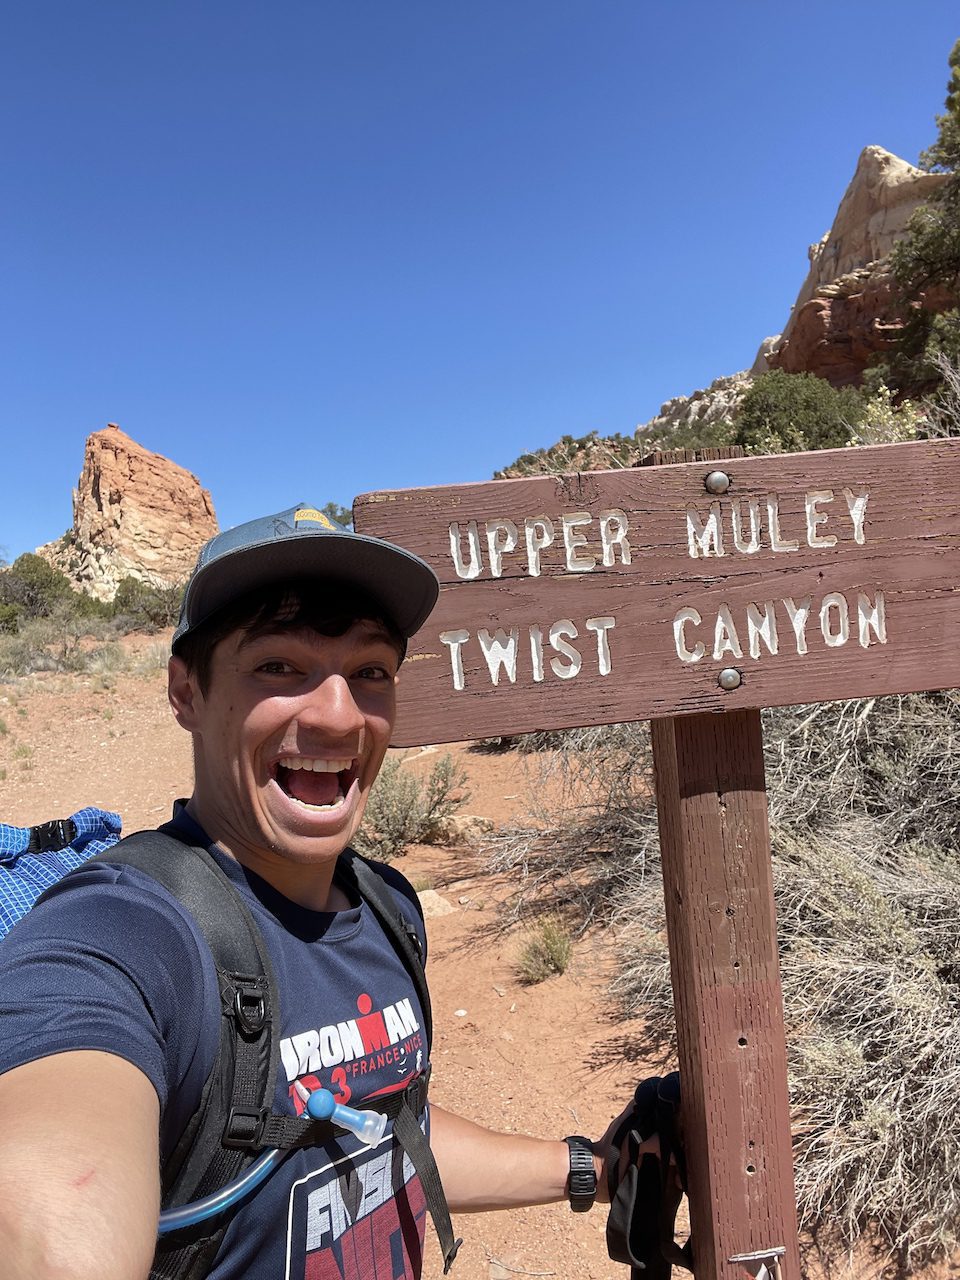
What’s up, guys? I’m going to go over backpacking the Upper Muley Twist backpacking in Capitol Reef National Park.  

I found out about this hike after speaking with a ranger at Canyonlands NP who said it was one of her favorite hikes of ALL time.  Now when a ranger tells you that, you go! So, backpacking the Upper Muley Twist in Capitol Reef National Park was immediately bumped up to be my next stop on my van life adventure.

5 Tips For Backpacking In Capitol Reef National Park:

5 tips for backpacking in capitol reef national park

Before we get into the nitty-gritty of the Upper Muley Twist, let me give you some general tips for backpacking in Capitol Reef National Park:

Tip #1 Permits:

backcountry permits great smoky mountains

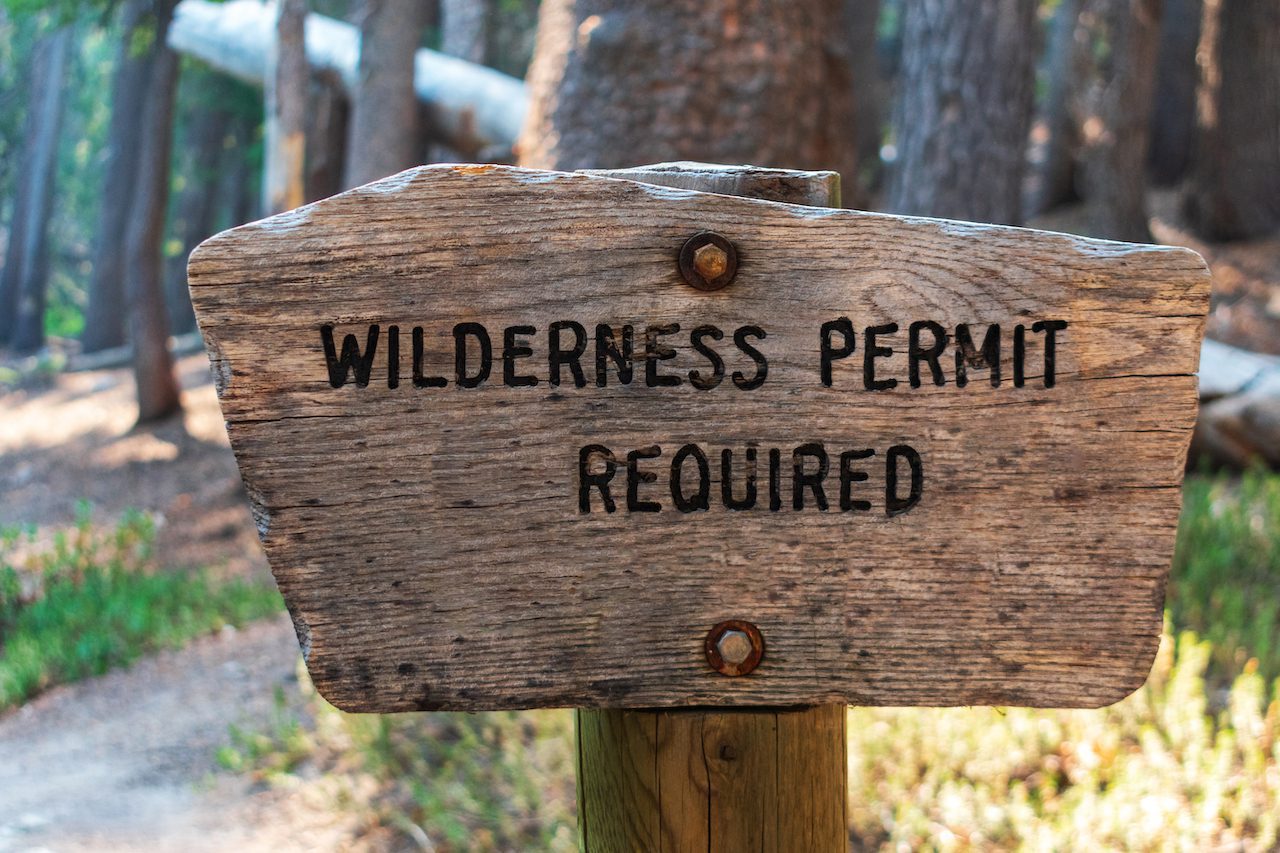
Backcountry permits are required for all overnight stays in the backcountry of Capitol Reef National Park.  Fortunately, these permits are free of charge and can be obtained in person at the park’s visitor center.  Check out the most up to date information regarding permits on the Capitol Reef National Park website.

Tip #2 Water Planning

How To Carry and filter water when backpacking/hiking

Discussing water planning with the ranger when getting your permits is a must, no matter the hike, and Capitol Reef is no different. 

Keep in mind Capitol Reef is a desert environment, so for the most part, this will require you to carry all water needed with you into the backcountry.  However, depending on the area and time of year you visit, your water strategy may vary, so getting up-to-date information from the ranger is vital.  

Tip #3 Pack Out Your Poop

Capitol Reef National Park requires you to pack your waste using a wag bag in the backcountry.  To learn more about leaving no trace while pooping check out “How To Poop While Backpacking”.

Tip #4 Make Sure You Are Driving The Right Car

Many backpacking routes in Capitol Reef National Park require a four-wheel-drive car to reach the trailheads.  So make sure you have the right vehicle to get to your trailhead, or take into account the extra mileage you will need to hike to reach the trailhead if you do not have a four-wheel-drive vehicle.  

DO NOT attempt to drive a four-wheel-drive road with a two-wheel-drive vehicle!  (I learned this the hard way)

Tip #5 Consider Bringing A GPS Device

Tracking aerobic activity while hiking

Reason being, is that many of the backcountry routes in the park are not maintained, which can make trail finding difficult so having a GPS device as a backup to some awesome trailfinding skills using a map and compass may come in handy.

How To Hike The Upper Muley Twist:

how to hike the upper muley twist

Okay, now that we got out of the way, let’s get down to backpacking the Upper Muley Twist!

Upper Muley Twist Overview

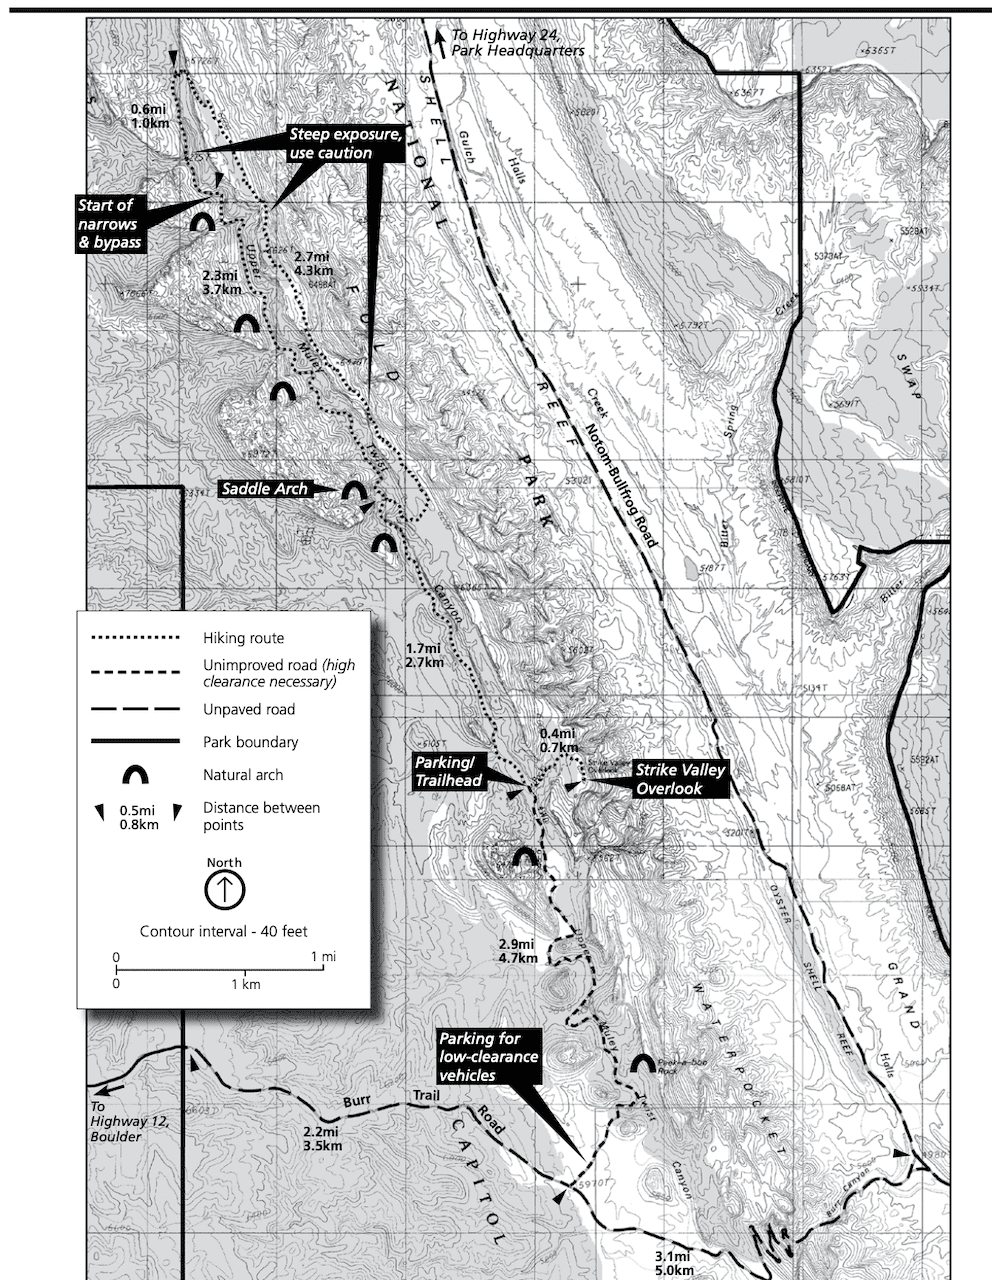
Mileage:  ~9 miles from trailhead (extra 6 miles if using a 2WD vehicle)

Elevation Gain: ~1,300ft

Trail Type:  Loop

Permits Required: Yes

Difficulty: Moderate – Strenuous

hiking upper muley twist clockwise vs counter clockwise

Getting To The Trailhead:

Can You Sleep In Your Car At National Parks

The Upper Muley Twist trailhead is about a thirty mile on the unpaved road Bullfrog Notom road from the front country of Capitol Reef National Park.  So I recommend getting any of the day hikes you wanted to do out of the way before doing this backpacking trip. 

Keep in mind the last three miles to the trailhead requires four-wheel drive, so if you don’t have a four-wheel-drive vehicle you will need to hike an extra three miles to and from the trailhead adding a total of six extra miles to your trip.

Hiking Clockwise Vs Counterclockwise:

hiking upper muley twist clockwise vs counter clockwise

The direction you hike this loop in is really just a matter of personal preference.  Counterclockwise has a steeper increase in elevation at the beginning of the hike, whereas clockwise is a more gradual ascent.  

I went counterclockwise because I like getting the difficult portion of my hikes out of the way early, but you make the best decision for yourself!

What I Loved Yayy

The Views (Duh)

Would I ever tell you about a hike with crappy views? No way!  

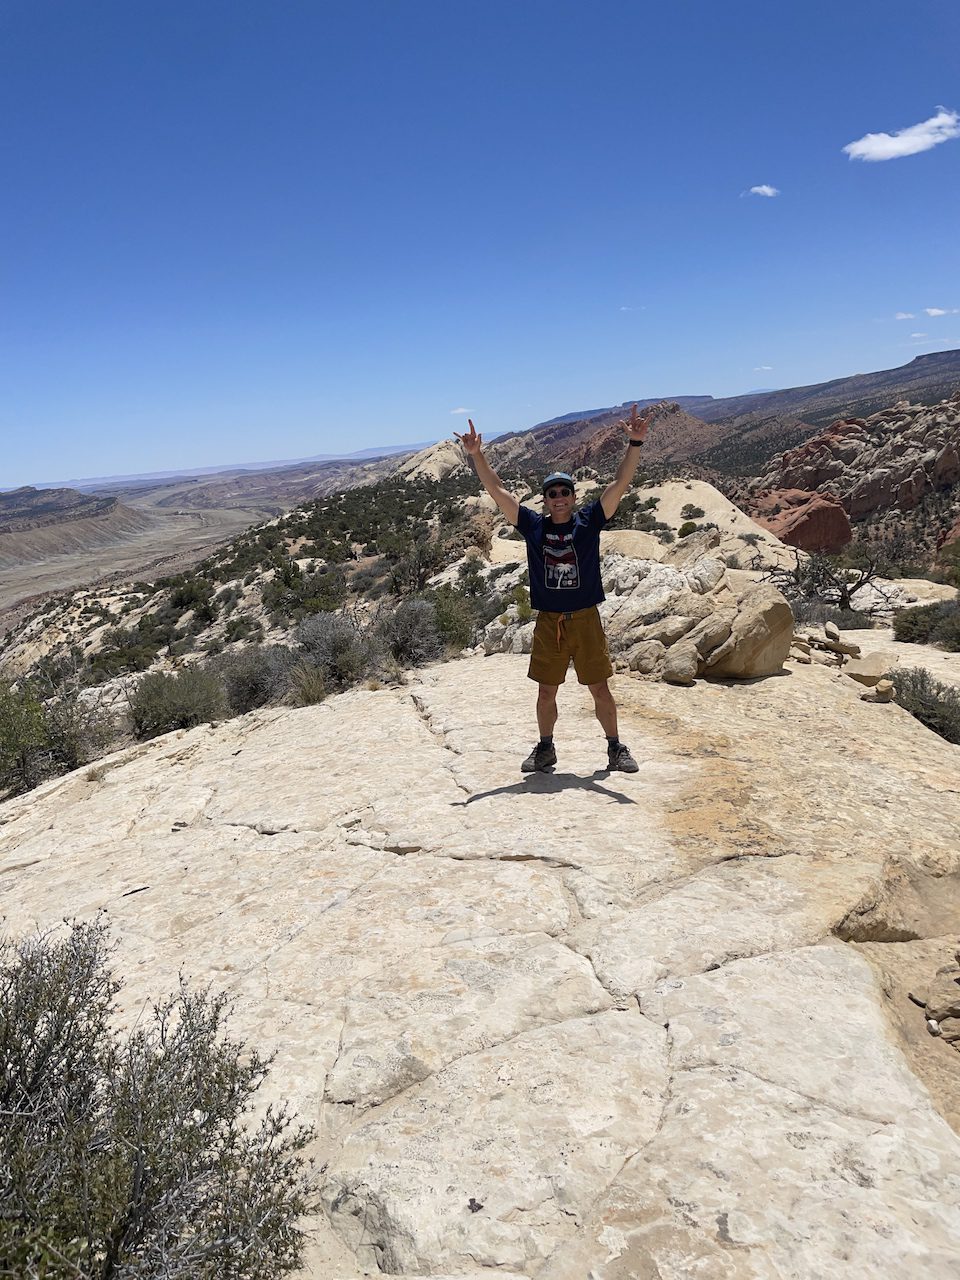
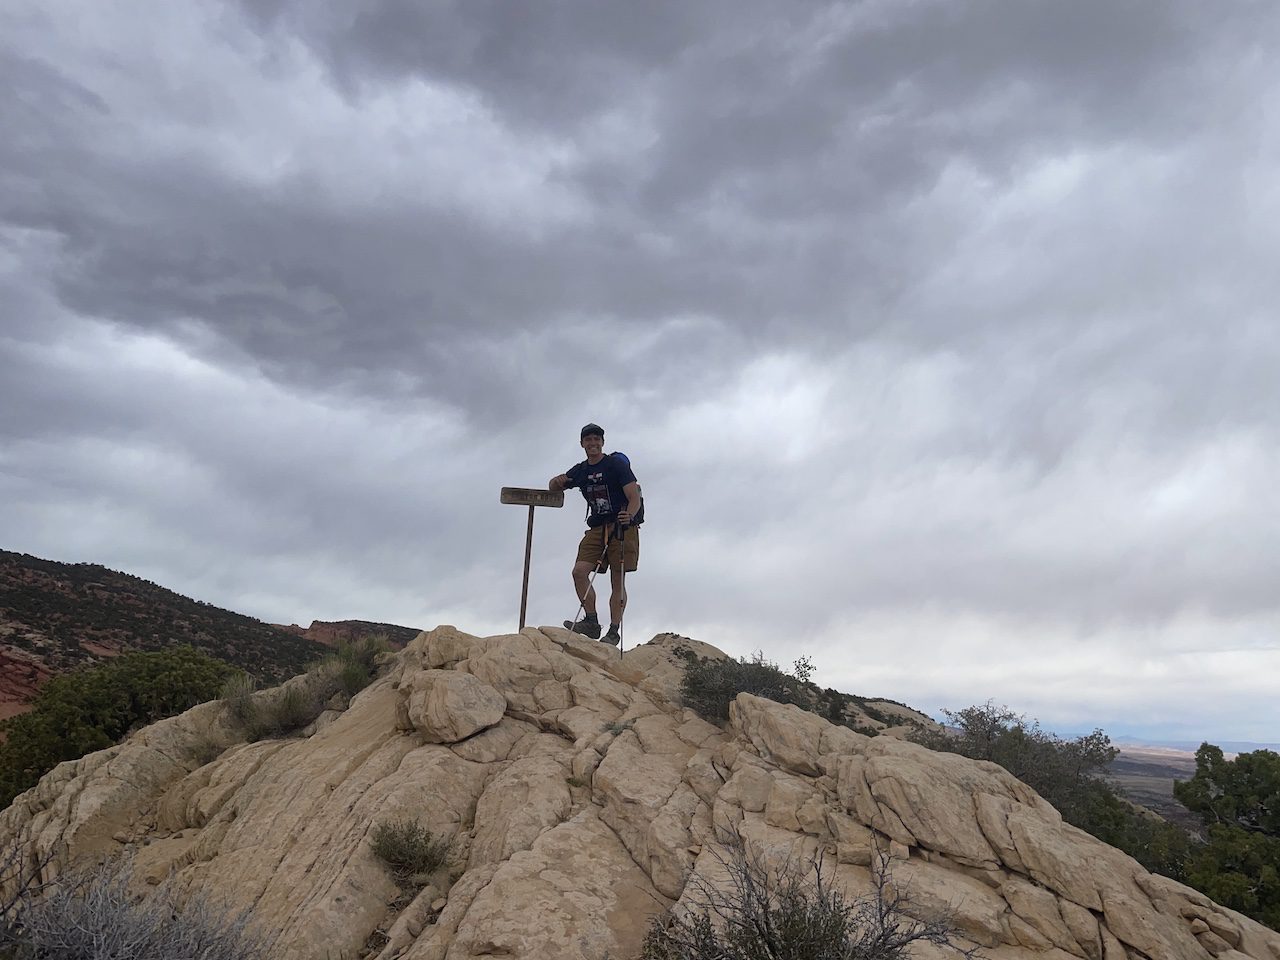
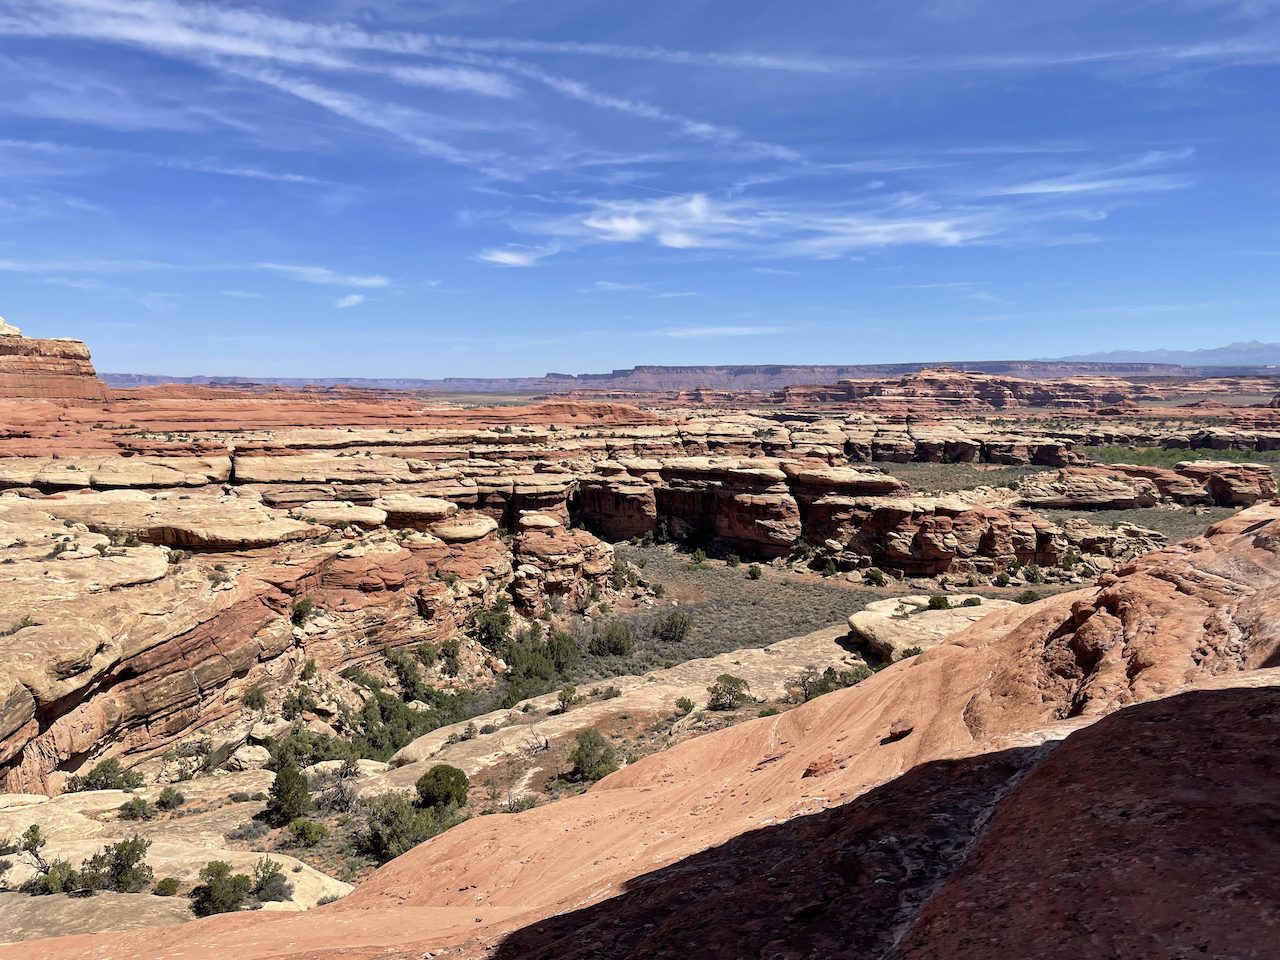
What was sick about the Upper Muley Twist was that for half of your hike, you are walking on a canyon rim with beautiful red rock formations of the “Red Circle Cliffs” on one side and “Water Pocket Fold” on the other.  You can even camp on the rim, which would be epic, but I decided against it because of the intense winds when I was hiking.


Stargazing

Also, did you know Capitol Reef National Park is a gold tier international dark sky park?  So if you go on a new moon, you can get some INSANE views of the milky way.  Check out this shot I took on my iPhone!

Not Too Strenous

There is only one major portion of elevation gain after that it’s relatively smooth sailing. 

No Bears!

That means no bear canisters!  I did see some critters on the trail so I still hung my odorous items from a low hanging branch.  But atleast you don’t have to deal with those bulky cannisters.

What I Hated Boo

No Natural Water Sources:

There were no water sources available during my trip in late may, so I had to carry all of my water with me :(.  I went with carrying a total of eight liters with me, which because was more than enough because it was a bit cooler out. I would still stick with carrying the minimum four liters a day, just in case you encounter much warmer weather. 

Instances Of Difficult Trail Finding:

There could be some difficulty with trail finding.  Stay alert when hiking and keep your eyes peeled for them cairns. 

That's The Upper Muley Twist!

That’s all for the Upper Muley Twist overall it was an incredible hike and I would absolutely do it again if I found myself in the area.  I recommend only doing this hike with some backpacking experience under your belt as the trail finding can be a bit tricky.  Hope this helps let me know what you think in comments!

Categories
Gear Articles Hiking Basics Hiking Boots Outdoors for Beginners

Can You Hike In Sandals?

Can You Hike In Sandals?

can you hike in sandals?

We all know that proper footwear is super important when hiking (if not, check out “Are Hiking Boots Necessary? Hiking Boot’s Benefits And Alternatives” post).  But can you hike in sandals?  

The short answer is that it depends. 

Many factors can help decide if wearing sandals makes sense for your hike, such as:

  • What type of sandals you are hiking in.
  • What environment you are exploring.
  • How long have you been using the sandals, and the distance you plan on trekking.
Not to worry though I will go through all of this to help you decided if sandals make sense for your next hike!

What Type Of Sandals Can You Wear Hiking?

hiking sandals as an alternative for running shoes

If you want to hike in sandals, you need to be wearing sandals that are, you guessed it, MADE FOR HIKING!

Hiking sandals are designed with long-distance walks in mind with a much thicker sole with, better tread, and more foot support than your average beach sandal.  

That means leave your Gucci slides and flip flops at home.  They are no good on the trail!

What Environments Are Best For Hiking In Sandals:

what enviornments are best for hiking in sandals

Some of the best environments to wear hiking sandals include:

  1. Warmer desert-like environments
  2. Areas with river or water crossings
  3. Straightforward terrain with few rock scrambles.

Hiking Sandals For Desert Environments:

Hiking sandals can work great in a desert environment. As opposed to the traditional hiking boot, where your feet can overheat and get all sweaty, hiking sandals let your little piggies breathe.  

Another great thing about wearing sandals for desert hikes is that you don’t have to deal with little rocks and sand getting into your hiking boots, as sandals allow that stuff to fall out as easily as it comes in. 

Hiking Sandals For Water Crossings:

Hiking sandals are the obvious go-to footwear whenever you are hiking in an area that requires a lot of water crossings, the reason being:

  1. You don’t have to worry about walking around for miles with wet socks and boots you would have if you wore boots
  2. You don’t have to deal with taking off your boots at every water crossing to keep them dry. You can just hike through with your sandals!

Hiking Sandals For Scrambling:

Hiking sandals are best suited for a milder terrain that doesn’t require much scrambling or climbing.  Although the tread on hiking sandals is much better compared to others, they are not optimal for steep scramble, leaving you susceptible to slipping and missteps.

How Long Have You Been Hiking In Sandals And How Far Is Your Hike?

Like all shoes hiking sandals take time to break-in.  Unlike all shoes, the areas where sandal straps contact your feet create several hot spots, such as the heel, pinky toe, and big toe.  This means it is essential to have hiking sandals that fit and are broken-in before hiking.  

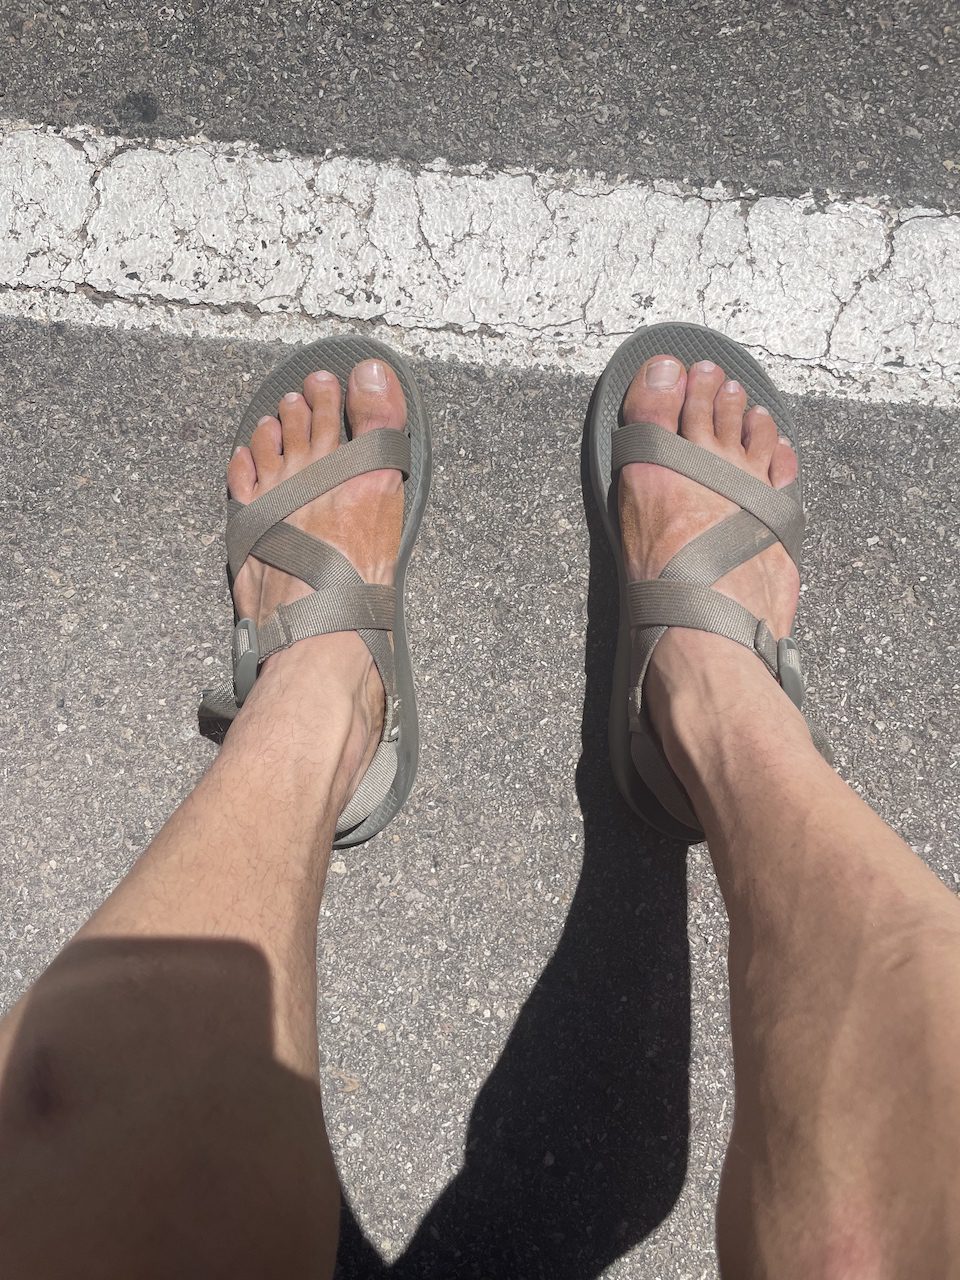
I made this mistake when hiking through Arches National Park.  Here, I went on an eight mile hike for the first time in my Chacos, and man, did my feet hurt!

Do not be like me.  If you are new to hiking in sandals, I would start by wearing them around your house to get a feel for them and learn how they fit best for your foot.  Then work your way up to short hikes, day hikes, and backpacking trips.  Some people even thru-hike in sandals! 

Recap: Cons Of Wearing Hiking Sandals:

Cons of hiking sandals

Like all hiking gear, there are plenty of pros and cons to everything you buy.  But the two big cons of hiking sandals are that they are

  1. Not as versatile as hiking boots: Not great in rainy/colder weather or technical scrambles.
  2. Take some time getting used to:  MUST properly fit and be broken in, or you shall be in pain!
  3. Less support and protection:  It should be no surprise that open hiking sandals do not lend the same protection as a full-fledged hiking boot.

Recap: Pros Of Hiking Sandals:

pros of wearing hiking sandals
  1. Cool: Hiking sandals keep your feet nice and cool in warmer climates.
  2. Very comfortable: When they properly fit and are broken in.
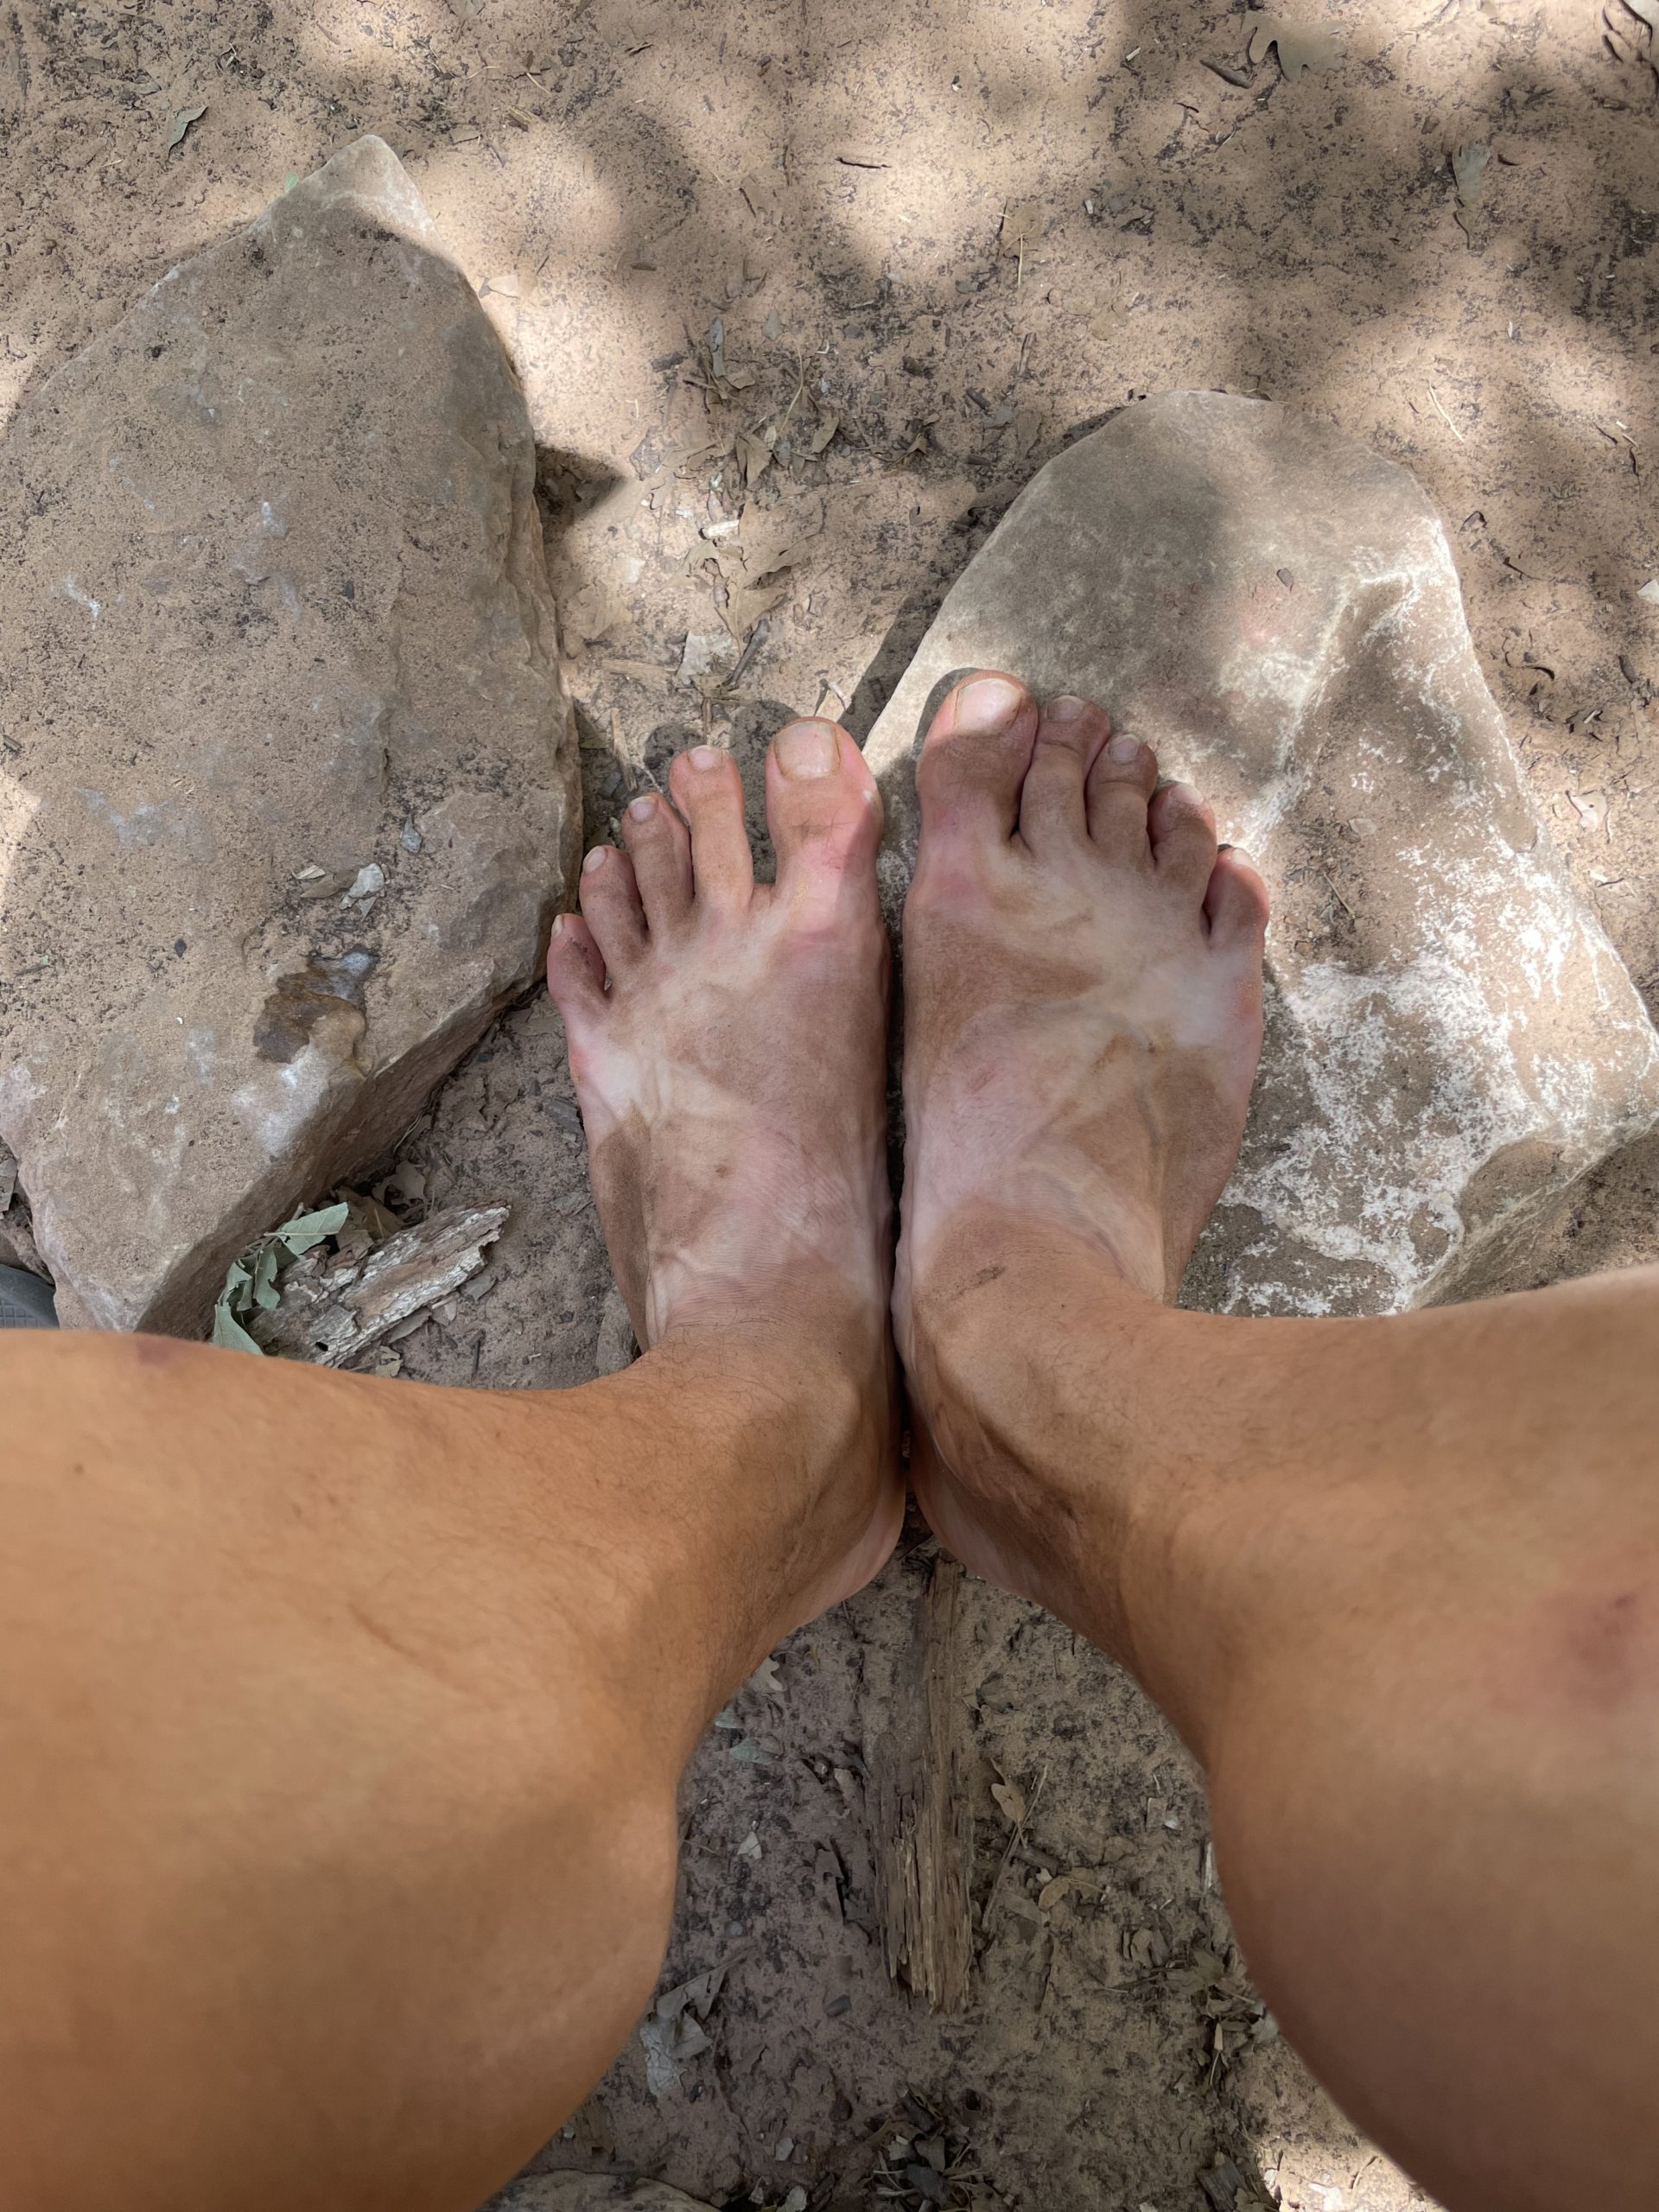
  3. SICK TAN LINES!

Best Hiking Sandal Brands

If you are ready to start looking into some hiking sandal brands here are my big three of hiking sandals. 

  1. Chacos
  2. Tevas
  3. Bedrock Cairn

Things To Know Before Buying A Pair Of Hiking Sandals

Hiking sandals are not something you want to order online blindly.   Go to your local REI or outdoor store and try the different brands available and see which size and brand fit best for your feet.  After you know the brand and size, go online to buy the style that looks best for you.  Because looking good matters too!

Categories
canyonlands national park

The Ultimate Canyonlands National Park Hiking Guide

Canyonlands National Park Hiking Guide:

Canyonlands National Park Hiking guide

Made up of remarkable canyons, giant sandstone towers, and beautiful desert landscapes, Canyonlands National Park is a must on any hiker’s bucket list!  With over 330,000 acres of land, this park is so massive that it has been divided into four different sections, including:

  • Island In The Sky
  • The Needles District
  • The Maze
  • Horseshoe Canyon 

The endless opportunities at Canyonlands National Park are exciting but can make planning a trip difficult.  Fortunately, you’re in the right place!  I will give you the skinny on hiking in Canyonlands based on my experience, and you’ll be on the trail in no-time!

The Four Sections Of Canyonlands National Park Explained

As I said, the park is massive, and driving to different areas can take anywhere from two to six hours!  So knowing where to go and how to spend your time efficiently will help you get the most out of this incredible national park.  

Island In The Sky:

Island In The Sky is the most visited area of the park and is just a short drive from Moab, Utah.  The site has aptly been named as it is a large field sitting atop of a gigantic mesa.   As you drive up, you will be reminded of how far removed you are from the world with the number of free-range cattle grazing along the road leading to the park entrance. 

Island In The Sky is a must-see section of your visit.  It boasts several fantastic day and half-day hikes, driveable viewpoints, and even has some opportunities for an overnight backpacking trip. 

The Needles District:

Next up is The Needles District, situated about an hour and a half south of Moab.  Here you will see a more rugged desert-like environment than Island In The Sky.  The Needles district is where you are looking to go for some heavy-duty day hikes or on a multi-day backpacking adventure.

The Maze:

Next up is the Maze!  This is located in the most remote part of the park and is the most difficult to get to, requiring 4WD with high clearance to tackle those unpaved roads.  Great for off-roading, and there are opportunities for cross-country hiking but not the place for your average hiker, so I skipped this one. 

Horseshoe Canyon:

Located within the maze, Horseshoe Canyon offers fascinating archaeological sites which contain ancient rock drawings down by the indigenous peoples who used to inhabit the area.  Again not too much hiking here so I skipped it.  However, if you are a big history buff, Horseshoe Canyon may be worth visiting.

What Are Best Areas Of Canyonlands National Park For Hiking?

Now that we are familiar with the different areas of the park, let’s focus on why you’re here. The hikes!  The best areas of Canyonlands National park for hiking are:

Island In The Sky & The Needles District

How Much Time Do I Need At Canyonlands National Park?

seven to ten days

Honestly you can easily spend months exploring the park but for times sake I think seven to ten days is reasonable for getting the most out of it.  

I only spent six days because I was on a time crunch but easily could have stayed for ten. Between The Needles District and Island In the Sky there are so many incredible day hikes and backpacking trips you can do! 

Planning Your Trip To Canyonlands

Keep in mind both Island In The Sky and The Needles District offer campgrounds by reservation.  I highly recommend making a reservation in advance if not you still have the opportunity to camp on local BLM land for free!

Also there are non amenities other than toilets and potable water at both visitor centers so make sure you stock up on food prior to heading to the park.

How To Hike Island In The Sky

I only had three days here so my plan was to do predominantly day hikes, since many of the trails are one off making backpacking unnecessary.  So I stuck with day hikes and boondocking on BLM land just outside the park.  


My Top 6 Hikes Of Canyonlands Island In The Sky

With so many amazing trails available in Island In The Sky choosing a top five is a toughie but here it goes!

#1 Mesa Arch Trail
top 6 hikes of canyonands island in the sky

Distance:  ~1.4 miles round trip

Permits Required: None

Type: There and back

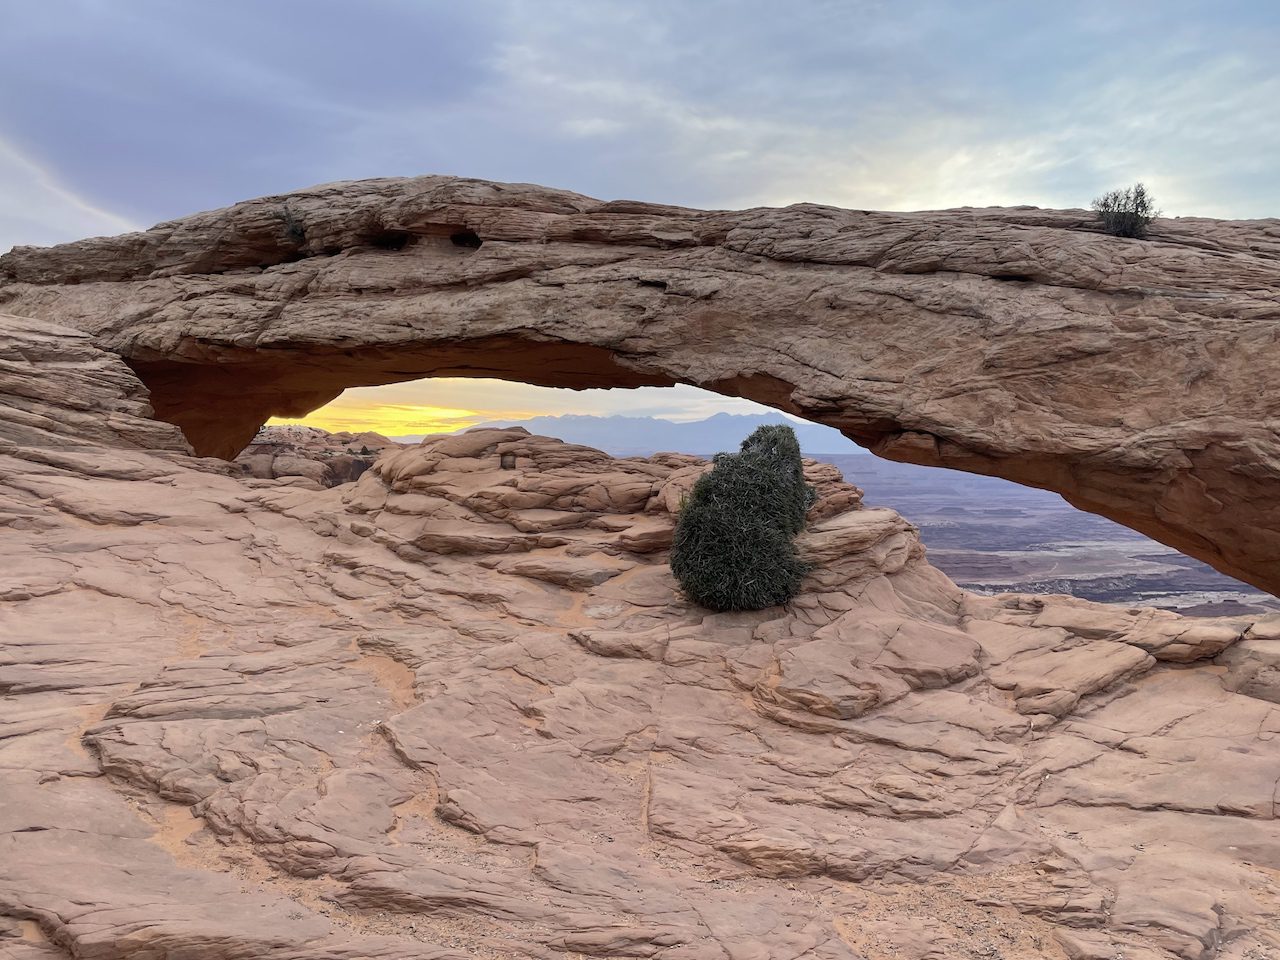
Mesa Arch Trail is a staple in Canyonlands, and you CANNOT MISS IT!!!  It is an easy hike with minimal elevation gain leading to the beautiful Mesa Arch with endless canyons in the background.  If you want to get the best views, I recommend catching the sunrise here.

#2 The White Rim Trail

Distance: ~1.8 miles round trip

Permits Required: None

Type: There and back

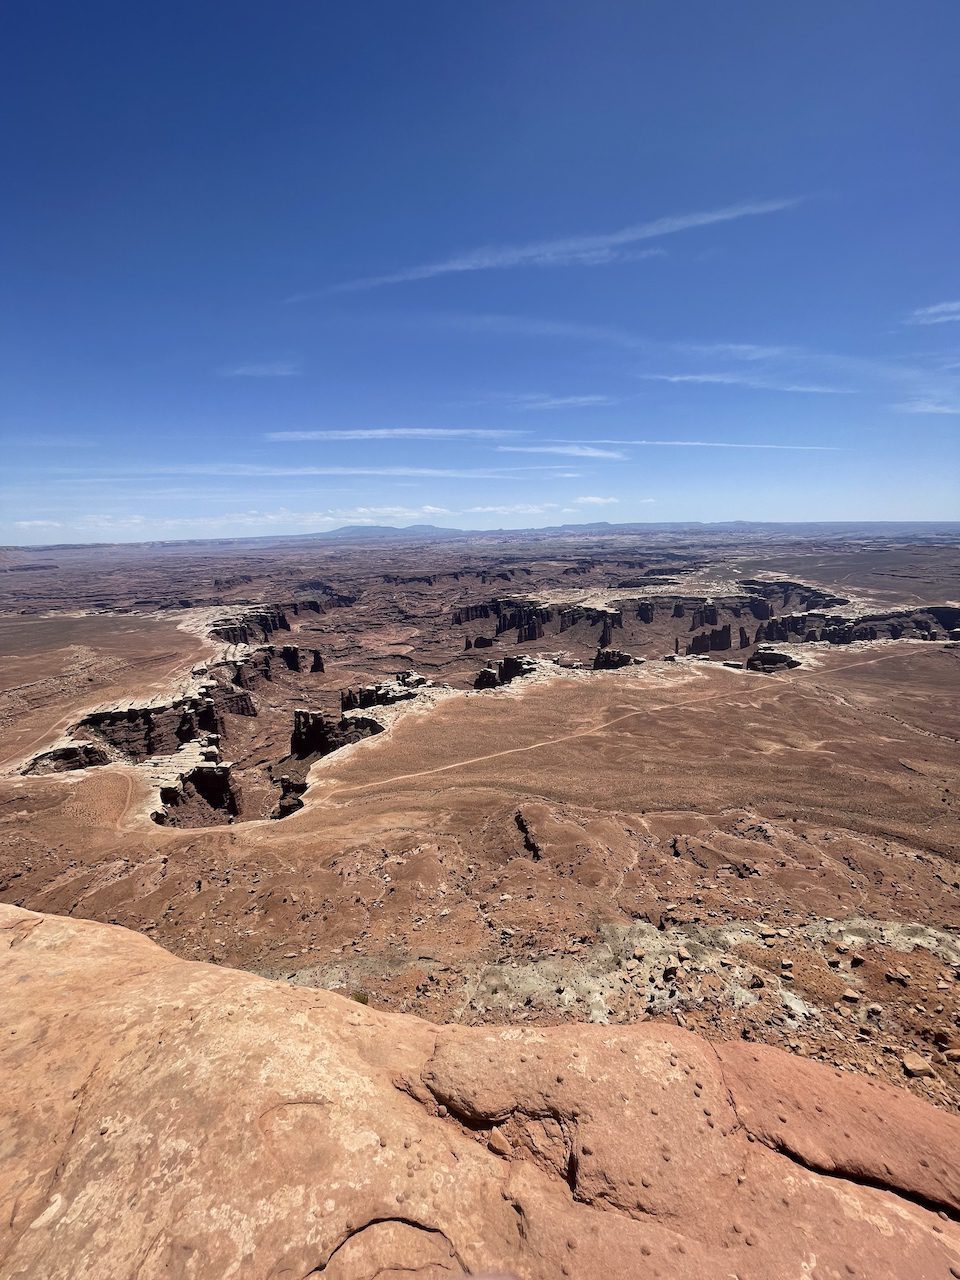
The white rim trail is an AWESOME easy hike and is great, especially if you are crunched for time.  You will get amazing panoramic canyon views after just a short 1.8 miles round trip walk. 

#3 Murphy Point Trail:

Distance: 2.6 miles round trip

Type: There and back

Permits Required: None

Here is another easy hike with some terrific views of Soda Springs Basin and Canyon!  Like Mesa Arch and White Rim Overlook, this is a hike you want to squeeze in if you are short on time.

*I recommend adding this on the the Murphy loop if you have the time and energy. 

#4 The Murphy Loop Trail

Distance:  ~8.9miles

Type: Loop

Permits required: None

The Murphy Trail starts with a steep decline where you get terrific canyon views, and then you can go clockwise through the wash first or counterclockwise on hogback.  I did counterclockwise and think it’s the way to go because it lets you go downhill White Rim Road going down instead of having another climb.  

You will get amazing views of canyons and buttes making your way through Hogback, but views coming back from the wash were kinda boring if I’m being honest.  Still this was an incredible hike and is definitely worth the trek!

*If you are up for it, I recommend adding the short hike to Murphy Point onto the loop. It isn’t out too far out of the way and gives some spectacular canyon views!

**Keep in mind there is a steep descent at the beginning of the trail that is doable but requires attention and mindfulness when descending.  If you are out of shape or don’t have the best coordination, you may want to skip this one.

#5 The Gooseberry Trail

Distance: ~4.4 miles round trip

Permits Required: None

Type:  There and back

Let me start by saying this isn’t a walk in the park.  Although there isn’t much distance, there is a very steep elevation change at the beginning and end of the hike.  So make sure you are in good shape before you tackle this one!

You get spectacular views of Gooseberry Canyon on your descent until you reach White Rim Road right on the canyon’s edge.   Once you get there, you have reached the perfect spot to take a break for lunch and rehydrate!

#6 The Syncline Loop

Distance: ~8.1 miles round trip

Permits Required: None

Type: Loop

STRENUOUS HIKE NOT FOR BEGINNERS! 

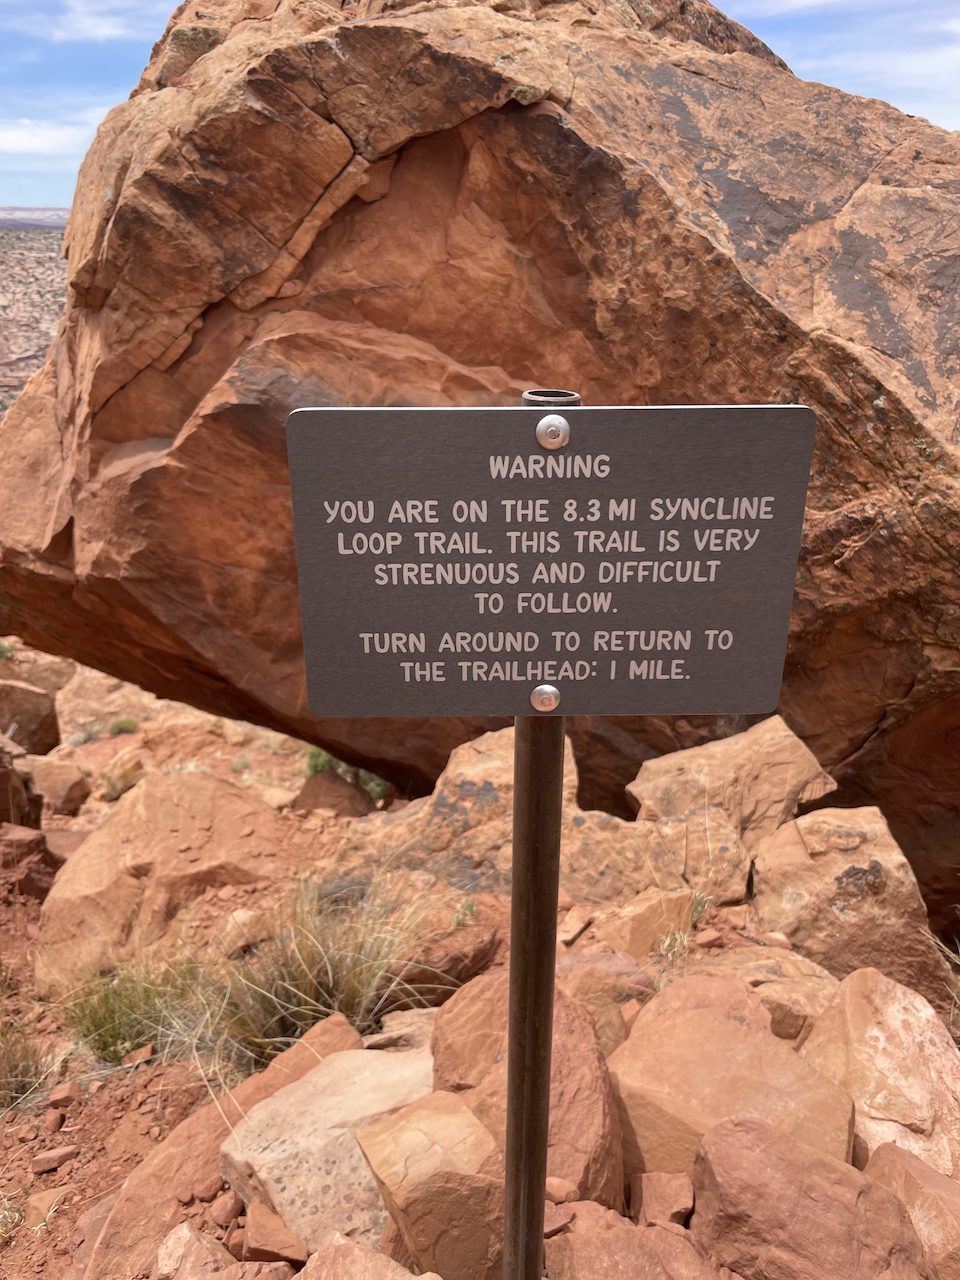
Not only is the Syncline loop physically strenuous, but it also requires good trail-finding skills and a bit of agility to scramble up “The Breach.”   The park puts numerous signs warning about the trail’s difficulty, advising them to turn back if it seems too much. But I would say if you are physically fit and are an experienced hiker, you should go for it!

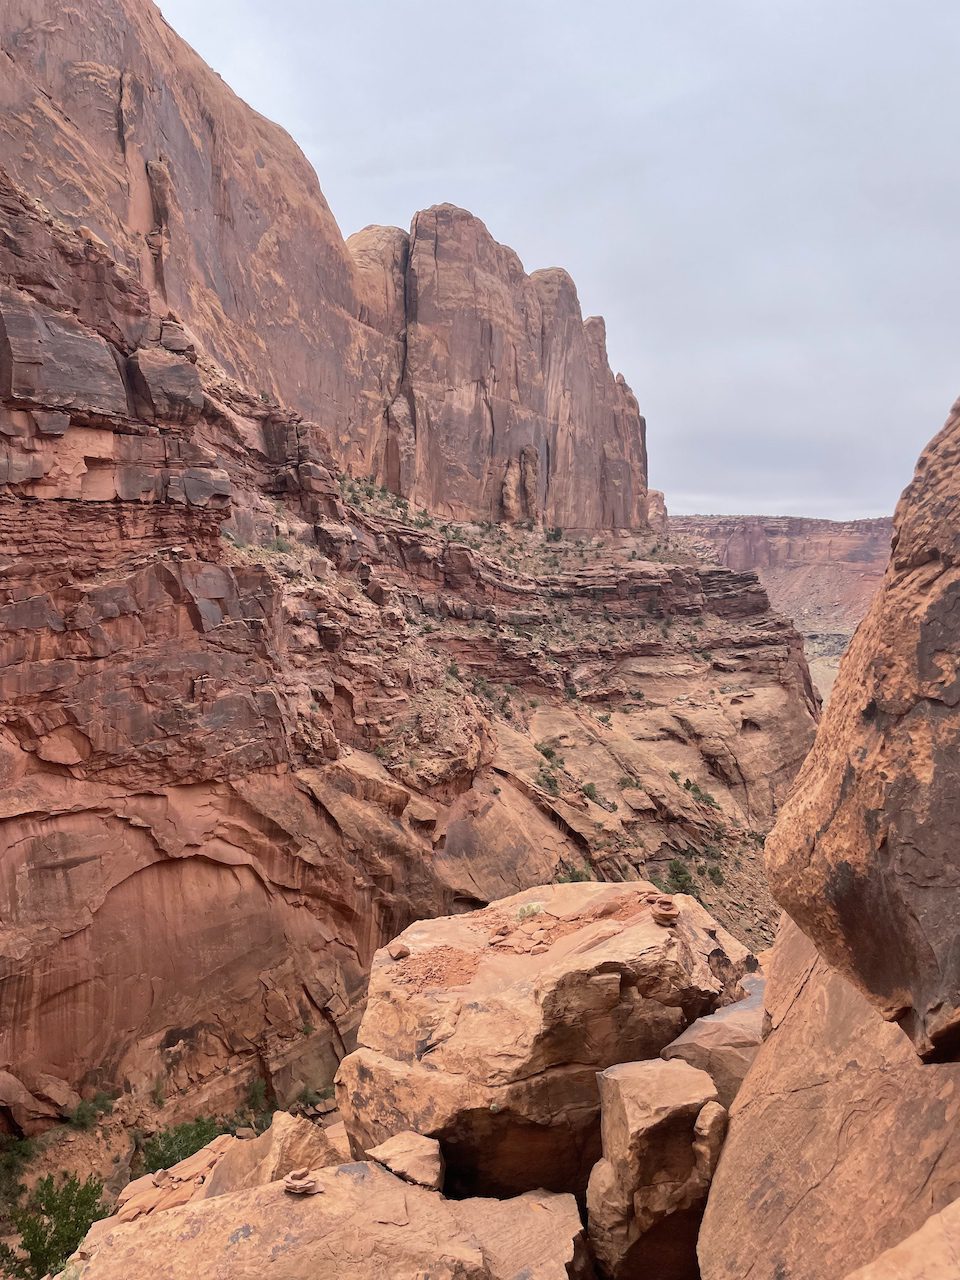
The most important part of this hike is constantly staying focused on the trail because it is easy to miss a cairn.  You won’t get sweeping canyon views like some of the other trails in Island In The Sky, but it is undoubtedly a fun adventure if you are up for it!

*I recommend hiking the extra mile to reach upheaval dome it’s a pretty cool side trip!

**It can make a cool spot for backpacking with a few offshoot trails you can take through Upheaval Canyon.

The Needles District

Now that you finished with your time in Island In The Sky next stop the Needles District.  As you make your way over from You will enter an area of massive sandstone buttes and canyons signifying you are close to the park entrance.  As I mentioned The Needles District is an amazing spot for long day hikes and backpacking so I decided to make a backpacking trip out of it!

Tips For Backpacking In The Needles District

Are Backcountry Permits Required In Canyonlands?

Yes

Backcountry permits are required for all overnight stays.  Reservations can be made at recreation.gov.

How To Poop In Backcountry Of Canyonlands
How to poop while backpacking

No catholes allowed.

You must pack out all of your waste using a W.A.G. bag.  See “How To Poop While Backpacking” for more tips on going in the backcountry. 

Water Planning:
how to carry and treat water when backpacking or hiking

There are little to no areas to filter water in the park.

Plan to carry all of the water you will need with you.  I recommend at the MINIMUM 4L a day or one liter per an hour of hiking. You may need more or less depending on your individual water intake.  

Prepare For The Sun

Remember you are hiking in the desert!  Proper sun protection including sunglasses, sunscreen and a hat are a must!

Navigating In The Backcountry

Many of  the routes in Canyonlands are in desert areas or on slick rock so they are frequently marked by rock cairns.  Always stay focused when hiking be aware of where you last cairn was and keep your eyes peeled for the next on.  As always make sure you have a map and a compass.  

Highlights Of The Needles District

I went on a three day two night backpacking trip through the needles and it was amazing!  Here are some of the highlights. 

#1 Chesler Park & The Joint Trail

 The “Joint” as the rangers refer to it is a very thin slot canyon carved from running water thousands of years ago.  You will have a towering stone on each side as you pass through!

As you hike through Chesler Park, you will encounter a myriad of sandstone towers standing on an open plain. 

#2 Peekaboo

Peekaboo is a fantastic hike where you will be traveling primarily on slickrock while seeing massive red rock formations and eventually coming upon an archaeological site containing ancient Puebloan markings!

#3 Big Spring Canyon Trail:

Another incredible hike that gives you awesome views of the massive sandstone spires known to the Needles District.

My Canyonlands Travel Itinerary:

The below is how I structured my own Canyonlands travel itinerary.  Keep in mind I can hike all day long and don’t mind multiple high mileage days in a row.  This itinerary may not be for everybody so always keep track of your mileage. You are here to have fun not miserable!

Day 1:  Arrive in Island In The Sky.  Hike Gooseberry Canyon Trail and the White Rim Trail after this I went to Dead Horse State Park just 15 minutes outside the park to hike their east and west rim catching the sunset here.  Camped on BLM land for free just outside the park.

Day 2:  Wake up early to hike to Murphy point then hike the Murphy loop trail.  After this I ate lunch and drove around to see some viewpoints.  Camped on BLM land for free just outside the park.

Day 3: Wake up at dawn to catch the sunset at the Mesa Arch.  After this, I hiked to Upheaval Dome Overlook and the Syncline loop.  Drove to Moab where I yet again camped on BLM land for free.

Day 4: Rest in Moab.  See the down get dinner.

Day 5: Drove to the Needles District.  Pick up backcountry permits at the visitor center. Start the first day of a backpacking trip from “Needles Campground Loop A” hiking the Chesler Loop.  I stayed at Big Spring Campground 1 very close to the Needles Campground so I could refill on water the next day.

Day 6: Hiked from Big Spring Campground one to the Needles Campground to refill on water.  After this, I hiked to Lost Canyon Campground 1 where I unloaded most of the stuff in my pack to make the rest of my hike to Peekaboo and back easier.

Day 7:  Hike from Lost Canyon Campground back to my car in Needles campground A via Lost Canyon Trail and Big Spring Canyon Trail.  


What I Would Have Done Differently:

If I could have done it again I would have planned for an additional two days.  One in Island In The Sky where I would have done all of the shorter hikes such as:

  • Whale Rock
  • Aztec Butte
  • Green River Overlook. 

Especially Green River Overlook which was supposed to have some amazing panoramic views!  I can’t believe I missed that!

My second extra day would be in the Needles District where I would have done a day hike to the Confluence Overlook.  I heard so many amazing things from multiple rangers but time just didn’t allow for it, unfortunately.  

That's Canyonlands!

I hope this was helpful let me know what you guys think!

Categories
Uncategorized

The Best Of Arches National Park

The Best Of Arches National Park:

Best of arches national park

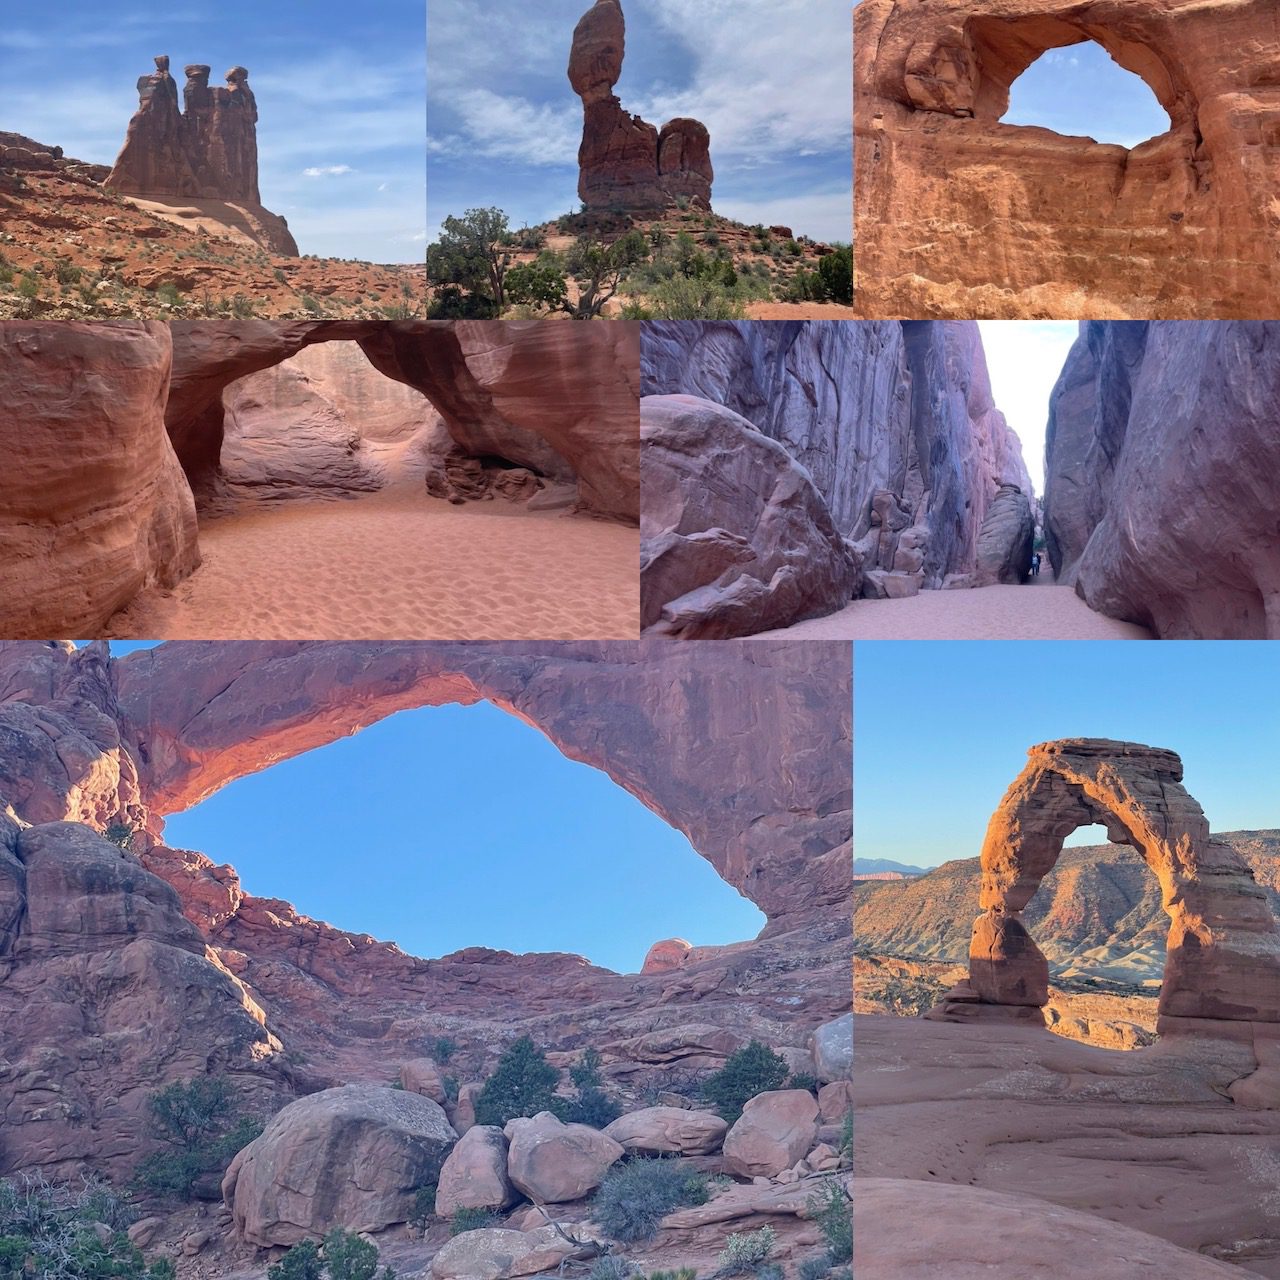
Welcome to the Best of Arches National Park where I give my take on the “best” of all things Arches National Park!  I spent a total of two days in the park hiking everything I could and it was incredible below are some of the highlights.  If you are looking for a complete overview of the park you should check out my post “Arches National Park Hiking Guide”.

Best Overall Hike In Arches National Park:

Devils Garden Trail

Best Overall Hike Devils Garden Trail

Distance: 7.9 miles

Type of Trail: Loop

Permit Required:  None

It only makes sense to start with this one since hiking is what we do here.  The best overall hike has to go to The Devil’s Garden Trail.  The views are amazing, but even more than that, you get the chance to see nine unique arches.  What else can you ask for from a hike in a park, literally called “Arches”?!  While I will say that the hike is one of the longest in the park if you are in good shape and have the day, it is absolutely worth doing. 

Best Hike To Avoid Crowds In Arches National Park:

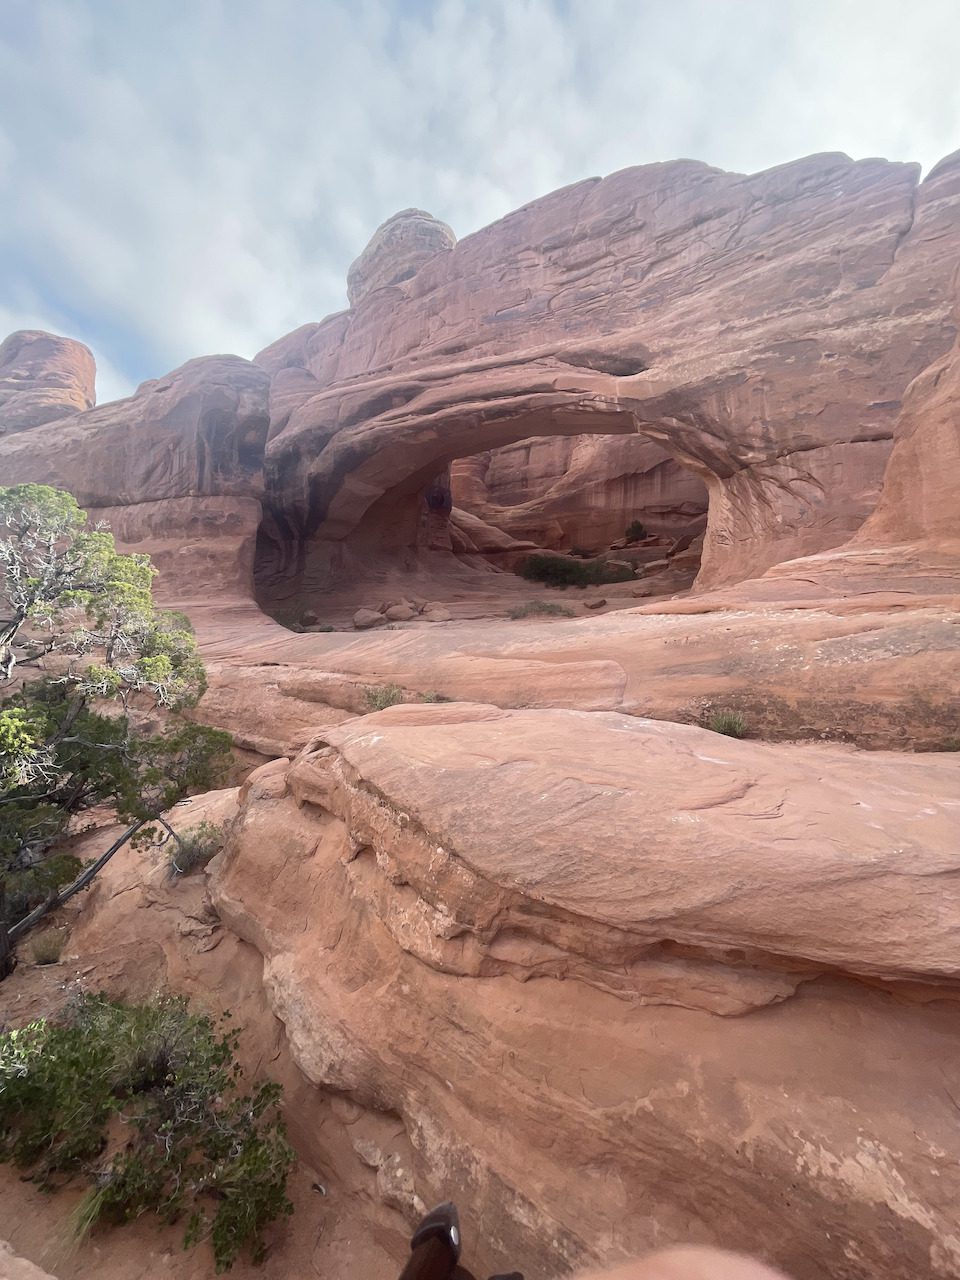
Tower Arch Trail

Best Hike To Avoid Crowds In Arches National Park Tower Arch Trail

Distance:  ~3.4 miles

Type of Trail: There And back

Permit Required:  None

Another important one for us hikers out there.  The best hike to avoid crowds has to be the Tower Arch Trail.  The catch with this hike is that you need to drive close to eight miles from the park on the unpaved Salt Valley Road to reach the trailhead.  I have a feeling that’s what turns most people off to it. 

But during this hike, you will get impressive views of the Klondike Bluffs and the Tower Arch itself at the end of the walk.  However, this is a hike that requires your full attention. It can be easy to get off the trail so keep your eyes peeled for those rock cairns!

Best Touristy Hike of Arches National Park:

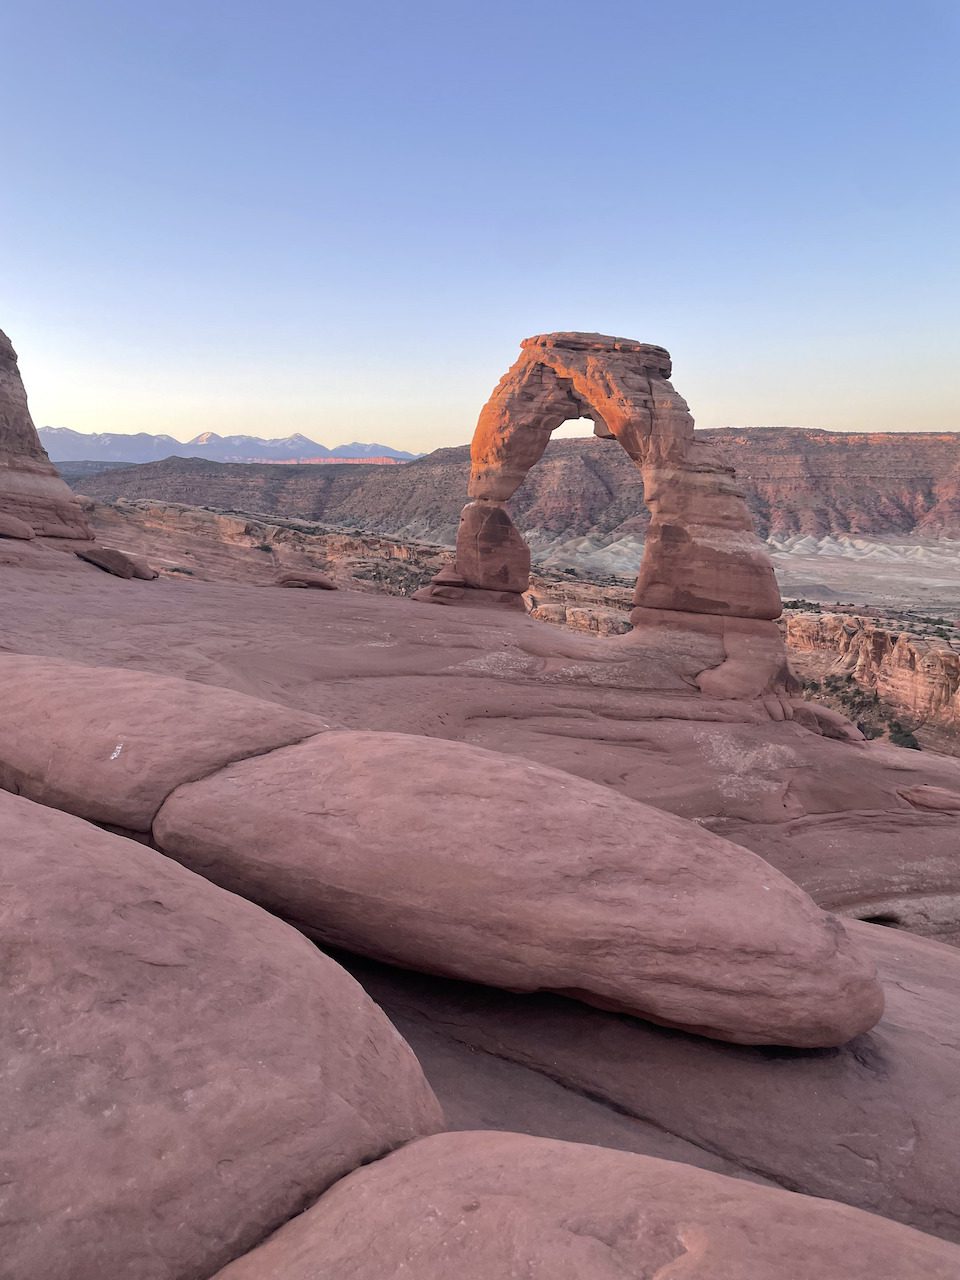
The Delicate Arch Trail

delicate arch trail

Distance:  ~2.8 miles

Type Of Trail: There and back

Permits Required: None

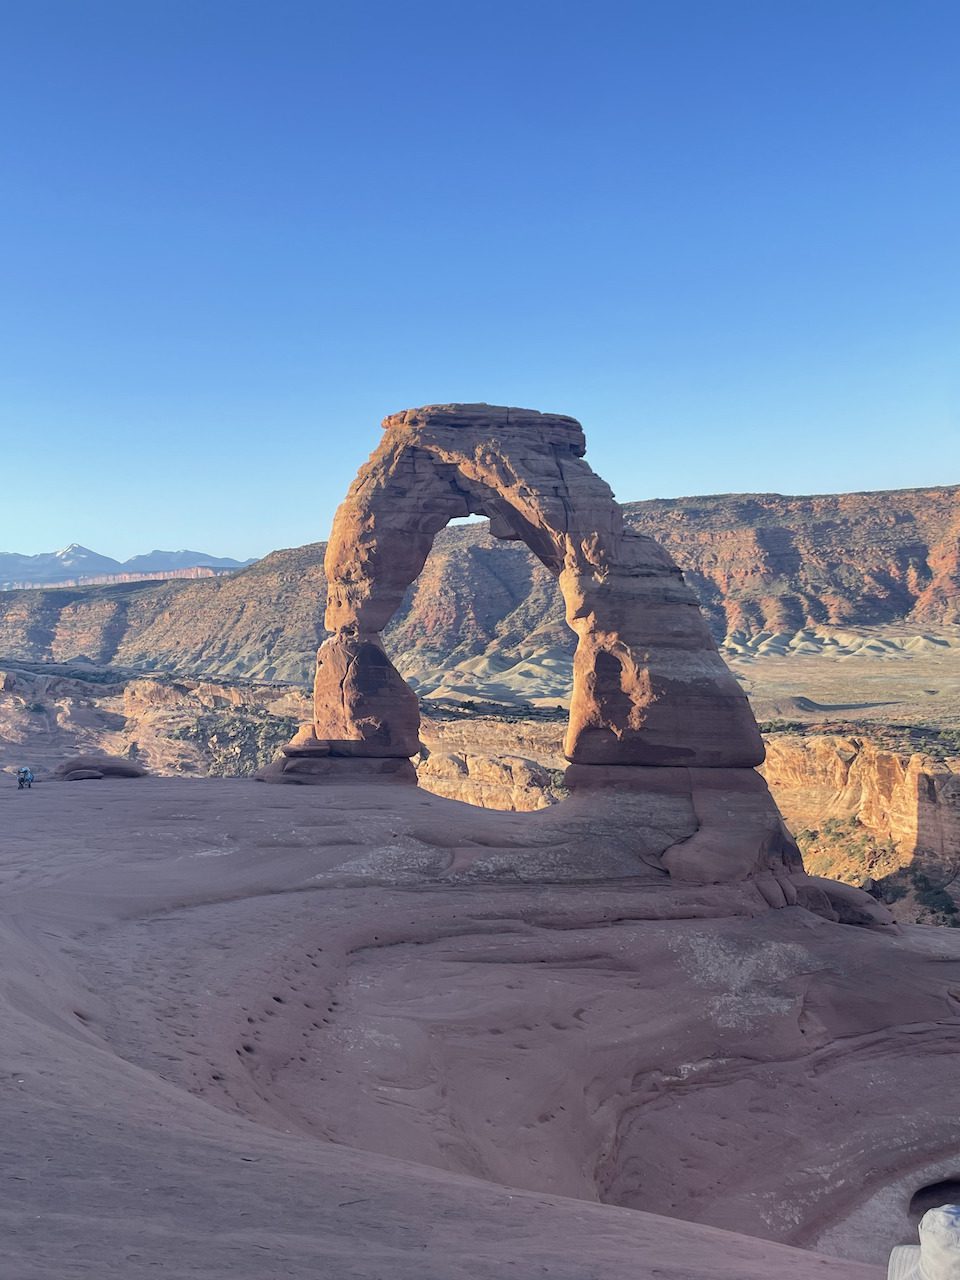
If you want a hike to make a postcard out of, look no further than the Delicate Arch Trail.  I mean, come on, the hike is literally the centerpiece of the Utah license plate!  However, it is important to note that because this is such a popular attraction, if you want to avoid crowds it would be best to do this hike either early in the morning or later in the evening.

The Best Arch In Arches National Park:

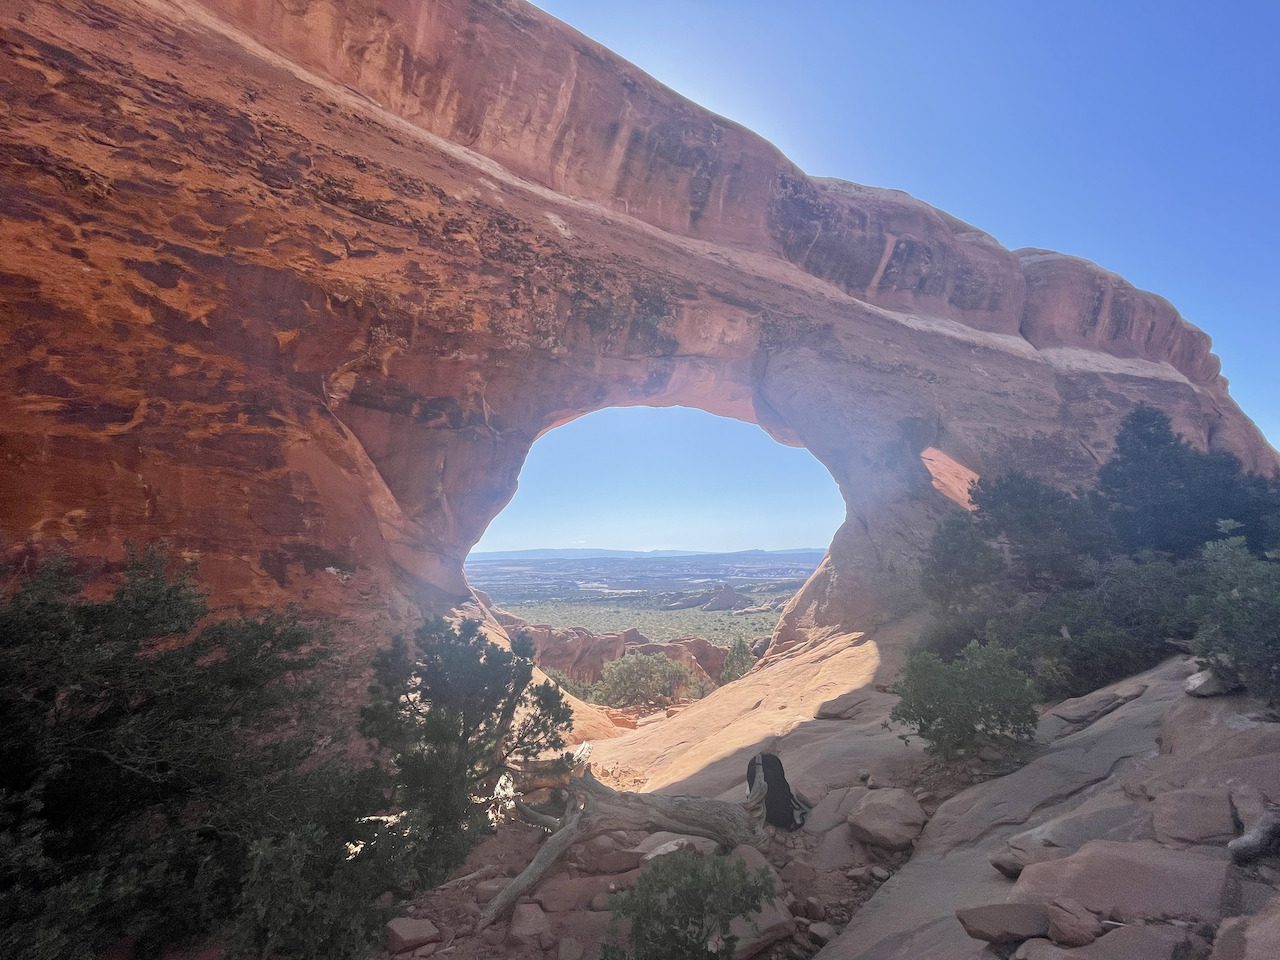
The Partition Arch

Best Arche In Arches National Park The Partition Arch

Trail: Devils Garden 

Distance From Trailhead:  ~1.1miles one way if going direct from the trailhead

Here is another important one.  As we said, the park’s name is “Arches” so which one is the best?  For me, it has to be the Partition Arch.  I loved it because it seemed like a window into a new world as I approached the arch.  I literally sat and stared through this arch for over an hour. People around me seemed concerned.  But I couldn’t help myself! It was breathtaking!

The Best Easy Hike In Arches National Park:

Park Avenue Trail

Best Easy Hike In Arches National Park Park Avenue Trail

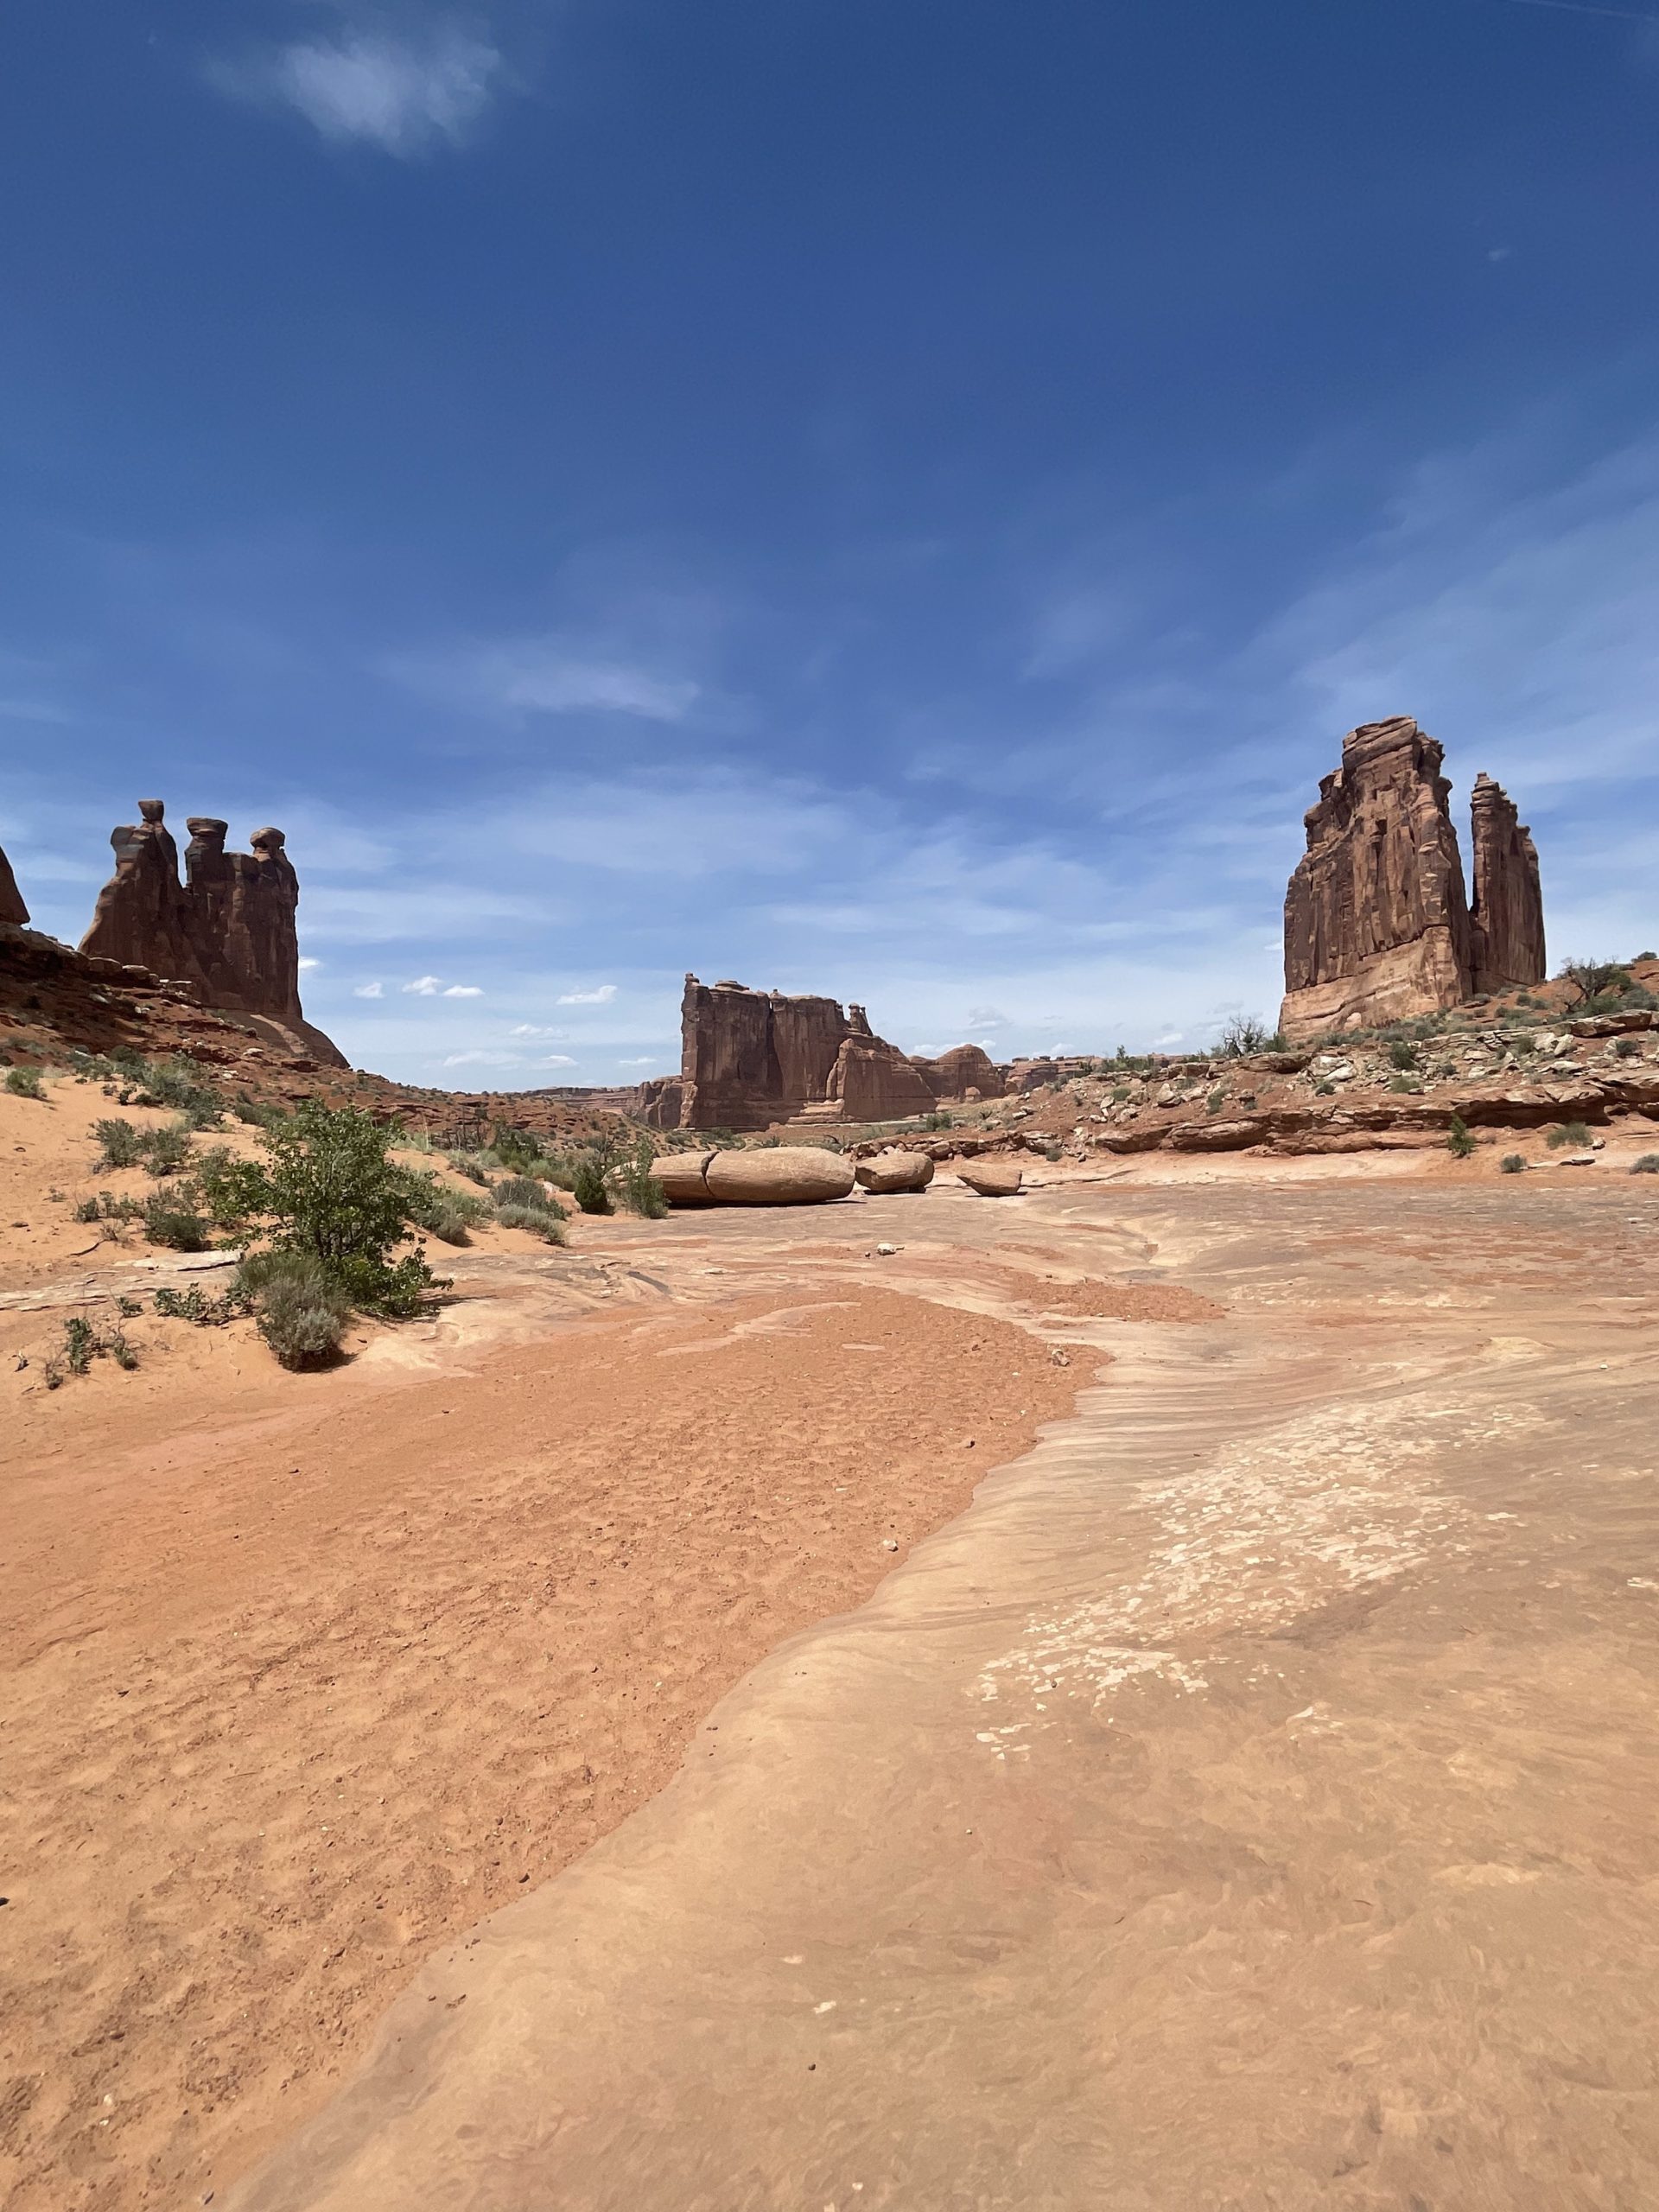
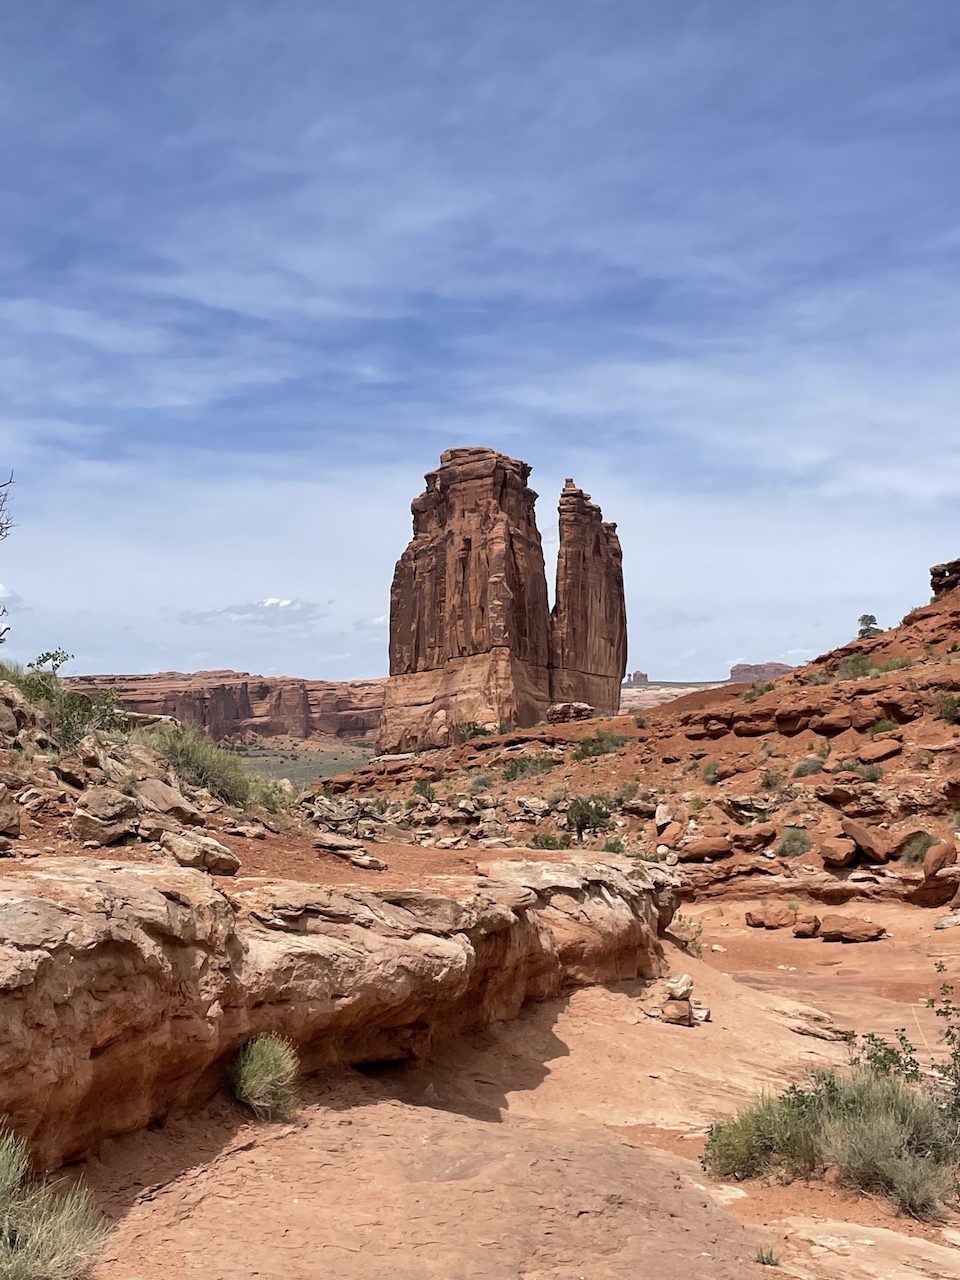
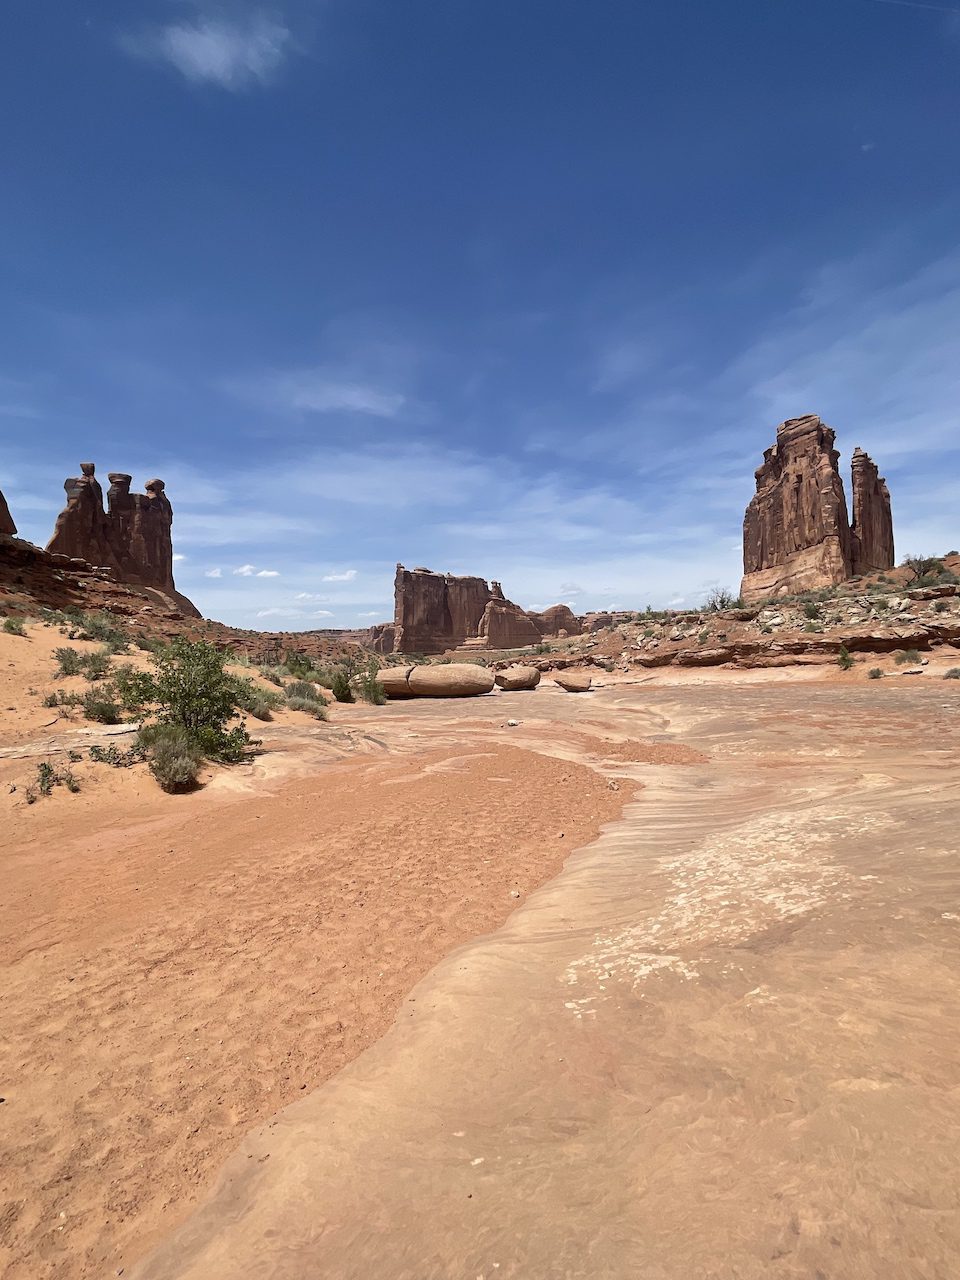
This one is for you for those of you who are getting dragged on this trip by a hiker friend!  The best easy hike in Arches National park has to be the Park Avenue Trail.  This trail is less than 2 miles round trip and has fantastic views of the Three Gossips, Babel Tower, and the Organ.  You can shorten this hike with two cars by parking them on opposite ends of the trail, making it less than a mile walk for a one-way trip.

Although there are no arches on this hike, the views of these towering sandstone structures are more than worth the title of best easy hike in Arches National Park. 

Best Viewpoint In Arches National Park:

Courthouse Towers Viewpoint

Best Viewpoint in arches national park Courthouse towers viewpoint

Although I am not one for driving around a park to visit viewpoints, there is one in this park that earns the title of the best of them.  That is the Courthouse Towers Viewpoint. 

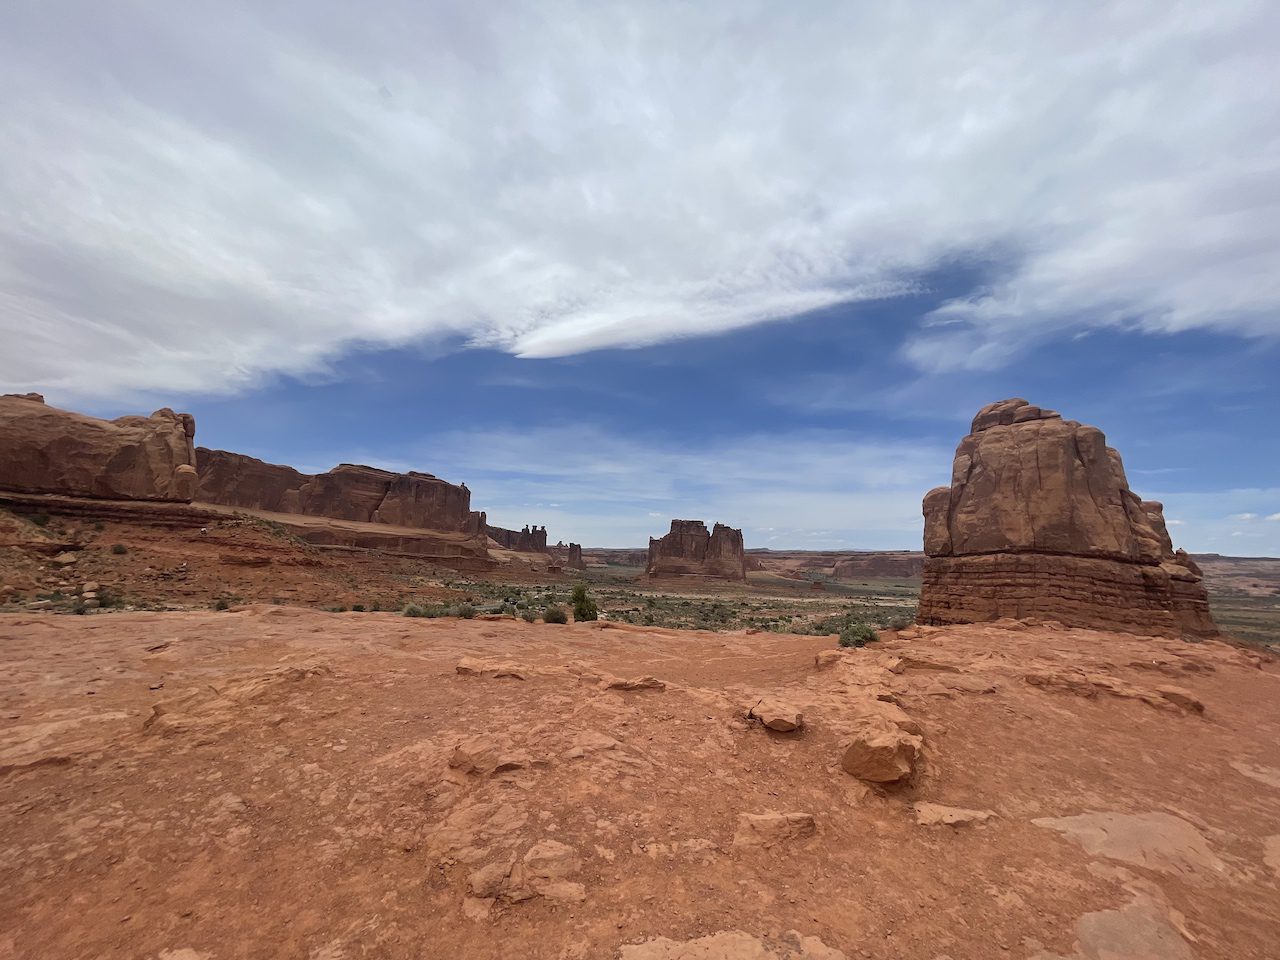
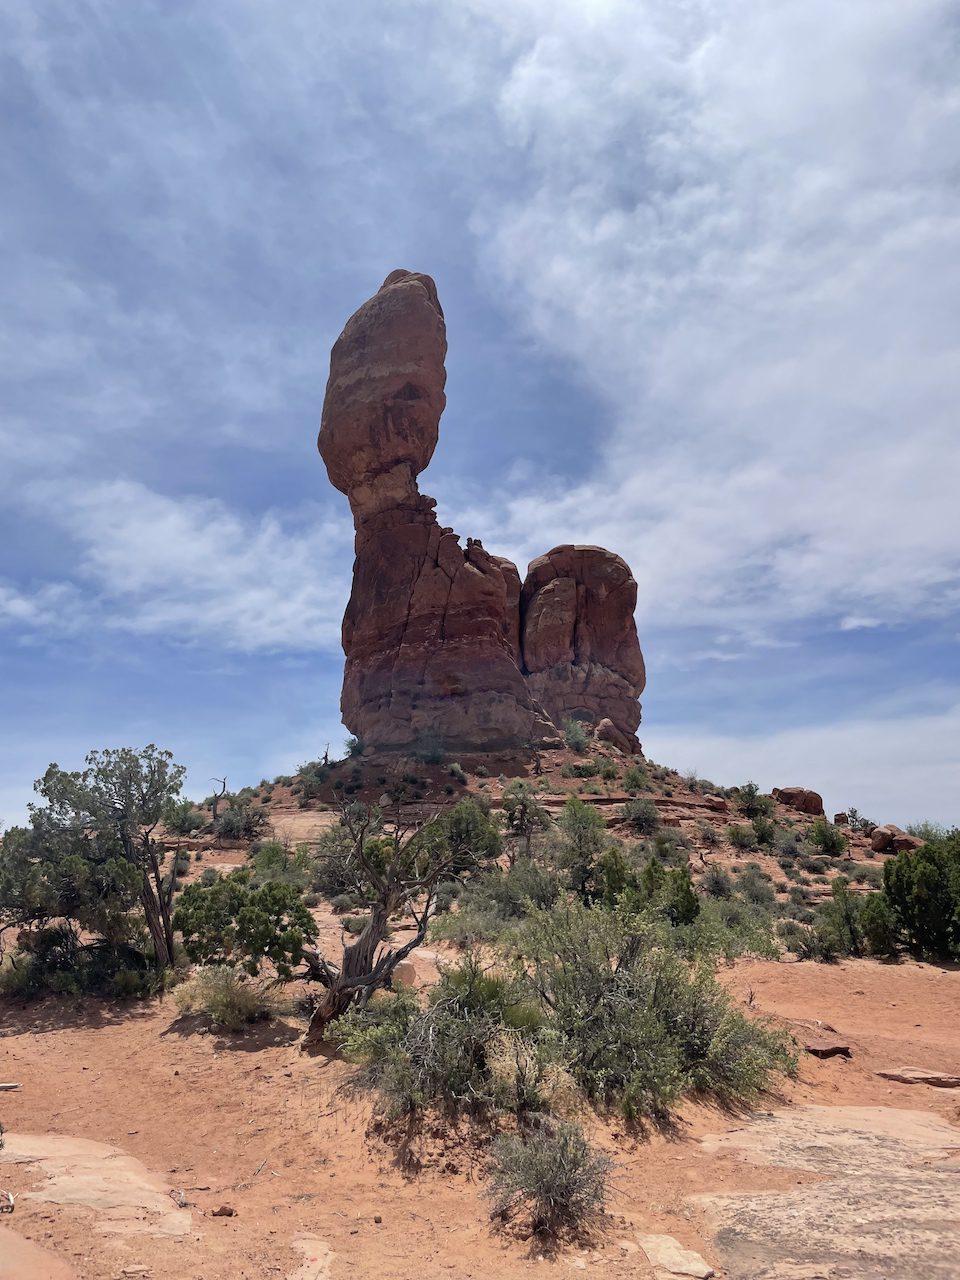
Here you see many classic park structures, including the La Salle Mountains, Colorado River, Elephant Butte, Balanced Rock, Courthouse Towers, The Organ, Tower of Babel, and the Three Gossips.  Whew, that’s a lot of views!

That's All!

That is all for our Best of Arches National Park I hope you enjoyed it!  If you are looking to take a trip to the arches check out our “Arches National Park Hiking Guide” to help plan your trip.  Don’t forget to check the Arches National Park website for the latest park updates. 

Categories
Arches National Park

Arches National Park Hiking Guide

Arches National Park Hiking Guide:

Arches National Park Hiking Guide

Welcome to the Arches National Park Hiking Guide!  If petrified sand dunes, massive red rock towers and over 2,000 natural arches sounds like fun then Arches National Park is for you!

Park Overview

  • Location: Grand County, Utah 
  • Closest Airports:
    • Moab Airport ~15min drive
    • Grand Junction regional airport ~1hr and 30min drive
    • Salt lake city International Airport ~3hrs and 50min drive
  • Entry Reservation: Required.
  • Busy Season: March – October
  • Entrance Fee: 
    • Car:  $30.00 
    • Free For America the beautiful pass holders.

How Much Time Do I Need To Spend In Arches National Park?

Best Overall Hike Devils Garden Trail

1-3 Days

This depends on what you are trying to do in the park.  If you are just trying to catch the highlights you can probably get it done in a day.  

However if you want to take a deeper dive and hit all the trails you can probably get it done in 2-3 days depending on your fitness.  I was able to hit all of the major hiking trails and viewpoints in just two days but there were times I felt as though I was rushing through the park and wish I took my time and extended my stay an extra day.

Does Arches National Park Require A Reservation For Entry?

does arches national park require a reservation for entry?

Yes.

Arches National park began requiring entry reservations for admission into the park as of 2022.  A reservation is required if visiting the park between April 3rd to October 3rd, 2022 during the times between 6:00 AM and 5 PM.  You can make a reservation at recreation.gov for a two-dollar reservation fee.

Can I Still Enter Arches National Park Without A Reservation?

can I still enter Arches National Park without a reservation?

Yes.

If all of the reservation slots for a particular date are booked, not to worry. There are still ways you can get into the park for your desired date!  The two ways you can get around needing a reservation for entry into the park are:

  1. Check for last-minute reservations:  The park releases last-minute reservation slots on recreation.gov at 6 pm the day before!  
  2. Get there early or late:  Reservations are not required to enter the park before 6 am or after 5 pm.  I came to the park at 5 am each day.  Although waking up early sucked, catching incredible sunrises on empty trails was terrific!

Areas of Arches National Park:

areas of arches national park

There are seven major areas of Arches National Park knowing the areas and what hikes are located at each will help you plan your trip.  The below are the different areas listed in proximity to the park entrance: 

  • Park Avenue
    • Park Avenue Trail
  • The Windows Section
    • Balanced Rock Trail (just prior to windows section) 
    • North & South Windows
    • Turret Arch
    • Double Arch
  • The Delicate Arch
    • The Delicate Arch Trail
    • Delicate Arch Viewpoint
  • The Fiery Furnace
    • The Fiery Furnace Trail
    • Fiery Furnace Viewpoint
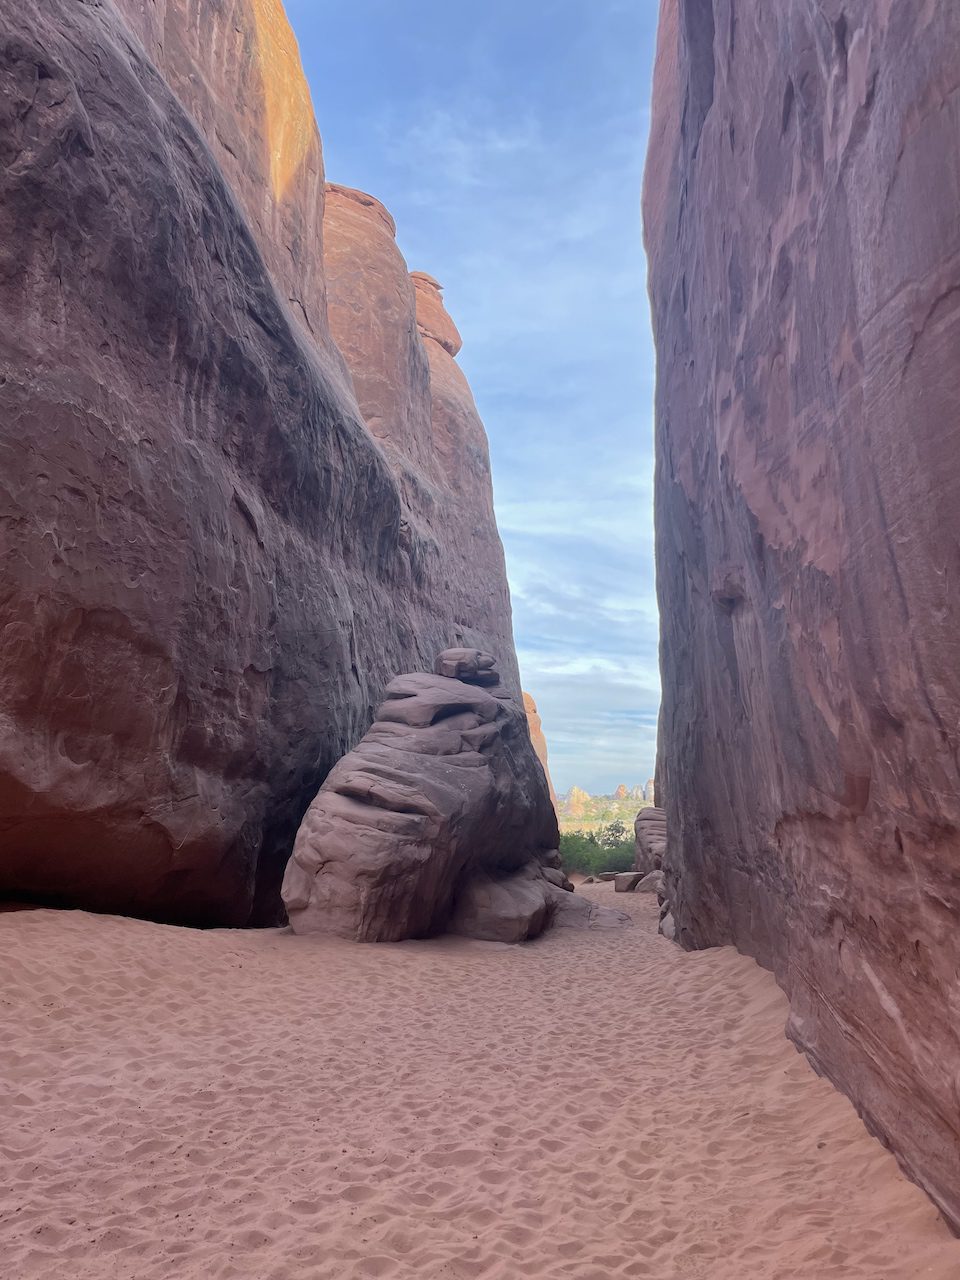
  • Sand Dune Arch Trail
    • Sand Dune Arch
    • The Broken Arch
    • Skyline Arch
  • Devils Garden
    • Devils Garden Trail containing nine different archs.
  • Klondike Bluffs
    • Tower Arch Trail

5 Best Hikes In Arches National Park:

The moment you’ve all been waiting for my take on the 5 best hikes in Arches National Park:

#1 Devils Garden Trail

Distance: ~7.9 miles if hiking to all arches

Type: Loop

Permits Required: None

One of my favorite hikes in the park, The Devils Garden Trail, will give you views of NINE unique arches if you go to every trail offshoot!  Don’t you dare skip one of these arches. Take as much time as you need to see these natural wonders!

#2 The Delicate Arch Trail

delicate arch trail

Distance: ~2.8 miles

Type: There and back

Permits Required: None

Do you know the Utah license plate?  Well, that’s the Delicate arch!  

I would recommend doing this hike either before sunrise or sundown, NOT in the middle.  By going earlier or later, not only do you avoid HOARDS of people, but you also get away from the harsh Utah sun (there is very little sun coverage on this hike).

#3 Tower Arch Trail:

Best Hike To Avoid Crowds In Arches National Park Tower Arch Trail

Distance: ~3.4 miles

Type: There and back

Permits Required: None

Located in one of the more remote areas of the park, Tower Arch Trail requires an eight-mile drive on the unpaved Salt Valley Road to reach the trailhead.  Once there, you will get incredible views of the Klondike Bluffs and the Tower Arch at the end of the hike.  This hike like most in the park is marked by rock cairns, it is especially important to pay close attention to the trail during this hike as it is easy to wander off route.

What I liked most about this hike was that there were barely any people on the trail! I think I saw four total during my trek. 

#4 Park Avenue Trail

Distance: ~2 miles

Type: There and back

Permits Required: None

At only 2 miles of roundtrip hiking, the Park Avenue trail may be short but is by no means lacking in amazing views. By just going to the viewpoint at the start of the course, you will get a spectacular vista of the massive red rock canyon which gave the hike its name given the similarity to a city block.  

As you make your way through this trail, you will find yourself hiking on the canyon floor and will get spectacular views of the Three Gossips, Babel Tower, and The Organ!

#5. Sand Dune Arch Trail

Distance: ~2.2 miles

Type: Loop

Permits Required: None

The Sand Dune Arch Trail is easy and will give you great shots of the Sand Dune Arch, Broken Arch, and the Tapestry Arches.  I did this hike at sunrise, which might be why it made it on this list because the red rocks look incredible when struck by the morning sun.

Arches National Park Travel Itineraries:

Arches national Park Travel Itineraries

Don’t want to go through the hassel of planning out your travel itinerary for Arches National Park?  No worries I got you.  Check out some of my sample itineraries!

Arches National Park 1 Day Travel Itinerary:

Morning: Arrive in the park before Sunrise: Hike the Devil’s Garden Trail and make sure you see ALL OF THE ARCHES!  

Afternoon: After hiking the Devil’s Garden Trail take your time to enjoy lunch and drive around to see the different viewpoints of the park.

Evening:  After the park cools off and people start to leave, I would do a shorter hike like the park avenue trail and then catch sunset at The Delicate Arch. If doing both of these seems like too much definitely opt for catching sunset at The Delicate Arch.

Arches National Park 2 Day Travel Itinerary:

Day 1:

Morning:  Arrive in the park before Sunrise: Hike the Devil’s Garden Trail and make sure you see ALL OF THE ARCHES!  

Afternoon: After hiking the Devil’s Garden Trail take your time to enjoy lunch. Then if the heat isn’t too bad, head to the Sand Dune Arch Trail to see the Sand Dune, Broken, and Tapestry Arches.  If you are feeling up to it,  you can alsohead over to the Skyline Arch, which is in the area and is a quick walk with a nice view!

Evening:  For sunset, I would head to the windows section of the park, where you can hike to the North and South Windows as well as the Double Arch.

Day 2:

Morning:  Wake up early to knock out some easy hikes. We will do Park Avenue and the Balanced Rock Trails to star the day!  

Afternoon: After a morning of hiking, enjoy lunch and drive around to see the different viewpoints of the park.

Evening:  Hike to the Delicate Arch to catch the sunset.

What Gear To You Need For Hiking In Arches National Park?

While Arches National Park is stunning place to visit conditions can be harsh so it is important to have the right gear whenever hiking in the park.

#1. Water Storage

How To Carry and filter water when backpacking/hiking

It can be scorching, and you will lose a ton of fluid when hiking in Arches National Park, so you should, at the bare minimum, bring three liters of water on every day hike you go on.  I would recommend using a 2L water bladder and Nalgene water bottle for storage.

#2. Snacks

hiking snacks

You want to make sure you are properly refueled whenever doing a long day of hiking.  Check out 9 Best Salty Hiking Snacks to see some of my favorite snacks to bring on the trail.

#3. Sun Protection

Very important, there are several trails with little to no sun coverage, which means sun protection, including sunscreen, sunglasses, and a hat are a must!

#4. Proper Footwear

properly fitting hiking boots

You need to wear proper footwear when hiking in the park.  I went with Chacos hiking sandals which was great given all of the sand in Arches, but hiking boots would work well too!

#5. Park Map

Always have a park map.  Every park, every time.

#6. Day Pack

You weren’t going to carry all of these items in your hands, were you?!  If you don’t have one already, I recommend getting the Osprey Hikelite 18 backpack.

#7. Hiking Poles (optional)

These are optional, but if you have bad knees, I recommend picking up a pair of these.

Camping In And Around Arches National Park:

There are 52 campsites available in the Devils Garden Campground within the national park.  These campsites require a reservation that can be made up to six months in advance. Just a heads up, if you do not have any campsite reservations when you arrive at the park, you will probably not be camping there!

Fortunately, there are a ton of campsites available, first-come, first, serve.  You can view many of these campsites on recreation.gov or the overlander app. 

Can You Go Backpacking In Arches National Park?

Yes.

You can go backpacking in Arches National Park.  However, the park has few designated areas and no formal backcountry trails or campsites, so I elected to pass on this one!  If you wanted to do it you would need to obtain permits from the park’s backcountry office.  


What I Wish I Could Have Done

While I hit just about every trail you could during my time in Arches National Park, the only one I missed was the Fiery Furnace.  According to a park ranger I spoke with, the Fiery Furnace Trail is a hike with lots of climbing and scrambling.  The only thing is that it requires permits to hike, which were all booked by the time I visited the park, so no Fiery Furnace for me!  At least now I have a reason to come back!

I Hope This Was Helpful!

I hope this was helpful for you guys!  Feel free to ask any questions in the comments!

Categories
Van Life

How To Plan A Van Conversion In 5 Easy Steps.

How To Plan A Van Conversion In 5 Easy Steps:

Disclosure: Some links on this page are affiliate links, and if you go through them to make a purchase or a booking, I may earn a commission. Using these links DO NOT affect the cost of the product/booking. The price remains the same affiliate link or not.  

how to plan your van conversion in 5 easy steps

Congrats on getting started on your DIY van conversion.  Before breaking ground on this wild project, you need to plan out your build.  Knowing how to plan a van conversion will help you tackle this job systematically and efficiently.  The below are the 5 steps on how to plan a van conversion:

  1. Decide what will you be using your van for.
  2. Figure out what weather you will be in.
  3. Make a budget.
  4. Decide what features you want in your van.
  5. Plan your van layout.

Step #1 Decide What Will You Be Using Your Van For. Full-Time Vanlife Vs Weekend Getaways

Knowing what you want out of your campervan conversion is an essential first step in planning and will directly affect what kind of van you decide on purchasing.  For full-time van living, I would go with a cargo van.  The classic ones that are used include the:

  • Mercedes Sprinter Van
  • Ford Transit
  • Ram Promaster
  • Nissan NV

 These vehicles are popular in van life thanks to their large frames and “plug and play” nature of their chassis’s making body work a bit easier even for beginners.  They also offer the space needed for many of your van life essentials such as a bed, kitchen, stove etc.  

Sidebar:  I would also keep in mind how many people plan on living in your van.  It should come as no surprise, more people equals more space needed.

If you plan on just using your van for weekend getaways you have many more options as you don’t necessarily need a ton of space if you are going away for a weekend 

Step #2 Figure Out What Type Of Weather Will You Be Traveling In

The next question you need to ask yourself is what are the weather conditions you plan on spending most of your time in when living on the road.  Knowing the type of climates that you will be in is important when planning your heating and cooling systems as well as deciding what type of insulation is best for you.

For example, I hate the cold and plan to chase the sun as long as I am vanlifing.  So, I deferred installing a heating system as well as some additional insulation options.  However, if I was someone who planned on snow chasing during skii and snowboard season a heating system and a thoroughly insulated van would be a must.

Step #3 Make A Budget

do backcountry permits cost money?

The big B!  Your budget will invariably affect all aspects of your build.  This will vary depending on your financial situation and what features you want in your van. But you should have a general idea of how much you want to put into the van before starting.  Just having a budget will help guide your decision making with certain features but keep in mind that things come up and at the end of your build you may find yourself over or under budget (most likely over).

How Much Was My Van Conversion?

To give you a sense of how much it costed me, all together my van conversion was about ten thousand dollars. Keep in mind my build was entirely DIY which allowed me to spend more money on nicer components. 

What Was The Most Expensive Parts Of My Van Conversion?

The other major expenses with my van conversion include the following:

Step #4 Decide What Features You Want In Your Van?

What Order To Do A Van Conversion In

Next, you should know what features are a must-have for your van.  If you are living in your van full time, at the bare minimum, you will need:

  • A basic electrical system to power your appliances and a way of charging your house battery, i.e. solar, B2B charger or shore
  • A bed
  • Kitchen with sink and stove/induction cooktop
  • Fridge
  • Water storage tank
  • Space for storage

Some extras you may want to consider include:

  • Shower
  • Toilet
  • Upgraded speaker system
  • Wifi extender
  • TV
  • Roof rack
  • Awning

Deciding exactly what features to include in your van depend on your budget and space in your van. Everyone would love to put an indoor heated shower, but if you have a smaller sized cargo van and are on a budget it simply may not be feasible.

Step #5 Plan Your Van Layout:

After you know what features and appliances you want for your van, it is time to plan your layout which includes:

  • Bodywork
  • Bed setup
  • Mapping out your van layout

Bodywork

Your layout should first start with the van’s bodywork, which means any windows or other permanent features that need to be installed such as solar panels, vent fans, or roof racks should be purchased planned and installed.

Pro tip:  If you are planning to install solar panels on your roof, be mindful of where you place them if they are too close to other structures, such as a vent fan, you may find their shadow obscuring your panels, which means no sun power!  As you can see from the picture I may be struggling with getting much solar power on this if this fan starts casting a shadow! 

Bed Setup

The next big part of planning your van layout is knowing how you want your bed set up. You will wind up designing the remainder of your layout around your bed, so you want to have a clear idea of what kind of bed would be best for you.  

There are several different types of bed setups you can choose from. Some of the common options include:

  • Lifted Bed:  This is what I went with became it has the benefit of adding extra storage space underneath your bed, also known as the “garage”.  A lifted bed is an excellent choice if you have a lot of gear that requires extra storage space.
  • Convertible Bench Bed:  This is nice because you have the option of having a table to eat at, which can be nice to have if you are entertaining in your mini home.  The big downside to this option is that you have to deal with constantly converting your setup to a bed every time you go to sleep.
  • Murphy Bed:  This foldable bed is an excellent option if you want more walking space in your van.

Map Out Your Van Layout

Now that we know everything you want in your van it is time to map out precisely where all of your van features will go.  I would start off with the dimensions of your van and sketching out your dream camper on some paper. 

After this you can take some masking tape and start taping out exactly where you would want all of your appliances and features to go.  By doing this you will have a better idea of how much space you are working with and what sized appliances you will need for your ideal camper van.


Hope This Helps!

A well planned out van conversion is an important first step in your van conversion.  The better job you do at planning your conversion the less times you will have to go back and fix things that don’t work, whether it be because of sizing issues or poorly thought out installation.

Categories
Uncategorized

How To Install The Floor For A Van Conversion. In 5 Easy Steps

How To Install The Floor For A Van Conversion. In 5 Easy Steps!

How To Install The Floor For A Van Conversion

We are going to go over how to install the floor for a van conversion!  Your floor is important for waterproofing, sound proofing and insulating your van.

If you are like me and have never installed a floor don’t worry this is something that you can do without much experience.  Just follow these five steps that I did and you will have a van floor in no time!

  1. Clean the van floor of any dirt or debris
  2. Level the van floor with insulation or wood
  3. Cut and install floorboard insulation
  4. Cut and install plywood subfloor
  5. Install the finished flooring 

Disclosure: Some links on this page are affiliate links, and if you go through them to make a purchase or a booking, I may earn a commission. Using these links DO NOT affect the cost of the product/booking. The price remains the same affiliate link or not.  This is the process that I did my flooring in different vans may have their own nuances it is important to do thorough research of your van and needs prior to installing your flooring. 

Step #1 Clean The Van Floor:

First thing’s first we need to clean the floor of our van.  Use a metal-friendly cleaner and wash out any dirt or debris on your van floor.  Dirt and debris can interfere with the bonding of the glue we will use to stick our insulation down.

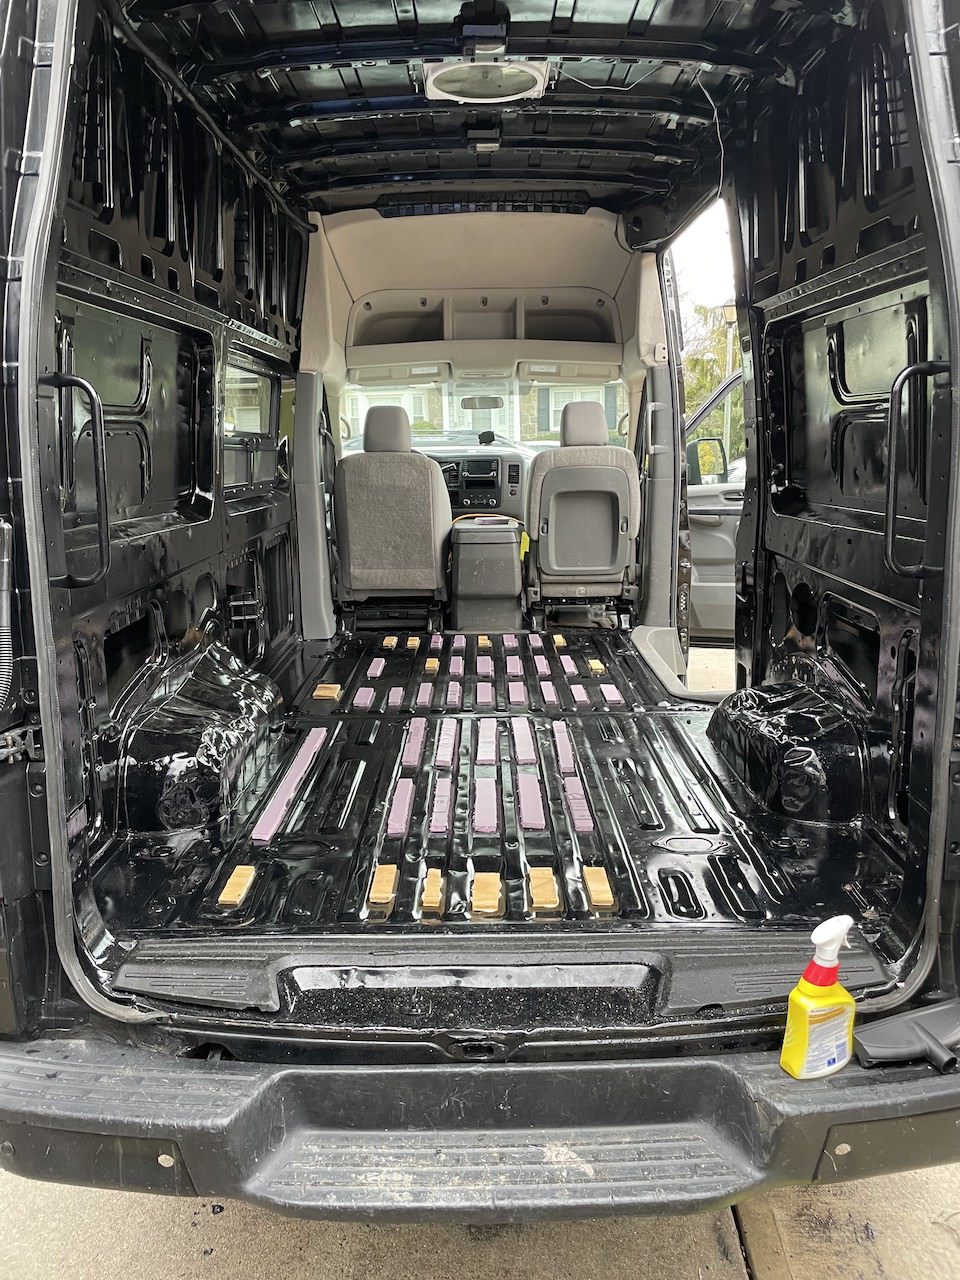
Step #2 Level The Floor

Leveling your floor requires placing insulation or wood in the grooves of the cargo van floor, which can be tedious work. You should select a material that matches the height of the tracks as close as possible.  I recommend placing all your strips of insulation or wood where you intend to secure them, then taking out a level to see if what you have set up is truly flat.  Having a level floor is crucial because it is what you will be building the rest of your floor on.    

Wood vs Insulation:

You can go with either strips of wood or insulation to level your van.  I went with a combination because I wanted to be able to better secure some parts of the subfloor.  But you would be fine with just using insulation.  After cutting your strips of wood/insulation you can use liquid nails to stick them to the floor.  

Another option is to purchase one of these pre-made bed rugs to level your floor this can save you a ton of time!

Step #3 Install Your Foam Board Insulation

Next up you need to install your foam board insulation.  I went with 1” thick XPS foam board after cutting out the wheel wells to make sure everything fit we placed Liquid Nails to secure the insulation to the van floor.  Sorry no pics of this 🙁

Step #4 Install Your Subfloor

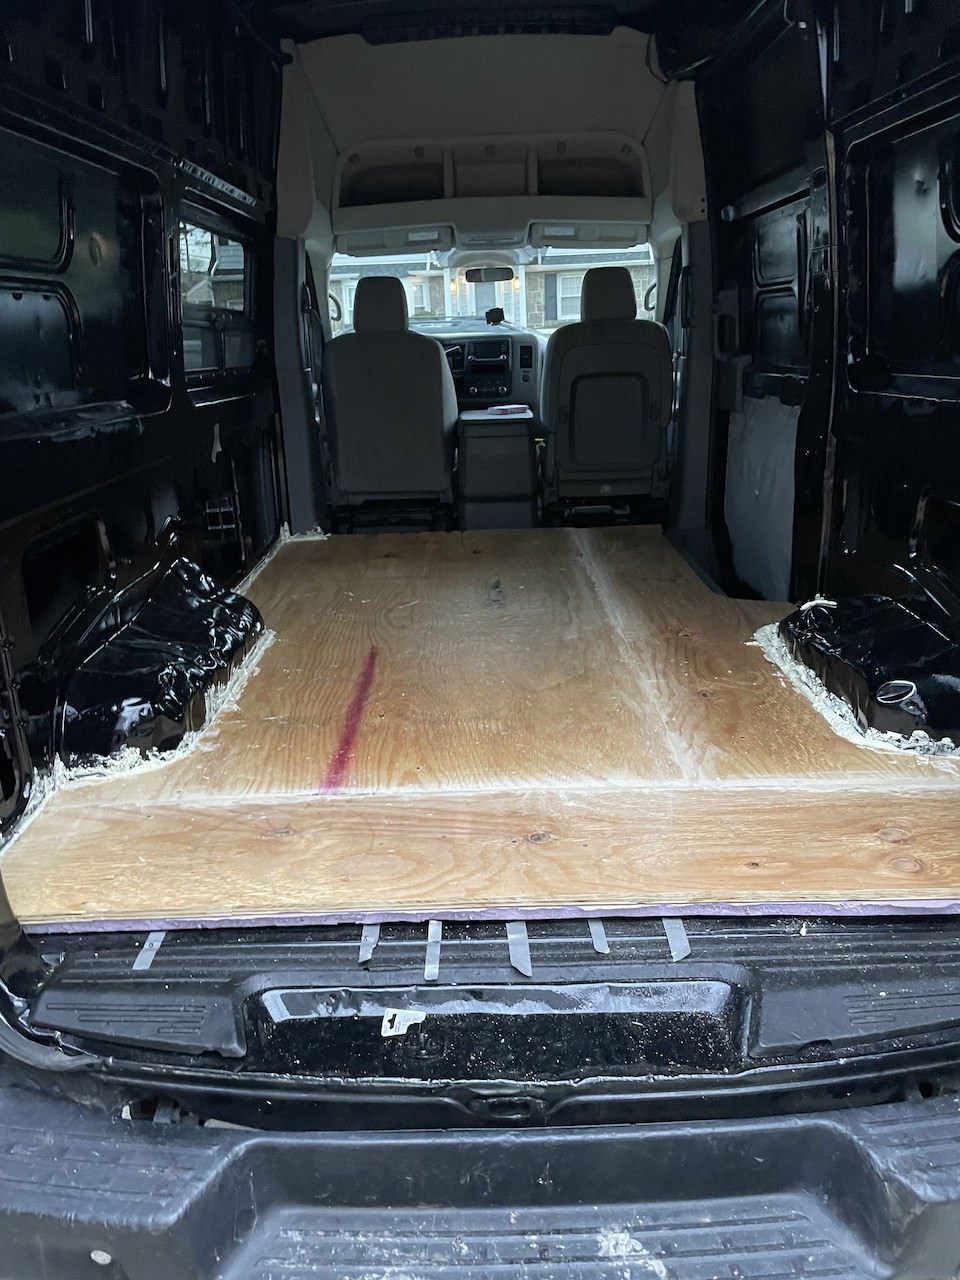
After you have your foam board insulation in place the next thing you need to do is install your subflooring.  My subflooring required 2 pieces of 4 x 8’ 3/4″ thick plywood cut into 3 separate pieces.  After cutting out our plywood I laid them down to see if they were level and applied a bunch of liquid nails to keep them in place. 

Unfortunately we ran out of the liquid nails in the middle of laying down the subflooring.  Because of this after it dried there were areas of uneven seems from the lack of adhesive.  Fortunately we were able to fix this by drilling some screws down into the wooden strips we laid down to level out the boards.  

After securing your subfloor you want to place your gaps and stuff along the edges to make sure it is level for when you place your finished floor.  Be sure to cut out the excess before it drys to make it flush with the subfloor.

Also you want to use wood filler to sand down the seams of the plywood to get rid of any gaps. 

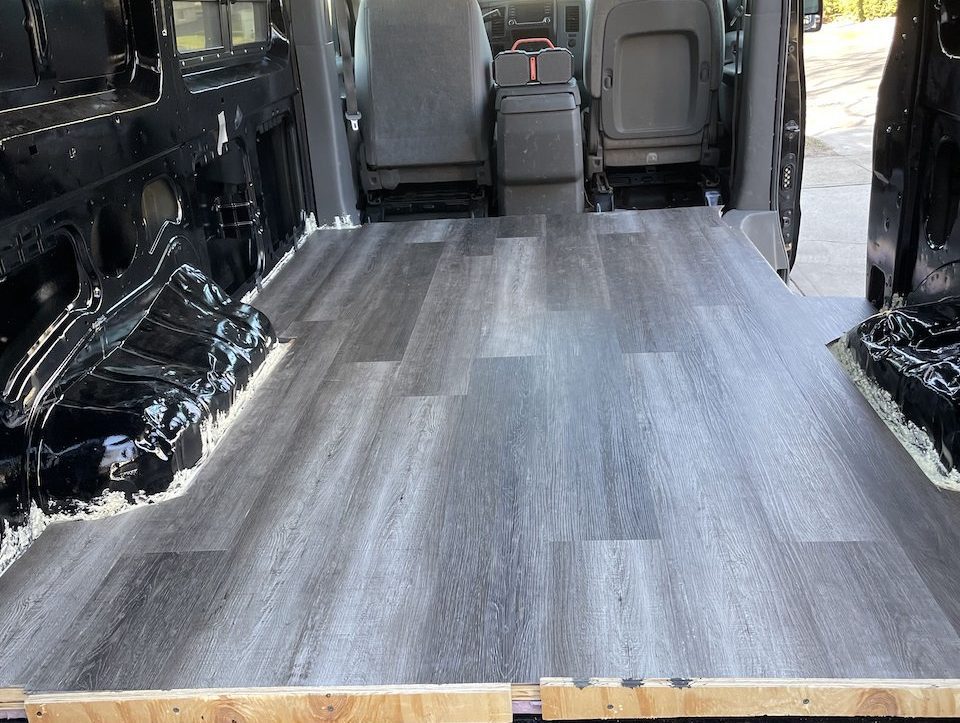
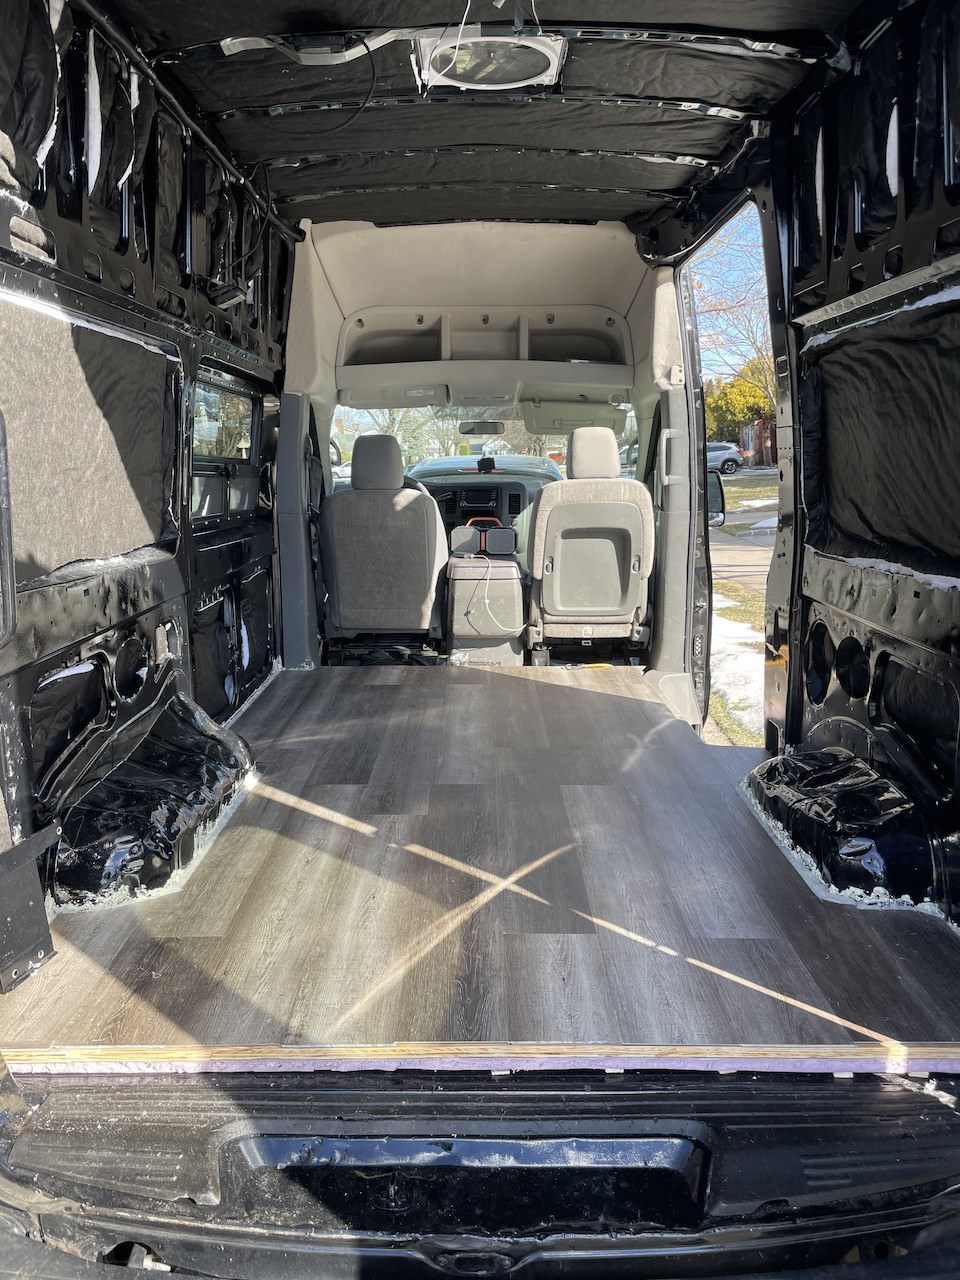
Step #5 Install Your Finished Floor

How To Install The Floor For A Van Conversion

Now that you have your insulation and subfloor down the final step is to put down the finished floor.  There are several options you can go with then it comes to installing your finished floor.  You can either go with:

  • Vinyl floating floor
  • Vinyl sheet flooring
  • Lineoleum sheet flooring

I went with the vinyl floating floor because I felt like it offered me a bit more room for error and didn’t have to worry about messing up gluing down my floor and it looking like crap.  Floating vinyl floors are extremely easy to install.  These floors work with a click lock to secure them together.  I just recommend getting a vinyl floor installation kit to help you do this.

After this apply some silicone to the border of your floor and you are all set!

Tools / Material Needed

ToolUseCheck Prices
Circular Saw

Make Straight Plywood CutsCheck Prices
Jig Saw
Make curved cuts.  Specifically for the wheel wells.Check Prices
Level
Ensure a level floor at all stages of the project.Check Prices
Utility Knife
Cut out insulation.Check Prices
Caulk Gun
Lay down adhesiveCheck Prices
Vinyl Flooring Installation Kit:

Install vinyl flooring for a FLOATING FLOOR.Check Prices
Tape Measure

Measure out cuts.Check Prices

Materials Needed

  • XPS Foam Board Insulation 1″ thick for insulation layer.  Measure to determine the thickness needed for your vans grooves. You can get from local hardware store or Home Depot
  • Two 4×8′ 3/4″ thick plywood for subfloor. You can get from local hardware store or Home Depot.
  • ~10 x tubes of Liquid Nails 
  • Vinyl Flooring
  • ~2 x tubes of Silcone II
  • ~2 x tubes of Great Stuff Gaps and Cracks

Hope This Helps!

Categories
Outdoors for Beginners backpacking for beginners Clothing

What Clothes Should You Wear To Sleep When Backpacking?

Disclosure: Some links on this page are affiliate links, and if you go through them to make a purchase or a booking, I may earn a commission. Using these links DO NOT affect the cost of the product/booking. The price remains the same affiliate link or not.

What Clothes Should You Wear To Sleep When Backpacking?

Getting a good night’s sleep is important whether you are on the trail or not. Backpacking, however, requires more preparation when it comes to deciding what clothes to wear to sleep.  It is essential to have the proper clothing to remain warm and comfortable when sleeping under the stars.  In general, I would recommend the following when planning what clothes you should wear to sleep when backpacking:

  1. Have a separate set of sleep clothes that you will wear to bed every night, typically consisting of:
    1. Wool hiking socks
    2. Thermal pants & shorts
    3. Thermal long sleeve & shirt
    4. Camp shoes
    5. Sleeping bag with proper temperature rating (not clothing, I know, but still important to mention)
  2. Keep extra clothes with you in your tent/hammock if you need to bundle up a bit more, such as:
    1. Down jacket
    2. Hat/beanie
    3. Waterproof gloves
    4. Extra layers 
What Clothes Should You Wear To Sleep When Backpacking

Have A Separate Set Of Sleep Clothes When Backpacking:

Whenever going on a backpacking trip, you should have a separate set of clothes dedicated for sleeping.  Pack this set of clothes in their own section of your dry bag to keep them as clean and dry as possible throughout your hike. 

Like with all gear preparation, the sleep clothes you bring backpacking should cater to the conditions you plan to hike in.  In other words, the colder the weather, the more bundling up you should do, the warmer the weather, maybe less so. 

There are many different options you can go with when it comes choosing what sleep clothes to wear for a backpacking trip.  The below are what I typically wear on a summer backpacking trip.

Wool Hiking Socks

Darn Tough Hiking Socks

Hiking socks are a must-have for every backpacking trip.   Although they are more expensive, quality wool hiking socks are worth it because they offer increased comfort, insulation, and protection.  These guys are a must when sleeping because they will help keep your little piggies warm all night long!  If you want to learn more about hiking socks and their benefits, check out my article “Are Hiking Socks Necessary? 5 Reasons Why You Need Hiking Socks”

Thermal Pants and Shorts:

Under Armor Leggings

For your legs, I recommend going with thermal pants and a pair of shorts.  You do not need to go crazy with the kind of shorts you bring, but you should get a quality pair of thermal pants to last you a while.  I recommend both thermals and shorts because if it turns out that you are too warm at night, you can always take off the thermals and just wear your shorts to keep you comfortable.

Thermal Long Sleeve And Shirt

Under Armor Fitted Mock

For your upper body, I essentially recommend the same thing with the same reasoning if you get too warm then you can always shed layers to keep you sweating in your tent. 

Camp Shoes

Having a pair of camp shoes to give you a break from your hiking boots into is essential for any backpacking trip.  Camp shoes should be a light-weight and comfortable shoes/sandals you can change into after a long day of hiking.  

The last thing you want is to wake up in the middle of the night to pee and have to put on your sweaty hiking boots or leave your tent barefoot to do your business. If you want to learn more about camp shoes, check out my article “What Are Camp Shoes?  Are Camp Shoes Necessary?”

Pack A Sleeping Bag With The Proper Temperature Rating:

Okay, I know, this isn’t exactly sleeping clothes but it is still extremely important to mention.  All sleeping bags have a temperature rating indicates the upper threshold that the sleeping bag will still keep you warm.  Therefore you need to do the proper research on the weather and have an estimate for the coldest it can possibly get at night so you bring a sleeping bag that works below that temperature.  If you want to learn more about the sleeping bag temperature rating system check out REI’s helpful article.


If you do not have a properly rated sleeping bag, you will likely be in for a miserable night no matter what sleep clothes you have!

Extra Sleeping Clothes To Keep Handy In Your Shelter For Colder Nights:

It is also a good idea to have a few other articles of clothing available to you should you encounter an especially chilly night when out on the trail. Whenever you are turning in for the night you should make sure these items are within arm’s reach to layer up easily.

Hat / Beanie

Northface Beanie

Cheap, lightweight, and warm beanies are great to have with you for those chilly nights!

Waterproof Gloves

Waterproof Gloves

A nice pair of waterproof gloves is a helpful item to have whenever backpacking, it is especially handy to have with you when sleeping should your hands get chilly.

Down Jacket

Northface Sierra Down Jacket

A down jacket is an vital piece of clothing that you should have with you on every backpacking trip.  You do not need to buy a separate one for sleeping. That would be a bit of overkill, but you should always bring it with you in your tent or hammock to have another layer to throw on should the temperature start to drop.

Extra Layers If Needed:

This is something that you should be brought on an as needed basis.  If you are preparing to to go on a backpacking trip where there is a possibility of encountering colder temperatures, bringing extra layers such as an extra long sleeve shirt may be beneficial to have if you encounter colder than expected weather.  Worst case scenario, you have extra clothes to make a pillow!
*Bonus Tip* Clean Off Before Putting On Your Sleep Clothes

After a long day of hiking, you will be dirty, sweaty, and smelly, so it is a good idea to clean off using wet wipes or a nearby stream before getting into some cozy sleep clothes.  The fact that we set aside a set of clean clothes won’t make a difference if we just put them when we are gross and sweaty!

I Hope This Was Helpful! What Do You Sleep In When Backpacking?
Categories
Van Life

What Order To Do A Van Conversion? In 12 Steps

What Order To Do A Van Conversion? In 12 Steps

What Order To Do A Van Conversion In

Getting started with a van conversion is a daunting task. One of my van conversion’s hardest parts was knowing where to start and what order to do the conversion. Should I do the insulation first? No, wait, bodywork? Electrical? I had no clue.

It took a lot of research and trial and error to determine the best order to do my van conversion. While there are a few different nuances to how you can go about your conversion order, here is how I did mine.

Step #1 Plan Out Your Conversion

Before you start any construction on your van, the very first step you have to take is thoroughly planning out your layout and design. There are many factors that need to be considered before starting your conversion, some of which include:

  • How much time will you spend in the van? Will you live in it full-time or just use it for weekend trips?
  • What activities and hobbies do you plan on doing on the road? Do you need extra space for mountain bikes or prefer more counter space?
  • The climate you plan on spending most of your time. If you are sun or snow chasing, this requires drastically different heating, cooling, and insulation features.
  •  Your budget
  • What luxuries do you need? Do you need a heated shower, a toilet, or wifi?

Knowing the answers to these questions before you break ground on your van will help determine what setup would be best for your needs.

Step #2 Body Work

After you have a pretty good idea of what you want out of your future home on wheels, it is time to work on the build. The first step should be taking care of any bodywork that is needed. This includes installing windows, a fan, and solar panels. Yep, that means it’s time to put some holes in your van!!!

This part of the build scared the ever-loving crap out of me. I spent a ton of money on a van, and now me, a guy who has never held a drill in his life, will intentionally cut a hole in said van. Yikes. But if I could do it by obsessively watching youtube videos and reading countless blogs, so can you! Remember, measure twice and cut once.

Step #3 Flooring

Level van floor
Install insulation and subfloor
How To Install The Floor For A Van Conversion
Install finished floor!

Next up is installing your flooring. This stage is typically a four-step process:

  1. Level the grooves of the van floor.
  2. Install your insulation.
  3. Install the subfloor.
  4. Lay down your finished vinyl flooring.

It is essential to ensure that your subfloor is level before placing the finished flooring. Otherwise, you will run into problems installing the finished floor, whether it be vinyl or laminate. 

Remember that once the flooring is complete, it is challenging to redo in the future, so you want to make sure you get this done correctly on the first shot.

Step #4 Insulation

People LOVE arguing about this. It is crazy. I wasn’t looking to dive deep into the insulation research because my primary goal was to chase the sun around. So my goal when picking insulation was to have a material that was waterproof, easy to install, and provided adequate insulation for desert nights.

So I went with Thinsulate as my insulation. It was an extremely easy material to work with, especially when dealing with tight corners and spaces. Also, installing it couldn’t have been any easier. All I needed were scissors to cut out my desired lengths, a couple of bottles of 3M 90 to stick it to the van, and I was good to go!

Step #5 Electrical Work

This was by far the most intimidating part of the build. If you have no prior experience with electrical work, I would not attempt to do this by yourself. Electrical work is complicated, and if done incorrectly, it can pose a danger to you and your van. Unless you are willing to commit a lot of time to learn the ins and outs of the job, I would recommend finding a professional to help you out.  

Fortunately, I have an amazing uncle who worked many years as a general contractor and was kind enough to help me out with this part of the build. Between him and using the electrical system guide by Antwan and Isabel from Far Out Rides, we were able to get it done without any issues!

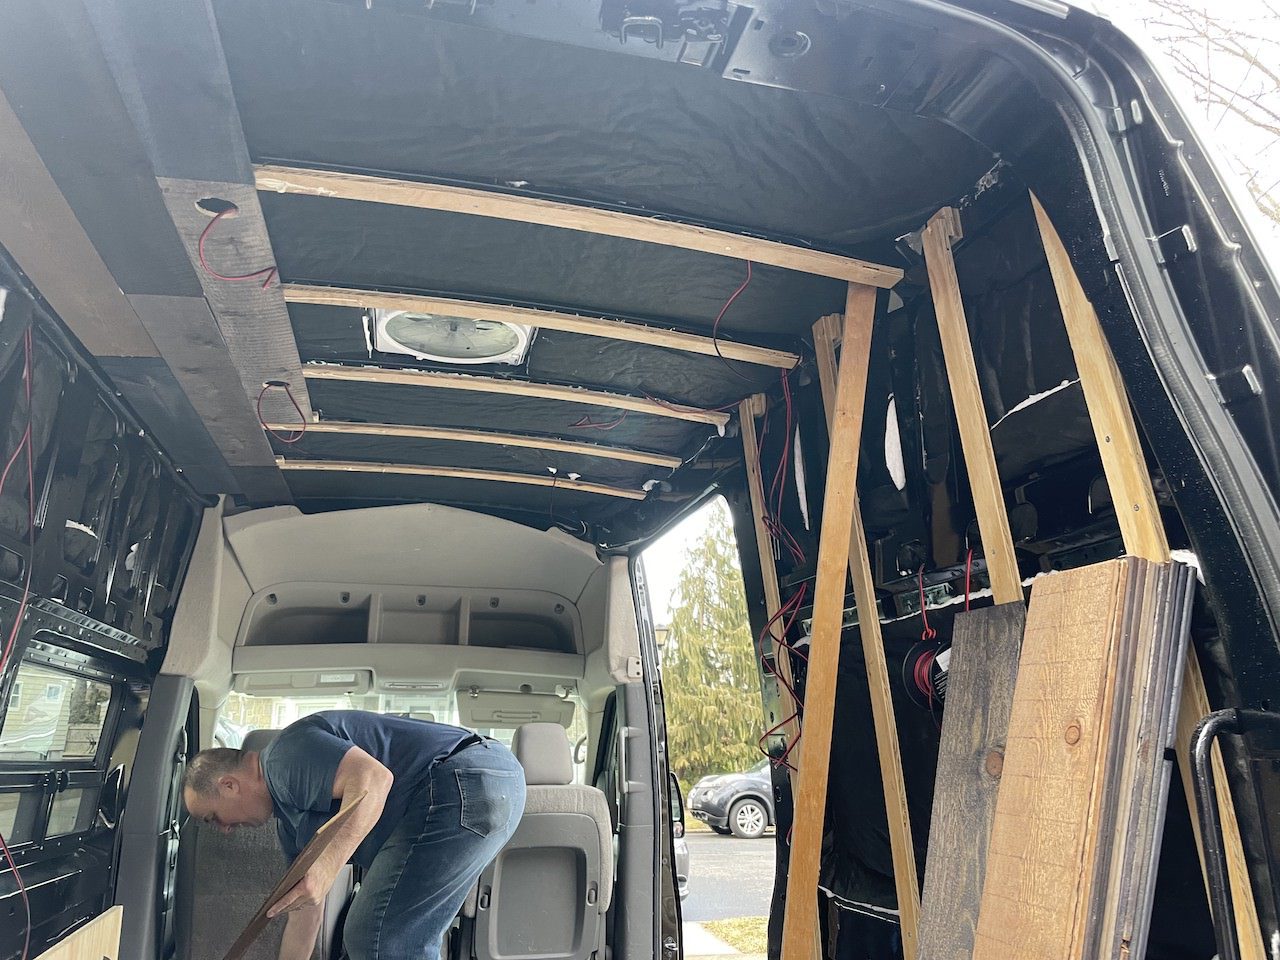
Step #6 Framing Walls and Ceiling

Framing is the next stop on your van build journey. Framing requires screwing strips of wood to the van walls and ceiling—these strips of wood act as support beams to secure our cabinets, paneling, and bed.
I used ¾” thick plywood and cut a bunch of 2” strips for my framing.  Framing can be a bit more complicated with some van models as opposed to others, depending on the shape of the chassis. In my instance, there turned out to be some awkward curving that required me to bend the planks during installation to mirror the natural shape of the chassis.

Step #7 Bed Installation

You need a place to sleep. The bed typically takes up most of the space in your van, and there are many different bed designs you can go with to help save space, such as a convertible bed or a murphy bed.

However, I elected to stick with a classic fixed lifted bed to give me more space in the garage for all of my hiking gear. Another bonus of having a raised bed is that I don’t have to break down and set up each time I hit the hay, which is great because, boy, am I lazy!

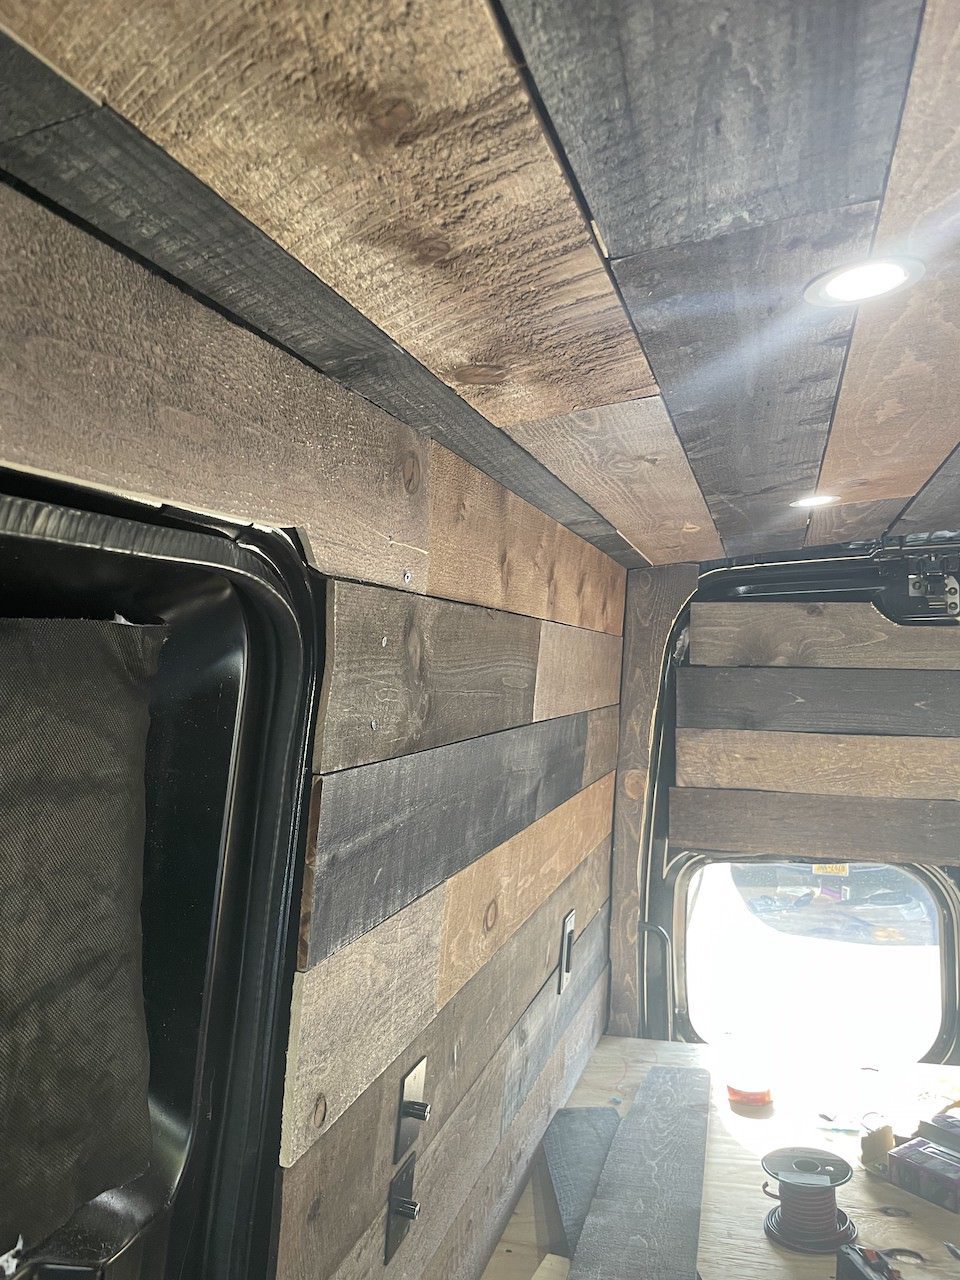
Step #8 Paneling Your Van Walls And Ceilings

This is one of the most fun parts of the job! Paneling gives your van the look and character you imagined when you first decided to do a DIY van conversion.

As you go through this step, you will start to see the first signs of a finished look of your van. With each board you put up, your van slowly transforms from a creepy cargo van to an actual living space! Hip Hip Hooray!

The nice thing about installing your paneling is that it is relatively simple to do once you have your framing set up, all you need is a nail gun, liquid nails, and paneling then you are good to go!

Step #9 Cabinets And Counter Top Installation

We are almost there! Next, you need to install your overhead and kitchen cabinets and countertop. Regarding your cabinets, I would recommend installing a latch or magnet system to secure your doors when driving to keep your stuff from flying out during a sharp turn!

Because most cabinets you purchase aren’t specifically designed for vans, you will likely have to modify some of them to fit well with your van’s dimensions. For example, I had to cut off the floor trim of the kitchen cabinets to prevent them from covering my windows.

Step #10 Plumbing

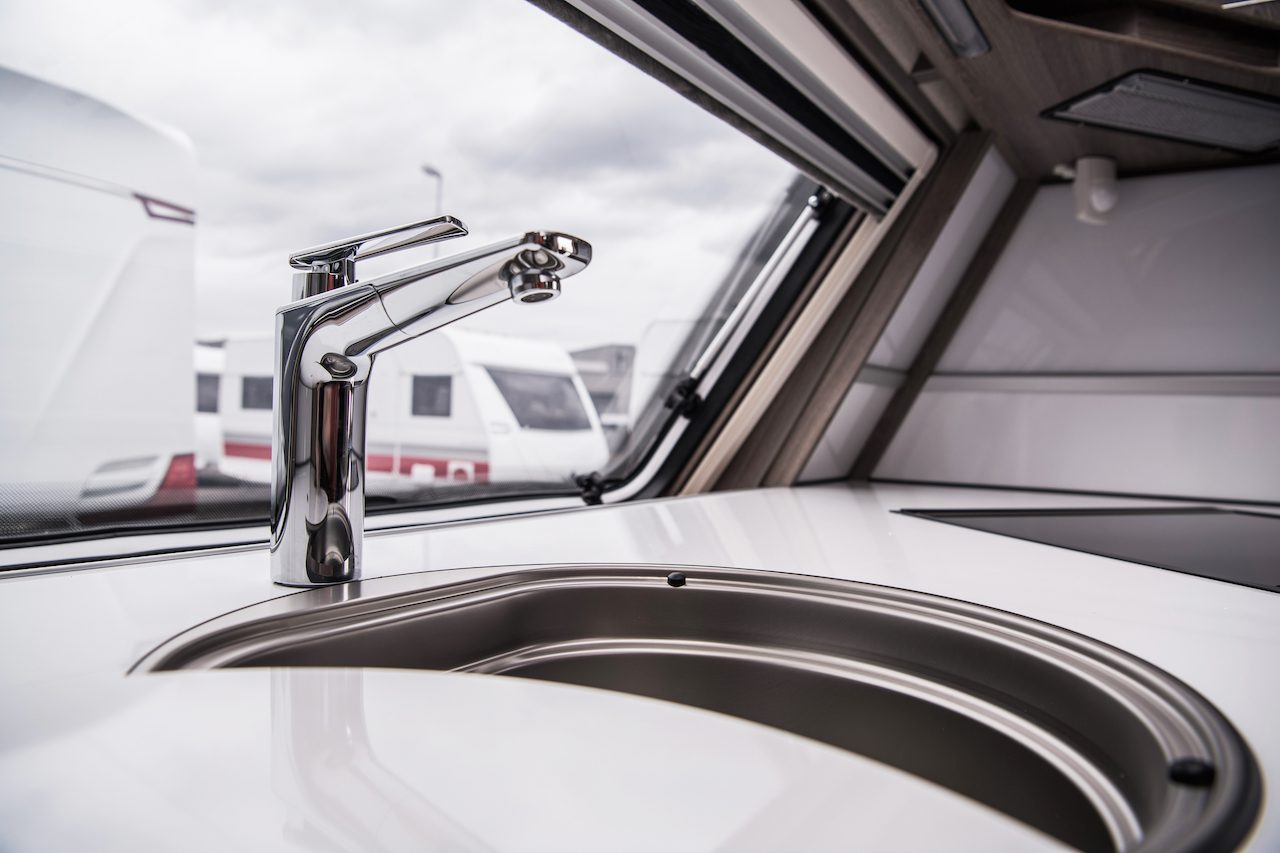
Your plumbing system can vary greatly depending on what you need out of your van. If you use your camper for weekend trips, you can even go without having one. However, if you plan on living in your van full time at the bare minimum, it will require a white tank, grey tank, pex tubing, water pump, sink, and a hose to refill your tank.

I am also including an outdoor shower in my build as I plan on only traveling in warmer areas, so hopefully, I won’t encounter too much cold weather. While I would have loved to do an indoor shower ain’t, nobody got the space, time, or money for dat!

Step #11 Hook Up Appliances

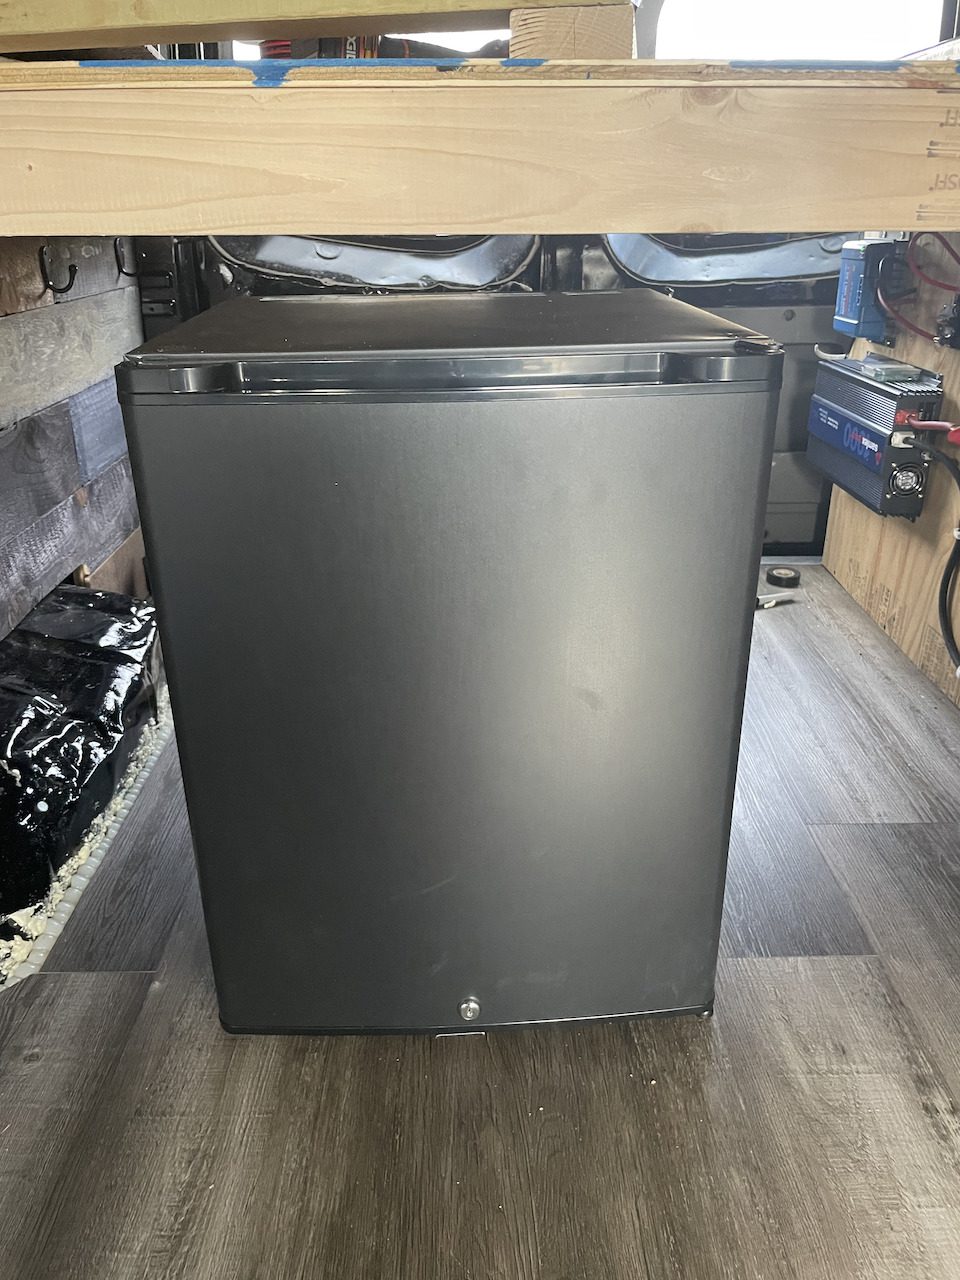
Wooo we are in the home stretch!!! At this point, most of the heavy lifting is done. All you have to do is install and hook up your remaining appliances, such as your stove, refrigerator, and toilet. Remember that you will be living in a moving vehicle, so it is essential to secure your appliances for traveling on the road adequately.

Step #12 Finishing Touches / Decorations

All there is left to do is do some aesthetic touches such as bedding, decor, hooks, and trimming for paneling and floor edges to make it come together. Remember, neatness counts!

And Voila You Have A Van!

Get Your Backpacking Checklist!!!

Get your free backpacking checklist!

Join our mailing list to get the latest news, updates, posts, trails, and itineraries!