How To Plan A Van Conversion In 5 Easy Steps:
Disclosure: Some links on this page are affiliate links, and if you go through them to make a purchase or a booking, I may earn a commission. Using these links DO NOT affect the cost of the product/booking. The price remains the same affiliate link or not.
Congrats on getting started on your DIY van conversion. Before breaking ground on this wild project, you need to plan out your build. Knowing how to plan a van conversion will help you tackle this job systematically and efficiently. The below are the 5 steps on how to plan a van conversion:
- Decide what will you be using your van for.
- Figure out what weather you will be in.
- Make a budget.
- Decide what features you want in your van.
- Plan your van layout.
Step #1 Decide What Will You Be Using Your Van For. Full-Time Vanlife Vs Weekend Getaways
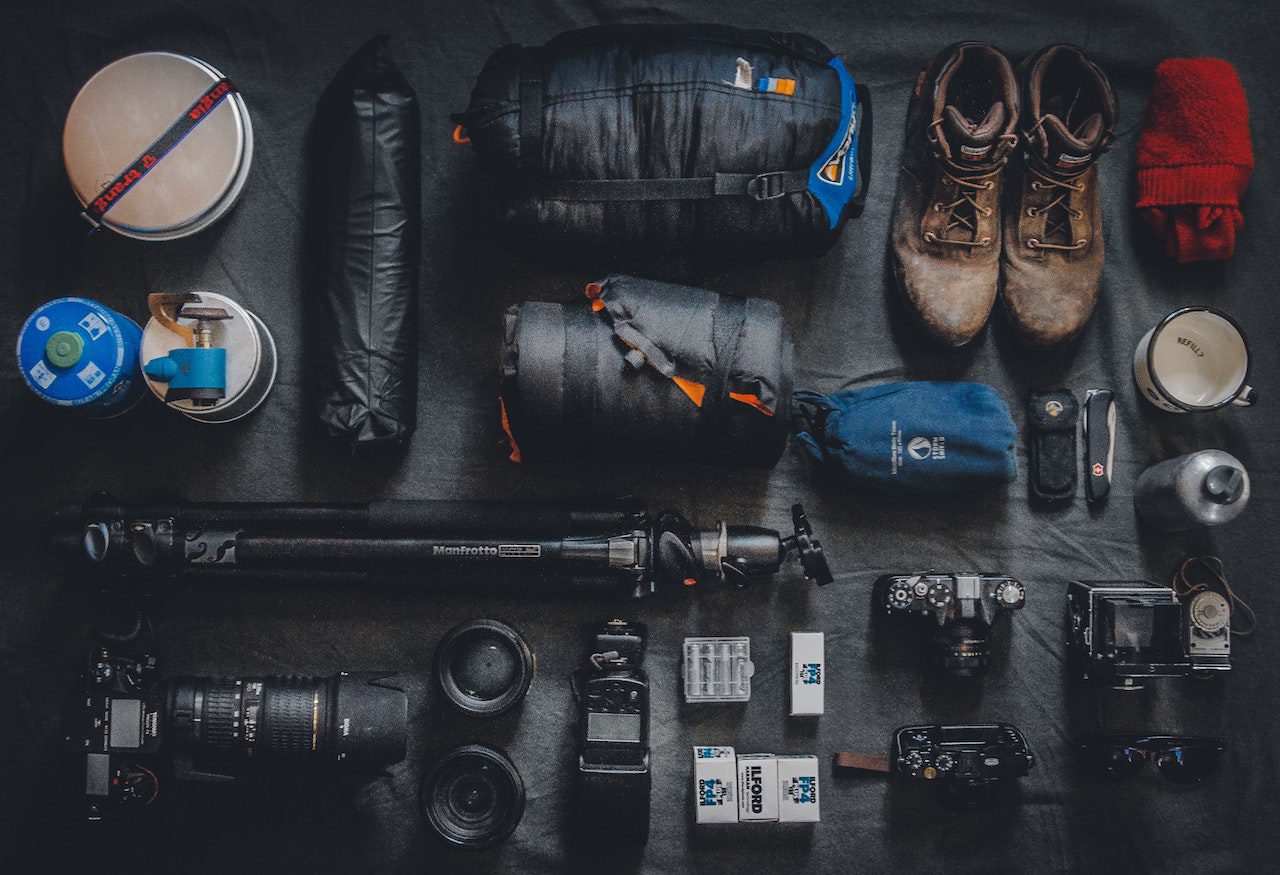
Knowing what you want out of your campervan conversion is an essential first step in planning and will directly affect what kind of van you decide on purchasing. For full-time van living, I would go with a cargo van. The classic ones that are used include the:
- Mercedes Sprinter Van
- Ford Transit
- Ram Promaster
- Nissan NV
These vehicles are popular in van life thanks to their large frames and “plug and play” nature of their chassis’s making body work a bit easier even for beginners. They also offer the space needed for many of your van life essentials such as a bed, kitchen, stove etc.
Sidebar: I would also keep in mind how many people plan on living in your van. It should come as no surprise, more people equals more space needed.
If you plan on just using your van for weekend getaways you have many more options as you don’t necessarily need a ton of space if you are going away for a weekend
Step #2 Figure Out What Type Of Weather Will You Be Traveling In
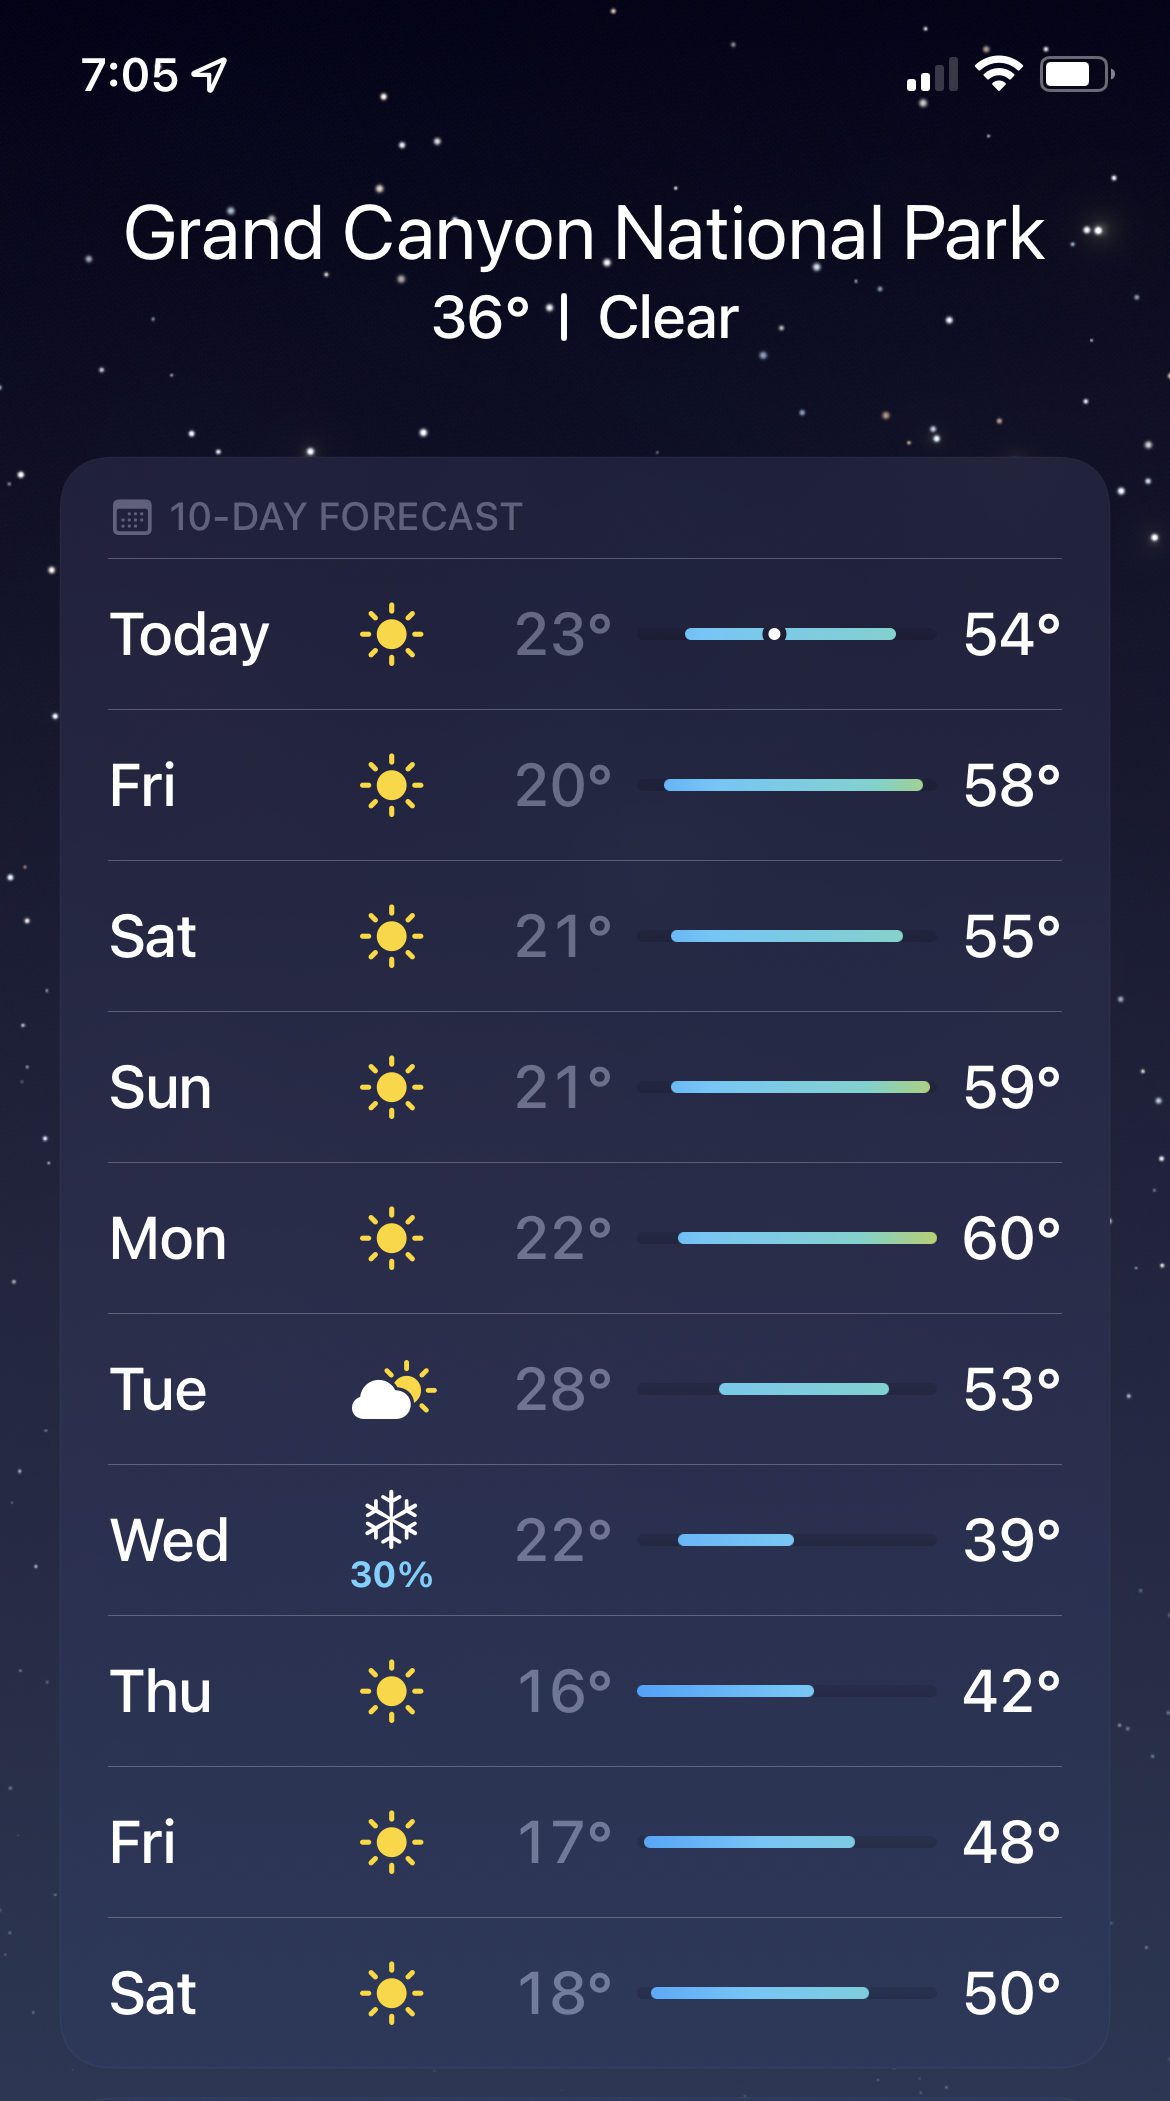
The next question you need to ask yourself is what are the weather conditions you plan on spending most of your time in when living on the road. Knowing the type of climates that you will be in is important when planning your heating and cooling systems as well as deciding what type of insulation is best for you.
For example, I hate the cold and plan to chase the sun as long as I am vanlifing. So, I deferred installing a heating system as well as some additional insulation options. However, if I was someone who planned on snow chasing during skii and snowboard season a heating system and a thoroughly insulated van would be a must.
Step #3 Make A Budget

The big B! Your budget will invariably affect all aspects of your build. This will vary depending on your financial situation and what features you want in your van. But you should have a general idea of how much you want to put into the van before starting. Just having a budget will help guide your decision making with certain features but keep in mind that things come up and at the end of your build you may find yourself over or under budget (most likely over).
How Much Was My Van Conversion?
To give you a sense of how much it costed me, all together my van conversion was about ten thousand dollars. Keep in mind my build was entirely DIY which allowed me to spend more money on nicer components.
What Was The Most Expensive Parts Of My Van Conversion?

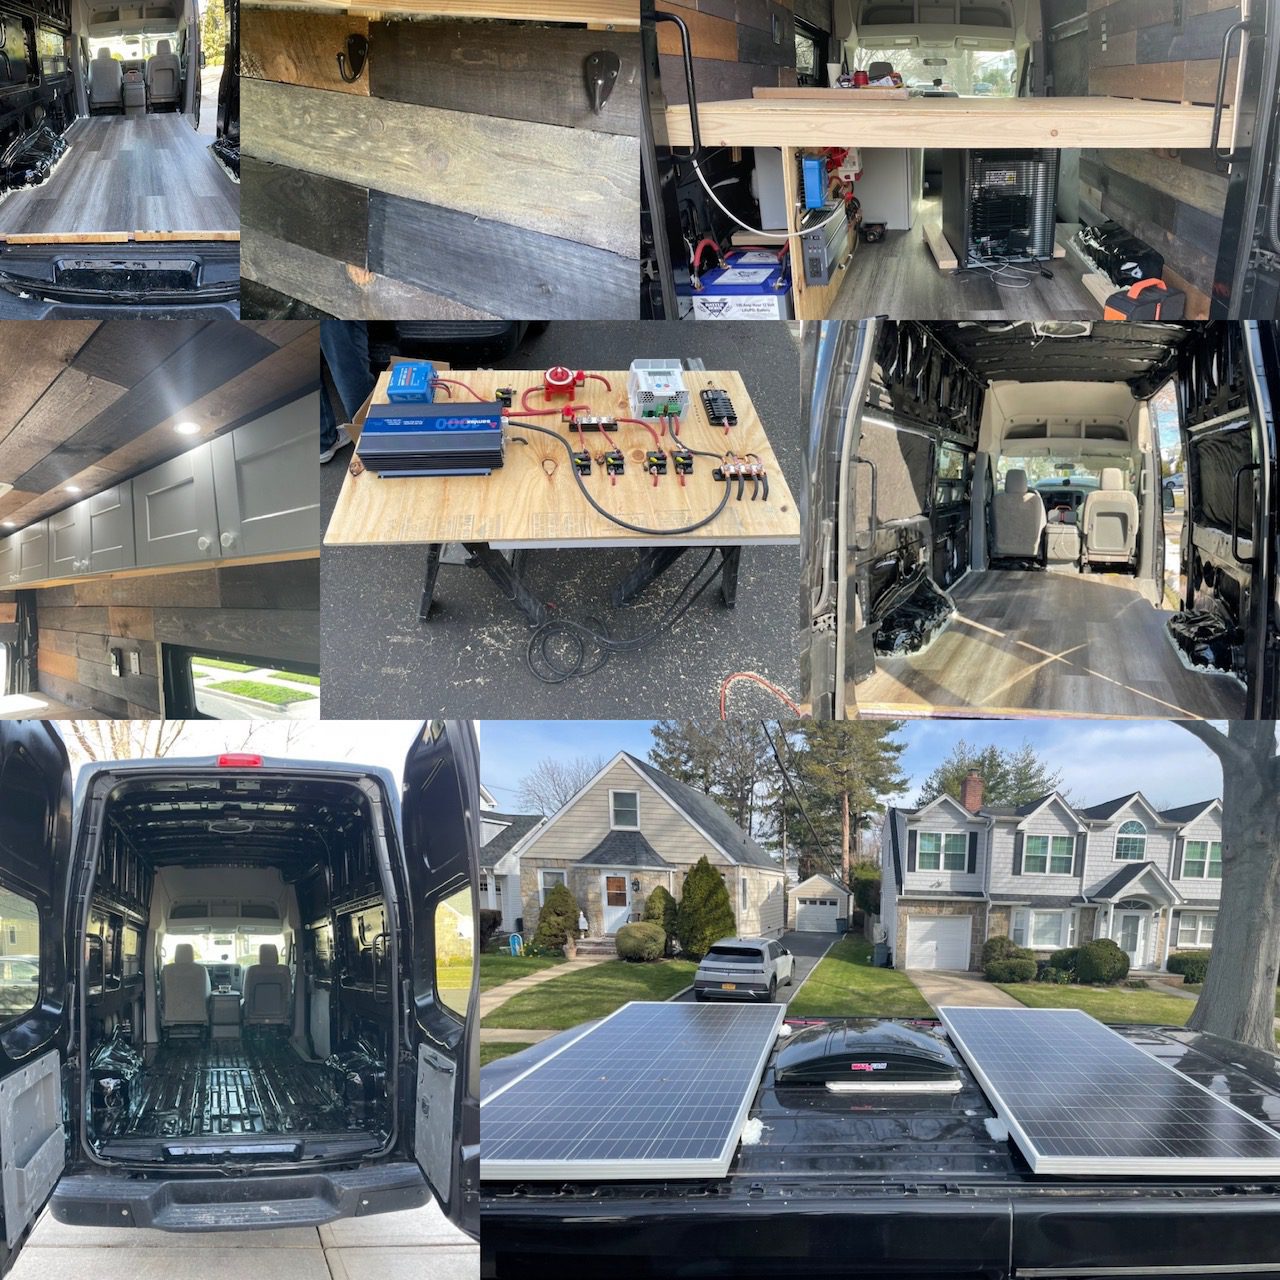
The most expensive part of my build was by far the electrical system specifically the:
The other major expenses with my van conversion include the following:
- 1 Vent fan
- 3 Windows
- Cabinets
- Water Pump
- Tools
- Standard sink
- Stove
- DC Minifridge
- Dry flush toilet
- Outdoor shower
Step #4 Decide What Features You Want In Your Van?
Next, you should know what features are a must-have for your van. If you are living in your van full time, at the bare minimum, you will need:
- A basic electrical system to power your appliances and a way of charging your house battery, i.e. solar, B2B charger or shore
- A bed
- Kitchen with sink and stove/induction cooktop
- Fridge
- Water storage tank
- Space for storage
Some extras you may want to consider include:
- Shower
- Toilet
- Upgraded speaker system
- Wifi extender
- TV
- Roof rack
- Awning
Deciding exactly what features to include in your van depend on your budget and space in your van. Everyone would love to put an indoor heated shower, but if you have a smaller sized cargo van and are on a budget it simply may not be feasible.
Step #5 Plan Your Van Layout:

After you know what features and appliances you want for your van, it is time to plan your layout which includes:
- Bodywork
- Bed setup
- Mapping out your van layout
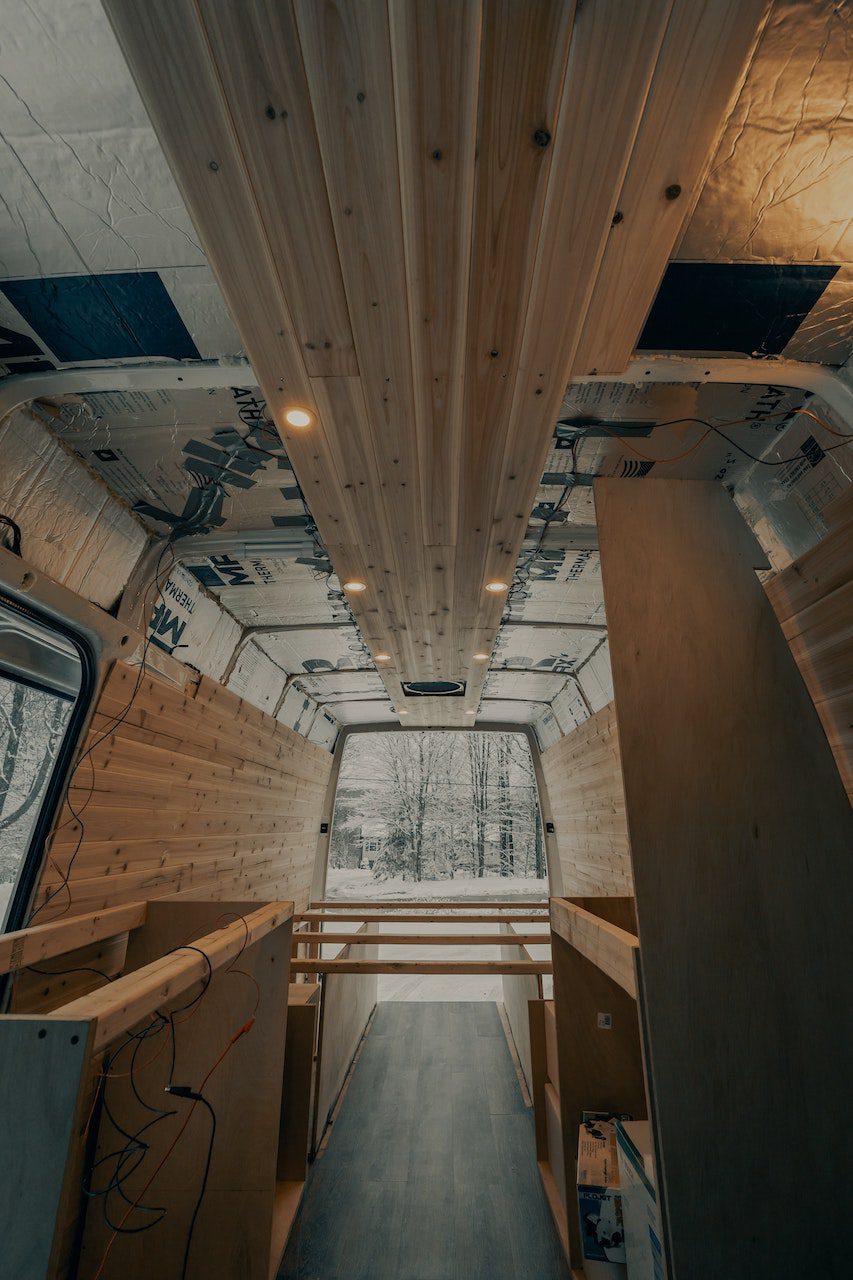
Bodywork
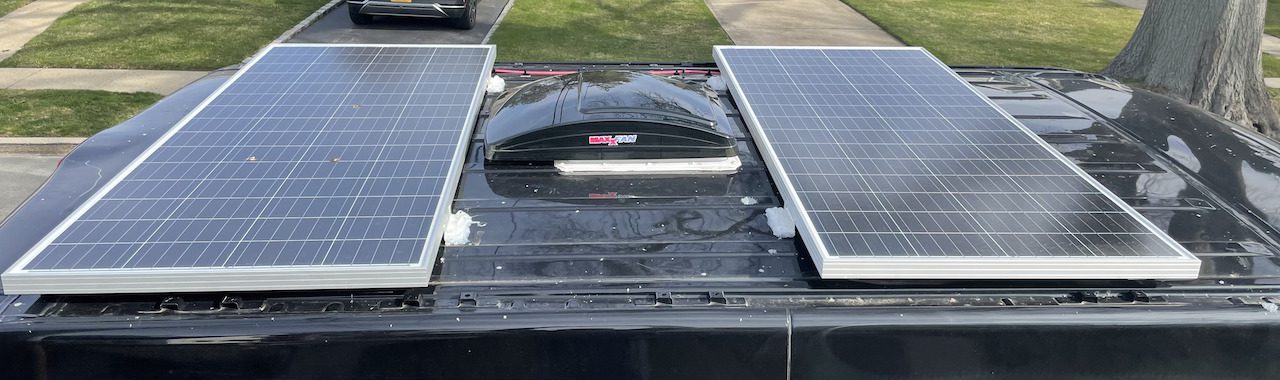
Your layout should first start with the van’s bodywork, which means any windows or other permanent features that need to be installed such as solar panels, vent fans, or roof racks should be purchased planned and installed.
Pro tip: If you are planning to install solar panels on your roof, be mindful of where you place them if they are too close to other structures, such as a vent fan, you may find their shadow obscuring your panels, which means no sun power! As you can see from the picture I may be struggling with getting much solar power on this if this fan starts casting a shadow!
Bed Setup
The next big part of planning your van layout is knowing how you want your bed set up. You will wind up designing the remainder of your layout around your bed, so you want to have a clear idea of what kind of bed would be best for you.
There are several different types of bed setups you can choose from. Some of the common options include:
- Lifted Bed: This is what I went with became it has the benefit of adding extra storage space underneath your bed, also known as the “garage”. A lifted bed is an excellent choice if you have a lot of gear that requires extra storage space.
- Convertible Bench Bed: This is nice because you have the option of having a table to eat at, which can be nice to have if you are entertaining in your mini home. The big downside to this option is that you have to deal with constantly converting your setup to a bed every time you go to sleep.
- Murphy Bed: This foldable bed is an excellent option if you want more walking space in your van.
Map Out Your Van Layout
Now that we know everything you want in your van it is time to map out precisely where all of your van features will go. I would start off with the dimensions of your van and sketching out your dream camper on some paper.
After this you can take some masking tape and start taping out exactly where you would want all of your appliances and features to go. By doing this you will have a better idea of how much space you are working with and what sized appliances you will need for your ideal camper van.
Hope This Helps!
A well planned out van conversion is an important first step in your van conversion. The better job you do at planning your conversion the less times you will have to go back and fix things that don’t work, whether it be because of sizing issues or poorly thought out installation.