Getting started with a van conversion is a daunting task. One of my van conversion’s hardest parts was knowing where to start and what order to do the conversion. Should I do the insulation first? No, wait, bodywork? Electrical? I had no clue.
It took a lot of research and trial and error to determine the best order to do my van conversion. While there are a few different nuances to how you can go about your conversion order, here is how I did mine.
Step #1 Plan Out Your Conversion
Before you start any construction on your van, the very first step you have to take is thoroughly planning out your layout and design. There are many factors that need to be considered before starting your conversion, some of which include:
How much time will you spend in the van? Will you live in it full-time or just use it for weekend trips?
What activities and hobbies do you plan on doing on the road? Do you need extra space for mountain bikes or prefer more counter space?
The climate you plan on spending most of your time. If you are sun or snow chasing, this requires drastically different heating, cooling, and insulation features.
Your budget
What luxuries do you need? Do you need a heated shower, a toilet, or wifi?
Knowing the answers to these questions before you break ground on your van will help determine what setup would be best for your needs.
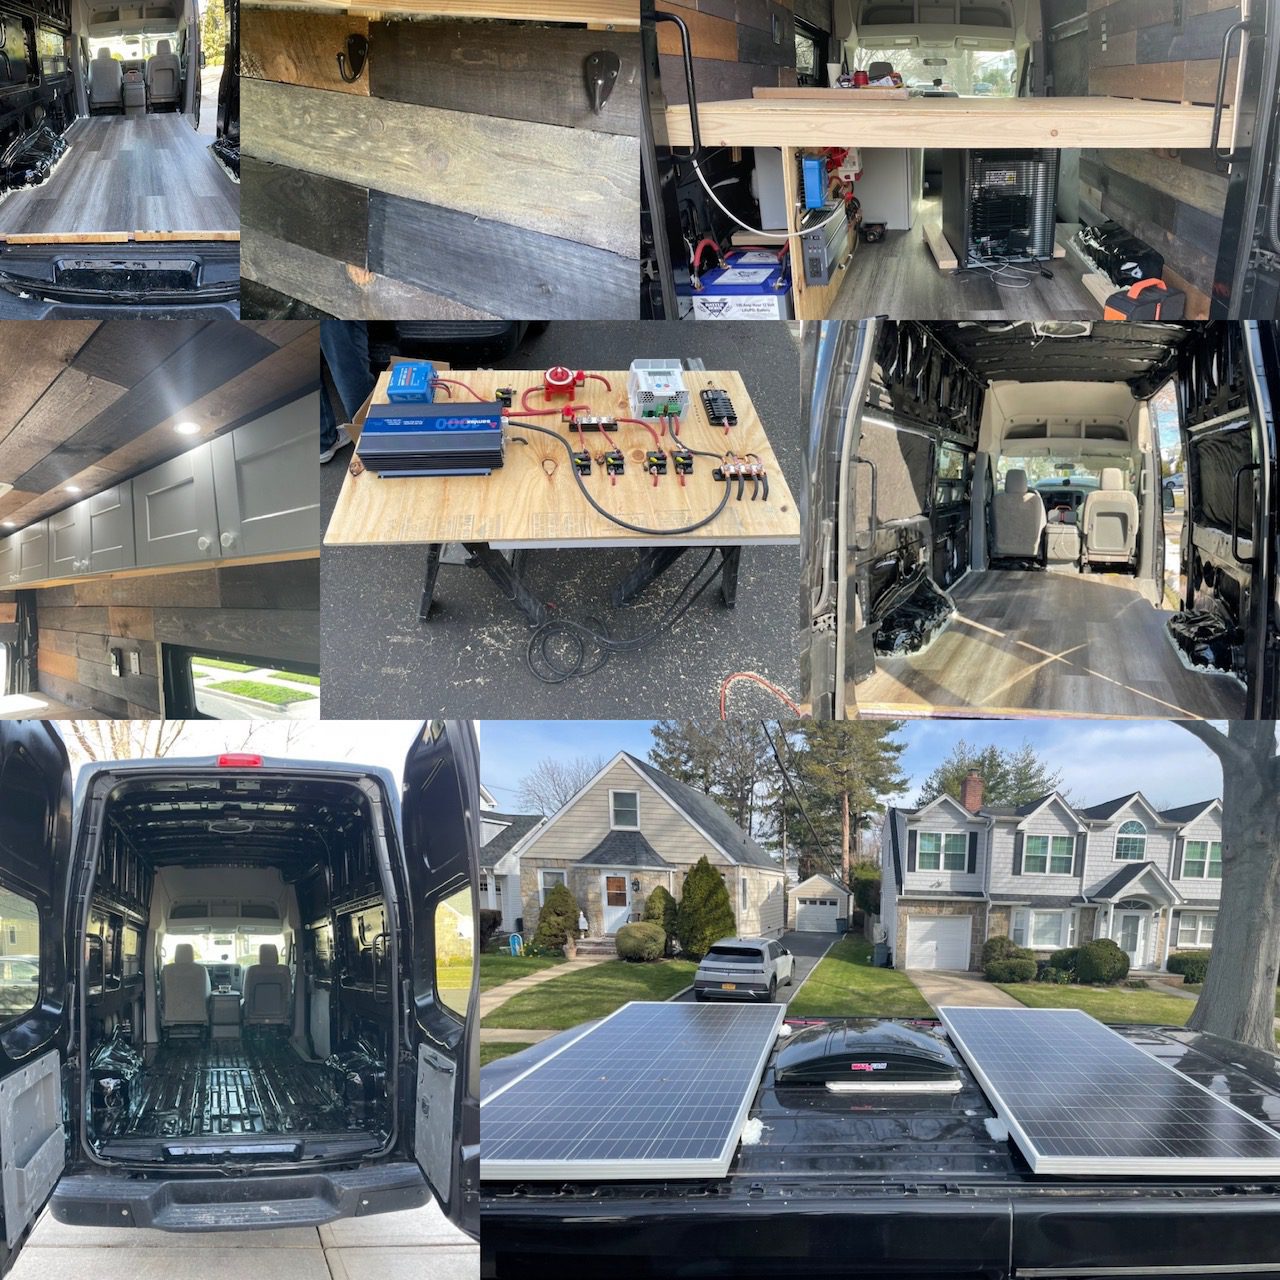
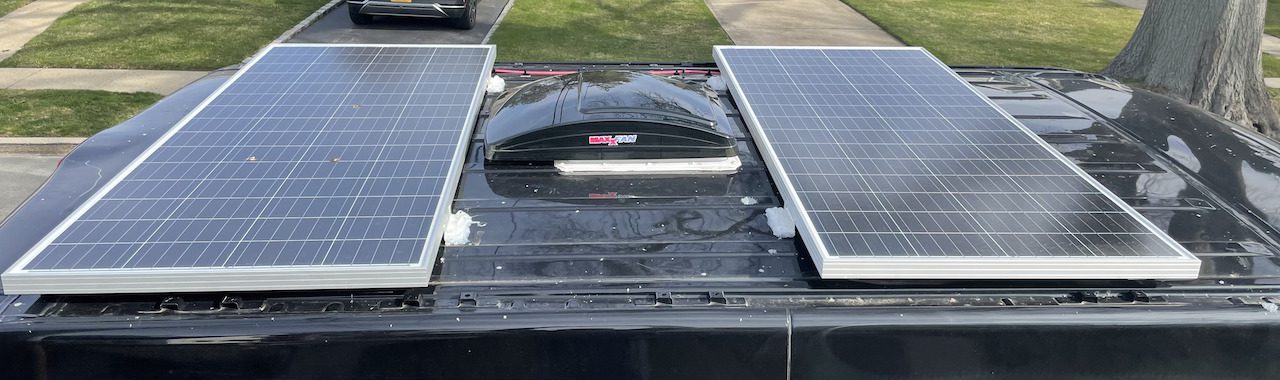
Step #2 Body Work
After you have a pretty good idea of what you want out of your future home on wheels, it is time to work on the build. The first step should be taking care of any bodywork that is needed. This includes installing windows, a fan, and solar panels. Yep, that means it’s time to put some holes in your van!!!
This part of the build scared the ever-loving crap out of me. I spent a ton of money on a van, and now me, a guy who has never held a drill in his life, will intentionally cut a hole in said van. Yikes. But if I could do it by obsessively watching youtube videos and reading countless blogs, so can you! Remember, measure twice and cut once.
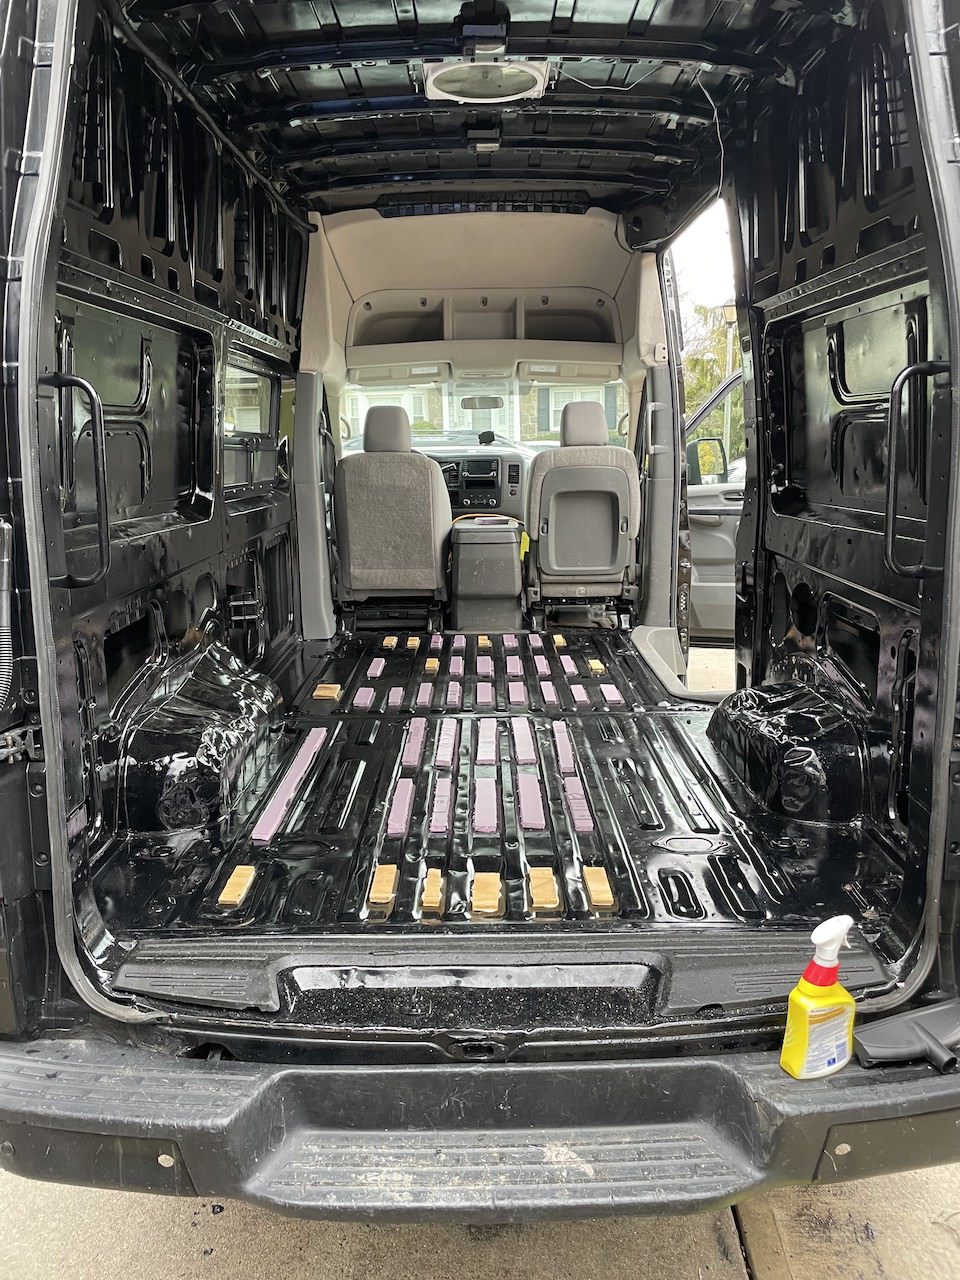
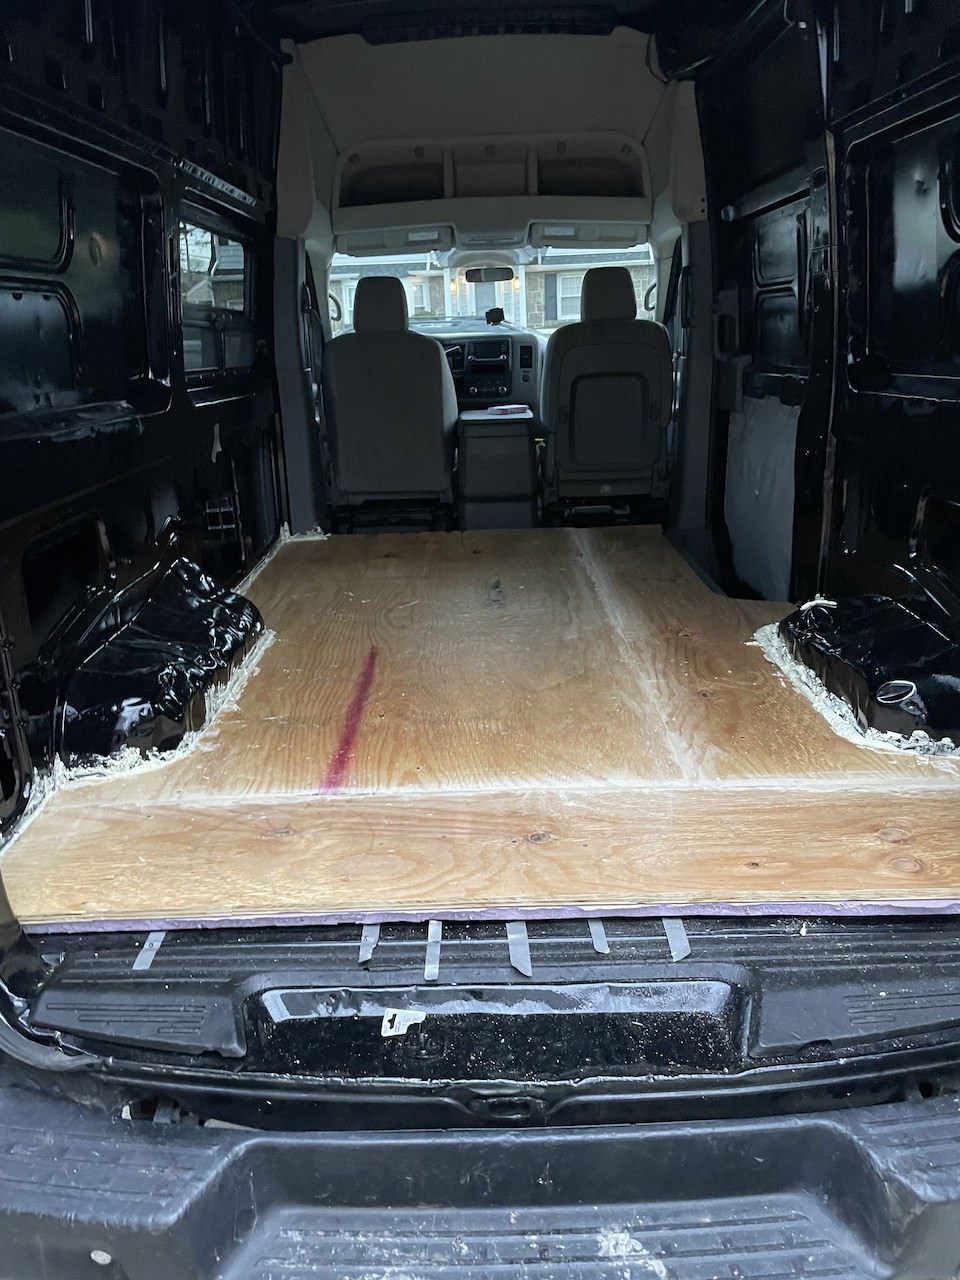
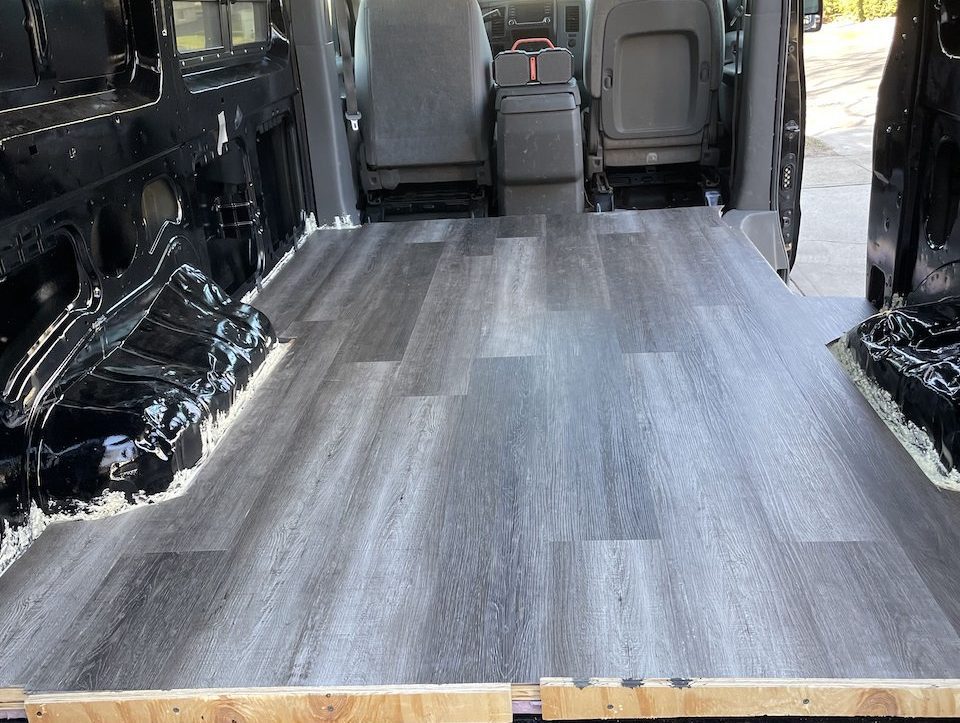
Step #3 Flooring
Level van floor
Install insulation and subfloor
Install finished floor!
Next up is installing your flooring. This stage is typically a four-step process:
Level the grooves of the van floor.
Install your insulation.
Install the subfloor.
Lay down your finished vinyl flooring.
It is essential to ensure that your subfloor is level before placing the finished flooring. Otherwise, you will run into problems installing the finished floor, whether it be vinyl or laminate.
Remember that once the flooring is complete, it is challenging to redo in the future, so you want to make sure you get this done correctly on the first shot.
Step #4 Insulation
People LOVE arguing about this. It is crazy. I wasn’t looking to dive deep into the insulation research because my primary goal was to chase the sun around. So my goal when picking insulation was to have a material that was waterproof, easy to install, and provided adequate insulation for desert nights.
So I went with Thinsulate as my insulation. It was an extremely easy material to work with, especially when dealing with tight corners and spaces. Also, installing it couldn’t have been any easier. All I needed were scissors to cut out my desired lengths, a couple of bottles of 3M 90 to stick it to the van, and I was good to go!
Step #5 Electrical Work
This was by far the most intimidating part of the build. If you have no prior experience with electrical work, I would not attempt to do this by yourself. Electrical work is complicated, and if done incorrectly, it can pose a danger to you and your van. Unless you are willing to commit a lot of time to learn the ins and outs of the job, I would recommend finding a professional to help you out.
Fortunately, I have an amazing uncle who worked many years as a general contractor and was kind enough to help me out with this part of the build. Between him and using the electrical system guide by Antwan and Isabel from Far Out Rides, we were able to get it done without any issues!
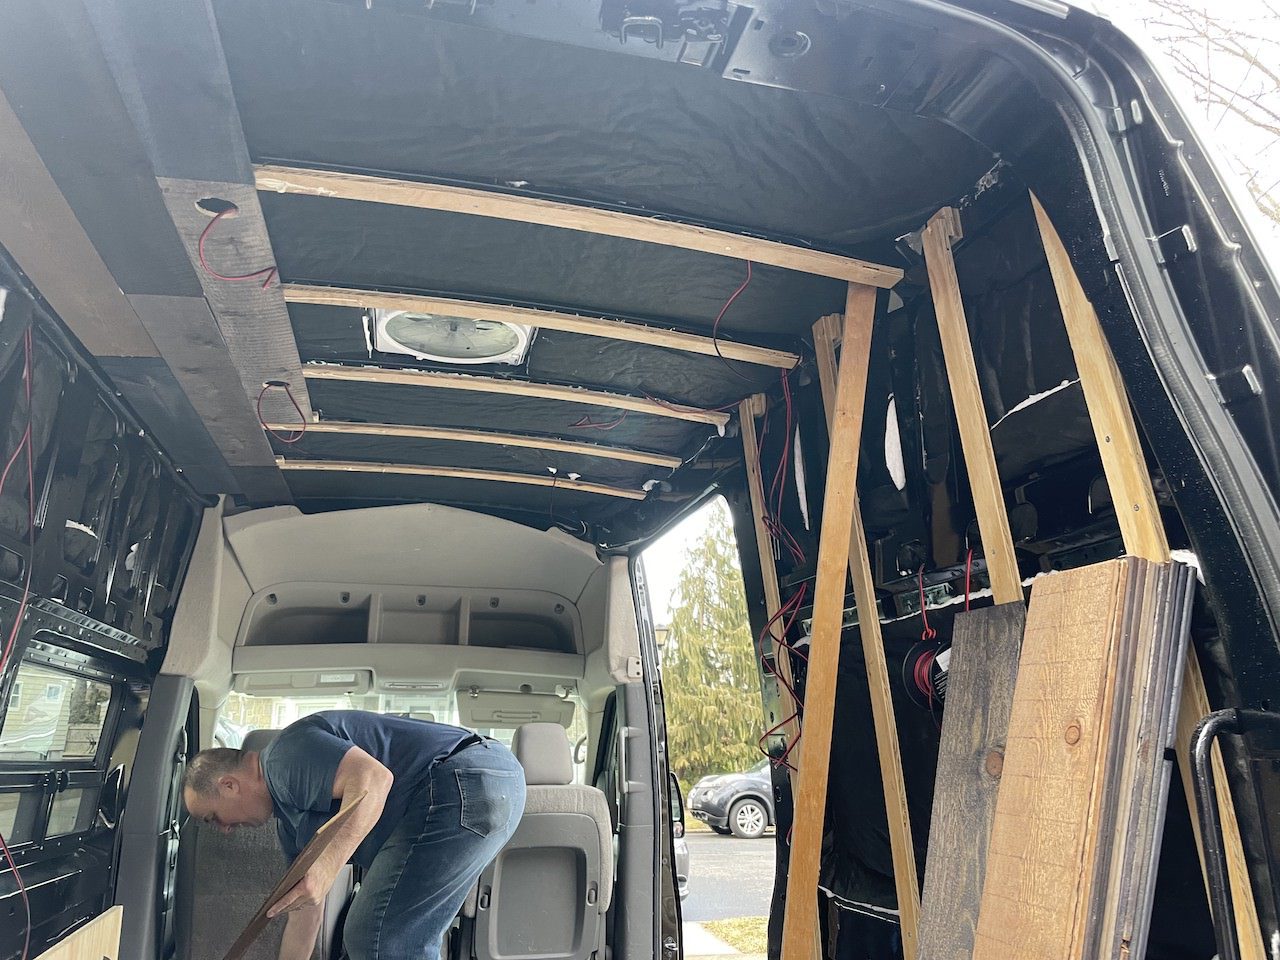
Step #6 Framing Walls and Ceiling
Framing is the next stop on your van build journey. Framing requires screwing strips of wood to the van walls and ceiling—these strips of wood act as support beams to secure our cabinets, paneling, and bed. I used ¾” thick plywood and cut a bunch of 2” strips for my framing. Framing can be a bit more complicated with some van models as opposed to others, depending on the shape of the chassis. In my instance, there turned out to be some awkward curving that required me to bend the planks during installation to mirror the natural shape of the chassis.
Step #7 Bed Installation
You need a place to sleep. The bed typically takes up most of the space in your van, and there are many different bed designs you can go with to help save space, such as a convertible bed or a murphy bed.
However, I elected to stick with a classic fixed lifted bed to give me more space in the garage for all of my hiking gear. Another bonus of having a raised bed is that I don’t have to break down and set up each time I hit the hay, which is great because, boy, am I lazy!
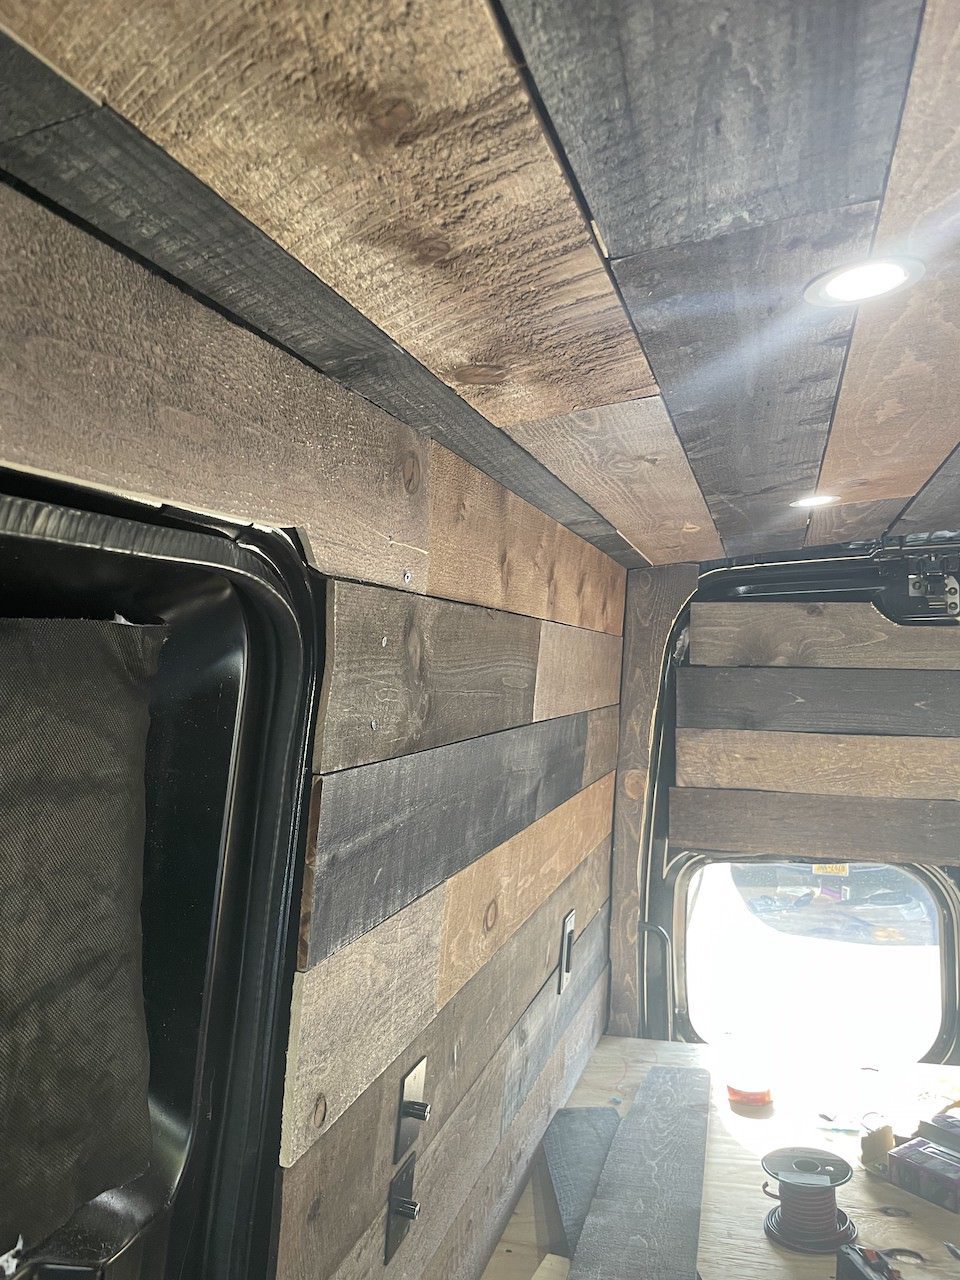
Step #8 Paneling Your Van Walls And Ceilings
This is one of the most fun parts of the job! Paneling gives your van the look and character you imagined when you first decided to do a DIY van conversion.
As you go through this step, you will start to see the first signs of a finished look of your van. With each board you put up, your van slowly transforms from a creepy cargo van to an actual living space! Hip Hip Hooray!
The nice thing about installing your paneling is that it is relatively simple to do once you have your framing set up, all you need is a nail gun, liquid nails, and paneling then you are good to go!
Step #9 Cabinets And Counter Top Installation
We are almost there! Next, you need to install your overhead and kitchen cabinets and countertop. Regarding your cabinets, I would recommend installing a latch or magnet system to secure your doors when driving to keep your stuff from flying out during a sharp turn!
Because most cabinets you purchase aren’t specifically designed for vans, you will likely have to modify some of them to fit well with your van’s dimensions. For example, I had to cut off the floor trim of the kitchen cabinets to prevent them from covering my windows.
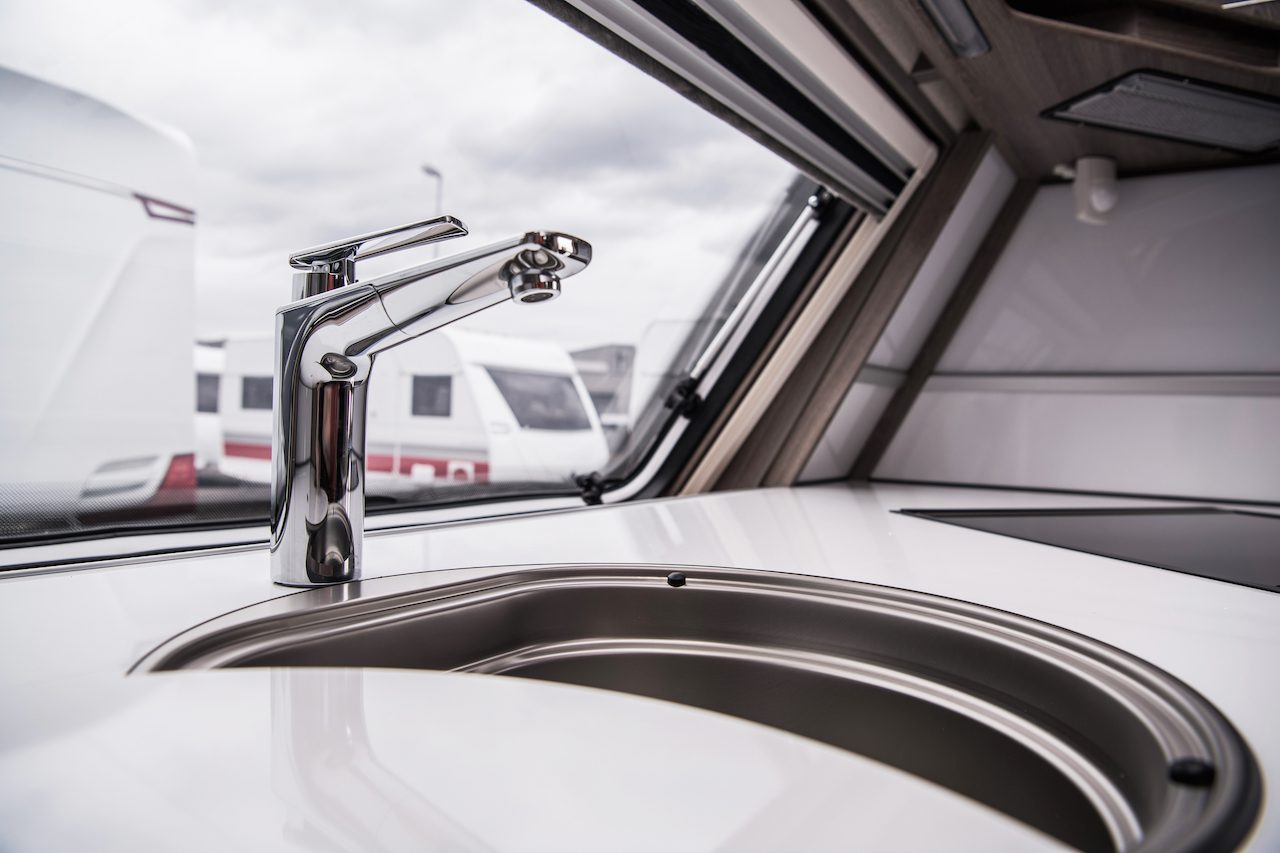
Step #10 Plumbing
Your plumbing system can vary greatly depending on what you need out of your van. If you use your camper for weekend trips, you can even go without having one. However, if you plan on living in your van full time at the bare minimum, it will require a white tank, grey tank, pex tubing, water pump, sink, and a hose to refill your tank.
I am also including an outdoor shower in my build as I plan on only traveling in warmer areas, so hopefully, I won’t encounter too much cold weather. While I would have loved to do an indoor shower ain’t, nobody got the space, time, or money for dat!
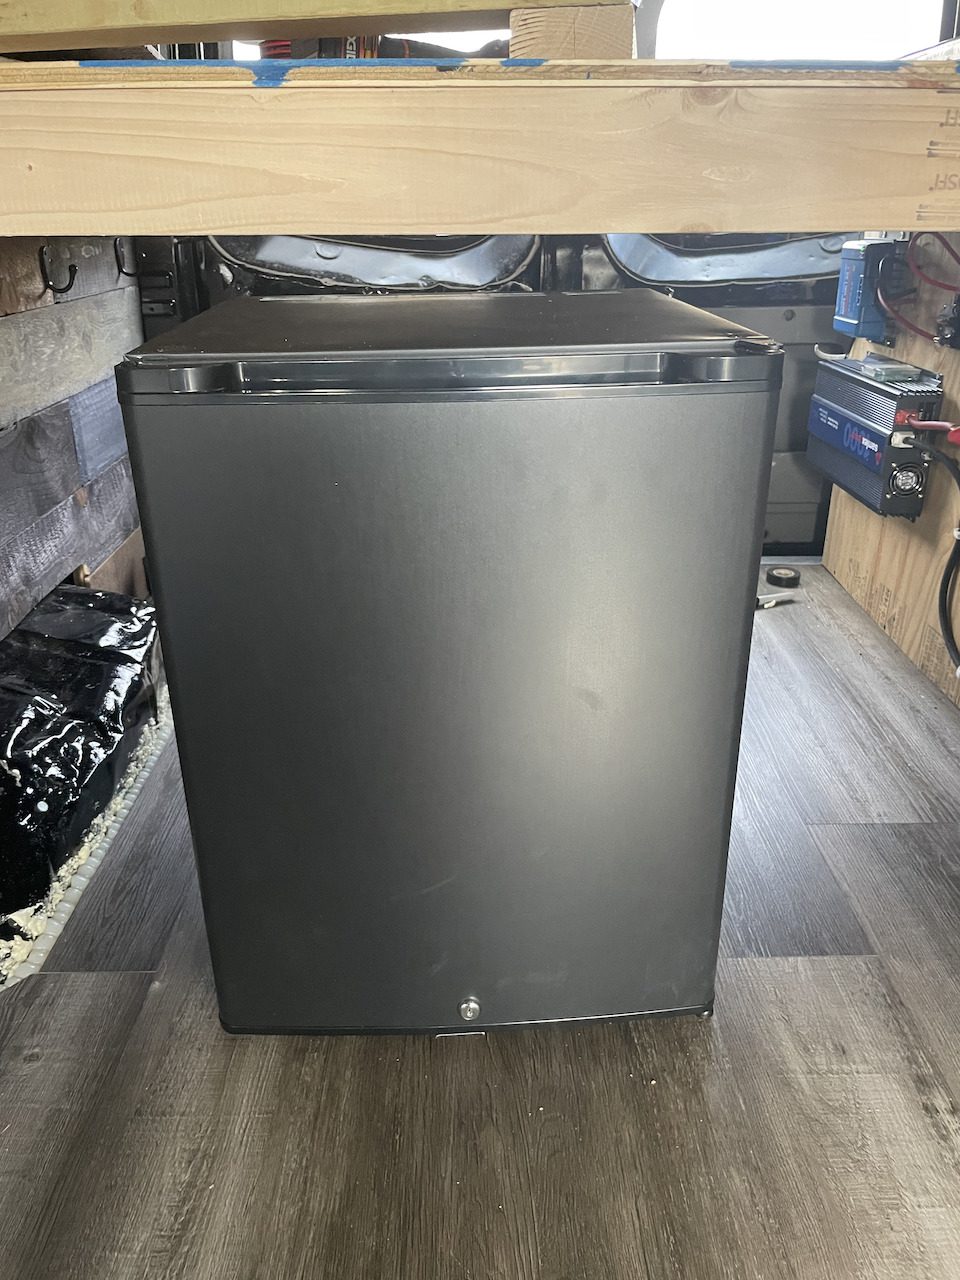
Step #11 Hook Up Appliances
Wooo we are in the home stretch!!! At this point, most of the heavy lifting is done. All you have to do is install and hook up your remaining appliances, such as your stove, refrigerator, and toilet. Remember that you will be living in a moving vehicle, so it is essential to secure your appliances for traveling on the road adequately.
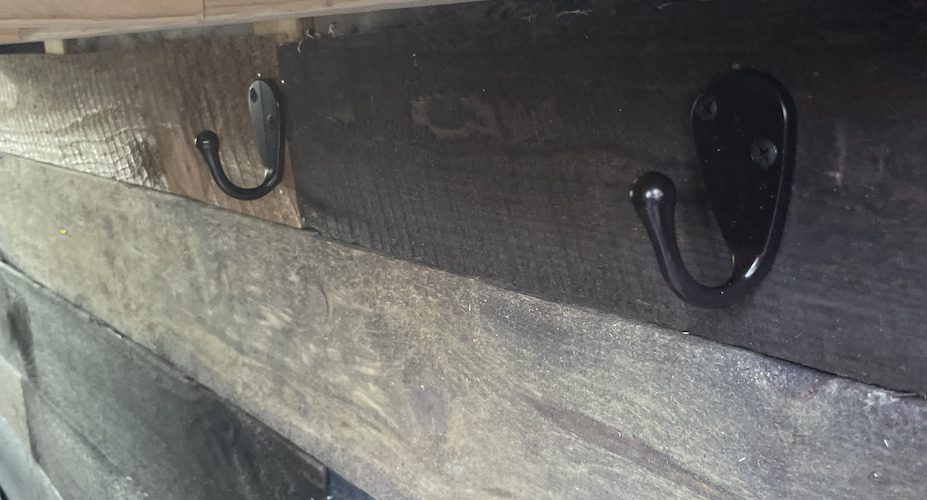
Step #12 Finishing Touches / Decorations
All there is left to do is do some aesthetic touches such as bedding, decor, hooks, and trimming for paneling and floor edges to make it come together. Remember, neatness counts!