Wonderfarr

Categories
Outdoors for Beginners backpacking for beginners Food

5 Ways How To Get Fiber When Backpacking:

5 Ways On How To Get Fiber When Backpacking:

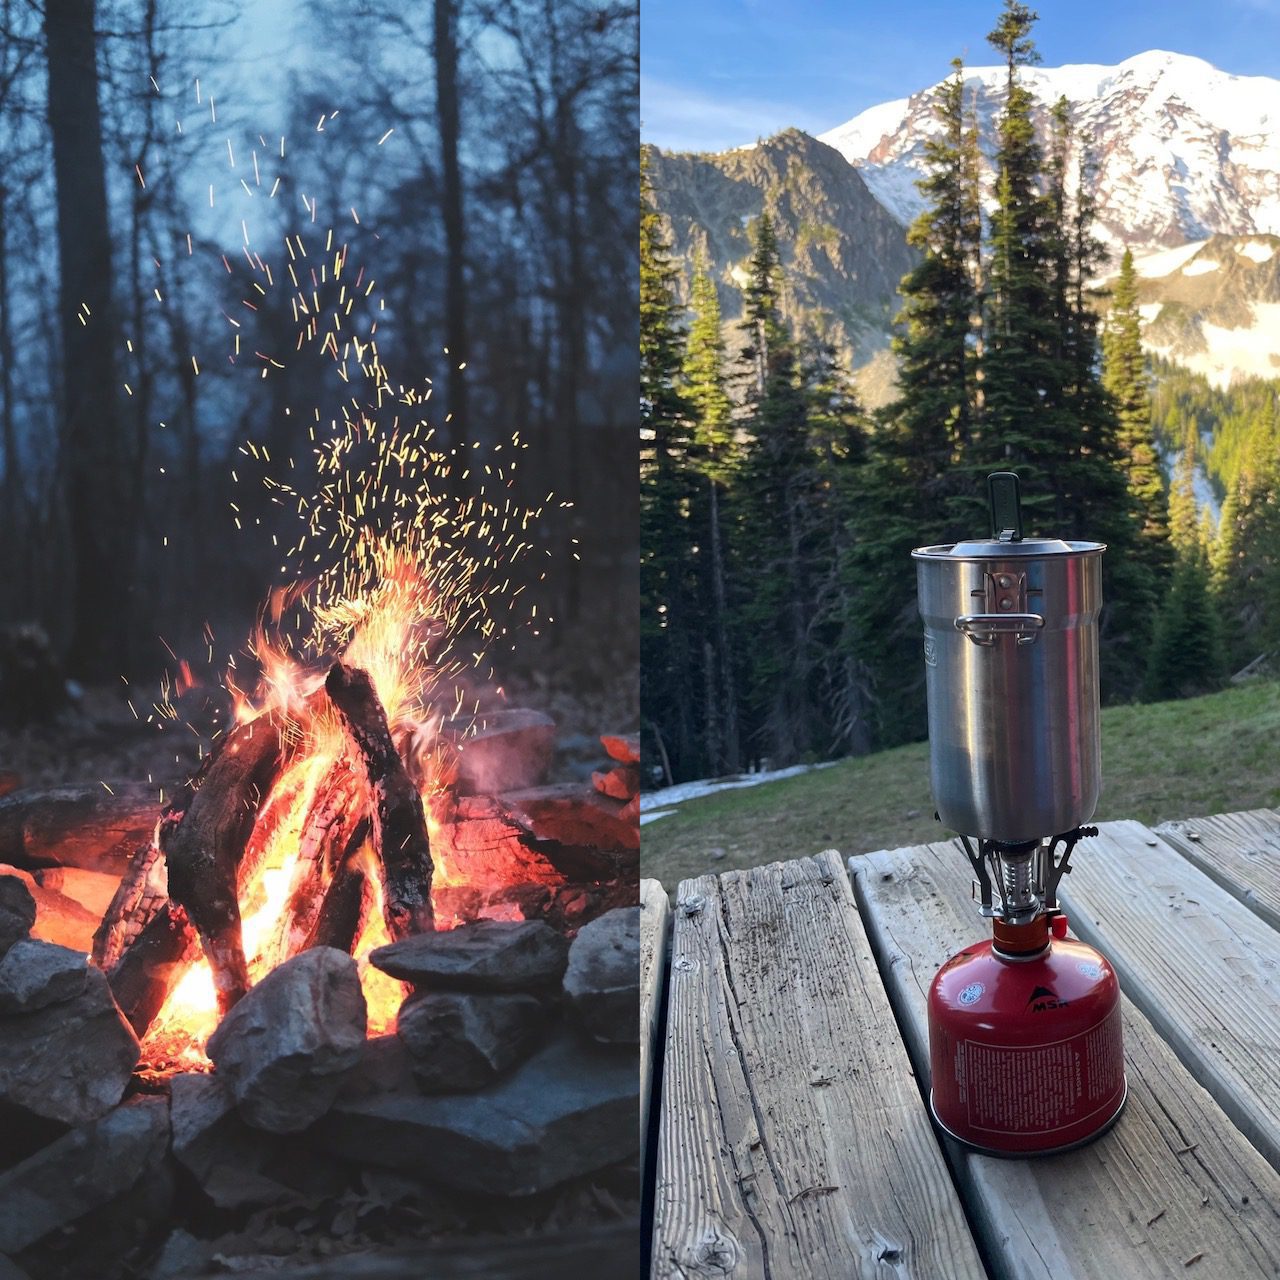
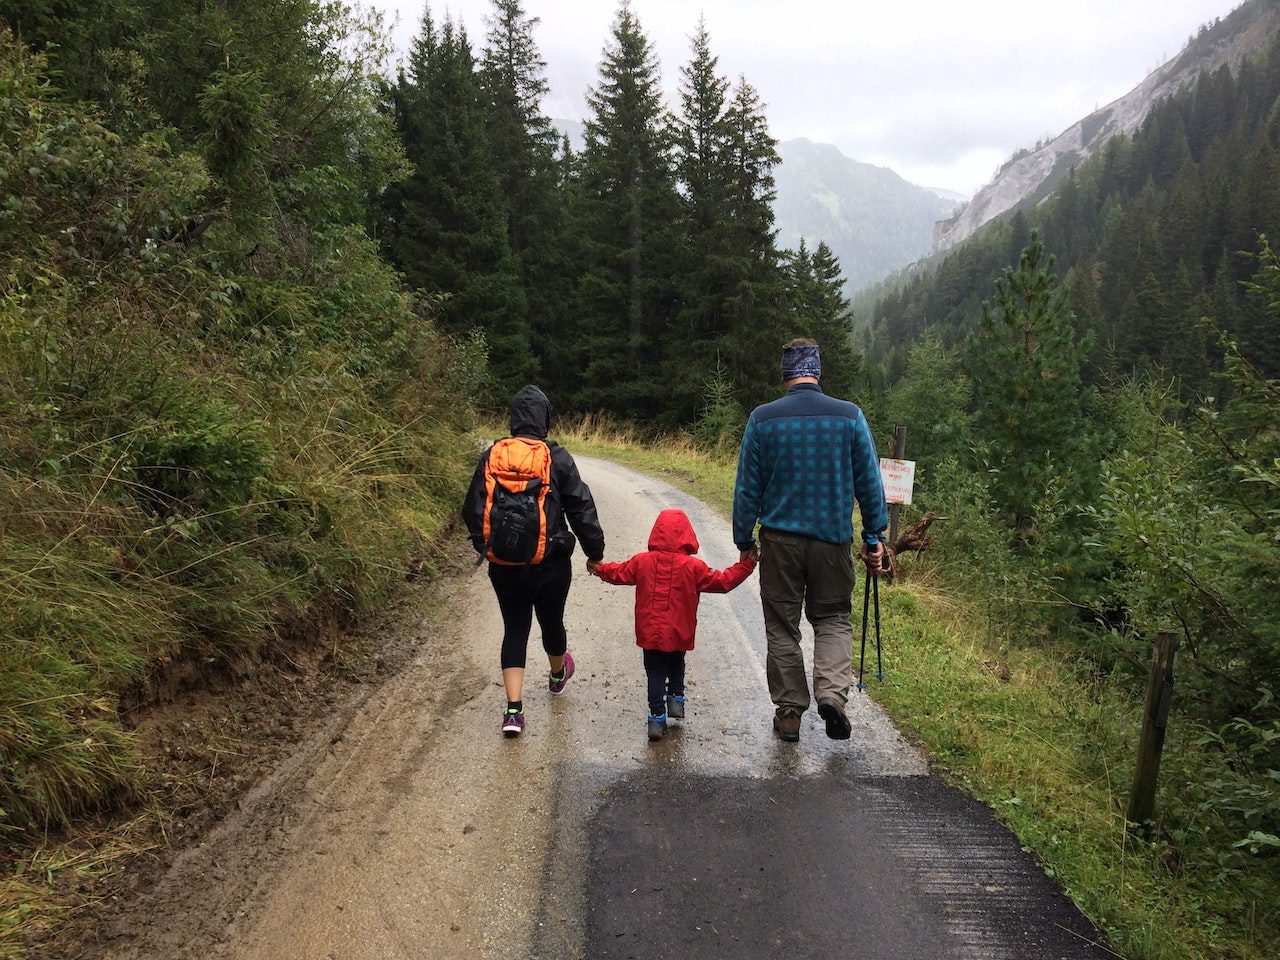
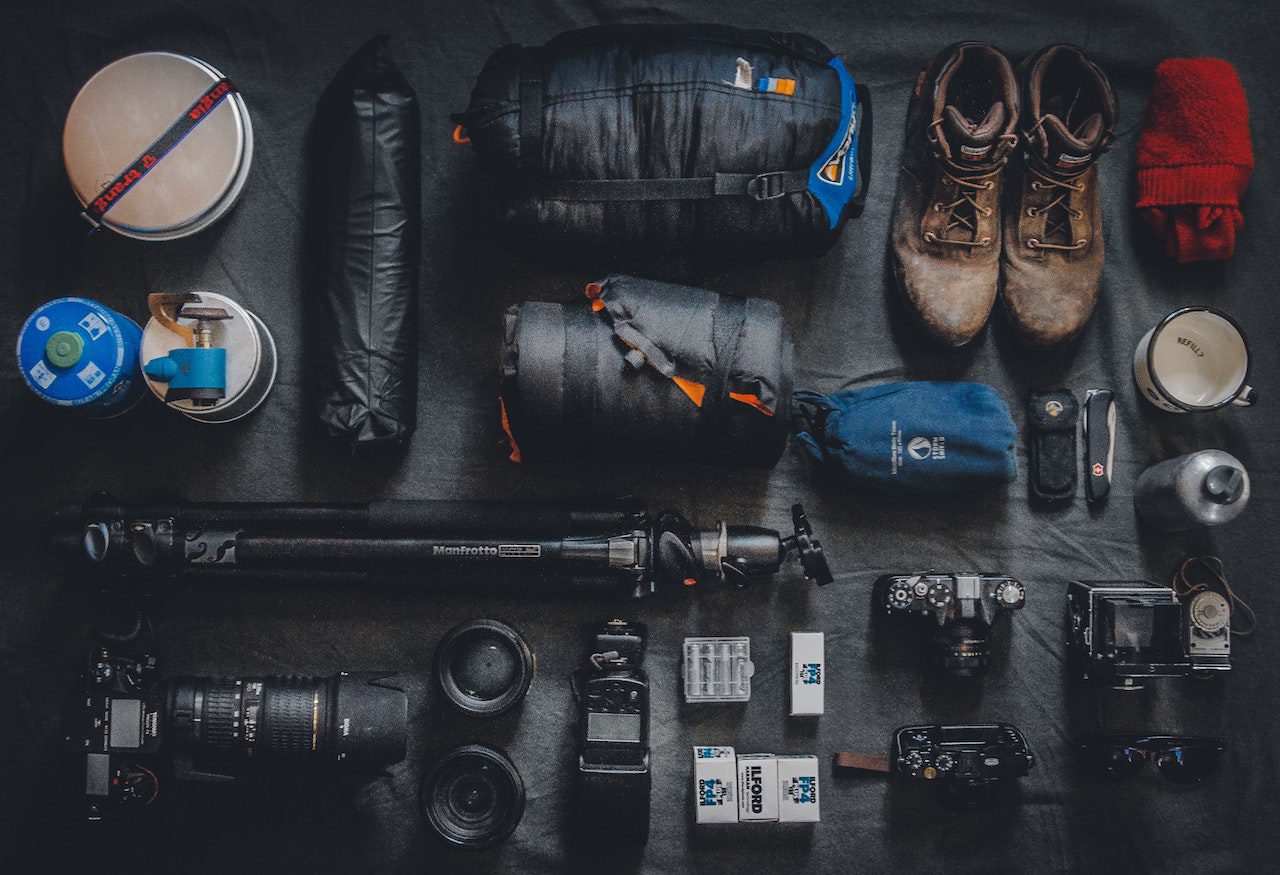
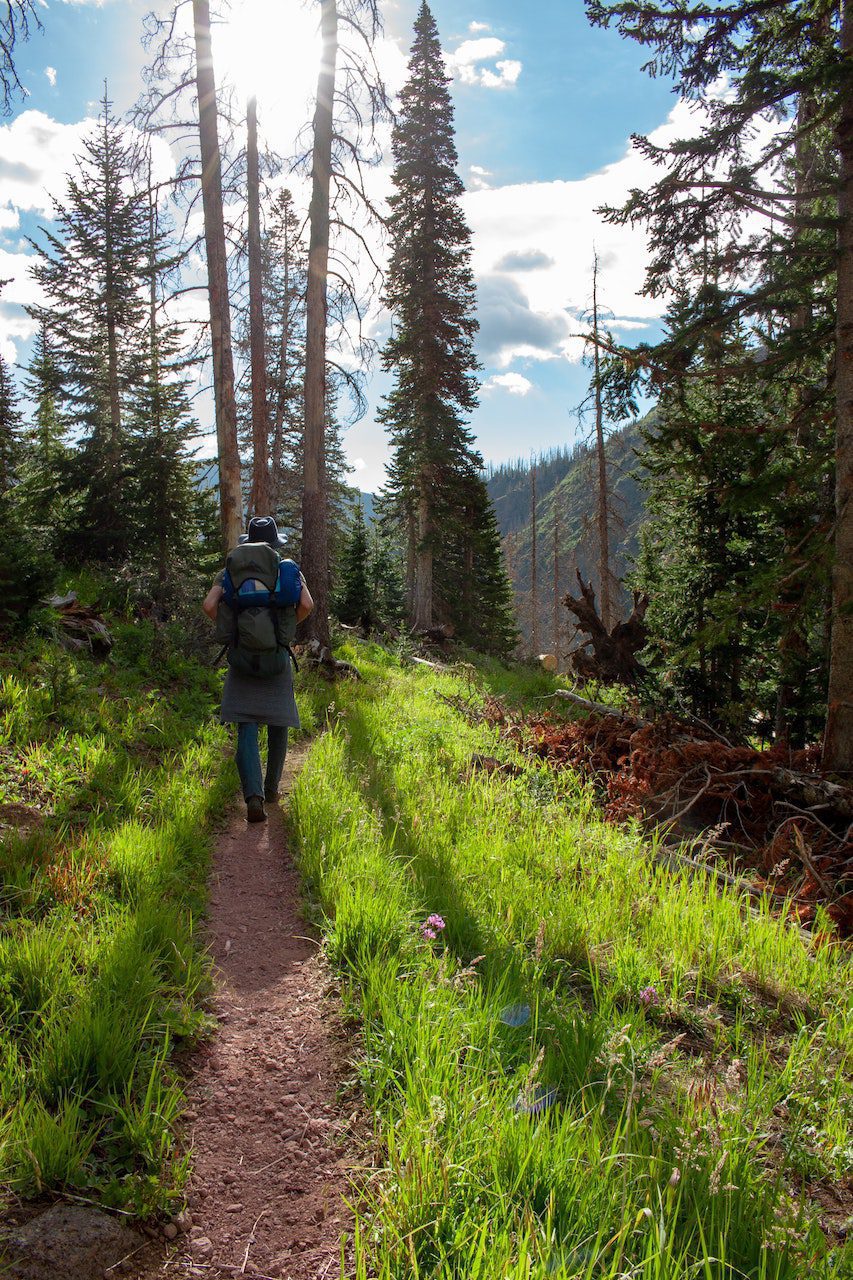
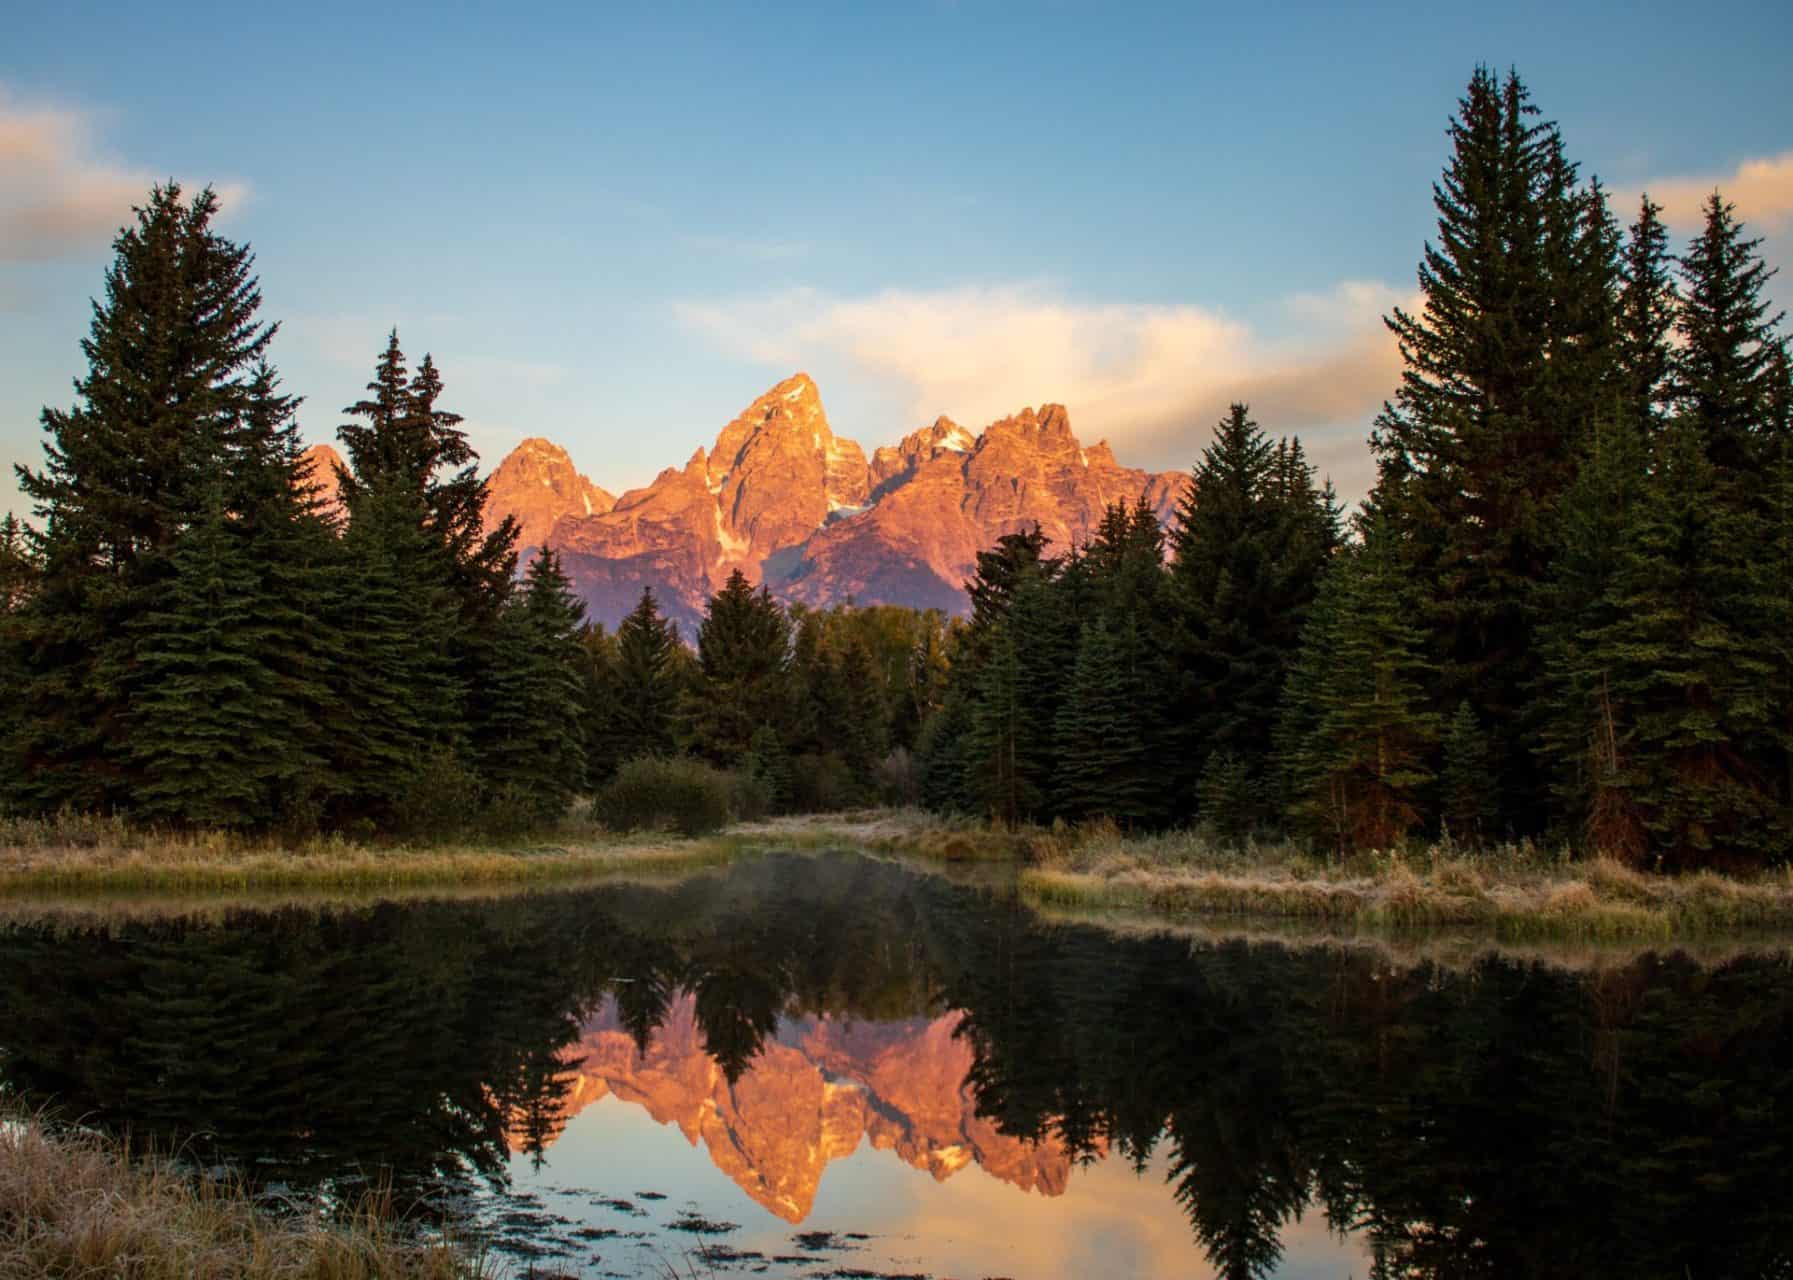
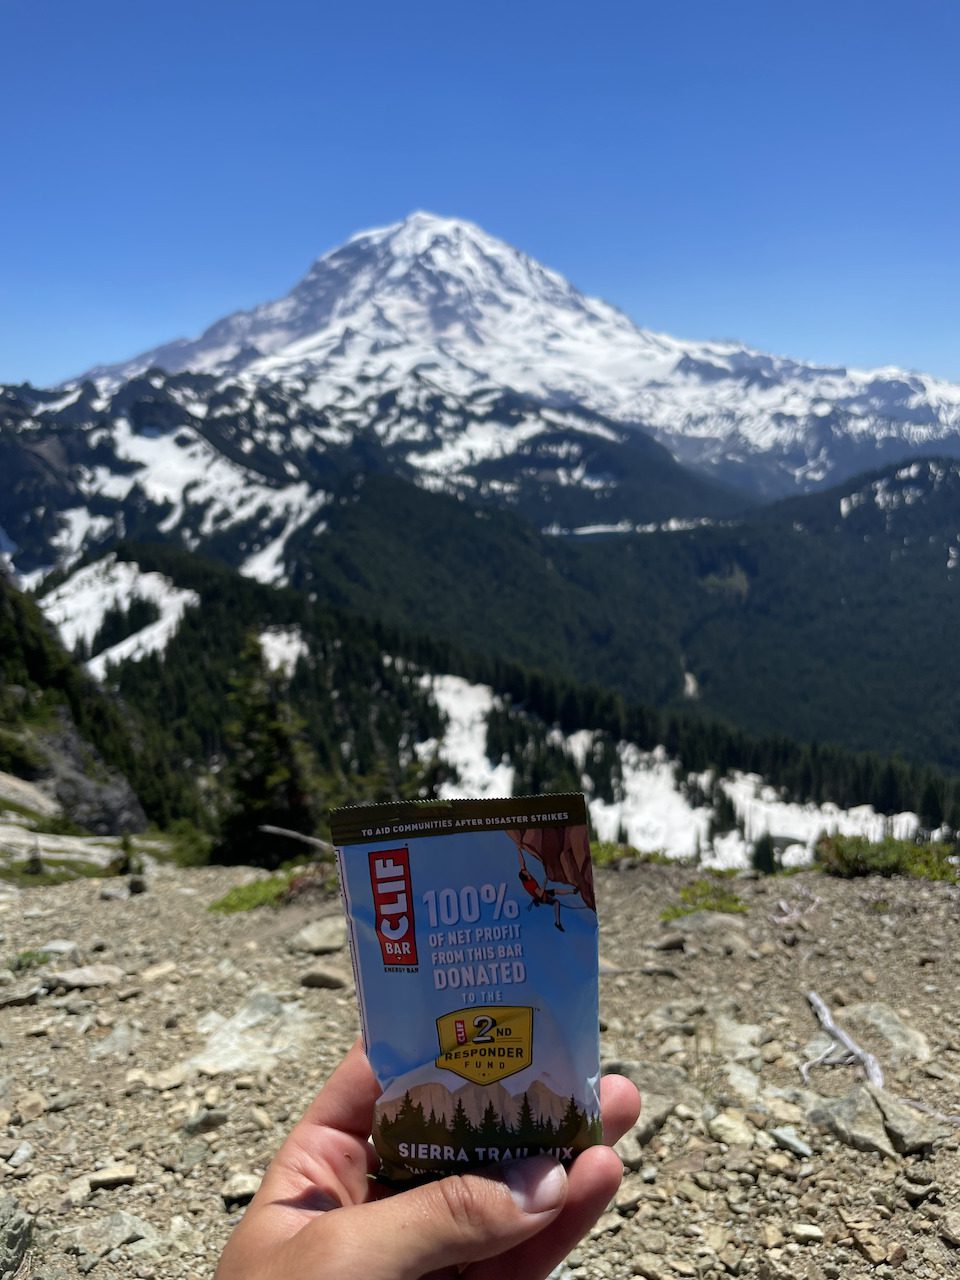
Besides having the proper gear, a good diet is crucial for staying comfortable and safe during a backpacking trip. On my first backpacking trip to Grand Teton National Park, I did a poor job preparing for both of these facets. My diet had such little fiber during this trip that I didn’t poop once during this four-day, three-night journey. Quite uncomfortable. I would not recommend it.

Fortunately, I have learned how to up my diet game since then, and I will break down how to get fiber when backpacking to keep you going when you are on the trail!

how to get fiber when backpacking

Why Is Fiber Important?

Having adequate fiber in your diet is essential for maintaining several bodily functions, including normalizing bowel movements, maintaining bowel health, and controlling cholesterol levels. You can learn more about the benefits of a high-fiber diet at mayoclinic.org.

How Much Fiber Do You Need?

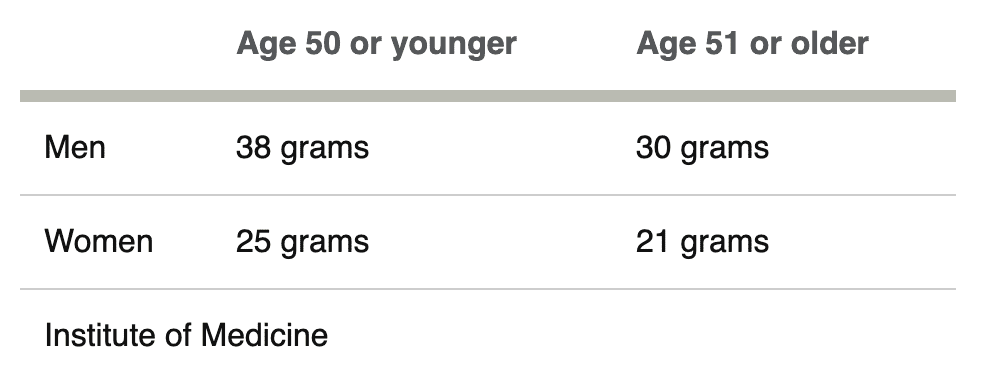
According to the Insitute of Medicine the recommended daily fiber intake varies based on gender and age. Below are the recommended values for daily fiber intake:

High Fiber Foods:

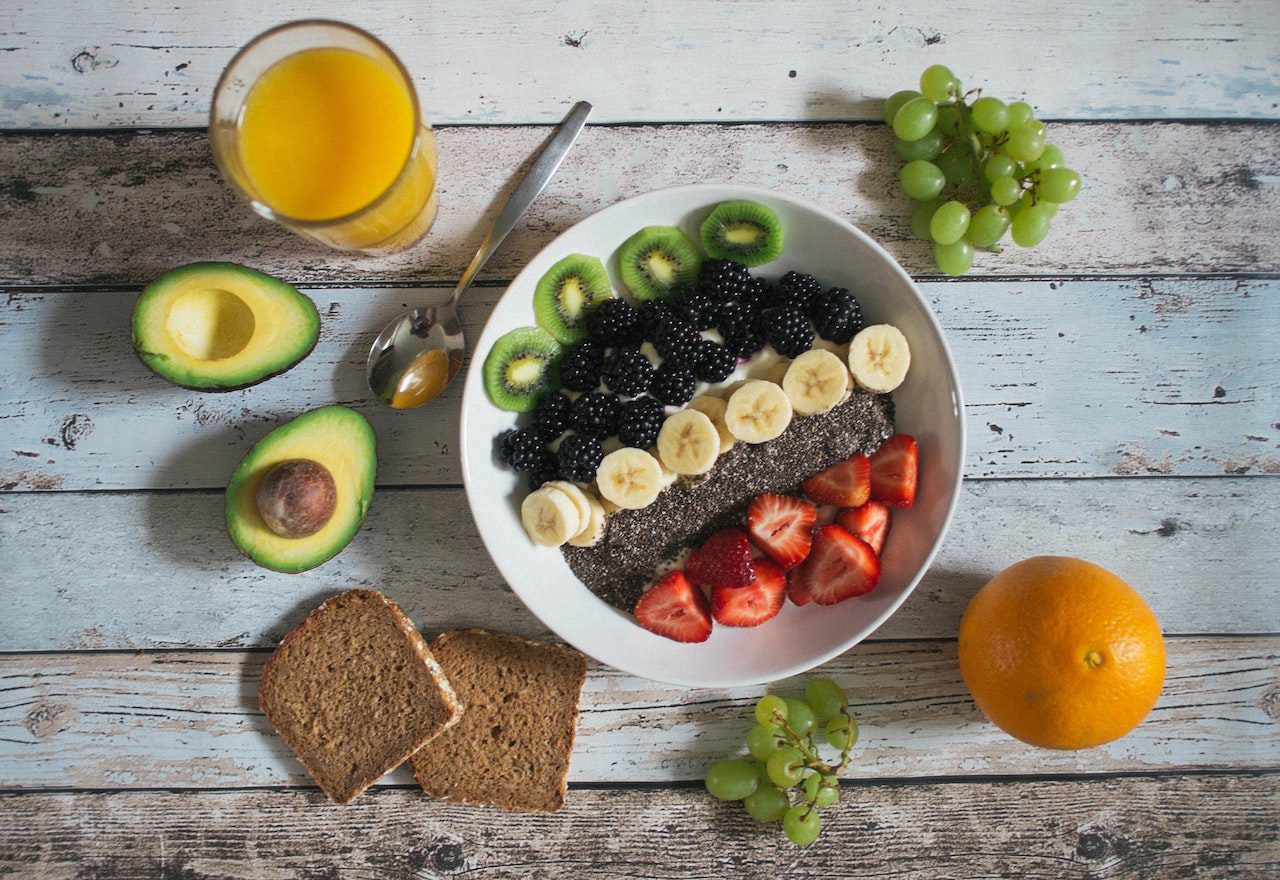
As I said, getting enough fiber is crucial, especially on a backpacking trip below are five great high-fiber food groups:

  • Fruits
  • Nuts
  • Whole Grains
  • Vegetables
  • Legumes

Fruits:

food resupply on the tour du mont blanc

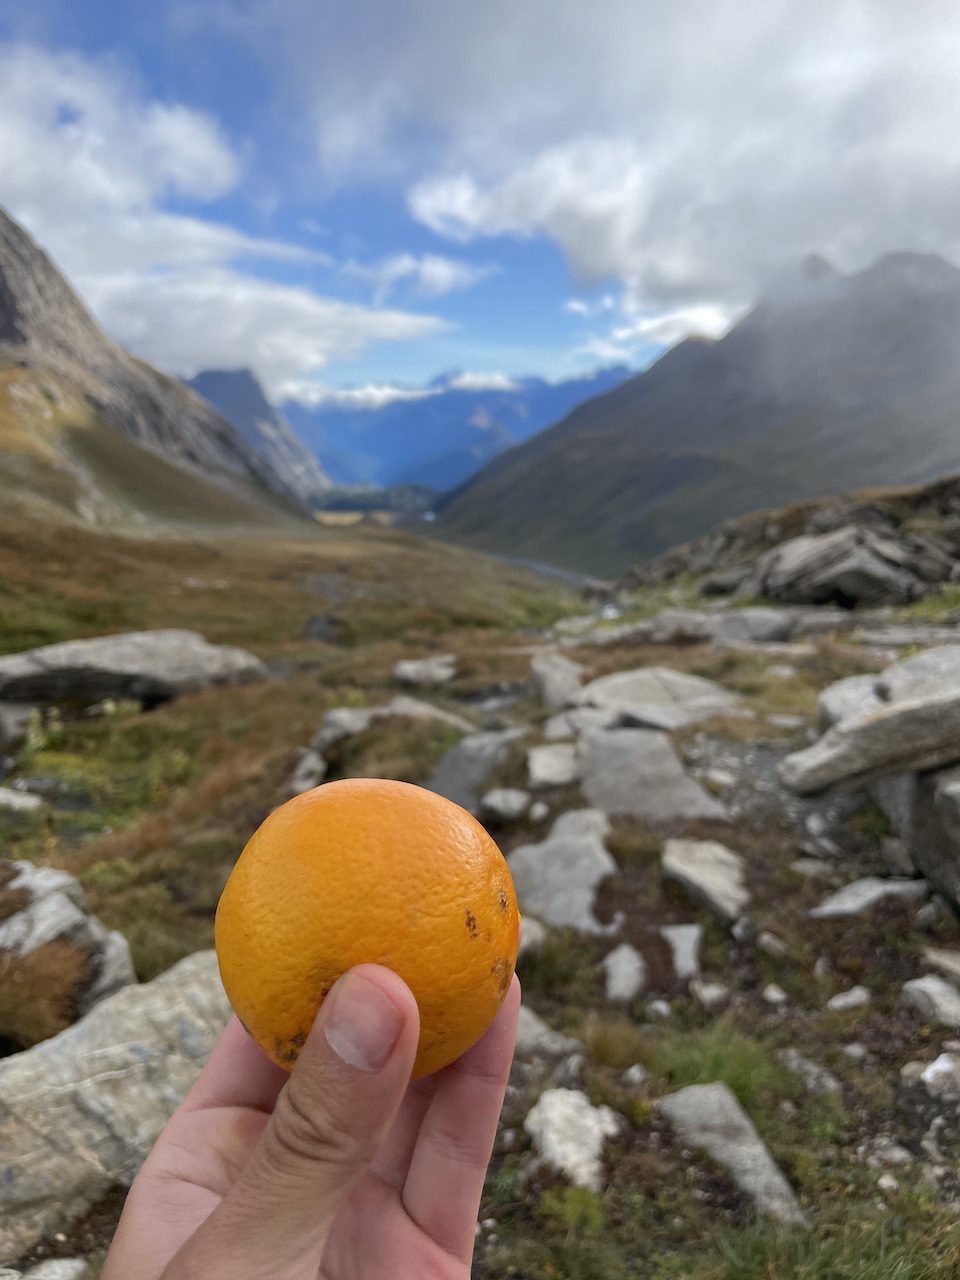
Fruits especially dried fruits, are an excellent source of fiber and nutrients, especially when backpacking. I love that dried fruits are very easy to pack and have an extremely long shelf life, so you don’t need to worry about your snacks going bad on a long backpacking trip. Not only that, but they are delicious, and you can have them with various types of fruit. My personal favorite has to be Trader Joe’s “Just Mangos.”

Nuts:

Nuts are one of the best backpacking snacks; jam-packed with electrolytes and fiber, nuts are a very nutritious and versatile food. What makes nuts so versatile is the variety of ways they can be eaten, from granola bars to trail mix to raw there is something for everyone unless you are allergic … then no nuts for you!

Whole Grains:

best salty hiking snacks

Whole grains are another great way to get your fiber in while backpacking. The Mayo Clinic defines whole grains as grains “in their whole form or ground into flour while retaining all parts of the seed.” Here are some great ideas to fit whole grains into your high-fiber backpacking diet:    

  • Brown rice
  • Granola bars
  • Whole wheat pasta
  • Whole wheat bread
  • Oatmeal

Vegetables:

Alright, we all have been told at one point or another that we need to eat our veggies, and high fiber is another reason veggies are a must, especially on the trail. The only annoying thing about vegetables is that they can spoil if not properly stored. This short shelf life can be challenging to bring them on backpacking trips, but some that work well when on the trail include:

  • Carrots
  • Dried veggies
  • Veggie snacks!

Legumes:

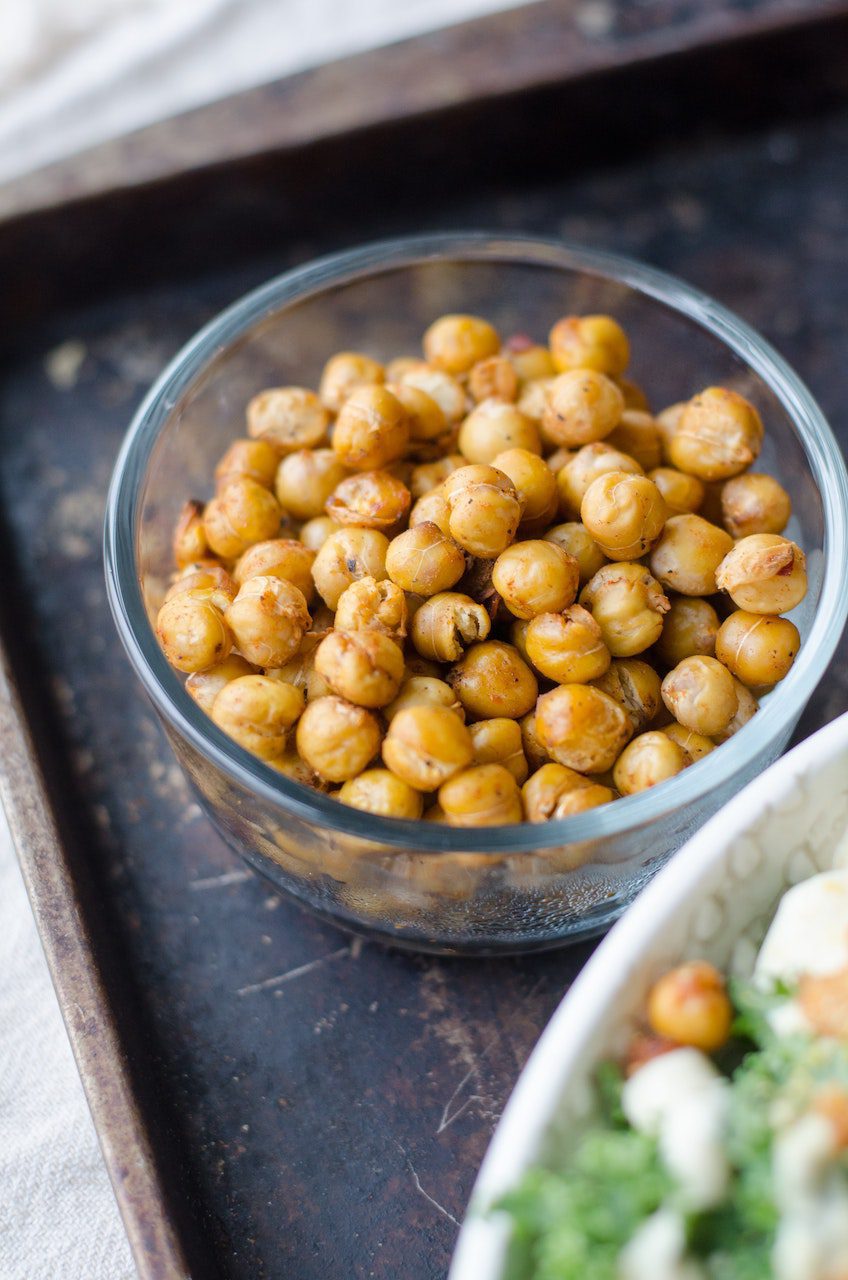
Okay, okay, yes, legumes are technically a vegetable, but I felt as though these little guys deserved their own section! A section of the vegetable family legumes are the seeds of plants consumed at an earlier stage of life. Some examples of these foods include: 

  • Black beans
  • Peas
  • Lentils
  • Chickpeas

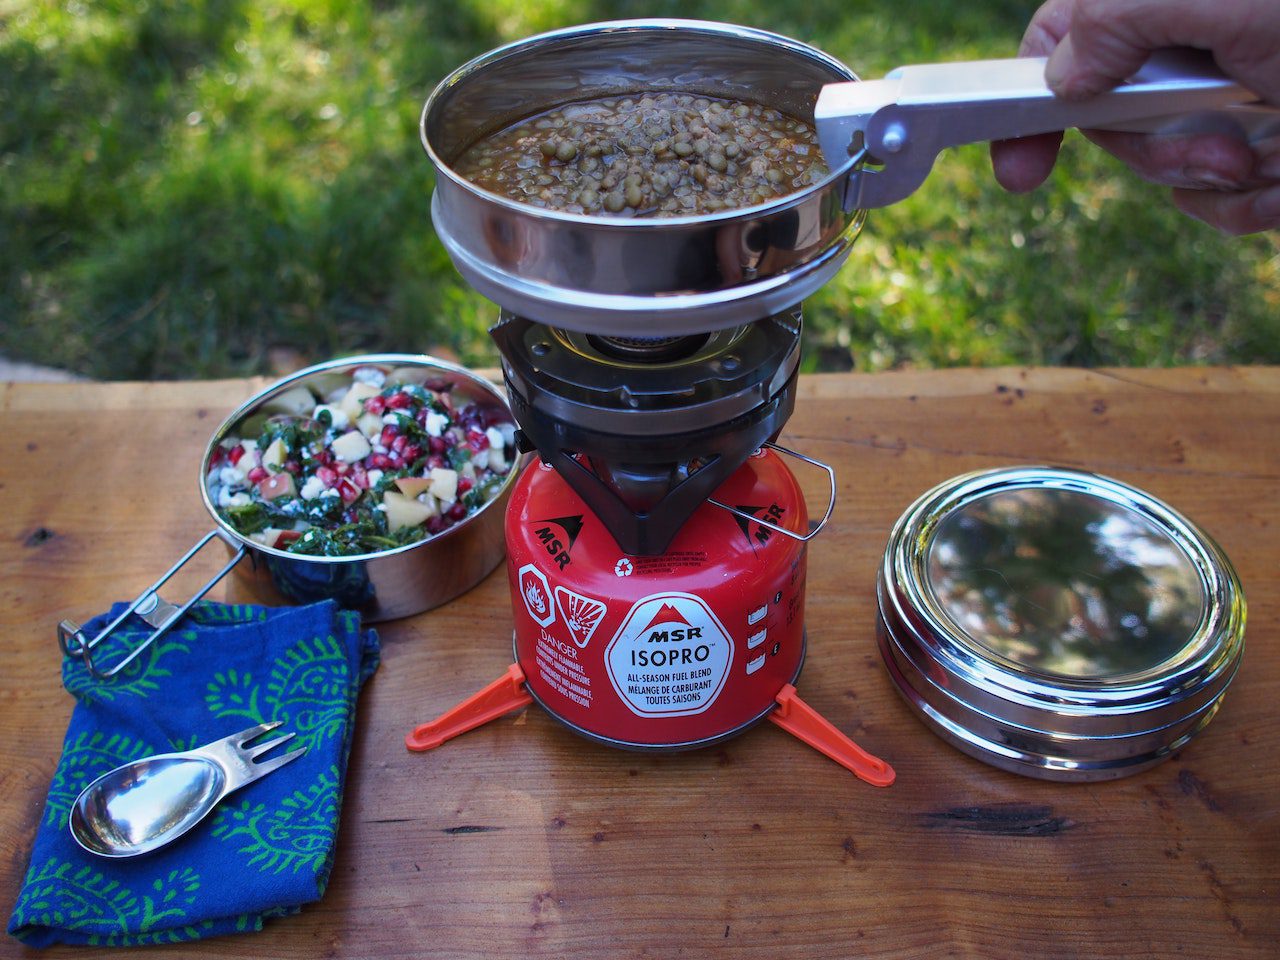
While you can eat a can of beans for dinner when backpacking, other great ways to sneak this fiber-filled food into your trail diet is by enjoying them in snack form, such as Harvest Snaps! These guys are seasoned, taste delicious, and contain about five grams of fiber per serving!

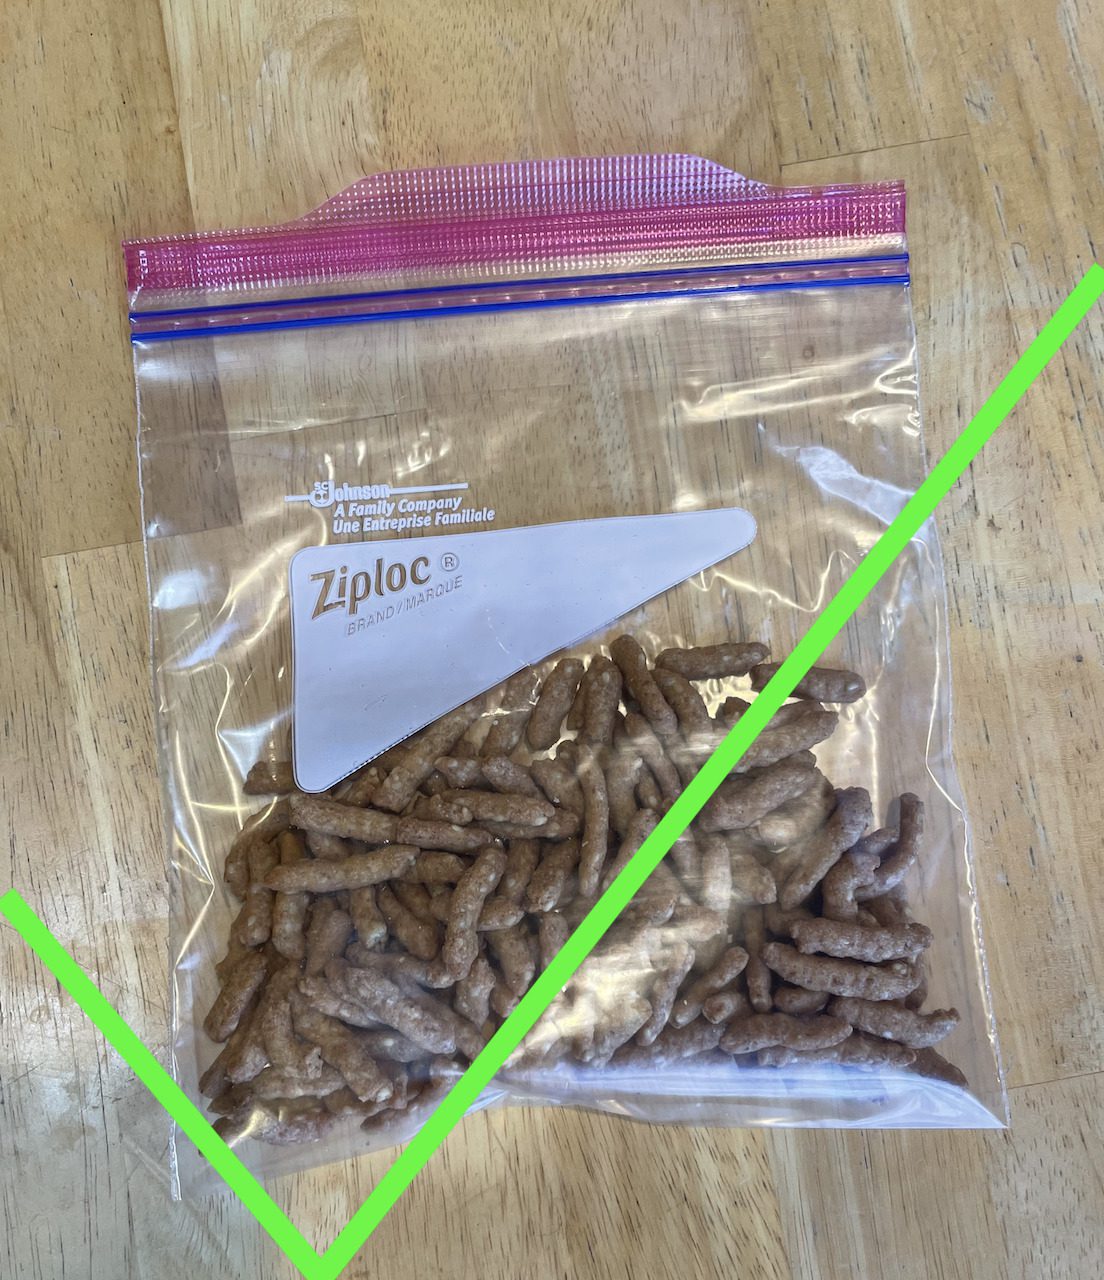
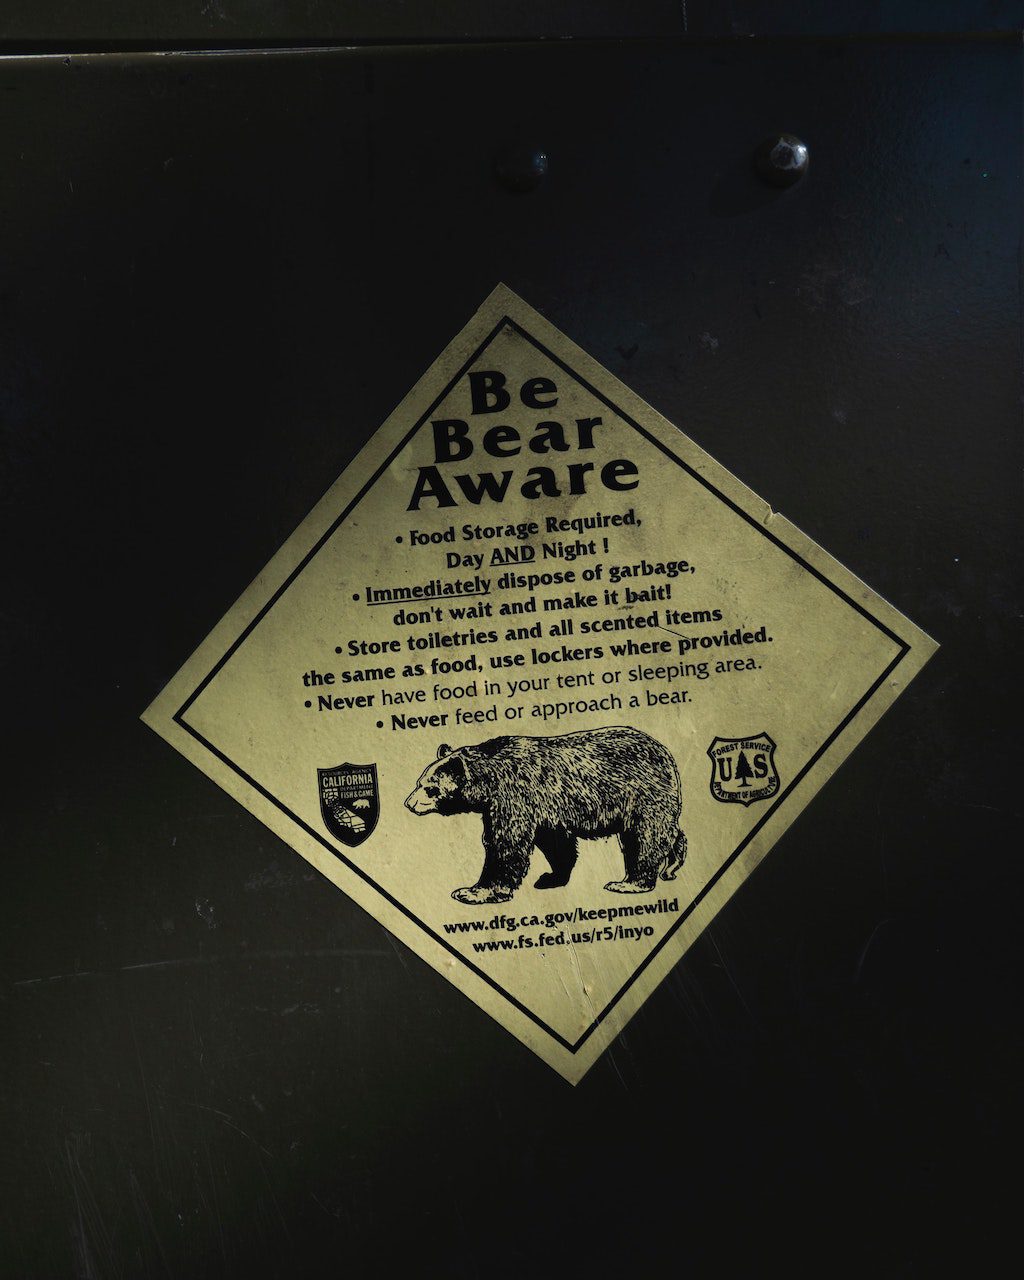
Don't Forget To Properly Store Your Food When Backpacking!

why it is important to properly store your food while backpacking

Make sure that you are following leave no trace principles, properly storing your food, and packing out your trash when on the trail.  Check out our “how to store food while backpacking” post to learn more!

That's All!

That’s all for this post remember having a proper diet plan is essential for any foray into the backcountry.  If you want to learn about salty snacks to help keep you fueled during a long expedition check out our article “9 Best Salty Hiking Snacks.”

Disclosure: Some links on this page are affiliate links, and if you go through them to make a purchase or a booking, I may earn a commission. Using these links DO NOT affect the cost of the product/booking. The price remains the same affiliate link or not.

Categories
backpacking for beginners Food Gear Articles Outdoors for Beginners

Backpacking Stove Vs Campfire Cooking When Backpacking:

Backpacking Stove Vs Campfire Cooking When Backpacking:

Whenever you enter the backcountry, you must have a way to cook your meals (unless you plan on cold soaking, but in my opinion, that’s gross). 

So the common matchup when it comes to cooking while backpacking is the backpacking stove vs campfire.   Unfortunately, it isn’t much of a contest.  The winner is the backpacking stove.

If you don’t have one yet, I recommend just picking up a cheap one on amazon.  I have used this backpacking stove for the past five years, and it has been working great.  You can go into more expensive options like Jetboil, but if you are on a budget, the cheap one will work fine.    

Alright, let’s jump into 7 reasons why you should use a backpacking stove instead of a campfire for cooking while backpacking.  

What Is A Backpacking Stove?

While everyone should know what a campfire is, some beginners may be wondering what a backpacking stove is.  Well, a backpacking stove is a portable cook stove where you use some form of fuel to create a controlled flame over which you use to cook your meals. 

There are two major backpacking stoves: the canister and liquid fuel stove.

Canister Stoves

Backpacking Pot

Canister stoves are the more popular option for traditional backpacking trips.  They consist of a propane/butane mix fuel canister, an adapter that connects to the canister, and an ignition switch that creates a spark to light the fuel, producing a controlled flame.  These stoves are essentially like the Bunson burners you used in chemistry class.   Canister stoves are a fantastic option for backpackers due to their packability and convenience.  

The only problem with this backpacking stove is that disposing of the empty fuel containers can be a pain and a bit less eco-friendly than liquid gas stoves.  Also, these stoves can lose their utility at higher elevations when doing alpine ascents and mountaineering, but for standard backpacking, you should be fine with it.  

Liquid Fuel Stove

Liquid fuel, although it is a bit bulkier than canister stoves.  They are an excellent option for higher altitude ascents and mountaineering.  The other major benefit of this form of backpacking stove is that it is way more eco-friendly because you can refill your tank every time you are low in fuel instead of throwing your empty canisters away. 

Unfortunately, the decreased packability of these stoves makes them a less than ideal option for a standard backpacking trip.  But, if mountaineering is your thing, then this may be an excellent option for you!

7 Reasons Why You Should Be Using A Backpacking Stove For Cooking While Backpacking.

More Leave No Trace Friendly

Leave No Trace

Compared to campfires, a backpacking stove is much more leave no trace friendly as it doesn’t require burning local plant life.  Also, a fire can destroy the nutrients within the soil it is built on, which can be avoided by using a backpacking stove.  

Less Risk Of Forest Fires

Since backpacking stoves have a self-contained flame, you do not have worry about embers flying outside of them.  As opposed to campfires, where even though they are contained in a fire pit, they still run the risk of an ember flying outside the pit and catching aflame.   

Easier And Faster Set-Up

When it comes to which one is faster to set up, it goes to the backpacking stove.  Starting the flame on a stove can be done with a click of a button.  In contrast, a campfire requires more time and effort gathering kindling, dry wood of varying sizes, and then a gradual and careful build-up until it is large enough to cook on.  

You Can Cook Rain Or Shine

how to poop responsibly when outdoors

Perhaps one of the greatest benefits of using a backpacking stove for cooking is how it maintains its functionality, rain or shine.  All you need to do is find some cover from whatever gnarly weather you encounter and get cooking.

However, when it comes to building a campfire, once it starts to rain, your chances of success drop pretty close to zero.  Once all of the dry firewood in an area gets wet, it is extremely difficult to get a fire going.  Wet stuff doesn’t burn well…. who knew?!

Can use it almost anywhere

Some national parks don’t permit any campfires over a specific elevation, often due to the slower regeneration of trees in these areas.  Also, depending on the weather conditions when you visit a region, a fire ban may be in effect, which would prohibit the making of campfires due to an increased risk of forest fires.  

However, the nice thing about a backpacking stove is a tool that can usually be used anywhere regardless of the elevation restrictions or if a fire ban is in place (always verify local laws in regulations before backpacking).

Easier To Cook Using A Backpacking Stove

Using a backpacking stove makes cooking much easier because you have a small, controllable flame and a flat surface which you can easily place a pot for cooking  

Now, if you have ever tried to cook in the backcountry using a fire, you would know that it can be much more challenging than a stove—the reason is that you do not have a stable area that you can use for cooking.  For example, if you wanted to boil water, you would need a large backpacking pot that you could hang over a fire which is much more complicated than just putting one on a stove.   

Another factor that makes cooking using a campfire more difficult is that you are much more likely to sustain a burn while cooking due to the unpredictable open flames. 

You Can Just Turn It Off When You’re Done

Another thing I love about using a camp stove instead of a campfire is that when you finish cooking, all you have to do is flip a switch to turn off your flame. 

However, with a campfire, you must ensure that the pit is cool to the touch to know the fire is truly out.  This can require a lot of extra time waiting for your fire to go out entirely.  While this may not sound like that big a deal, let me tell you, after a long day of hiking, sometimes after you eat, the only thing you want to do is just hit the hay.  

What Are The Benefits Of Cooking Over A Campfire When Backpacking?

Okay, by now, I hope we are all on the same page.  When backpacking, you should be cooking with a backpacking stove instead of a campfire.  However, there are some benefits to using a campfire when camping worth mentioning, so let’s dive in. 

Keep Bugs Away

how to keep bugs away when backpacking

Bugs can be the absolute worst! But did you know that the smoke from a fire can keep them away? 

In areas where it is particularly buggy, I will make a campfire every chance I get to keep these pests at bay!

Keep Warm

Fire keeps you warm… You are welcome for that hot tip.  But all joking aside, a campfire will do far more to keep you warm on those chilly nights compared to a backpacking stove. 

Nice Atmosphere

There aren’t many better moments than having you and your friends gathered around a campfire shooting the shit, and having a good time. 

Campfires are especially great for making new friends when backpacking solo.  Invite whoever strolls into camp next to sit with you by your campfire and exchange some stories!

Great When Car Camping

Camping Cooking

Although campfires are not a practical option when backpacking, they can be great for car camping.  Many car camping campsites have fire rings with grates installed, making it easy to cook your food on your open flame, unlike the more primitive fire rings commonly found in the backcountry. 

Final Thoughts

Unless you are a mad man and want to soak your meals you need a way to cook when in the backcountry.  While it does sound nice to use a campfire when in nature, in my opinion, it is just not a practical means of cooking your meals.  Let me know how you cook your meals!

Categories
Outdoors for Beginners backpacking for beginners Food Gear Articles

Fork And Spoon Vs Spork Backpacking

Fork And Spoon Vs Spork Backpacking:

Getting the right backpacking gear can be challenging, especially if you are a beginner.  I know I had a tough time on my first backpacking trip.  Boy, did I wish I had my backpacking gear guide before that one.   

A common question new backpackers have regarding their cooking setup is whether they should use a fork and spoon vs. spork when backpacking.  Let me clear this up right now.  A spork should be your utensil of choice when backpacking.  I honestly can’t even fathom a situation where I would elect to bring a fork and spoon over a spork on a backpacking trip.  It’s preposterous.  Sporks are the most versatile utensils on planet earth.  Why add extra weight and things to carry when you could bring a spork?! 

If you don’t have one yet, just click here and grab one.  Sporks are super cheap, lightweight, and functional.  

But if you aren’t convinced by my rant yet, let us jump into our two options and weigh the pros and cons.

fork and spoon vs spork backpacking

Using A Spoon And A Fork For Backpacking:

The problem with using a spoon and fork is that there is no use in having both with you on a backpacking trip.  No matter how extravagant of a backpacking banquet you plan on making, you can consume your food just as well with a spork and have one less utensil to carry. 

Now having a fork may make eating some meals marginally easier, but I would still argue you could use a spork for practically anything without a hassle.  If you don’t think that whatever you are preparing would be easy to eat with your standard spork, check out these dual-use sporks.  They have a fork and a spoon on each side of it.  Genius!

Using A Spork When Backpacking:

Ahh, the king of backpacking utensils.  Lightweight, versatile, incredible name, the one the only the SPORK!!!!!

Let’s cut straight to the chase.  This is the better option for a backpacking trip.  I have eaten all kinds of meals with a spork while backpacking, soups, dehydrated meals, you name it, I shoved it in my mouth with a spork.  Is there a “that’s what she said joke in there?”  Probably anyway, spork all the way! 

Do You Need To Have A Separate Knife As A Utensil When Backpacking?

No.

You shouldn’t need a knife as a utensil because if you have a decent multitool, the blade in that should more than suffice for all of your cooking needs.  So as long as you have a multitool with a knife (which you absolutely should), you shouldn’t need an additional knife for cooking.  If you are wondering whether you should bring a knife or multitool backpacking, you should check out my article all about it.

What About Car Camping?

car camping

Although this post is about backpacking, I figure I would make a suggestion for you car campers as well.  Clearly, I am very adamant about using a spork for backpacking; however, if you are car camping that is an entirely different ballgame. 

The reason being is that when you are car camping, you don’t have to worry about your pack weight.  So you can get away with cooking whatever you want! 

Depending on the campsite you are staying at, you may even have a grill grate where you can cook over a campfire.  In such situations having a complete set of cutlery would be better (leave the nice china at home, though!).  Cooking over a campfire is different than using a camp stove, so you would want everything you would typically use when grilling in your backyard when car camping, especially if you plan on making a campers feast!

Final Thoughts:

That’s all for this one!  The highlight for this is when it comes to fork and spoon vs spork for backpacking spork wins every time!  Let me know your thoughts on this battle!

Disclosure: Some links on this page are affiliate links, and if you go through them to make a purchase or a booking, I may earn a commission. Using these links DO NOT affect the cost of the product/booking. The price remains the same affiliate link or not.  Thanks for supporting my small business!

Categories
Food Hiking Basics Outdoors for Beginners

9 Best Salty Hiking Snacks

Disclosure: Some links on this page are affiliate links, and if you go through them to make a purchase or a booking, I may earn a commission. Using these links DO NOT affect the cost of the product/booking. The price remains the same affiliate link or not.

9 Best Salty Hiking Snacks:

best salty hiking snacks

Whenever out on the trail, you need to make sure you are correctly refueling!  I can talk about hiking and backpacking food all day, but let’s focus on salty snacks for now.  We will go over the best salty snacks for hiking and why they are so essential to have when hiking.

Why You Should Eat Salty Snacks When Hiking:

Whenever performing an aerobic exercise such as hiking, you will burn calories and sweat.  Therefore you need to ensure you are taking in adequate nutrients and water to match what your body is using up. 

Sidebar- if you want to learn how to treat and carry your water when backpacking/hiking,  check out this article.  

Salty snacks are especially important because they help replenish the precious electrolytes we lose through sweating while also providing calorie & nutrient dense to keep our energy up when hiking. 

What Nutrients Should You Have In Your Salty Hiking Snacks?

When you are in the grocery store picking up your last-minute snacks for your hiking trip, you want to grab snacks with a good nutrition profile.  Specifically, what you want are snacks that are:

Best Salty Hiking Snacks:

Okay, now for what you have all been waiting for here is my entirely subjective list on the best salty snacks for hiking:

  • Pretzels
  • Peanuts
  • Trailmix
  • Granola bars
  • Snickers
  • Justin’s peanut butter
  • Energy Chews
  • Crackers
  • Beef jerky

Pretzels

I go for a gluten-free option (because, celiac disease 🙁 ).  These guys are salty and contain straight-up carbs.  The only downside is that it is so easy for them to get crushed to bits in your pack!

Nuts

Nuts are super salty, rich in fats and protein, and come in various options, but my personal favorite is Trader Joe’s roasted almonds!

Trail Mix

These are one of my faves, and they can contain ANYTHING!   Chocolates, raisins, peanuts, fruit, you name it, there’s a trail mix for it, and if not, you can make your own!

Granola Bars

One of the most popular snack options for hikers, and for good reason.  Granola bars are a calorie and nutrient-dense food, with many brands available to choose from.  I have always been a fan of Clif bars and will be to the day I die.  They have a ton of flavor options, nutrients and are affordable, especially if you buy in bulk!

Snickers

I know what you might be thinking, why would I eat candy when I am doing a healthy activity like hiking?  Remember, you are burning tons of calories when hiking or backpacking, so foods like snickers that are packed with sugars, calories, and salt are helpful to have on a long-distance hike.  Also, come on, they taste amazing.

Justin's Nut Butter

Peanut butter, almond butter, cashew butter, oh my!  Justin’s offers a variety of flavors with these on-the-go pouches.  These little guys can be either a great addition to your morning oatmeal or can be enjoyed on their own straight out of the packet.  While they are a bit more expensive, the taste is more than worth it.

Energy Chews

These gummies are specifically designed for endurance activities and come jam-packed with all your essential electrolytes and sugars needed for a long hike!  The added bonus of these is that they are super small and easy to pack. 

Crackers

Throw some peanut butter, cheese, or spread of your choice on these salty snacks, and you have an excellent mini-meal for whenever you need to stop and take a break.  Again, avoid placing them at the bottom of the pack; otherwise, they will become dust.

Beef Jerky

High protein and salt content make this salty snack an excellent choice for your next hike.  Warning not vegetarian!

Best Way To Pack Your Hiking Snacks:

Okay, now that you have your snacks, the last thing we have to do is pack them in our pack.  The biggest piece of advice I can give is DO NOT put snacks in a rigid plastic container directly in your pack.  These types of containers are bulky and take up unnecessary space.  

To avoid this common pitfall, switch your snacks from their containers to a ziplock bag, so you don’t have to deal with bulky containers when packing your backpack.

Don't Forget To Properly Store And Dispose Of Your Food!

How to store food with a bear box

Make sure that you are following leave no trace principles, properly storing your food, and packing out your trash when on the trail.  Check out our “how to store food while backpacking” post to learn more!

Tell Me, What Are Some Of Your Favorite Hiking Snacks?

Categories
Outdoors for Beginners backpacking for beginners Food Gear Articles

How Big Of A Pot Do I Need For Backpacking? Ultimate Guide

How Big Of A Pot Do I Need For Backpacking? The Complete Guide.

how big of a pot do I need for backpacking

A common question I find myself asking whenever going on a backpacking trip is how big of a pot do I need?  The size of your pot can vary based on how many people you are cooking, and what you are cooking. 

If you eating backpackers freeze dried meals the straightforward equation you can use to determine the correct sized pot for you is below:

How Big Of A Pot Do I Need For Backpacking =

Most Volume Of Water Needed For A Meal x Number Of People Eating

Now, if you do not want to use freeze-dried meals and want to cook something on your own, the equation above would not work for you as you may require more space depending on what exactly you plan on cooking.

In this article we will discuss the importance of having the proper size cookware as well as which one will be the best for your next adventure. 

Why Is It Important To Have The Correct Sized Pot When Backpacking?

Everyone needs a good cooking set when out on the trail, but an important question is how big of a pot you need.  When backpacking you need to have a pot that is big enough to cook all your food in one shot but not unnecessarily large where it takes up valuable pack space and weight.

Things To Consider Before Buying Your Backpacking Pot:

As I  said, the two important factors that determine what kind of backpacking pot you need are the number of people you are cooking for and what you plan on cooking.  Let’s take a deeper dive into this to discover what kind of backpacking pot you need for your next trip

What Will You Be Cooking:

Camping Cooking

Knowing your meals beforehand will give you an idea of how much space you will need in your pot to cook your meals in.  Your meal choice comes down to preference, would you rather pack light and keep it simple with instant freeze-dried meals, or would you prefer to cook something a bit more elaborate for your backcountry adventure?

How Big Of A Pot Would You Need For Simple Backpacking Meals?

When I say “simple backpacking meals,” I am referring to meals that just require adding hot or boiling water to cook them, such as oatmeal and freeze-dried backpacker meals.  

I prefer simple backpacking meals because they allow you to pack lighter, and it is easier to know how big of a pot you need for backpacking because you just have to use our equation above.


For example:  For breakfast, I typically eat 2 instant packets of oatmeal requiring ¾ of a cup of water each and coffee which requires 1 cup of water.  Totalling 2.5 cups of water needed for breakfast.  For dinner, I eat a freeze-dried backpacking meal which, although the amount of water varies, usually comes out to about 2 ½ cups of water needed for dinner.  

2 1/2 cups is the most water I will need for any given meal and I am only cooking for myself so if I plug that into our equation….

I need at least a 2.5 cups backpacking pot

For The Backpacking Chef:

Now, if you enjoy more variety or need to have eggs and bacon for breakfast, you may need to do a little research before selecting the correct sized backpacking pot for you.  The reason being is that you are going to want to make sure that what you have is wide enough to cook your meals in a reasonable amount of time. 

For those of you trying to chef it up on the trail, you may be better off with a collapsible backpacking cook set where you have the option of different-sized cookware for whatever it is you plan on making.  While you can’t use our formula for more meals that require actually cooking, you can use trial and error when car camping before you bring your set into the backcountry

Who Are You Cooking For

Okay, after you decide what you are cooking, the last thing you need is to figure out how many people you will be cooking for.  It is helpful for those of you cooking for a group to get a pot big enough to cook for the entire group in one shot.  Otherwise, you may wind up wasting fuel by cooking multiple meals in the same pot.  

Pot vs Mug:

Backpacking Pot
Backpacking Pot
how big of a pot do I need for backpacking
Backpacking Mug

Okay now that you know about what size you need it’s time to decide whether a backpacking pot or mug would be best for you.

Backpacking Pot:  A Backpacking pot is the larger of the two, inherently making it more bulky and tougher to pack.  However, on the upside, the extra volume is beneficial when cooking for multiple people, or if you actually plan on cooking meals that require more skillet-type surfaces, such as bacon, eggs, or rice.  

Backpacking Mug:  The backpacking mug is essentially a little can that packs down well, making it great for ultralight backpacking.  In contrast to the pot, a mug does not have the volume needed to cook for a group or to cook actual meals. Backpacking mugs are best for simple meals that can just require adding hot water.   So if you are a solo backpacker looking to travel ultralight and cook relatively simple meals, the backpacking mug would serve you well. 

Check Out Some Backpacking Pots and Mugs!

Backpacking Pots:

ItemVolumeDescriptionCheck Prices
MalloMe Camping Cookware Mess Kit
1 Liter
  • 10 piece set
  • Aluminum cookware
  • Collapsible 
  • Nonstick pot and pan included
Check Prices On Amazon
Snowpeak Trek 1400
30 fluid ounces
  • 3 piece set
    • Pot
    • Skillet (doubles as a lid)
    • Ignition
  • Lifetime Guarantee 
Check Prices On Amazon
Toaks Titanium Pot
2 Liters
  • Bail handle and lid included
  • Titanium material
Check Prices On Amazon

Backpacking Mugs:

ItemVolumeDescriptionCheck Prices
Toaks Titanium Pot 
750 ml
  • Bail and foldable handles
  • Titanium
Check Prices On Amazon
Stanley Adventure Cook Set
24 ounces
  • Collapsible set lid and locking handle
  • includes 2 mini coffee cups 
  • Stainless steel
Check Prices On Amazon
Solo Stove Solo Pot
30 ounces
  • Foldable handles
  • Stainless steel
Check Prices On Amazon

Get Your Backpacking Checklist!!!

Get your free backpacking checklist!

Join our mailing list to get the latest news, updates, posts, trails, and itineraries!