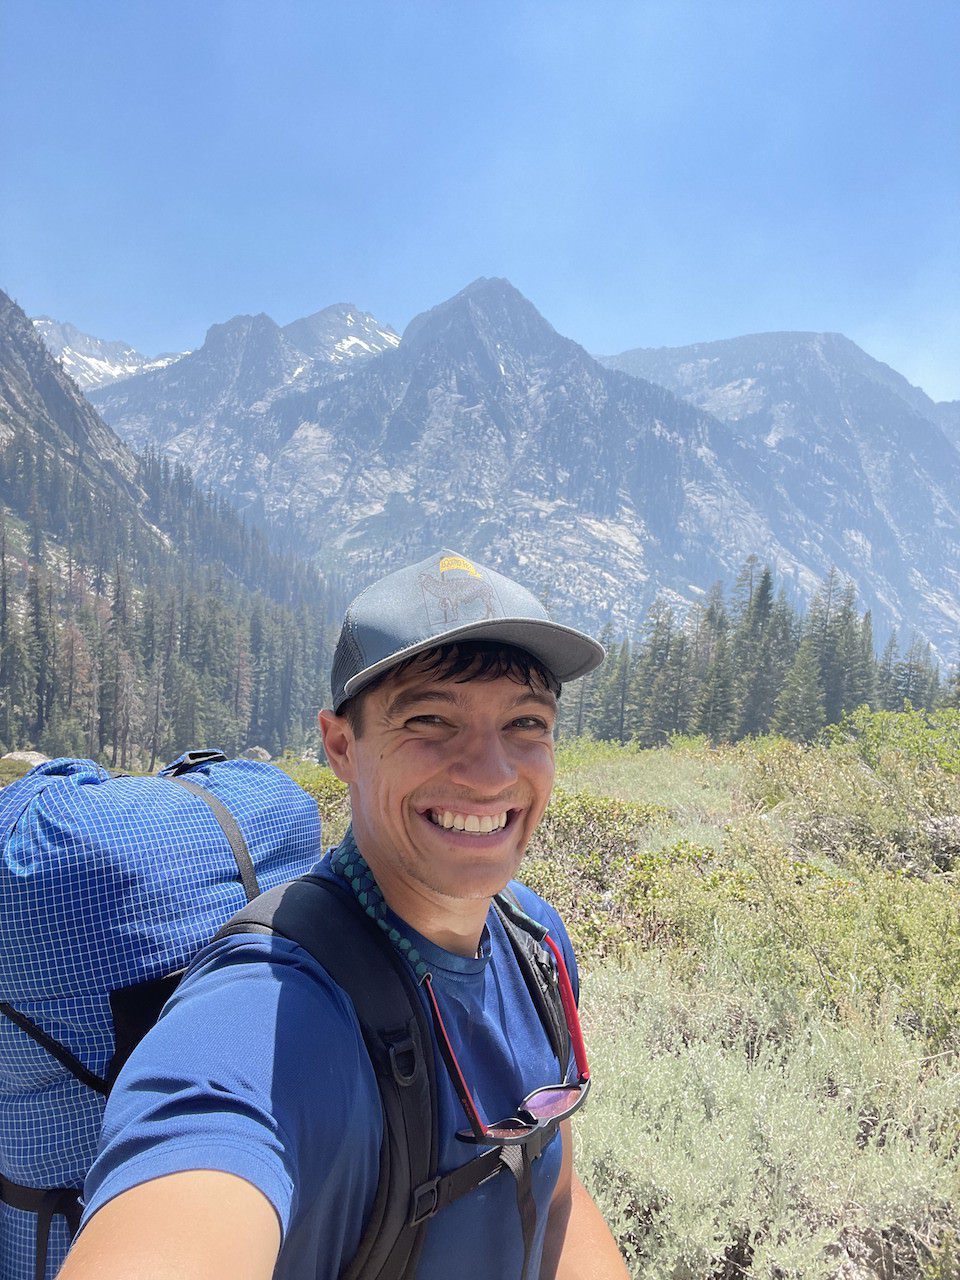
Category: backpacking for beginners
articles for beginner backpackers.


5 Best Men’s Backpacking Clothes:
- Post author By Dylan
- Post date November 7, 2022
Best Men's Backpacking Clothes:
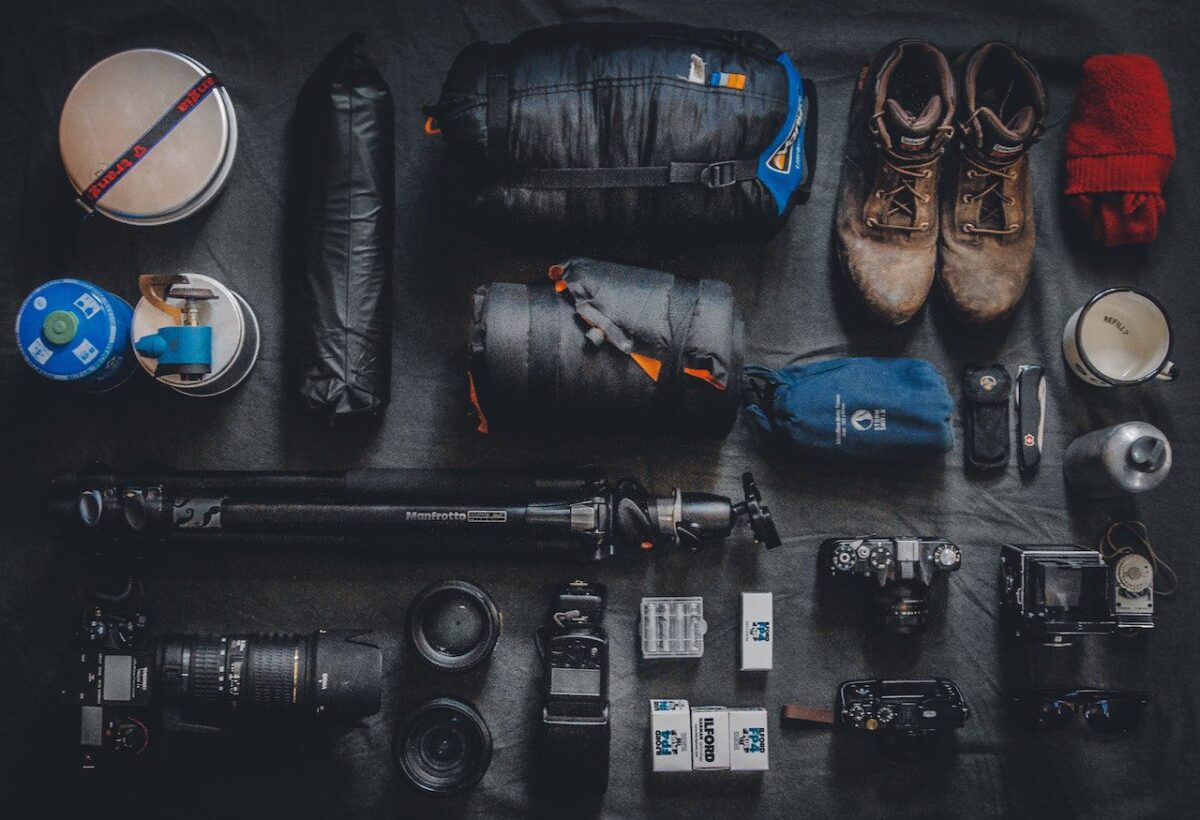
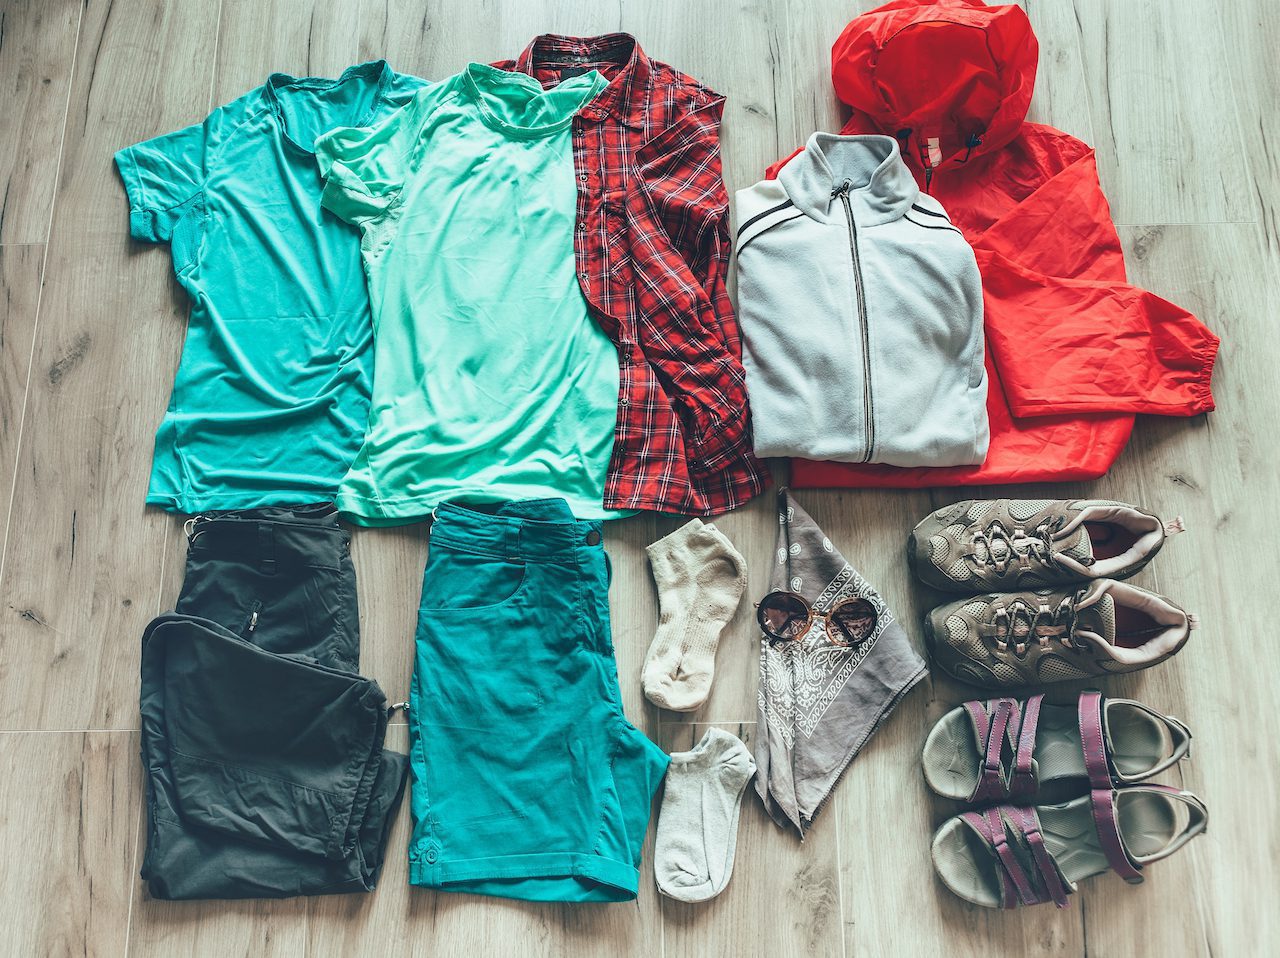
Having the right gear is essential to any backpacking trip, and one of the most critical pieces of equipment for any backpacking trip is the clothes you wear. Remember that different trips may require other clothing depending on the environment, time of year, and weather conditions. But below are some of the best men’s backpacking clothes out on the market today!

Down jackets are a must whenever you hit the backcountry, and my favorite is this north face. With an 800 fill count and its packability makes, it a must to keep you warm while backpacking.

Easily one of the best investments you can make. Prana makes the best hiking pants. Not only are they incredibly comfortable, but they are sturdy. I have owned these pants for the past six years without so much as one hole in them!

You always need a rain jacket when you are out on the trail regardless if you are doing a day hike or a multi day backpacking trip. This Columbia men’s rain racket is light-weight comfortable and packs down easily.

Okay, next up is the hiking shirt. So, to be honest with these, you can go with any breathable material, such as polyester or nylon. But I love this Under Armour Men’s T-Shirt. It’s lightweight, breathable, and affordable.

You need hiking socks! If you don’t believe that then read through my article “Are Hiking Socks Necessary 5 Reasons Why You Need A Pair.” I absolutely love the Darn Tough brand because of its variety of SKU’s, comfort, warmth, and not to mention they have a LIFETIME WARRANTY! If you do not already own a pair of these, you have to try them out.
Disclosure: Some links on this page are affiliate links, and if you go through them to make a purchase or a booking, I may earn a commission. Using these links DO NOT affect the cost of the product/booking. The price remains the same affiliate link or not.
Compression Sacks Vs Dry Bags For Backpacking (2022)
- Post author By Dylan
- Post date October 22, 2022
Compression Sacks Vs Dry Bags For Backpacking:
What is up, guys?! As we all know, selecting the right gear for a backpacking trip can be tricky! There are so many different options out there, and it can be challenging to determine what equipment you need and what you can leave home. Here I will go over whether you should go with compression sacks vs a dry bags for backpacking.
Some of you are probably in a rush, so I will skip to the point before getting into the nitty gritty. You don’t have to choose!
That’s right. A product on the market combines the water resistance of a dry bag with the space-saving ability of a compression sack. If you are interested in this, check it out here!

Compression Sacks:

What Is A Compression Sack
A compression sack is a sack that often comes in varying sizes and can be compressed down through a series of straps to help you save space in your pack. Stuff sacks typically come in a variety of different sizes depending on how many things you are trying to put in there.
How Are Compression Sacks Used When Backpacking:
The main benefit of using compression sacks when backpacking is to save precious space in your pack, by shrinking down space taking items such as clothes, layers, and your sleeping bag!
What Can You Put In A Compression Sack?
When deciding what to put into a compression sack, you want to stick with flexible items, such as clothing, that won’t break when put under pressure or squeezed tightly.
By placing flexible and compressible things, you can save lots of space as opposed to putting stiff or rigid items in it. Also, you want to avoid placing sharp or delicate items in a compression sack because these items can either break or damage the bag when compressed.
Can You Put A Sleeping Bag In A Compression Sack?
Yes.
Putting a sleeping bag in a compression sack during a backpacking trip is a great way to save space. However, when you are done with your trip, you should remove it from the bag. Keeping a sleeping bag compressed long-term can hinder its insulative properties.
Can You Use A Compression Sack For A Bear Hang?
Yes.
You can use a compression sack for a bear hang, but remember that most compression sacks are not waterproof. So should it rain overnight, you will be out of luck! For this reason, I prefer using a dry bag when making a bear hang.
Dry Bags

What Is A Dry Bag:
Dry bags are a waterproof bag used in water sports and outdoor activities to safely store water sensitive items. They are frequently used when backpacking to store clothes, electronics and sleeping bags.
How Dry Bags Are Used When Backpacking:
Unlike a compression sack, most dry bags cannot compress their contents to save space in your pack. The main use of a dry bag is, like I said to keep stuff dry! Dry bags are essential to protecting sensitive items against rain and work great when making a bear hang.
I typically use a dry bag when I know I will be encountering rainfall during a backpacking trip or if I plan on making a bear hang during the trip as my means of food storage.
Dry Bags Vs Compression Sacks For A Bear Hang:
Both dry bags and compression sacks can be used for making a bear hang. However, the better option between the two has to be the dry bag as it protects against the rain!
If you want to learn more about how to safely store your food while backpacking, check out our article “how to store food while backpacking” remember, proper food storage is essential to leave no trace.
Cheap Alternative To Dry Bags:
If you want the functionality of a dry bag but do not want to spend the money on one, there is a secret way to get the water resistance of a dry bag without spending the money on one. This alternative is… a garbage bag!
You can use a garbage bag as a makeshift liner in your pack to protect its contents from inclement weather.
So Which Is Better Compression Sack Or Dry Bag?
So time for the moment of truth, which is better? Compression sack vs dry bag for backpacking? If you have already read our intro, you would know you don’t have to choose!!! Sea And Summit makes a waterproof compression sack combining the space-saving ability of a compression sack with the water resistance of a dry bag! You really can have it all!
Disclosure: Some links on this page are affiliate links, and if you go through them to make a purchase or a booking, I may earn a commission. Using these links DO NOT affect the cost of the product/booking. The price remains the same affiliate link or not. Thanks for supporting my small business!
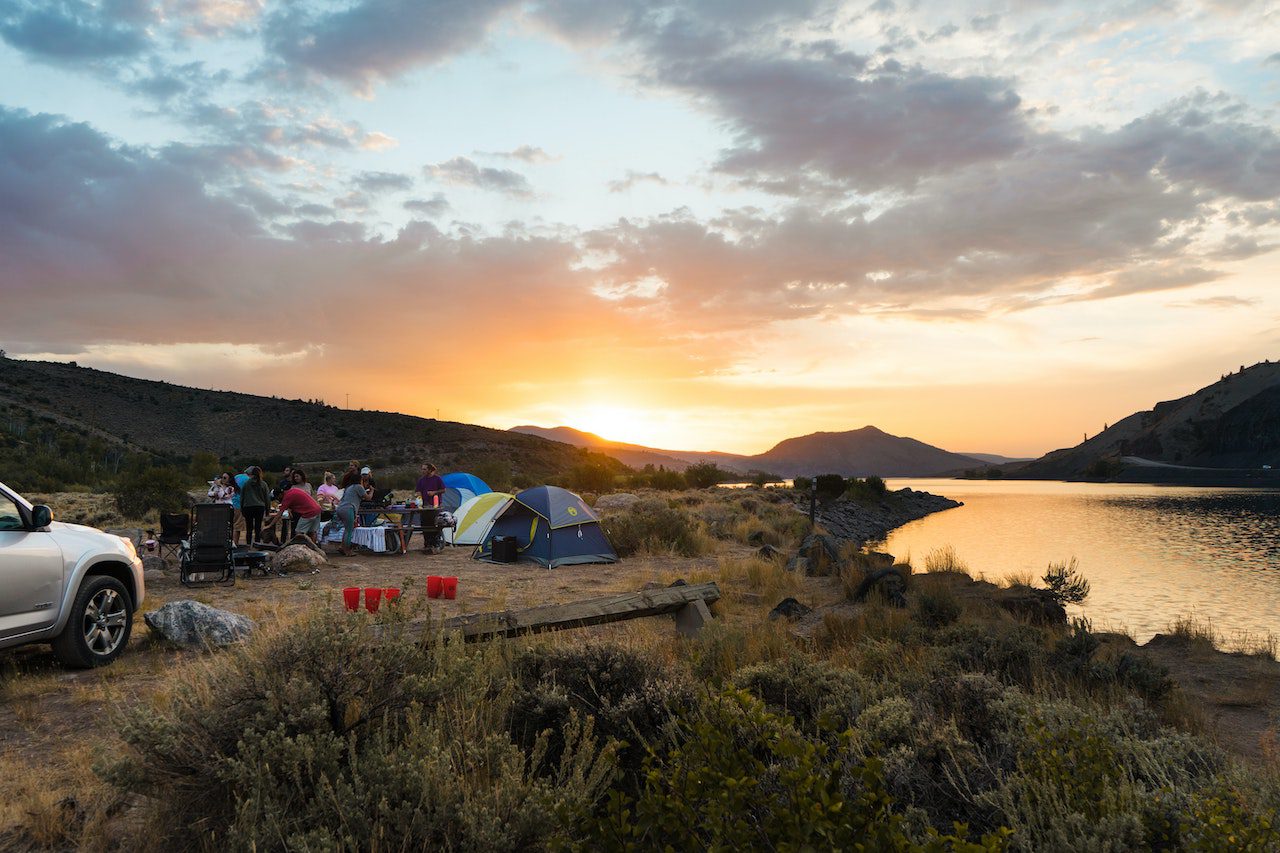
Backpacking Vs Day Hiking. Which One Is Better?
- Post author By Dylan
- Post date October 22, 2022
Backpacking Vs Day Hiking. Which Is Better?
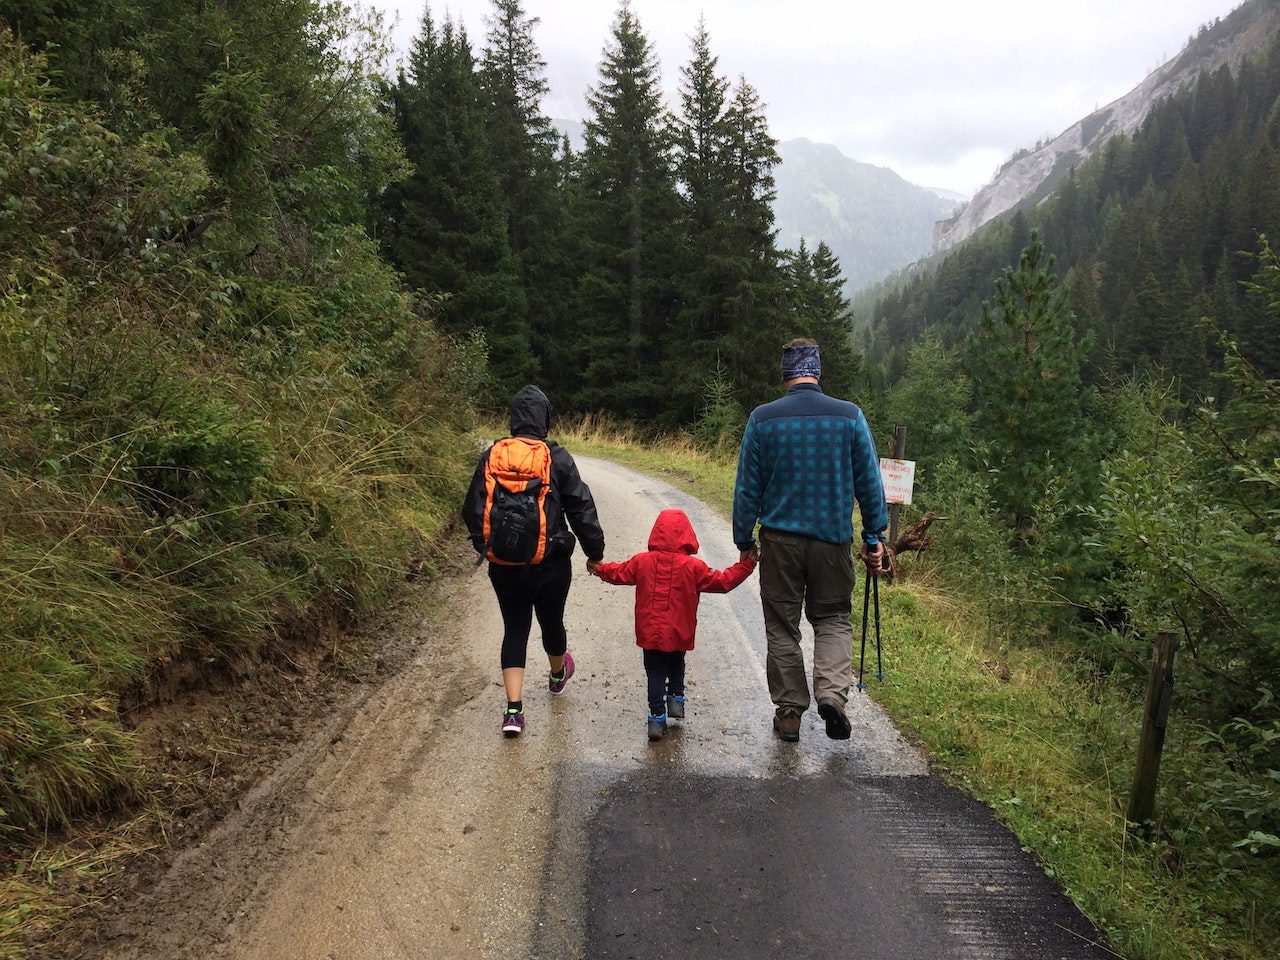
There are so many incredible trails in the world it can be hard to choose which one to explore next. However, depending on your experience level and the available time, you might find that some trails are better suited for you than others.
While both day hiking and backpacking require a fair amount of preparation, there are some important distinctions between the two activities. If you’re considering whether backpacking vs day hiking is right for you, read on to learn more about each activity’s pros and cons.

What Is Backpacking?
Backpacking is a type of wilderness travel where hikers carry all their gear on their person. Typically a backpacking trip involves a multi-day journey, with hikers camping out in the wilderness along the way. This means that backpacking also requires carrying a backpack with all your gear and provisions needed for the trip.
The term “backpacking” was first used in the 1900s in reference to American hikers who traveled abroad with large rucksacks on their backs. Backpacking has become a popular way to explore nature in its rawest form.
What Is Day Hiking?
While backpacking usually implies an overnight stay in the wilderness, day hiking usually refers to any hike lasting from a couple of hours to an entire day. Day hikers usually travel shorter distances than backpackers and are not expected to set up a campsite in the wilderness. Typically at the end of a day hike, the hiker will drive back home or head to their front-country campsite.
Another significant difference between day hikers and backpackers is the required gear. Day hikers carry a much lighter load, only bringing the necessary equipment and provisions for the hike, which is less since they hike out the same day and don’t need to bring extra equipment such as a shelter, sleeping bag, etc.
If you’re planning to go on day hikes regularly, you may opt to purchase a daypack to store your gear more compactly and efficiently. Day hikers are more likely to be seen with a daypack than the higher-volume pack many backpackers wear since they don’t need to carry as much gear as discussed.
Benefits Of Backpacking:
Generally, backpacking trails are less populated and more remote than day hikes. This means that you are more likely to enjoy some solitude away from crowds when you are on a backpacking trip in the remote backcountry. Backpacking is a great way to escape the noise and light pollution of major cities and connect to nature in a way that day hiking may not allow.
Since a backpacking trip typically lasts several days, you can cover much more ground during a multi-day backpacking trip than you would in a single day hike.
Downsides Of Backpacking

While the benefits of backpacking certainly outweigh the negatives, there are a few things to consider before you decide to go on your first hiking trip.
Firstly, backpacking requires that you carry a heavy load, sometimes upwards of 40 pounds. This can take some getting used to and can be a significant challenge for inexperienced or out-of-shape hikers. To avoid injury and discomfort, you should begin by carrying a light load on day hikes and slowly build yourself up to backpacking fitness.
Also, backpacking requires having the proper equipment. Unlike a day hike, where you can hike with minimal gear, a backpacking trip requires you to be able to live on your own in the wilderness for several days; that means food, water, shelter, the right clothes, and much more. Without this, the experience can be very uncomfortable, if not downright dangerous.
Finally, backpacking requires basic outdoor skills such as setting up a shelter, navigation using a map & compass, and knowing how to filter your water, to name a few. Heading out on a backpacking trip without being proficient in these skills is unwise and dangerous.
Benefits Of Day Hiking
While you may not get the isolation that typically comes with a backpacking trip, there are still many benefits to day hiking.
One major advantage of day hiking is that it is a great way to get out and enjoy the great outdoors while on a time crunch. Only have an hour or two after work and want to get outside? Day hiking is a great way to do that without having to commit multiple days to being in the wilderness.
Another perk of day hiking is that you do not need as much gear as you would if going on a backpacking trip. However, you should be aware that some pieces of equipment are a must, even if you are just going on a short day hike. You can learn more about the day hiking essentials with my “Day Hike Gear Guide.”.
Overall, day hiking is a great way to ease into the activity before graduating to backpacking. Day hikes are a great way to hone your outdoor skills in a more controlled setting, which can then be applied to longer overnight trips.
Downsides To Dayhiking
While day hiking offers many benefits, it also has some downsides. Perhaps the most annoying downside of day hiking is that because they are often more easily accessible than some backpacking routes, you may find yourself hiking on crowded trails. While this isn’t the end of the world, it can take away from being fully immersed in nature which comes with many backpacking trips.
Soooo Which One Is For You?
Ultimately, backpacking and day hiking are great ways to experience the joy of hiking. Before deciding which to go on, make sure you and your group are prepared for each activity’s challenges. Begin by choosing an appropriate trail for your experience level and ensure you have the necessary gear. For some gear recommendations, check out my “Backpacking Gear Guide” or “Day Hike Gear Guide.”
As a general rule of thumb, if you are new to hiking, I would recommend sticking with day hikes when starting out and maybe take some wilderness classes before venturing out on your first backpacking trip. If you are completely new to backpacking and want to learn more, check out my “How To Start Backpacking” post.
Suppose you have plenty of hiking experience and are still debating whether you want to do a trip consisting of many-day hikes vs. a long multi-day backpacking trip. I would research what exactly you want to see in the park. If what you want to see is more remote and requires multiple nights in the backcountry, then you should backpack. But if not, I would stick with day hiking so you can cover more mileage easier and be a bit more comfortable at camp.
Categories
5 Ways How To Get Fiber When Backpacking:
- Post author By Dylan
- Post date October 18, 2022

5 Ways On How To Get Fiber When Backpacking:
Besides having the proper gear, a good diet is crucial for staying comfortable and safe during a backpacking trip. On my first backpacking trip to Grand Teton National Park, I did a poor job preparing for both of these facets. My diet had such little fiber during this trip that I didn’t poop once during this four-day, three-night journey. Quite uncomfortable. I would not recommend it.
Fortunately, I have learned how to up my diet game since then, and I will break down how to get fiber when backpacking to keep you going when you are on the trail!
Why Is Fiber Important?
Having adequate fiber in your diet is essential for maintaining several bodily functions, including normalizing bowel movements, maintaining bowel health, and controlling cholesterol levels. You can learn more about the benefits of a high-fiber diet at mayoclinic.org.
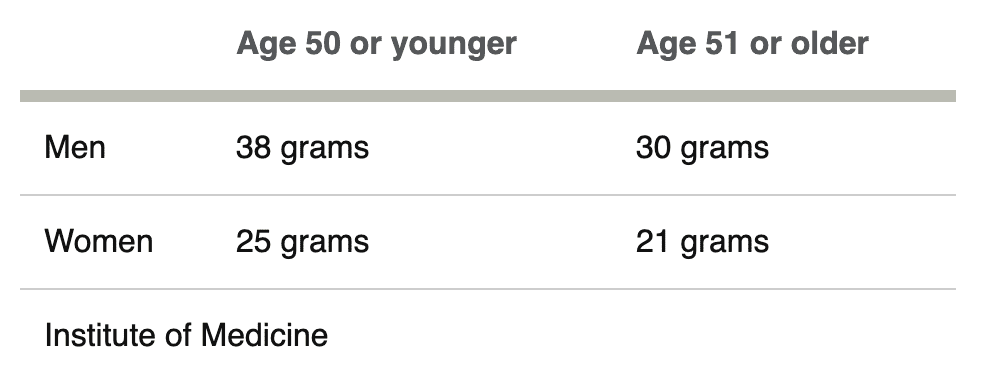
How Much Fiber Do You Need?
According to the Insitute of Medicine the recommended daily fiber intake varies based on gender and age. Below are the recommended values for daily fiber intake:
High Fiber Foods:
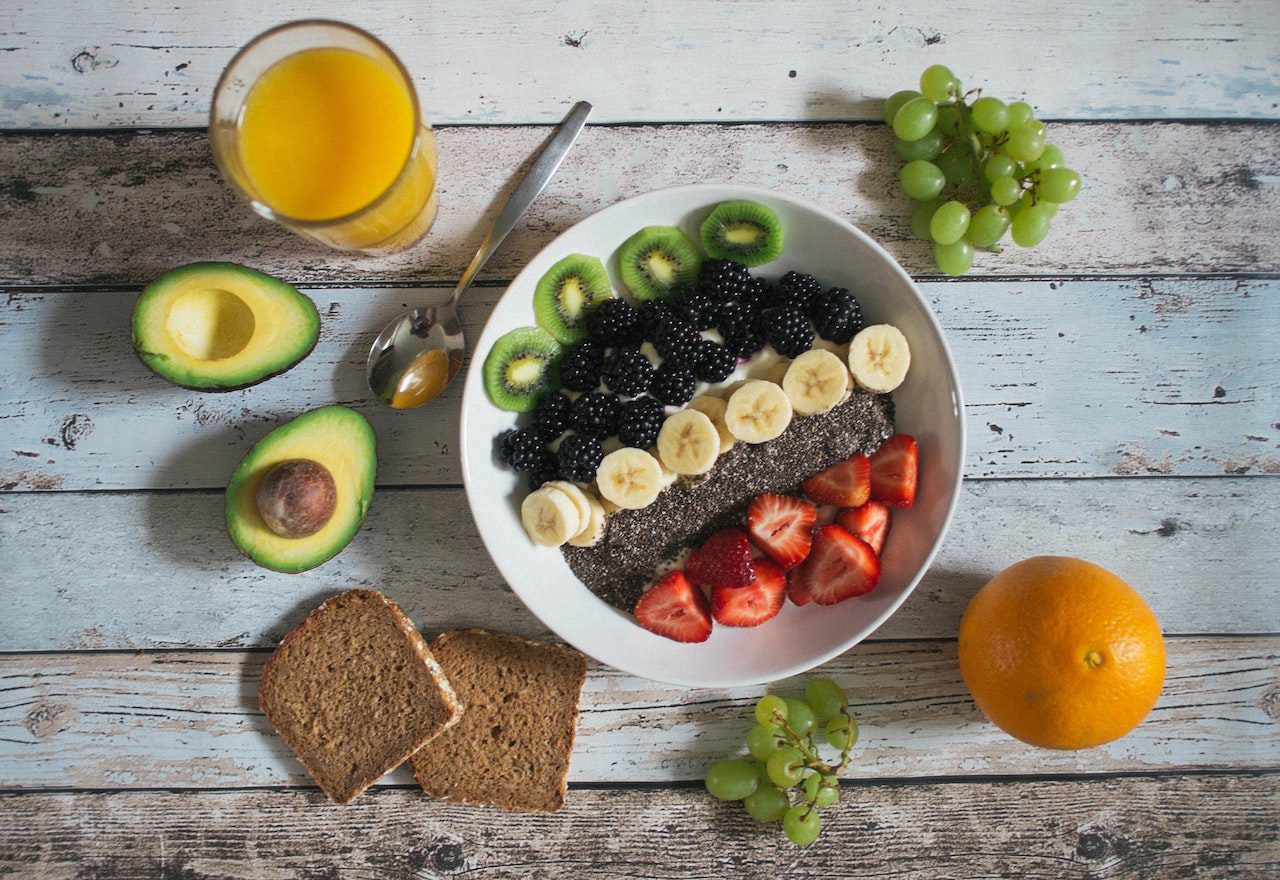
As I said, getting enough fiber is crucial, especially on a backpacking trip below are five great high-fiber food groups:
- Fruits
- Nuts
- Whole Grains
- Vegetables
- Legumes
Fruits:
Fruits especially dried fruits, are an excellent source of fiber and nutrients, especially when backpacking. I love that dried fruits are very easy to pack and have an extremely long shelf life, so you don’t need to worry about your snacks going bad on a long backpacking trip. Not only that, but they are delicious, and you can have them with various types of fruit. My personal favorite has to be Trader Joe’s “Just Mangos.”
Nuts:
Nuts are one of the best backpacking snacks; jam-packed with electrolytes and fiber, nuts are a very nutritious and versatile food. What makes nuts so versatile is the variety of ways they can be eaten, from granola bars to trail mix to raw there is something for everyone unless you are allergic … then no nuts for you!
Whole Grains:
Whole grains are another great way to get your fiber in while backpacking. The Mayo Clinic defines whole grains as grains “in their whole form or ground into flour while retaining all parts of the seed.” Here are some great ideas to fit whole grains into your high-fiber backpacking diet:
- Brown rice
- Granola bars
- Whole wheat pasta
- Whole wheat bread
- Oatmeal
Vegetables:
Alright, we all have been told at one point or another that we need to eat our veggies, and high fiber is another reason veggies are a must, especially on the trail. The only annoying thing about vegetables is that they can spoil if not properly stored. This short shelf life can be challenging to bring them on backpacking trips, but some that work well when on the trail include:
- Carrots
- Dried veggies
- Veggie snacks!
Legumes:

Okay, okay, yes, legumes are technically a vegetable, but I felt as though these little guys deserved their own section! A section of the vegetable family legumes are the seeds of plants consumed at an earlier stage of life. Some examples of these foods include:
- Black beans
- Peas
- Lentils
- Chickpeas
While you can eat a can of beans for dinner when backpacking, other great ways to sneak this fiber-filled food into your trail diet is by enjoying them in snack form, such as Harvest Snaps! These guys are seasoned, taste delicious, and contain about five grams of fiber per serving!
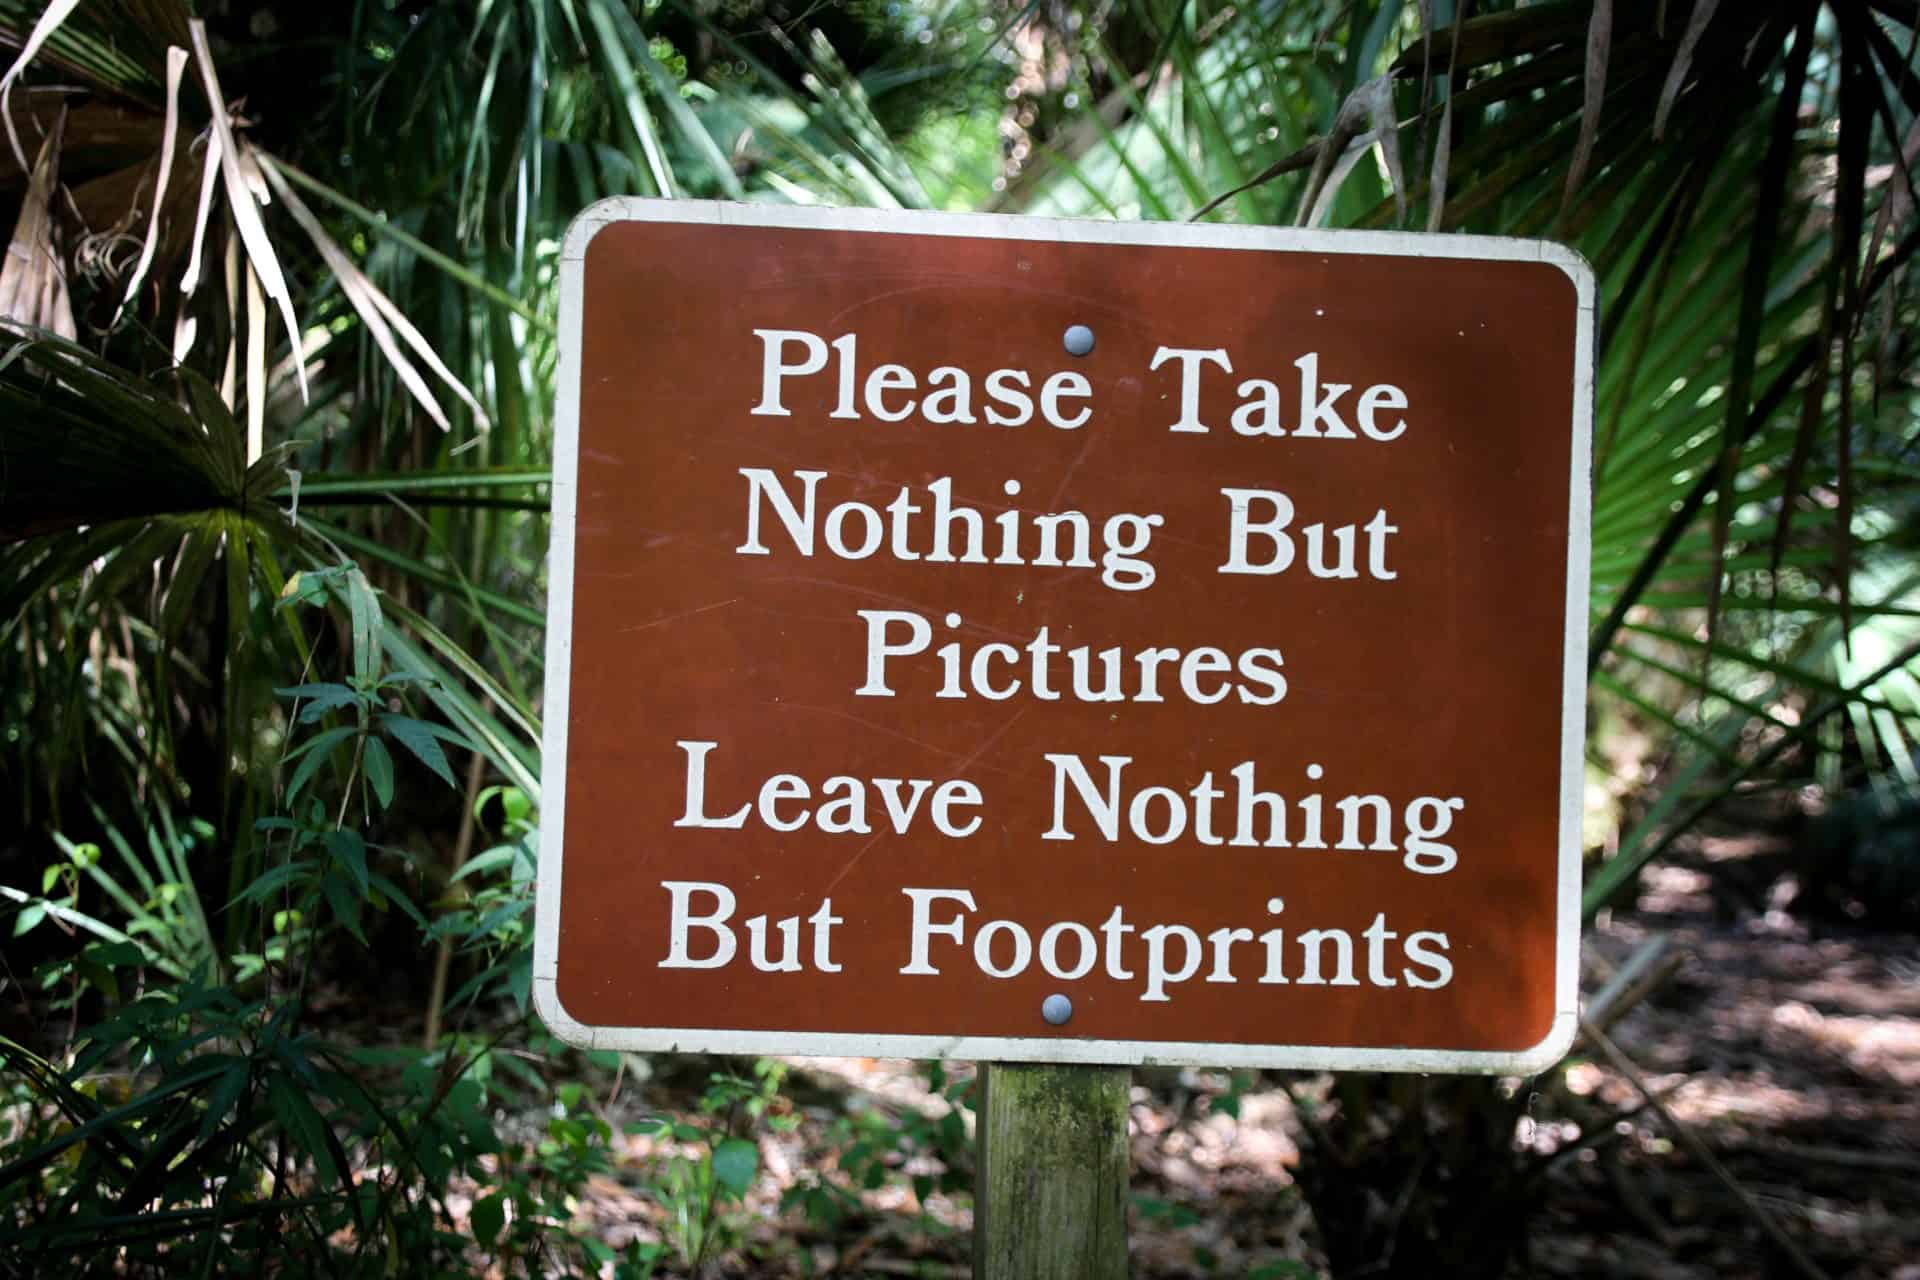
Don't Forget To Properly Store Your Food When Backpacking!
Make sure that you are following leave no trace principles, properly storing your food, and packing out your trash when on the trail. Check out our “how to store food while backpacking” post to learn more!
That's All!
That’s all for this post remember having a proper diet plan is essential for any foray into the backcountry. If you want to learn about salty snacks to help keep you fueled during a long expedition check out our article “9 Best Salty Hiking Snacks.”
Disclosure: Some links on this page are affiliate links, and if you go through them to make a purchase or a booking, I may earn a commission. Using these links DO NOT affect the cost of the product/booking. The price remains the same affiliate link or not.
Categories
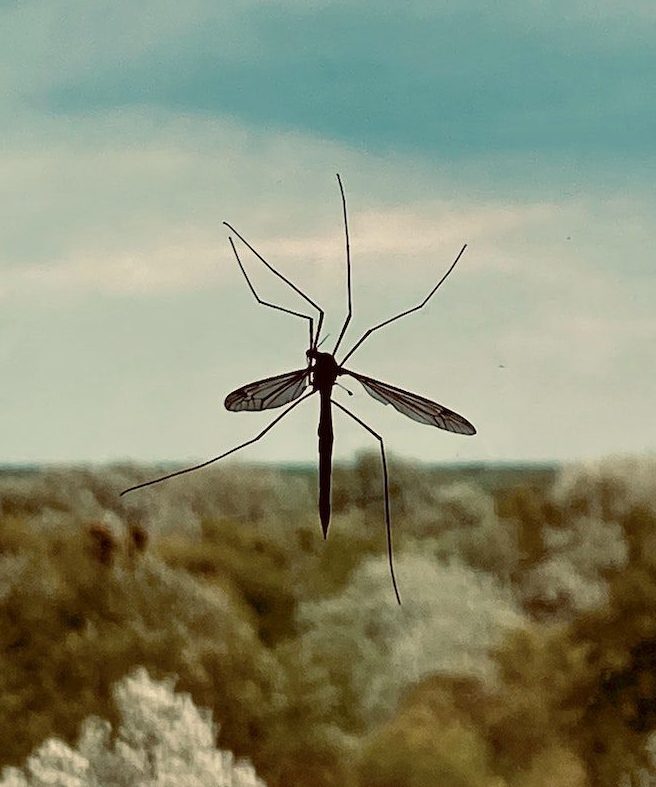
7 Tips On How To Keep Bugs Away When Backpacking?
- Post author By Dylan
- Post date October 14, 2022
7 Tips On How To Keep Bugs Away When Backpacking:
When backpacking through Yosemite National Park, I was stunned by the natural beauty. From Clouds Rest to Half Dome, Yosemite had some of the most incredible landscapes I’ve ever seen, but you know what they say, with great views comes- the worst bugs you will ever experience!
These guys were insufferable and surrounded me any chance they got to take little nibbles out of me for miles at a time. After this experience, I dedicated my next several backpacking trips to learning how to keep bugs away while backpacking. Although you cannot avoid pests in the backcountry, here are some strategies to keep them at bay when you are out on the trail!
- Bug Spray
- Bug Repellant Bracelet
- Have a bug net
- Camp away from water
- Make a campfire if permitted
- bug nets for your head
- Keep your skin covered
Bug Spray
First, we have the most obvious solution: your traditional bug spray. Just spray the solution on exposed areas of skin as directed by the product’s instructions. The only problem with using bug sprays is that the canister is typically a bit bulkier and rigid taking up more pack space than desired. Despite this, bug spray is a great way to keep these pests away in the backcountry.
Keep Skin Covered:
Bugs do not give a damn what they bite so long as they can get a piece of you, face, forearms, hands, and ankles. Any inch of exposed skin is open season to bugs in the backcountry.
Given the persistence of these bugs, I recommend covering up as much as possible in extremely buggy conditions. This means wearing a long sleeve hiking shirt, hiking pants, and boots with high-cut hiking socks to keep you well protected. While being completely covered up during a summer backpacking trip does not sound comfortable, I assure you that it beats being bit by hundreds of mosquitos for miles at a time.
Make A Campfire
Campfires are an excellent way to keep mosquitos away when you make it to camp. The combination of the smoke and the heat helps keeps these annoying bugs at bay and allows you to curl up and relax after a long day of hiking. As always, be sure you adhere to your park’s rules and regulations and that there are no active fire bans in place.
Have A Bug Net For Shelter:
Camp Away From Water:
While camping on a lake is beautiful, you need to be prepared for the swarms of mosquitos that come with setting up shop near a body of water. The reason is that flies love laying their eggs in still water, yea, it turns out bugs love hanging out by alpine lakes just as much as we do!
So if mosquitos are terrible during your trip, you may want to camp a little further away from that lake. If not, I recommend waking up earlier, as the cooler temperatures will keep the bugs away. That way, you can avoid the onslaught of bites during breakfast!
Bug Nets For Your Face

![]()
So if I’m going to be honest with you, I loathed these things. Bug nets just seemed so lame and unnecessary to me when backpacking. But boy, did I wish I had one of these when I was hiking through some of the fly-infested meadows in Yosemite. Those bugs bit me all over, including my face, and a bug net would have kept me way more comfortable during this trek.
Mosquito Repellent Bracelets:

![]()
If you don’t feel like regularly spraying yourself on a backpacking trip and want an option that’s easier to carry around, you should look into getting a mosquito-repellent bracelet. These bracelets work by slowly releasing chemicals or coated in a series of essential oils to keep bugs away while backpacking. What’s nice is that they can be worn on your person or attached to a piece of equipment such as your pack or belt buckle.
I Hope This Was Helpful! Tell Me How You Keep Bugs Away When Backpacking!
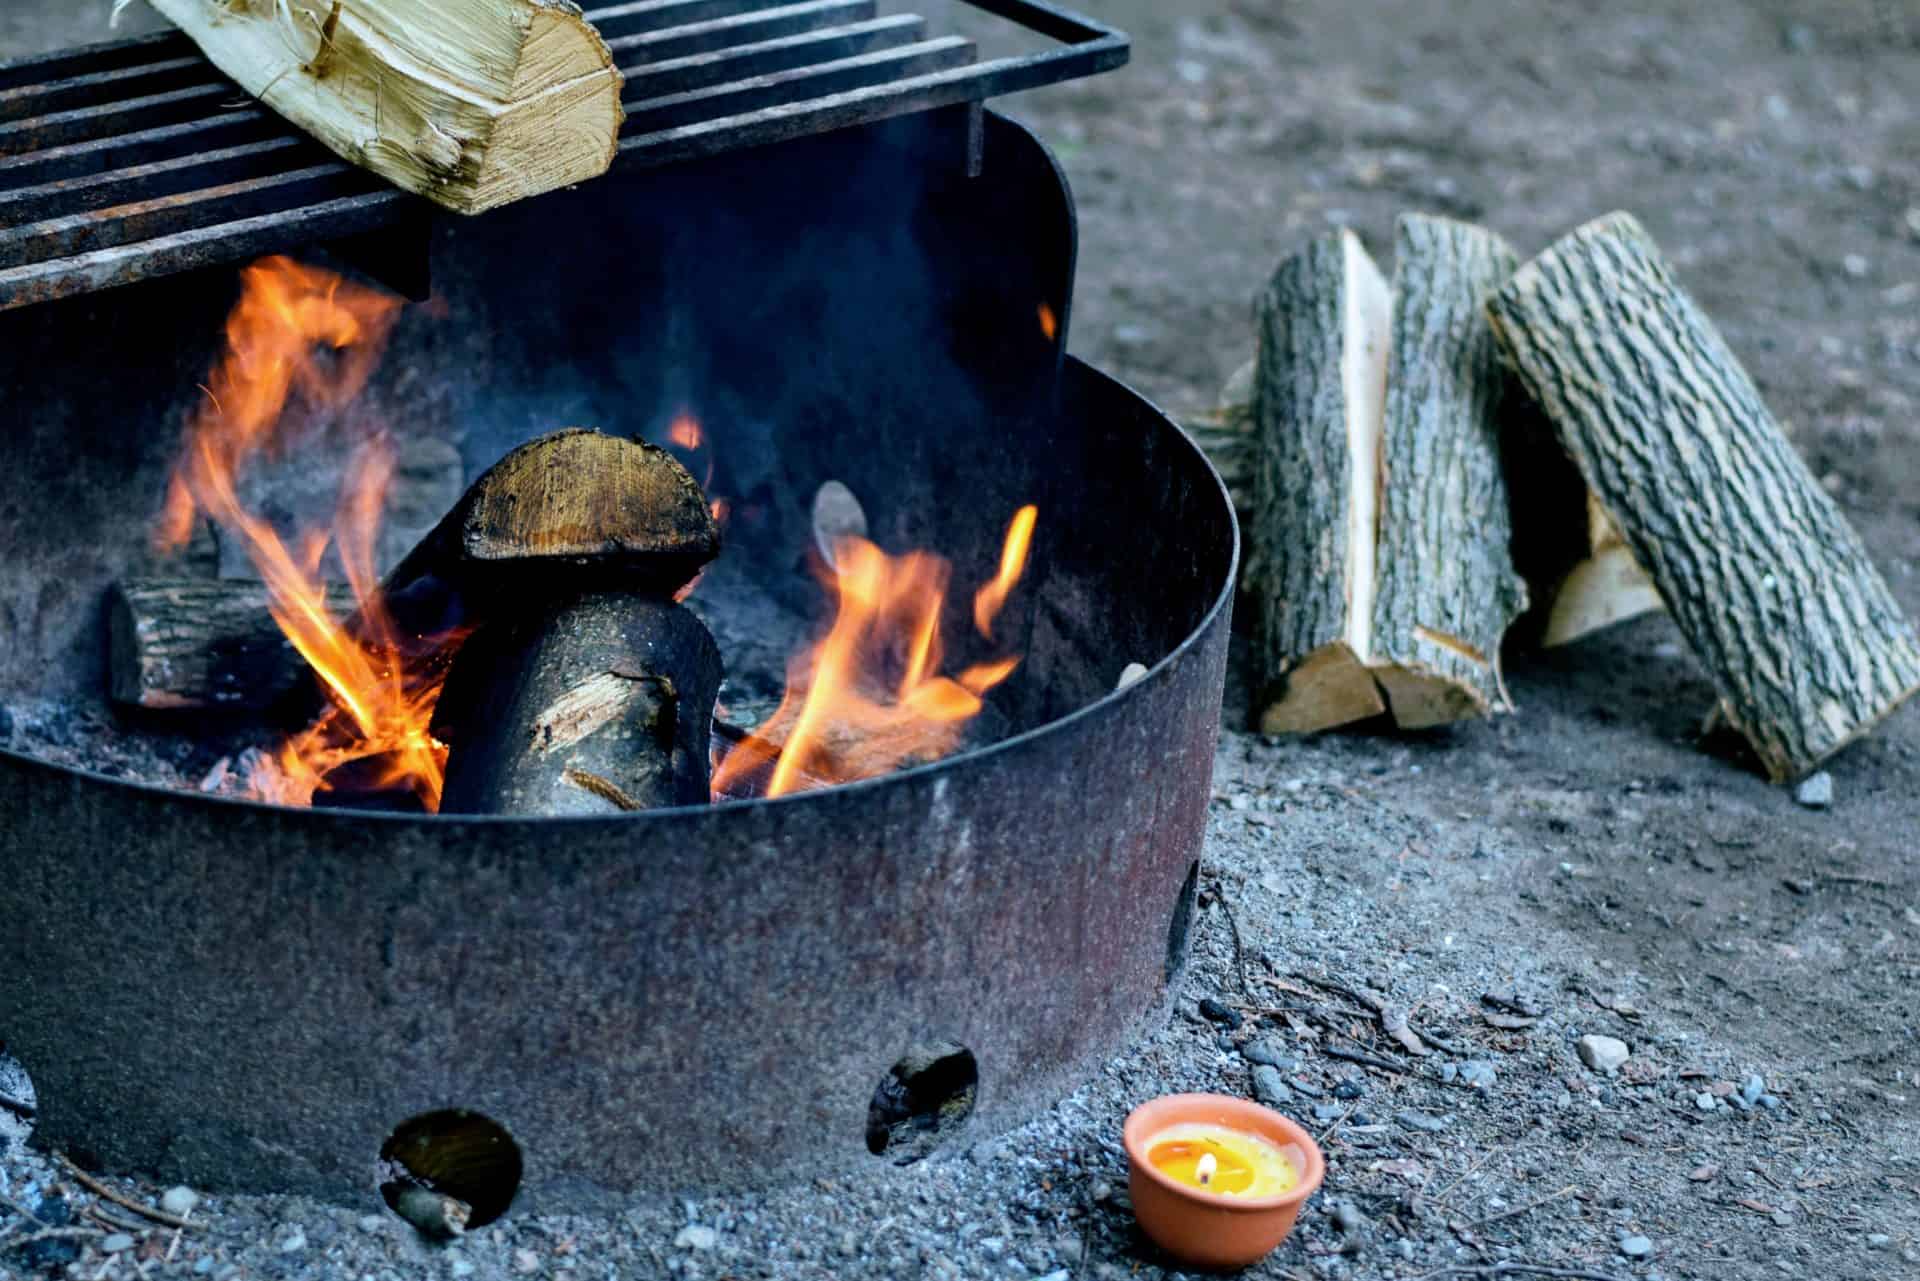
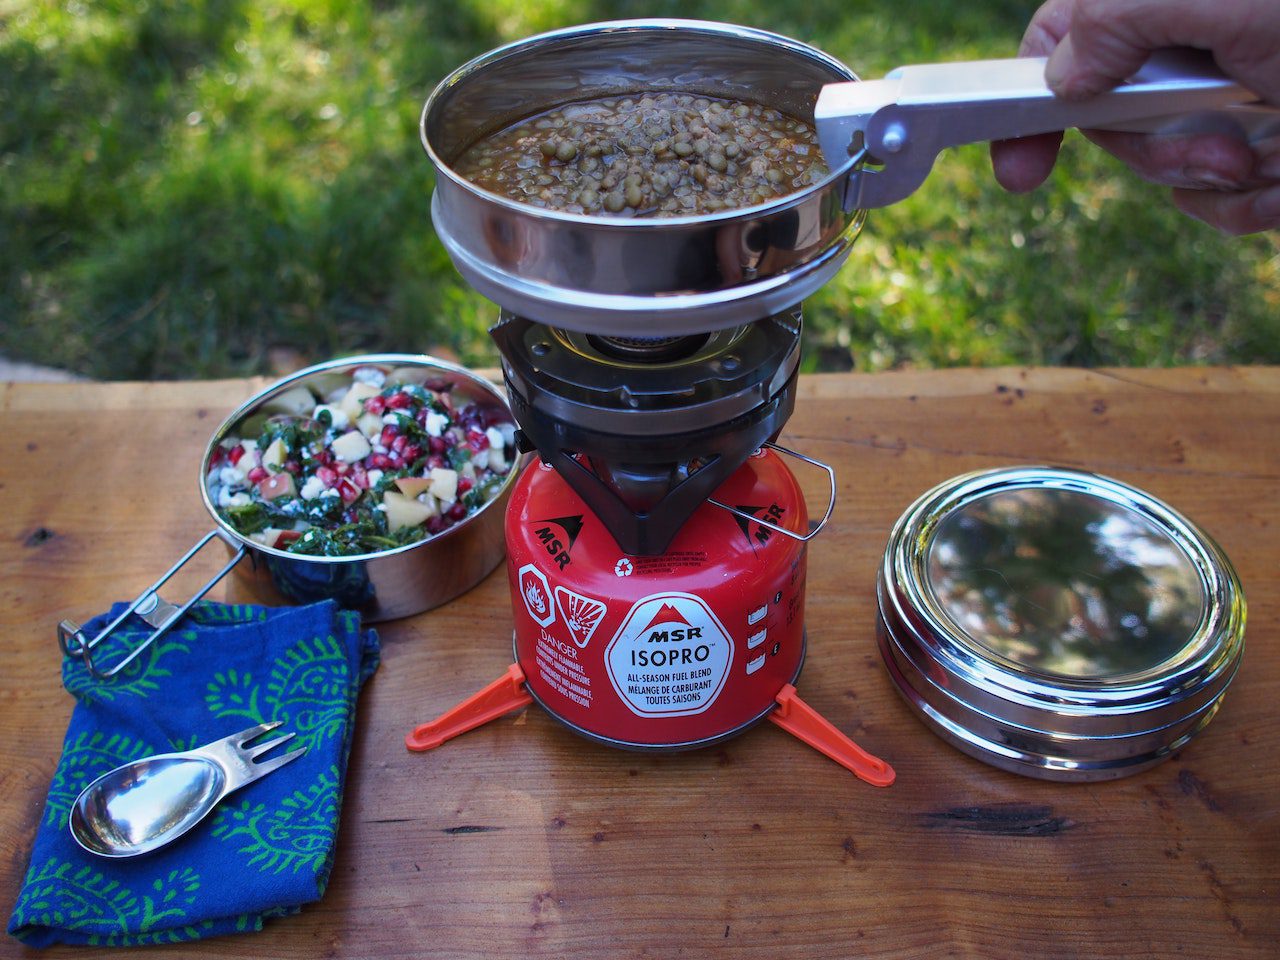
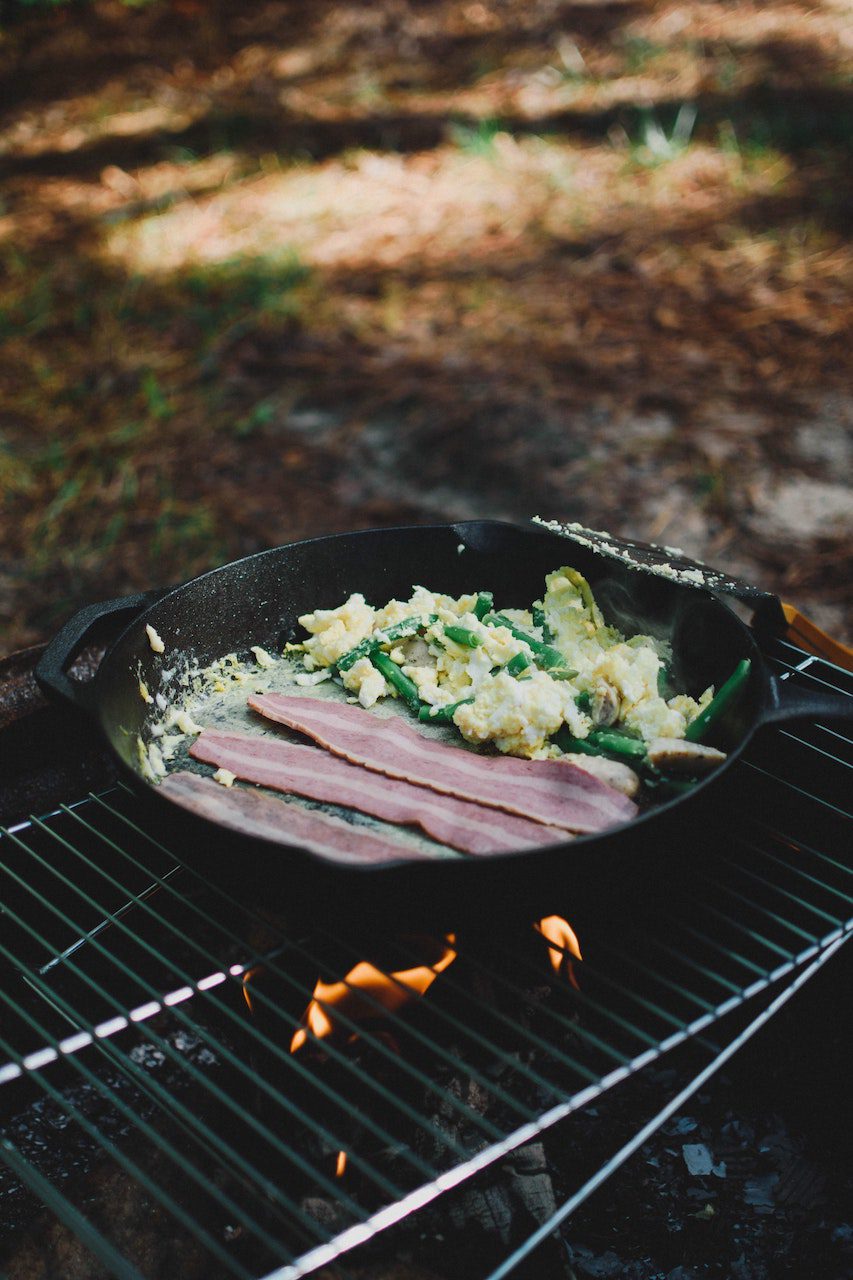
Backpacking Stove Vs Campfire Cooking When Backpacking:
- Post author By Dylan
- Post date August 16, 2022

Backpacking Stove Vs Campfire Cooking When Backpacking:
Whenever you enter the backcountry, you must have a way to cook your meals (unless you plan on cold soaking, but in my opinion, that’s gross).
So the common matchup when it comes to cooking while backpacking is the backpacking stove vs campfire. Unfortunately, it isn’t much of a contest. The winner is the backpacking stove.
If you don’t have one yet, I recommend just picking up a cheap one on amazon. I have used this backpacking stove for the past five years, and it has been working great. You can go into more expensive options like Jetboil, but if you are on a budget, the cheap one will work fine.
Alright, let’s jump into 7 reasons why you should use a backpacking stove instead of a campfire for cooking while backpacking.
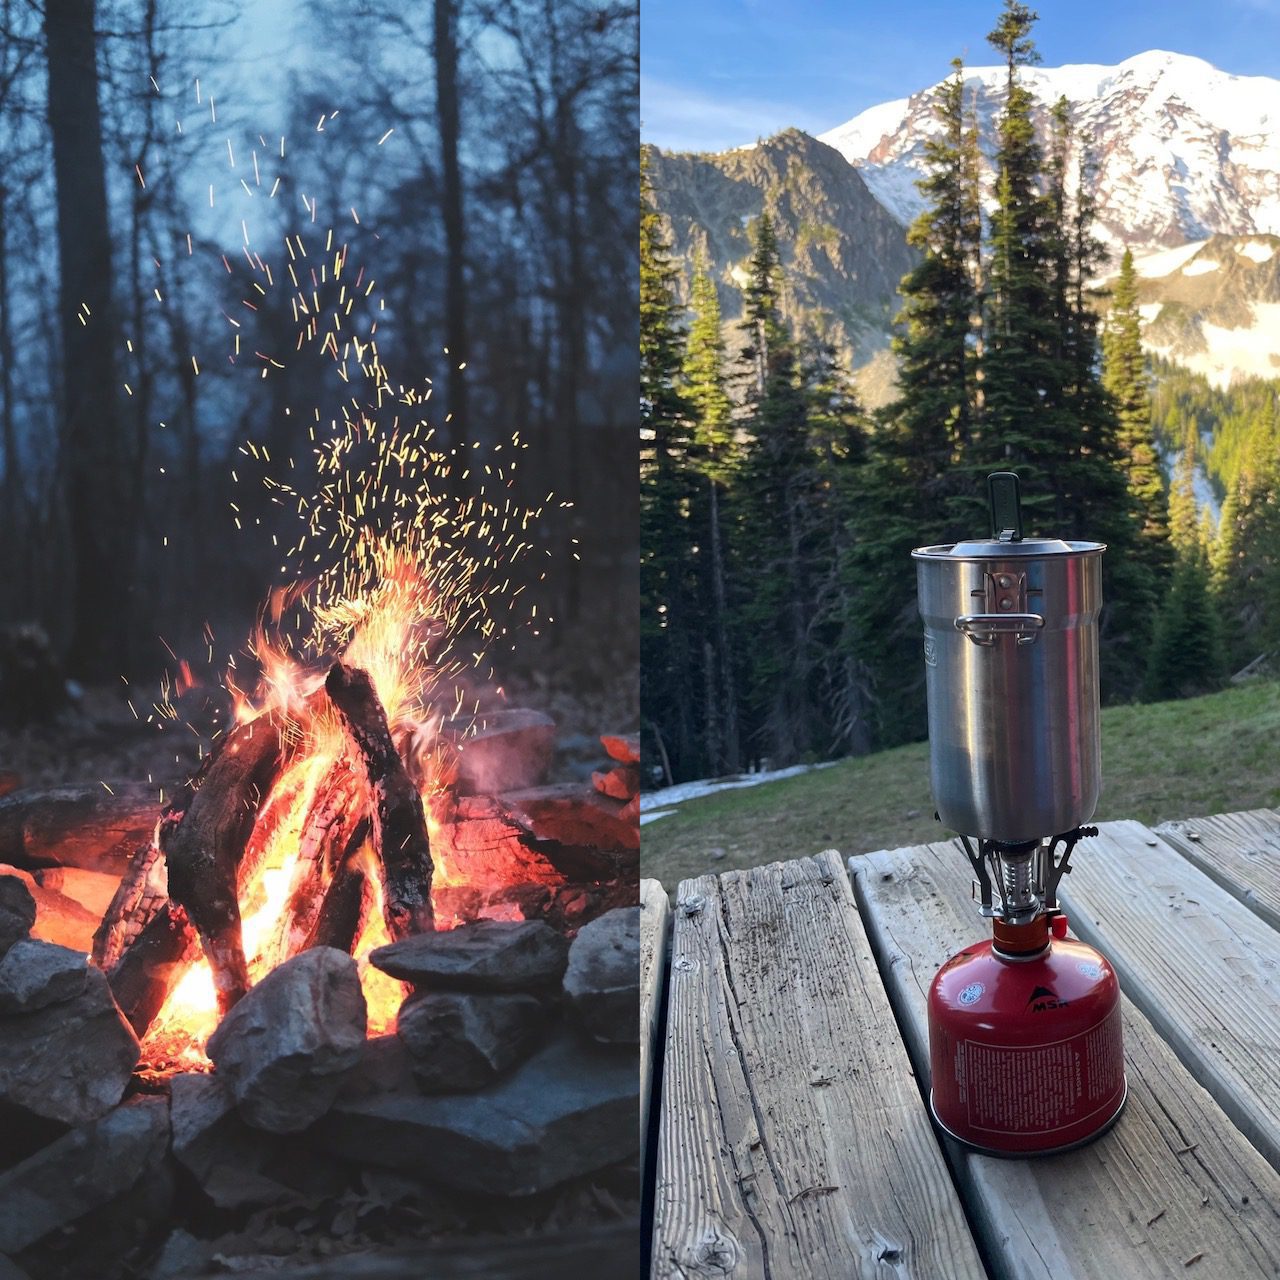
What Is A Backpacking Stove?
While everyone should know what a campfire is, some beginners may be wondering what a backpacking stove is. Well, a backpacking stove is a portable cook stove where you use some form of fuel to create a controlled flame over which you use to cook your meals.
There are two major backpacking stoves: the canister and liquid fuel stove.
Canister Stoves
Canister stoves are the more popular option for traditional backpacking trips. They consist of a propane/butane mix fuel canister, an adapter that connects to the canister, and an ignition switch that creates a spark to light the fuel, producing a controlled flame. These stoves are essentially like the Bunson burners you used in chemistry class. Canister stoves are a fantastic option for backpackers due to their packability and convenience.
The only problem with this backpacking stove is that disposing of the empty fuel containers can be a pain and a bit less eco-friendly than liquid gas stoves. Also, these stoves can lose their utility at higher elevations when doing alpine ascents and mountaineering, but for standard backpacking, you should be fine with it.
Liquid Fuel Stove
Liquid fuel, although it is a bit bulkier than canister stoves. They are an excellent option for higher altitude ascents and mountaineering. The other major benefit of this form of backpacking stove is that it is way more eco-friendly because you can refill your tank every time you are low in fuel instead of throwing your empty canisters away.
Unfortunately, the decreased packability of these stoves makes them a less than ideal option for a standard backpacking trip. But, if mountaineering is your thing, then this may be an excellent option for you!
7 Reasons Why You Should Be Using A Backpacking Stove For Cooking While Backpacking.
More Leave No Trace Friendly
Compared to campfires, a backpacking stove is much more leave no trace friendly as it doesn’t require burning local plant life. Also, a fire can destroy the nutrients within the soil it is built on, which can be avoided by using a backpacking stove.
Less Risk Of Forest Fires
Since backpacking stoves have a self-contained flame, you do not have worry about embers flying outside of them. As opposed to campfires, where even though they are contained in a fire pit, they still run the risk of an ember flying outside the pit and catching aflame.
Easier And Faster Set-Up
When it comes to which one is faster to set up, it goes to the backpacking stove. Starting the flame on a stove can be done with a click of a button. In contrast, a campfire requires more time and effort gathering kindling, dry wood of varying sizes, and then a gradual and careful build-up until it is large enough to cook on.
You Can Cook Rain Or Shine
Perhaps one of the greatest benefits of using a backpacking stove for cooking is how it maintains its functionality, rain or shine. All you need to do is find some cover from whatever gnarly weather you encounter and get cooking.
However, when it comes to building a campfire, once it starts to rain, your chances of success drop pretty close to zero. Once all of the dry firewood in an area gets wet, it is extremely difficult to get a fire going. Wet stuff doesn’t burn well…. who knew?!
Can use it almost anywhere
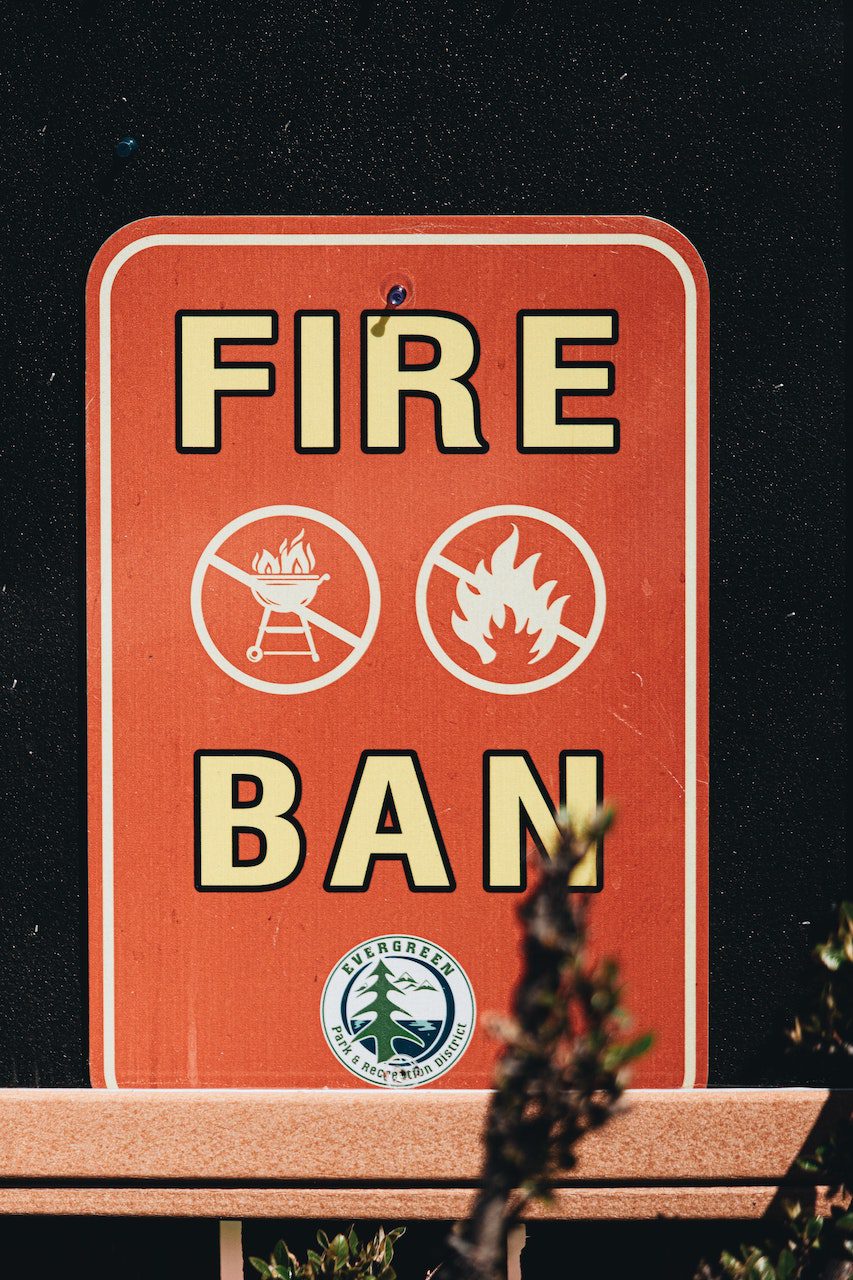
Some national parks don’t permit any campfires over a specific elevation, often due to the slower regeneration of trees in these areas. Also, depending on the weather conditions when you visit a region, a fire ban may be in effect, which would prohibit the making of campfires due to an increased risk of forest fires.
However, the nice thing about a backpacking stove is a tool that can usually be used anywhere regardless of the elevation restrictions or if a fire ban is in place (always verify local laws in regulations before backpacking).
Easier To Cook Using A Backpacking Stove
Using a backpacking stove makes cooking much easier because you have a small, controllable flame and a flat surface which you can easily place a pot for cooking
Now, if you have ever tried to cook in the backcountry using a fire, you would know that it can be much more challenging than a stove—the reason is that you do not have a stable area that you can use for cooking. For example, if you wanted to boil water, you would need a large backpacking pot that you could hang over a fire which is much more complicated than just putting one on a stove.
Another factor that makes cooking using a campfire more difficult is that you are much more likely to sustain a burn while cooking due to the unpredictable open flames.
You Can Just Turn It Off When You’re Done
Another thing I love about using a camp stove instead of a campfire is that when you finish cooking, all you have to do is flip a switch to turn off your flame.
However, with a campfire, you must ensure that the pit is cool to the touch to know the fire is truly out. This can require a lot of extra time waiting for your fire to go out entirely. While this may not sound like that big a deal, let me tell you, after a long day of hiking, sometimes after you eat, the only thing you want to do is just hit the hay.
What Are The Benefits Of Cooking Over A Campfire When Backpacking?
Okay, by now, I hope we are all on the same page. When backpacking, you should be cooking with a backpacking stove instead of a campfire. However, there are some benefits to using a campfire when camping worth mentioning, so let’s dive in.
Keep Bugs Away
Bugs can be the absolute worst! But did you know that the smoke from a fire can keep them away?
In areas where it is particularly buggy, I will make a campfire every chance I get to keep these pests at bay!
Keep Warm
Fire keeps you warm… You are welcome for that hot tip. But all joking aside, a campfire will do far more to keep you warm on those chilly nights compared to a backpacking stove.
Nice Atmosphere
There aren’t many better moments than having you and your friends gathered around a campfire shooting the shit, and having a good time.
Campfires are especially great for making new friends when backpacking solo. Invite whoever strolls into camp next to sit with you by your campfire and exchange some stories!
Great When Car Camping
Although campfires are not a practical option when backpacking, they can be great for car camping. Many car camping campsites have fire rings with grates installed, making it easy to cook your food on your open flame, unlike the more primitive fire rings commonly found in the backcountry.
Final Thoughts
Unless you are a mad man and want to soak your meals you need a way to cook when in the backcountry. While it does sound nice to use a campfire when in nature, in my opinion, it is just not a practical means of cooking your meals. Let me know how you cook your meals!
Fork And Spoon Vs Spork Backpacking
- Post author By Dylan
- Post date August 11, 2022
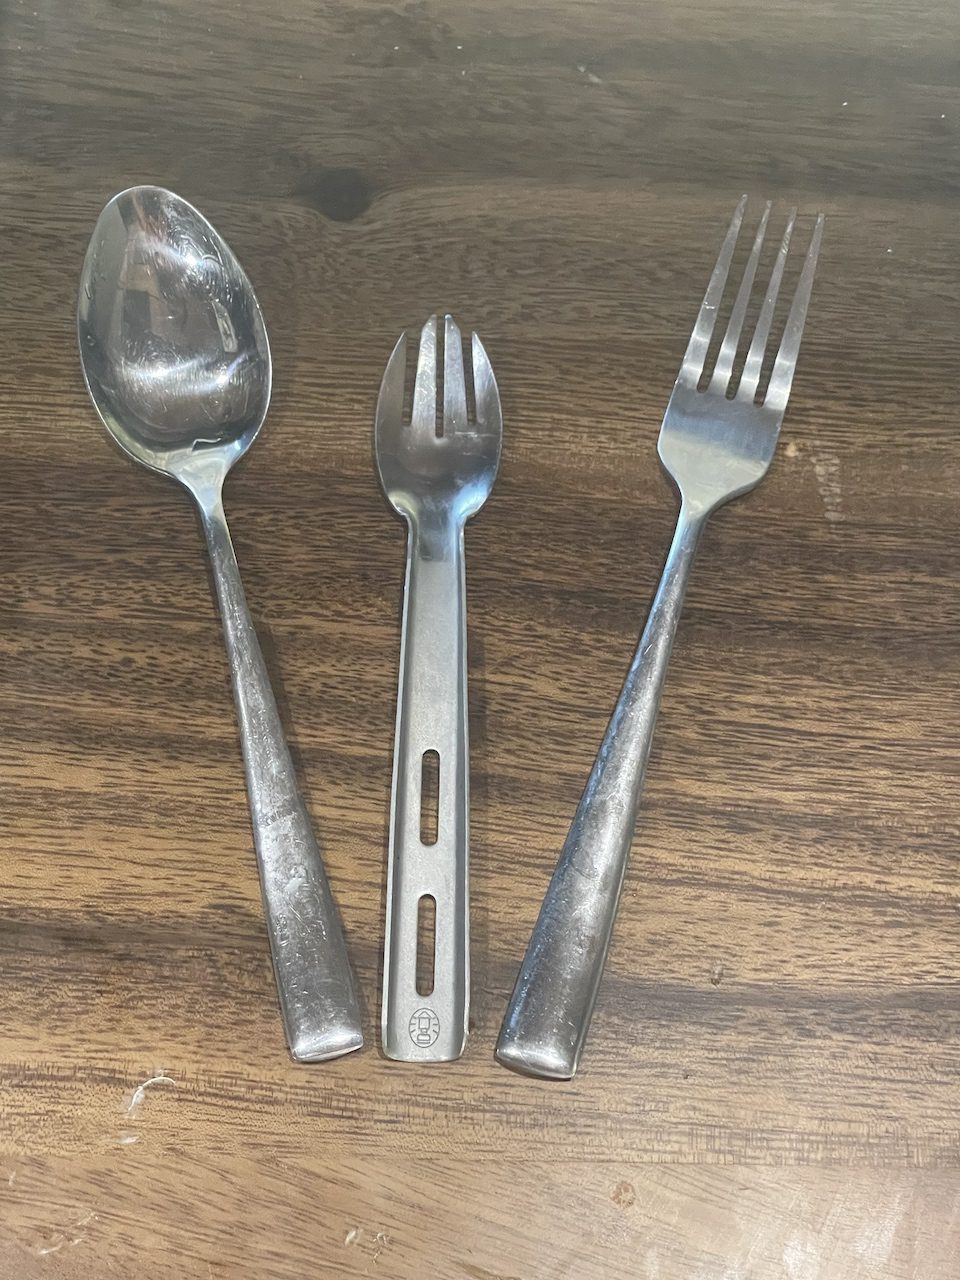
Fork And Spoon Vs Spork Backpacking:
Getting the right backpacking gear can be challenging, especially if you are a beginner. I know I had a tough time on my first backpacking trip. Boy, did I wish I had my backpacking gear guide before that one.
A common question new backpackers have regarding their cooking setup is whether they should use a fork and spoon vs. spork when backpacking. Let me clear this up right now. A spork should be your utensil of choice when backpacking. I honestly can’t even fathom a situation where I would elect to bring a fork and spoon over a spork on a backpacking trip. It’s preposterous. Sporks are the most versatile utensils on planet earth. Why add extra weight and things to carry when you could bring a spork?!
If you don’t have one yet, just click here and grab one. Sporks are super cheap, lightweight, and functional.
But if you aren’t convinced by my rant yet, let us jump into our two options and weigh the pros and cons.
Using A Spoon And A Fork For Backpacking:

The problem with using a spoon and fork is that there is no use in having both with you on a backpacking trip. No matter how extravagant of a backpacking banquet you plan on making, you can consume your food just as well with a spork and have one less utensil to carry.
Now having a fork may make eating some meals marginally easier, but I would still argue you could use a spork for practically anything without a hassle. If you don’t think that whatever you are preparing would be easy to eat with your standard spork, check out these dual-use sporks. They have a fork and a spoon on each side of it. Genius!
Using A Spork When Backpacking:
Ahh, the king of backpacking utensils. Lightweight, versatile, incredible name, the one the only the SPORK!!!!!
Let’s cut straight to the chase. This is the better option for a backpacking trip. I have eaten all kinds of meals with a spork while backpacking, soups, dehydrated meals, you name it, I shoved it in my mouth with a spork. Is there a “that’s what she said joke in there?” Probably anyway, spork all the way!
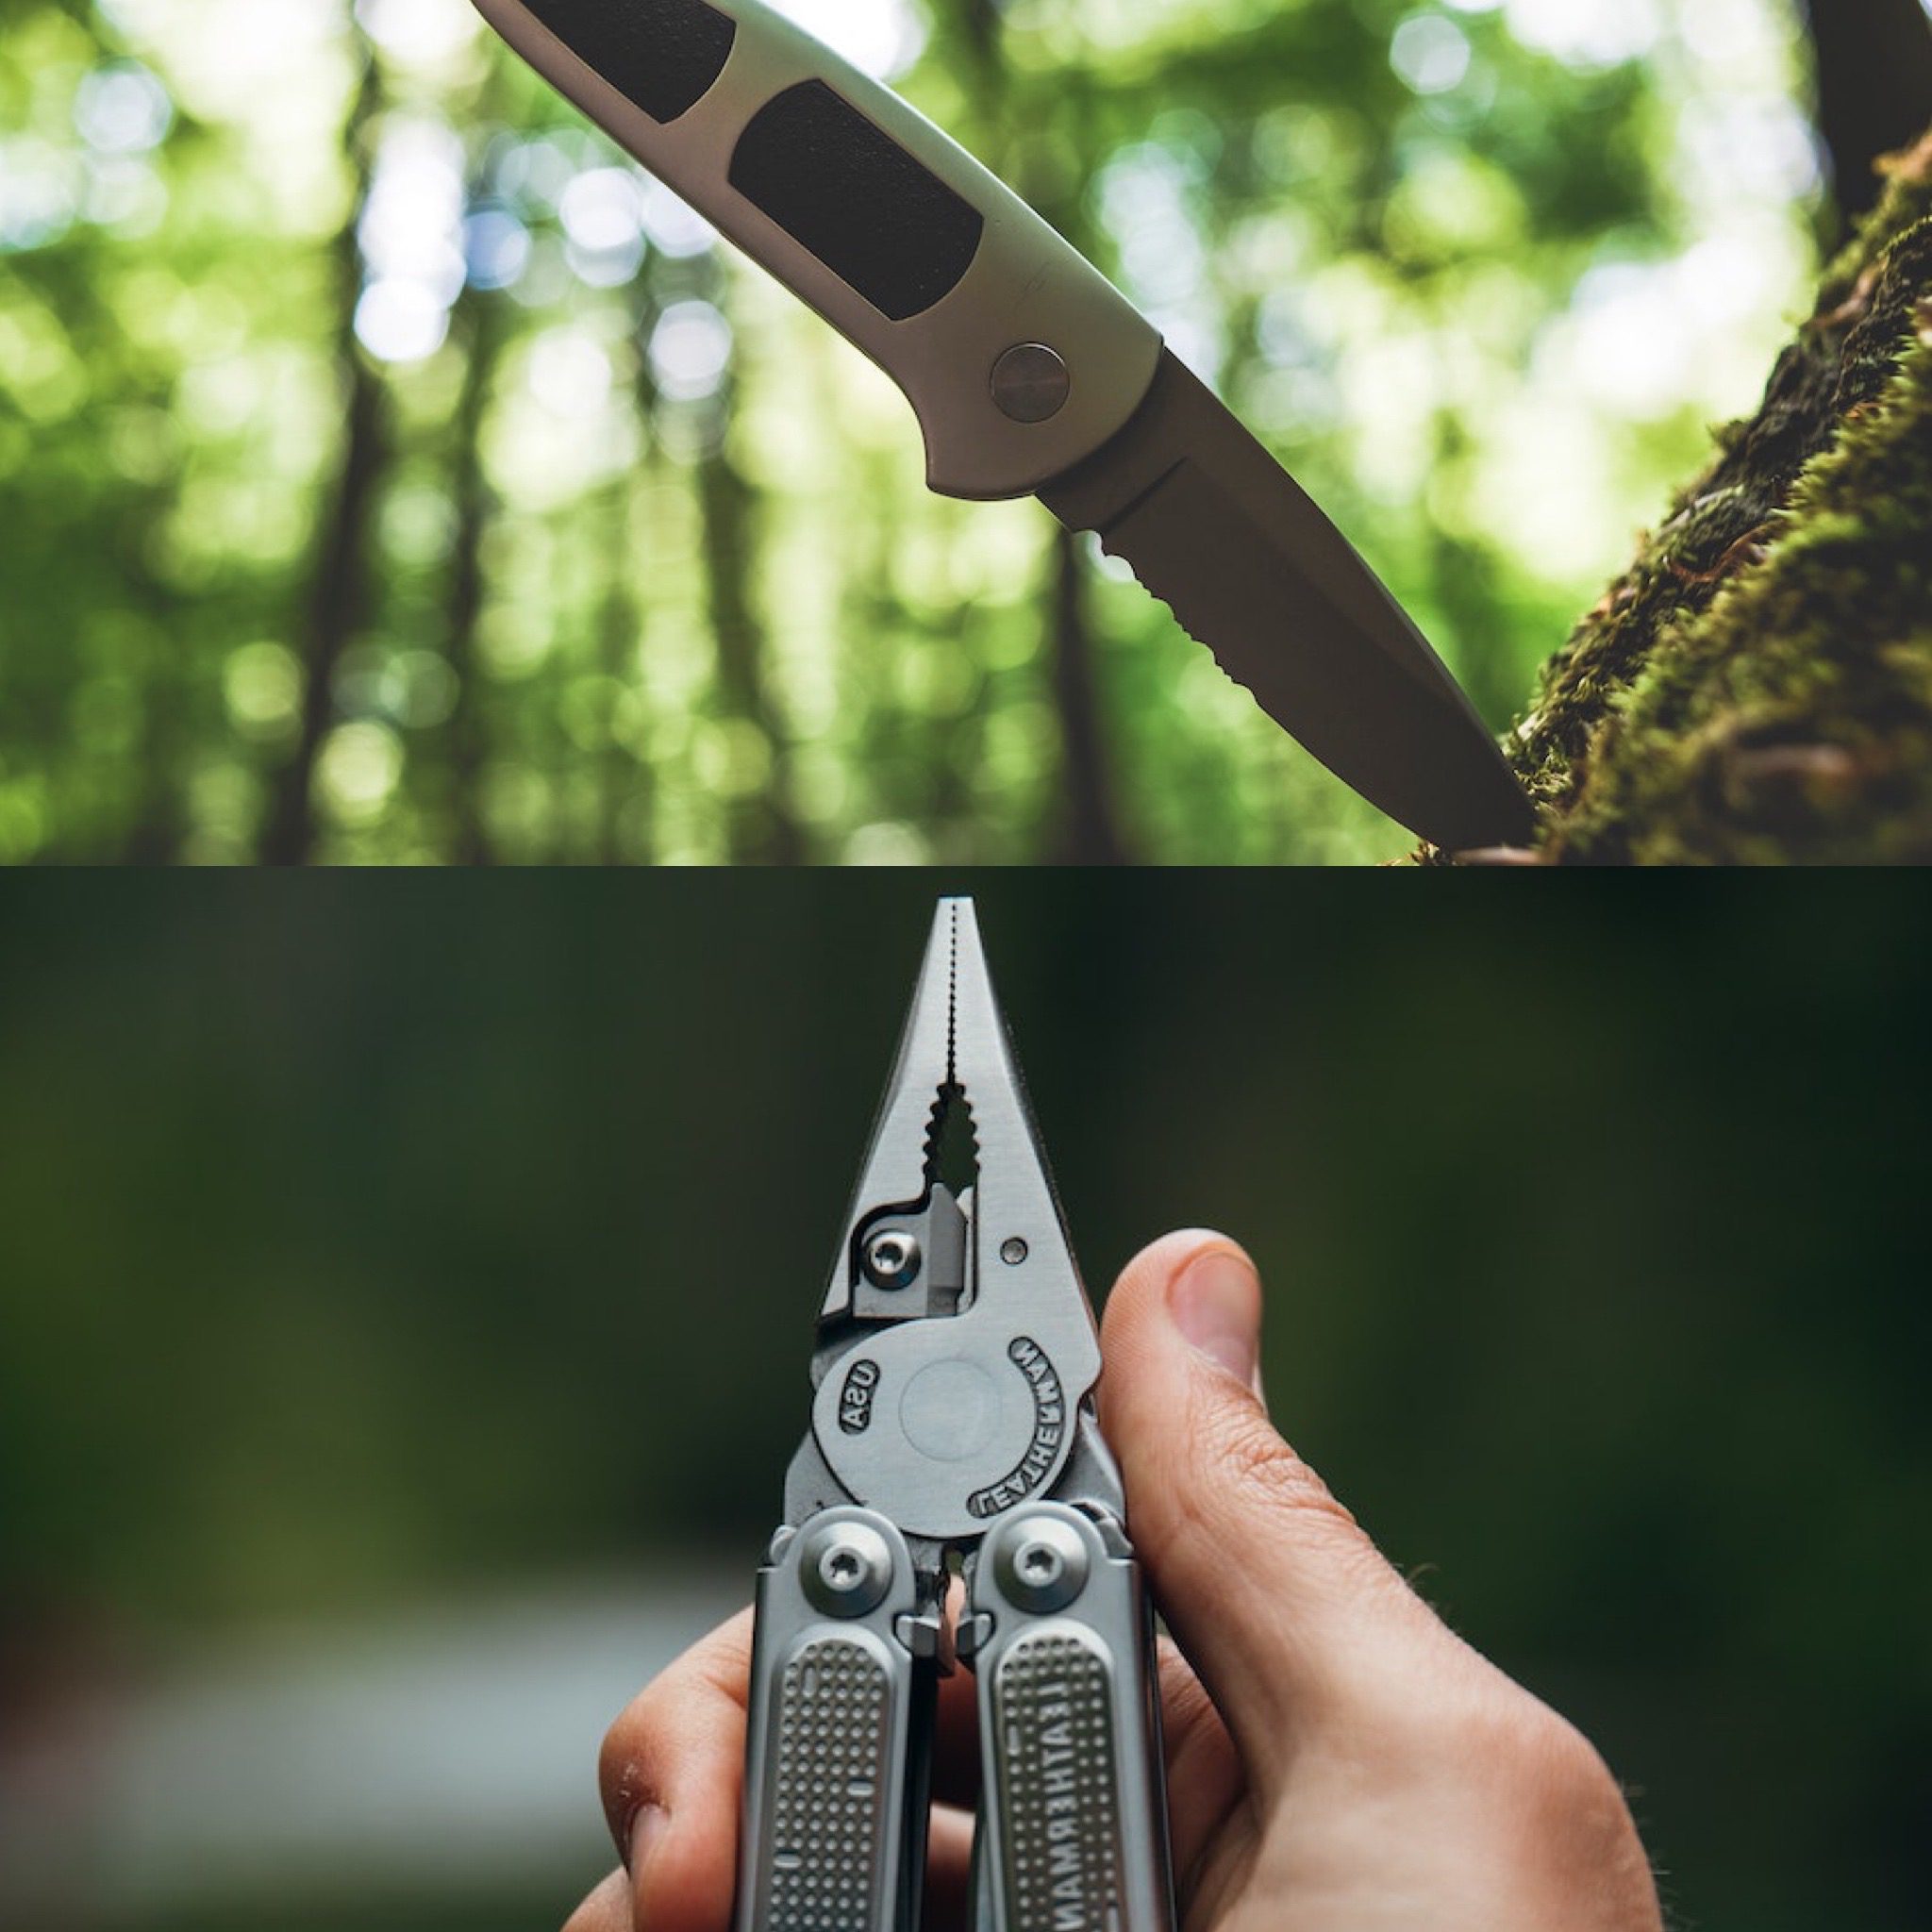
Do You Need To Have A Separate Knife As A Utensil When Backpacking?
No.
You shouldn’t need a knife as a utensil because if you have a decent multitool, the blade in that should more than suffice for all of your cooking needs. So as long as you have a multitool with a knife (which you absolutely should), you shouldn’t need an additional knife for cooking. If you are wondering whether you should bring a knife or multitool backpacking, you should check out my article all about it.
What About Car Camping?
Although this post is about backpacking, I figure I would make a suggestion for you car campers as well. Clearly, I am very adamant about using a spork for backpacking; however, if you are car camping that is an entirely different ballgame.
The reason being is that when you are car camping, you don’t have to worry about your pack weight. So you can get away with cooking whatever you want!
Depending on the campsite you are staying at, you may even have a grill grate where you can cook over a campfire. In such situations having a complete set of cutlery would be better (leave the nice china at home, though!). Cooking over a campfire is different than using a camp stove, so you would want everything you would typically use when grilling in your backyard when car camping, especially if you plan on making a campers feast!
Final Thoughts:
That’s all for this one! The highlight for this is when it comes to fork and spoon vs spork for backpacking spork wins every time! Let me know your thoughts on this battle!
Disclosure: Some links on this page are affiliate links, and if you go through them to make a purchase or a booking, I may earn a commission. Using these links DO NOT affect the cost of the product/booking. The price remains the same affiliate link or not. Thanks for supporting my small business!
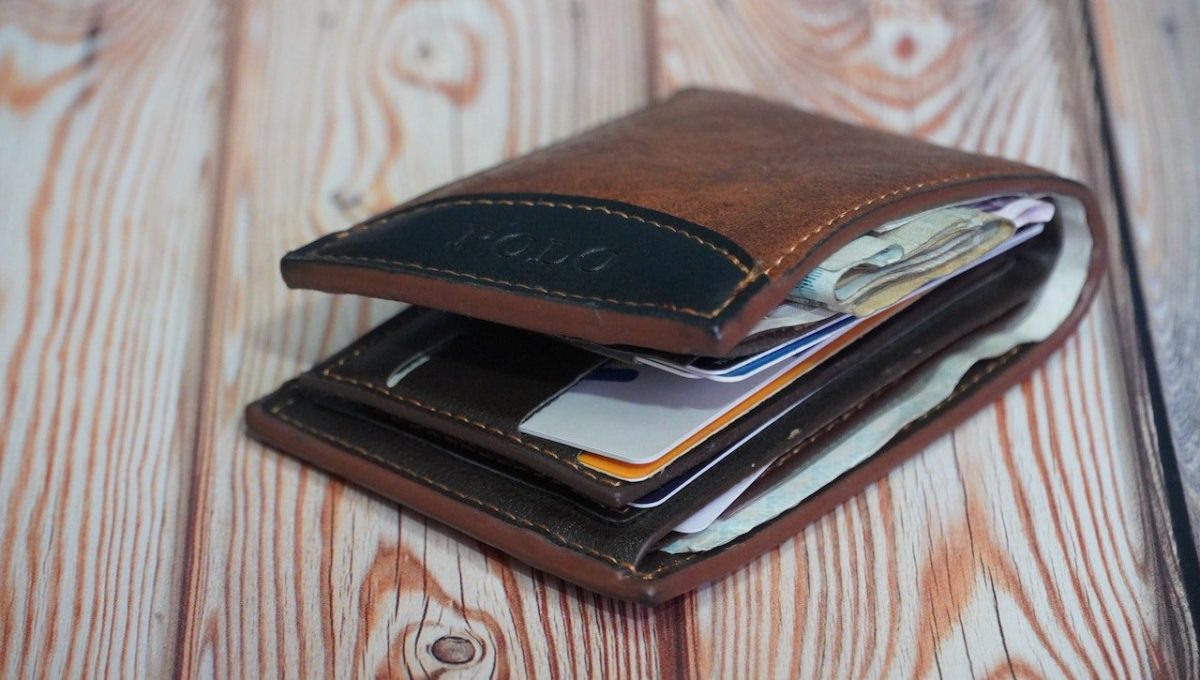
Should You Bring A Wallet Backpacking?
- Post author By Dylan
- Post date August 10, 2022
Should You Bring a Wallet Backpacking?
When I first started backpacking, I struggled with what gear I needed and what I should leave home. But one thing I never knew definitively is should you bring your wallet backpacking. I mean, it’s not like I will be buying stuff with my credit card when on the trail. I don’t need to show my ID to get into a bar while hiking. Why should I bring a wallet backpacking?
Well, I learned the hard way that you should definitely bring a wallet with you backpacking or at the very least some cash, credit, and ID wrapped with a rubber band. I wouldn’t bring my bulky wallet with me though. I would buy something more lightweight and packable like this one.

When I Realized I Need To Be Carrying My Wallet When Backpacking:
So to be clear, I would never bring a wallet backpacking with me because I didn’t see the point in having it out on the trail. I will not be paying off a bear not to eat my food. I’m not going to be buying a new hat in the backcountry. The most helpful thing I can think of for money is to use it as a fire starter…. Yea, I’m not doing that.
It wasn’t until I was on the last leg of my Enchantments Loop hiking through 6 Mile Ridge, a primitive route in Olympic National Park, that I realized I should’ve brought my wallet. That trail was one of the most poorly marked, treacherous trails I have ever encountered while backpacking. I was constantly using my trekking poles to peel back the brush to get a better visual of the trail found myself off track several times, and it felt like I was constantly bushwhacking. There was one point during this hike that I considered backtracking and bailing on the hike altogether due to the poor trail conditions. I figured I would get a ride share or a taxi back to my car, but then I realized I didn’t have my wallet!
I suppose I could have just hitchhiked, but with the covid pandemic, I didn’t think I would have much luck with it. So I had no other choice but the hike out. Fortunately, I got out of the backcountry safely, but I now bring my wallet on every backpacking trip I go on.
This experience got me thinking what the other reasons someone should bring their wallet on a backpacking trip are.
You Should Always Have Identification On Your Person:
Even though you are hiking in the middle of nowhere, you should always have some form of identification on you. This could come in handy if you encountered a park ranger who wanted to verify that you are the holder of your permit. Or if you get lost and die in the park, having some ID would be helpful… I’m joking…. sort of.
One Less Thing That Can Be Stolen From Your Car:
As a general life rule, you shouldn’t be leaving valuable things in your car unattended for long periods. By carrying your wallet with you on the trail, you can guarantee if someone were to break into your car, at least they ain’t getting your wallet
What Kind Of Wallet To Bring Backpacking?

![]()
So what not to get is a George Costanza wallet. Leave the bulk stuff at home and get a minimalist and lightweight wallet.
After some research, I found that a minimalist wallet like this one is probably your best bet when looking for a backpacking wallet. It is lightweight, carries what you need, and is easily packed down. If you don’t want to spend the money though, you could wrap a credit card, ID, and some cash in a rubber band. It’s janky, but it works!
Final Thoughts:
Knowing what to bring with you and what to leave home when going out for a backpacking trip is difficult, but it’s something you figure out after many trips into the backcountry. But I would say that a wallet is one of those items that you should be bringing with you on all of your backpacking trips.
Disclosure: Some links on this page are affiliate links, and if you go through them to make a purchase or a booking, I may earn a commission. Using these links DO NOT affect the cost of the product/booking. The price remains the same affiliate link or not. Thanks for supporting my small business!
Categories
Is Backpacking Alone Dangerous? 9 Tips For Solo Backpacking
- Post author By Dylan
- Post date August 5, 2022
Is Backpacking Alone Dangerous? 9 Tips For Solo Backpacking
Since I set out on my van life adventure, I have been almost exclusively going on backpacking trips by myself, so much so that many of my New Yorker friends frequently ask, “is backpacking alone dangerous?”
In short, yea, it can be. Like any outdoor sport, the amount of danger and risk depends on your skill level and the difficulty of the activity you are doing. Doing a double black diamond ski run is dangerous if you’ve never skied before, but the same run would be a cakewalk for an Olympic-caliber skier.
The same applies to backpacking. The danger associated with each backpacking trip greatly depends on the trip type and the individual hiker’s skills. If you are brand new to hiking and don’t even have the necessary gear for a backpacking trip, your first trip shouldn’t be a solo one.
Let’s dive into the nitty gritty of what some of the dangers of backpacking alone are, when you should go on your first solo backpacking trip, and some tips for your first solo backpacking trip.
Why Can Backpacking Alone Be Dangerous
Backpacking alone can be dangerous because if you are not entirely self-sufficient when out on the trail, you can find yourself in hot water fast. When backpacking alone, you don’t have the luxury of forgetting an essential piece of gear or not knowing crucial skills like navigation or water filtration. You are alone and do not have other people to rely on for any situation you encounter on your trip. It is all on you.
A solo backpacking trip isn’t something that should be done on a whim. It requires diligent preparation, proficient outdoor skills, and practice.
When Should You Go On A Solo Backpacking Trip
Before you go on a solo backpacking trip, you should make sure you have the following:
- Proper gear
- Solid outdoor skills, including but not limited to:
- Navigation with a map and compass
- Know how to carry and filter water. To learn more, check out my post, “How To Carry And Treat Water When Backpacking Or Hiking.”
- know how to set up a shelter
- Basic first aid
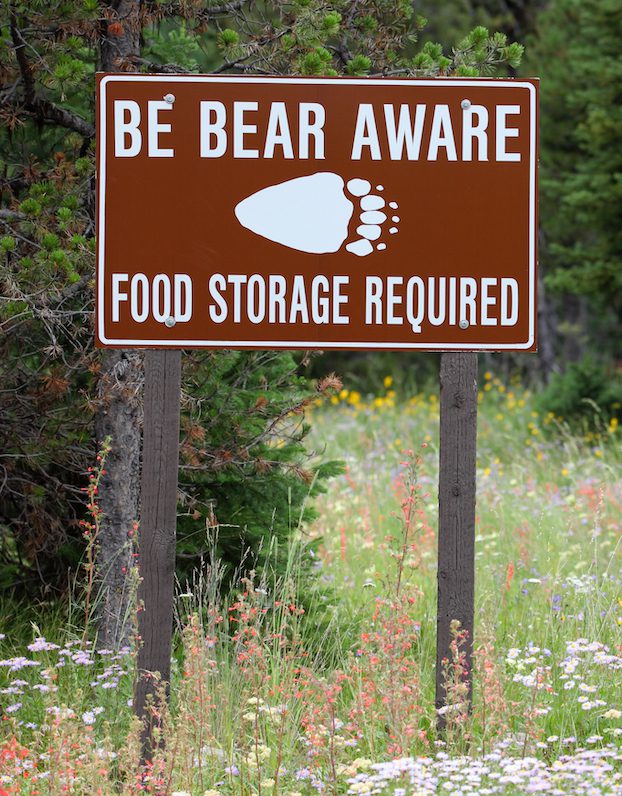
- Know how to store food while backpacking if you want to learn more, check out my article.
- Thorough knowledge of the leave no trace principles.
- Several backpacking trips under your belt
- Adequate fitness for your intended route.
If any of these things are lacking or you are a complete beginner, you might want to hold off on your first solo backpacking trip. If you are completely new and looking to get into backpacking, you should check out “How To Start Backpacking.”
9 Tips For Solo Backpacking For The First Time:
If you have your backpacking skills down pat and have already gathered a bunch of experience backpacking, here are a couple of tips that will help make your first solo backpacking trip fun and safe!
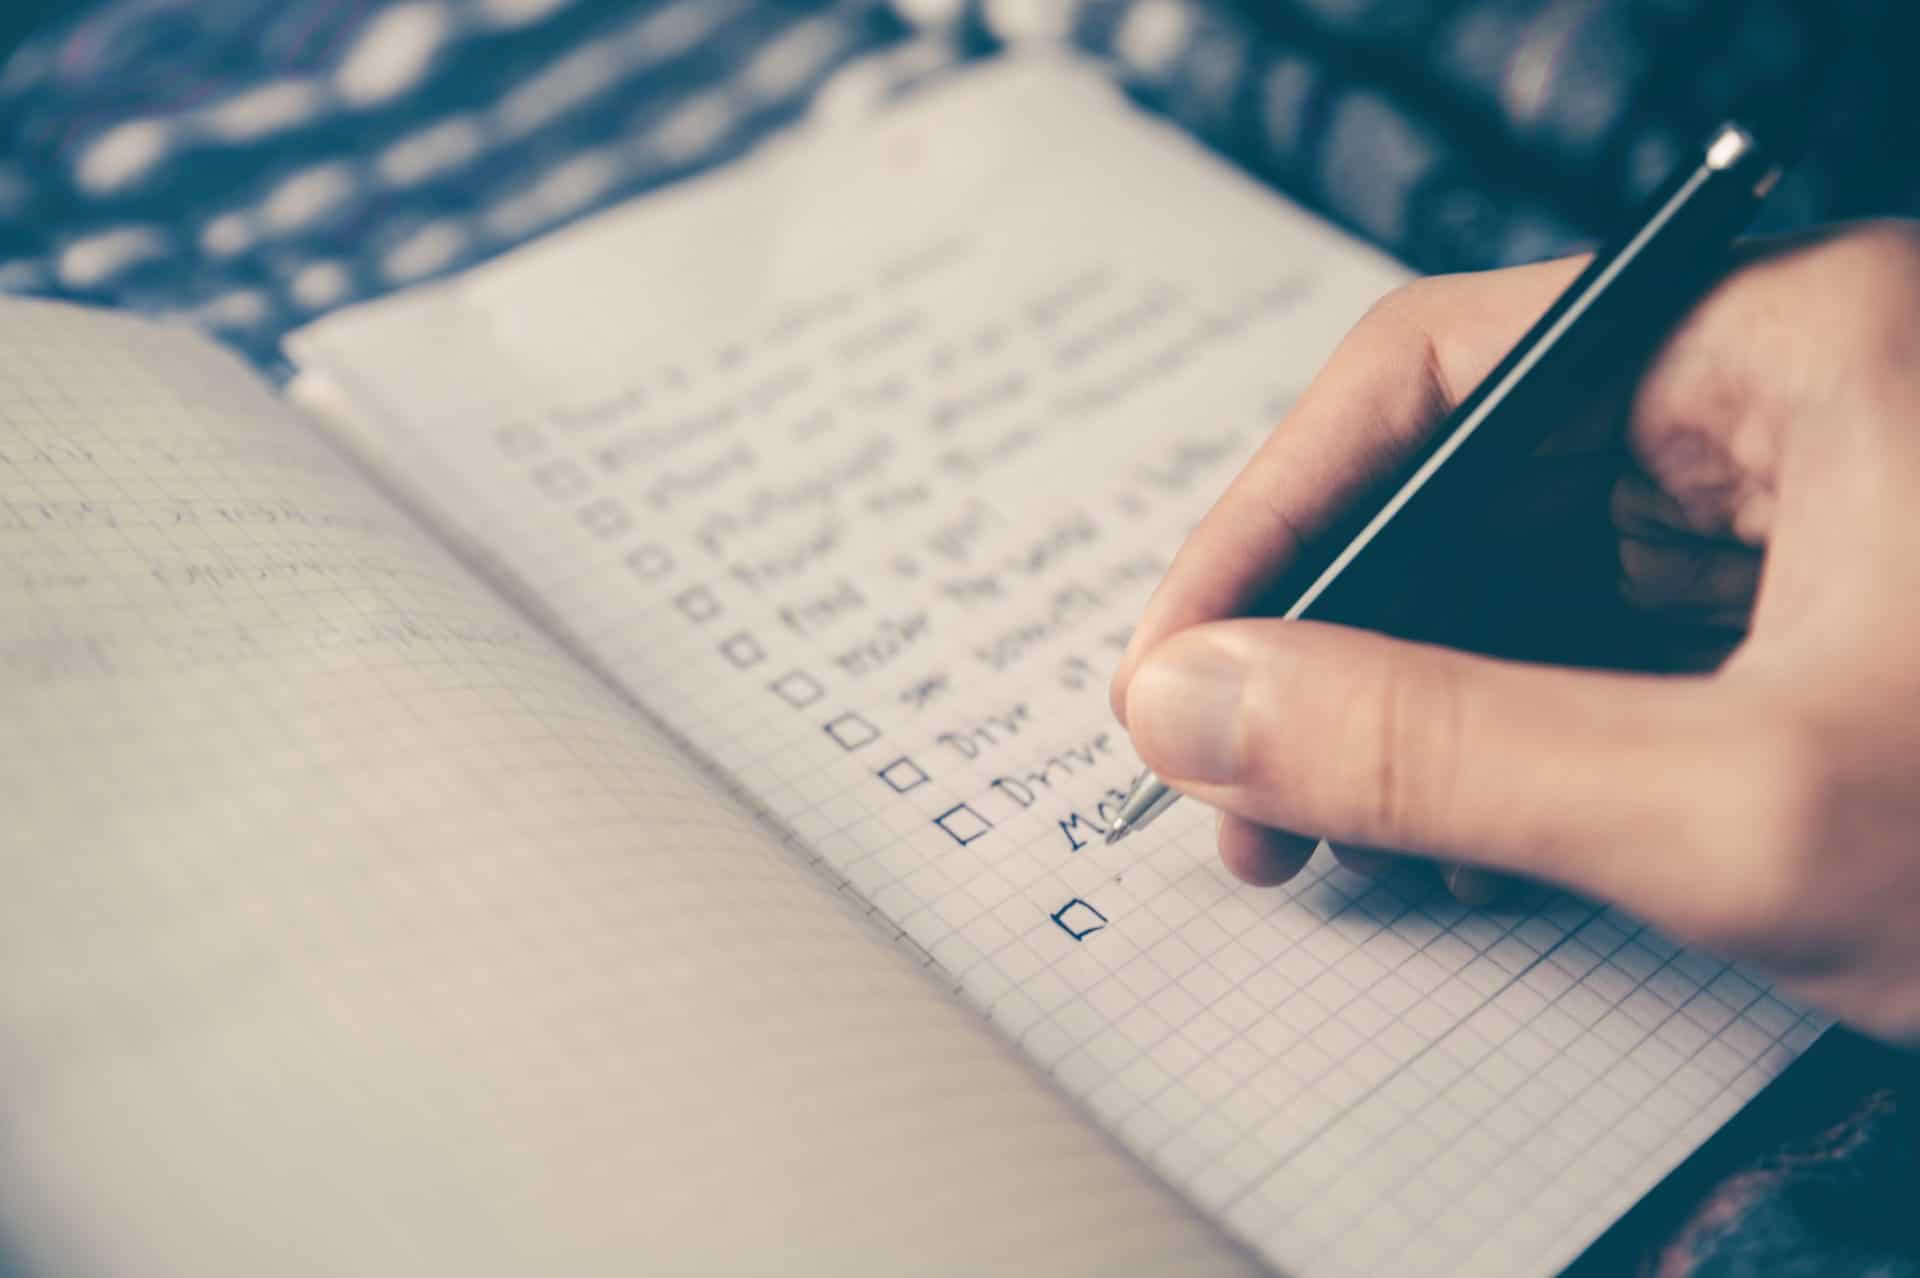
#1. Have A Gear Checklist And Take Your Time Packing
Like I said, having the right gear is essential for any backpacking trip. But if you can be forgetful like me, make sure you have a gear checklist and take your time when packing. A solo backpacking trip is not the time to be forgetful.
#2. Make Sure Your Are Physically Fit For Your Planned Route
As with any backpacking trip having the proper fitness is an absolute must, and it is even more critical when you are going solo. You do not want to find out you are not in proper shape for your trip halfway through. That would be miserable. Properly prepare and train for your hike, so you can enjoy your time and aren’t struggling for days on end.
#3. Tell Someone Your Trip Information:
Every time you head into the backcountry, you should tell someone your trip details. I typically always let my mom know the following information before I go on a solo backpacking trip:
- What park I’m in
- When I am entering the park
- When I am exiting the park/when she should expect to hear back from me.
- My route itinerary
- The ranger station number and when to call them, i.e., If I’m not back by so and so date, contact the ranger station and let them know I have been in the park later than intended.
#4. Consider Canceling Your Trip If Expecting Inclement Weather
Backpacking is a strenuous activity, and inclement weather can only serve to complicate things. If you are new to solo backpacking and see a forecast of bad weather, such as multiple days of rain or snow, it may be best to hold off until better weather comes around.
The reason being is that inclement weather makes every aspect of the trip more difficult, from following the trail to setting up shelter, and it may be best to avoid it if it is your first time backpacking alone. Safety first! The trail isn’t going anywhere.
#5. Consider A Shorter Trip:
If you are a newbie to solo backpacking, consider making your first trip an easier one. You can start with an overnighter and can build off of that. By starting slow, you can gradually build your confidence in hiking alone.
#6. Research Trip Reports On Your Planned Itinerary:
Before heading out, be sure to look at trip reports and comments about the trail you are about to hike so you are aware of any detours or difficulties you may encounter during your trek. This is especially important if hiking either earlier or later in the season because trip reports can give crucial information such as bridge washouts, downed trees, or heavy snow coverage.
Park rangers are another excellent resource for getting up-to-date trail information.
#7. Have A Bailout Plan:
If you are hiking solo in a park, it is a good idea to have some bailout plan to exit the route from a location different from your planned one. This can come in handy if you face injury, fatigue, or dangerous trail conditions during your trip.
While it is certainly not an ideal way to end a backpacking trip, having a bailout option can give you peace of mind during your hike should an emergency arise.
#8. Consider Bringing A GPS Device
Let me start by saying that this does NOT replace a map and compass, but they come in handy. I use the Garmin Fenix 6 Pro watch and love it. That watch helped me and my friend Joe tackle sections of the snow-covered Wonderland Trail and situations where I got off the trail when hiking the Tour Du Mont Blanc.
#9. Bring Some Entertainment
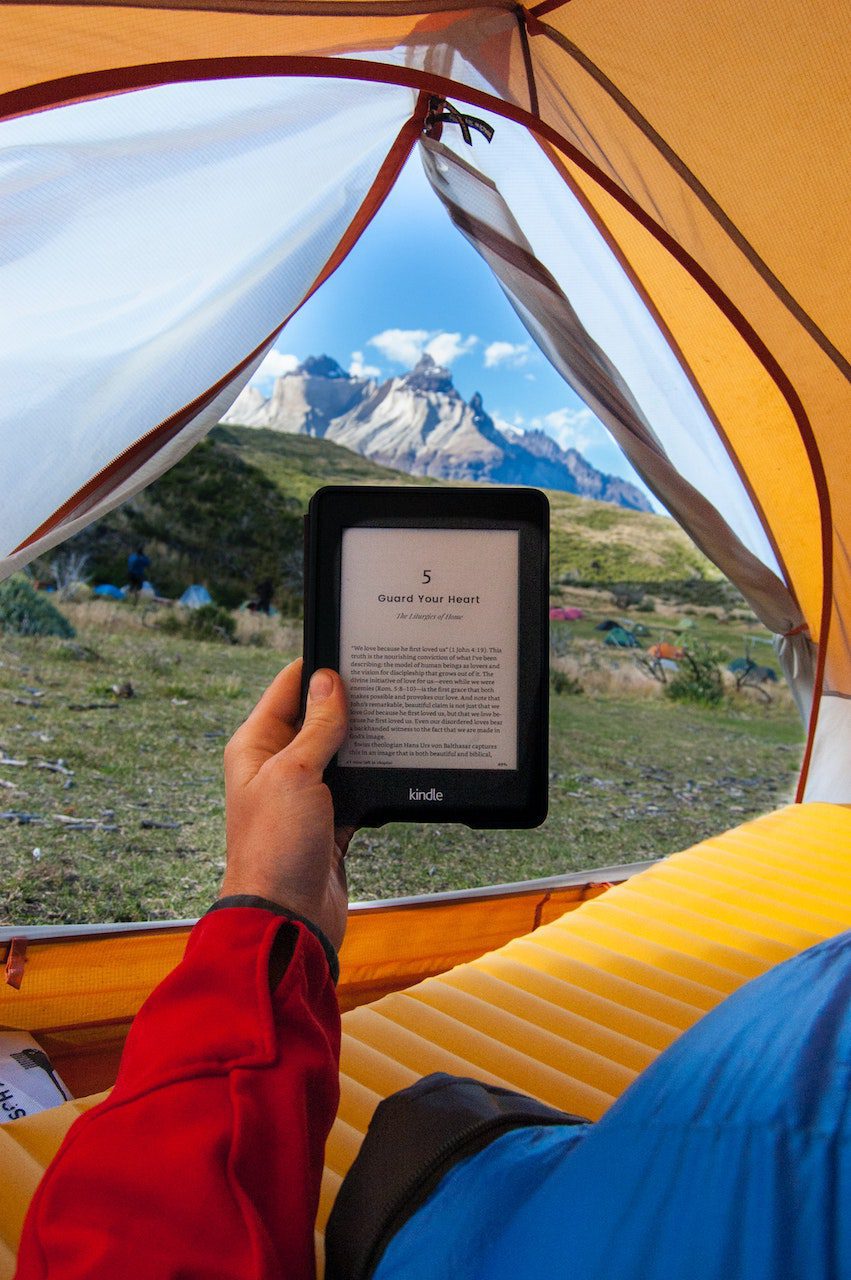
Whenever I am out backpacking by myself, I always have my kindle and journal on me as a means of entertainment when I reach camp. There is nothing better than reading a good book or writing down some thoughts next to a campfire when backpacking.
Final Thoughts:
Solo backpacking can be a gratifying and self-reflective experience. But the backcountry is no joke. As I said, backpacking solo can be dangerous without the proper preparation and skills. So stay safe and have fun out there!
There are affiliate links in this article where we will get a commission if you click through to make a purchase. The price of the product will remain the same affiliate link or not! Thanks for supporting my small business.