


| Tool | Use | Check Prices |
|---|---|---|
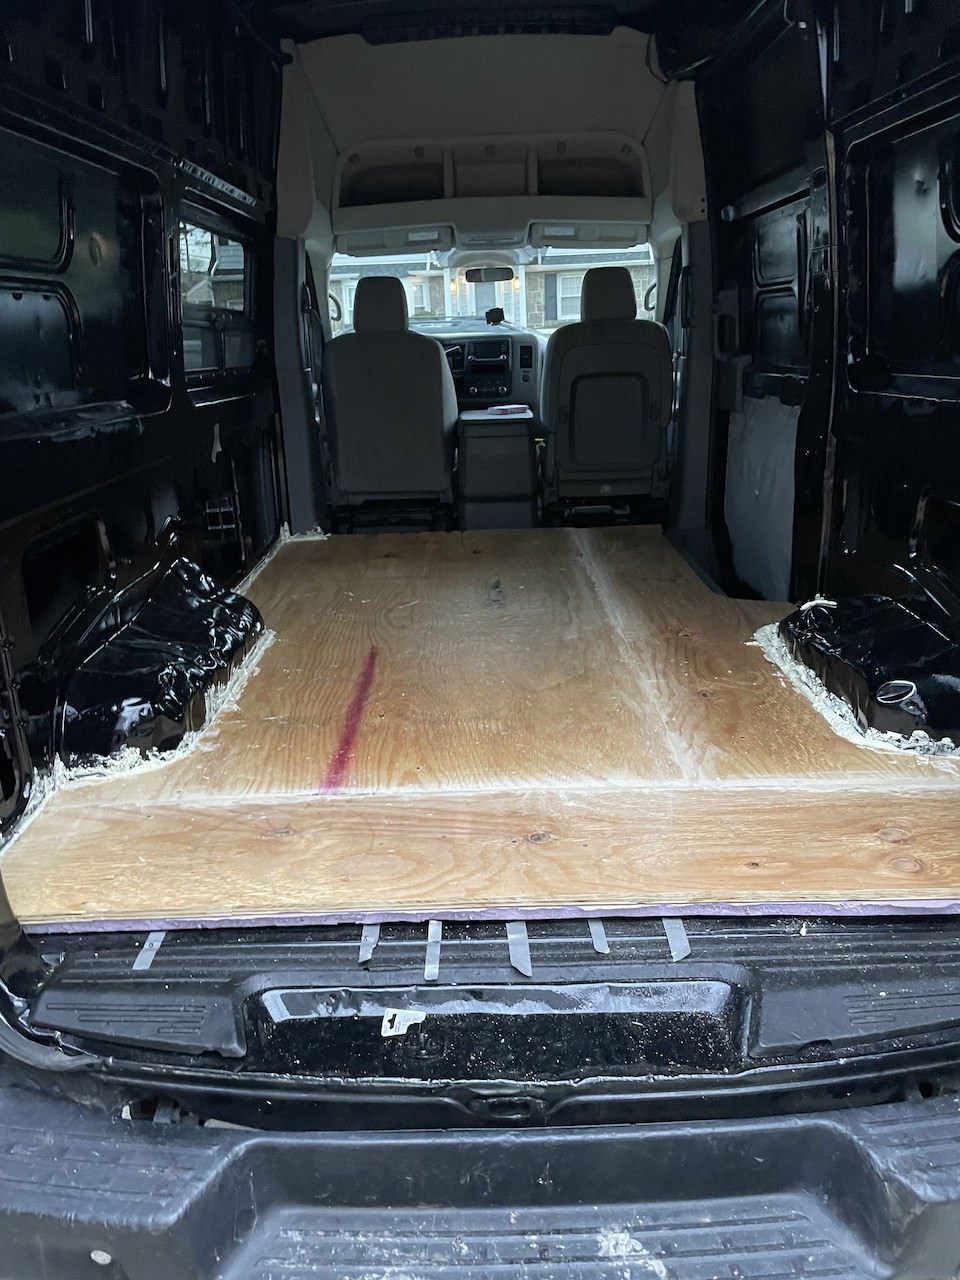
Circular Saw
 | Make Straight Plywood Cuts | Check Prices |
Jig Saw | Make curved cuts. Specifically for the wheel wells. | Check Prices |
Level | Ensure a level floor at all stages of the project. | Check Prices |
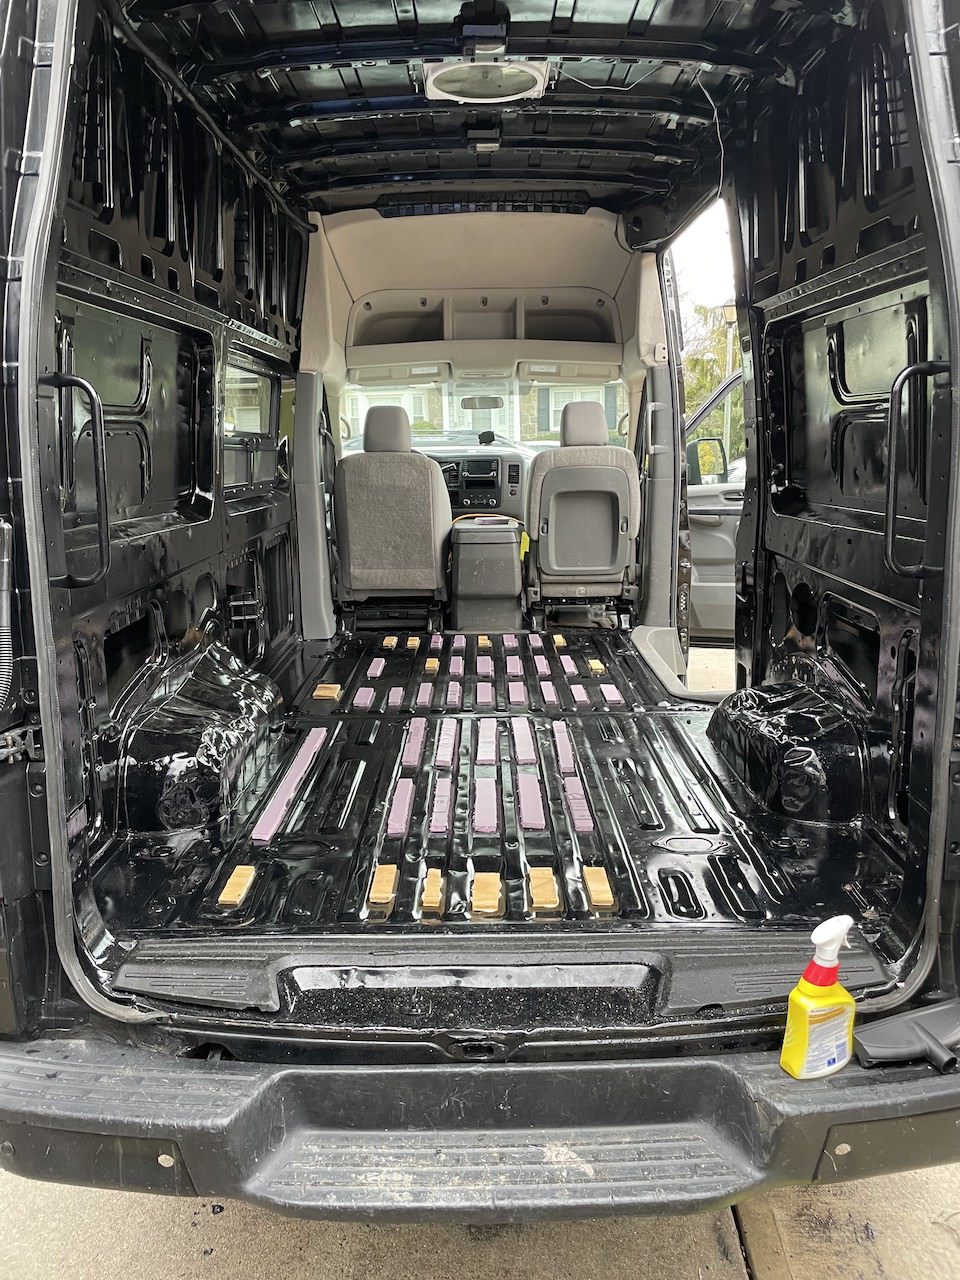
Utility Knife | Cut out insulation. | Check Prices |
Caulk Gun | Lay down adhesive | Check Prices |
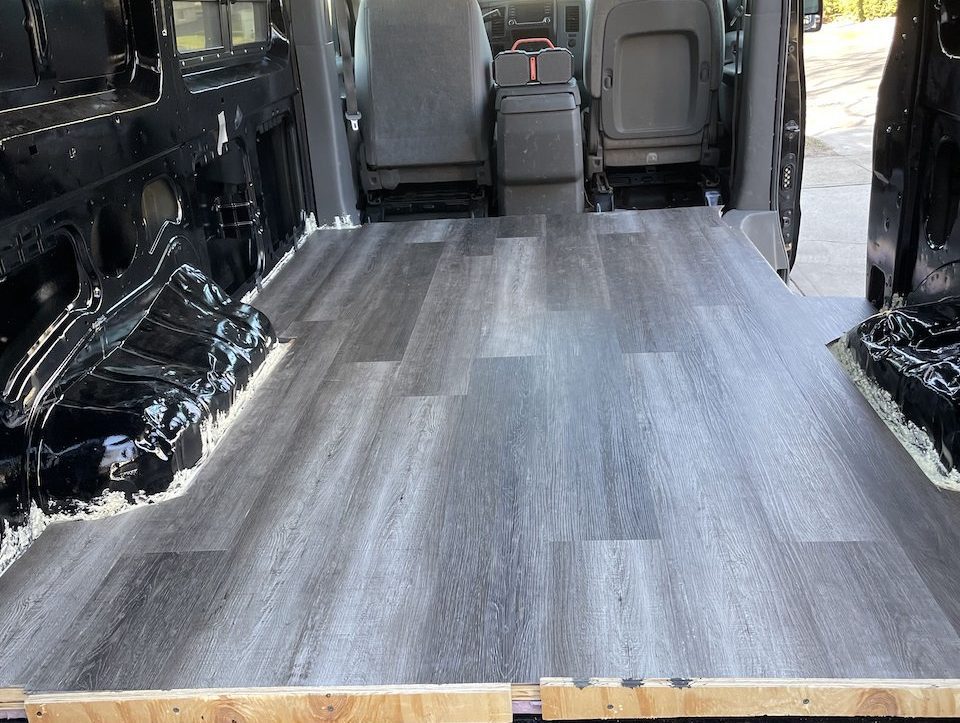
Vinyl Flooring Installation Kit:
 | Install vinyl flooring for a FLOATING FLOOR. | Check Prices |
Tape Measure
 | Measure out cuts. | Check Prices |