Wonderfarr

Categories
Uncategorized

Travel Safely With A Child Travel Consent Form

Travel Safely With A Child Travel Consent Form:
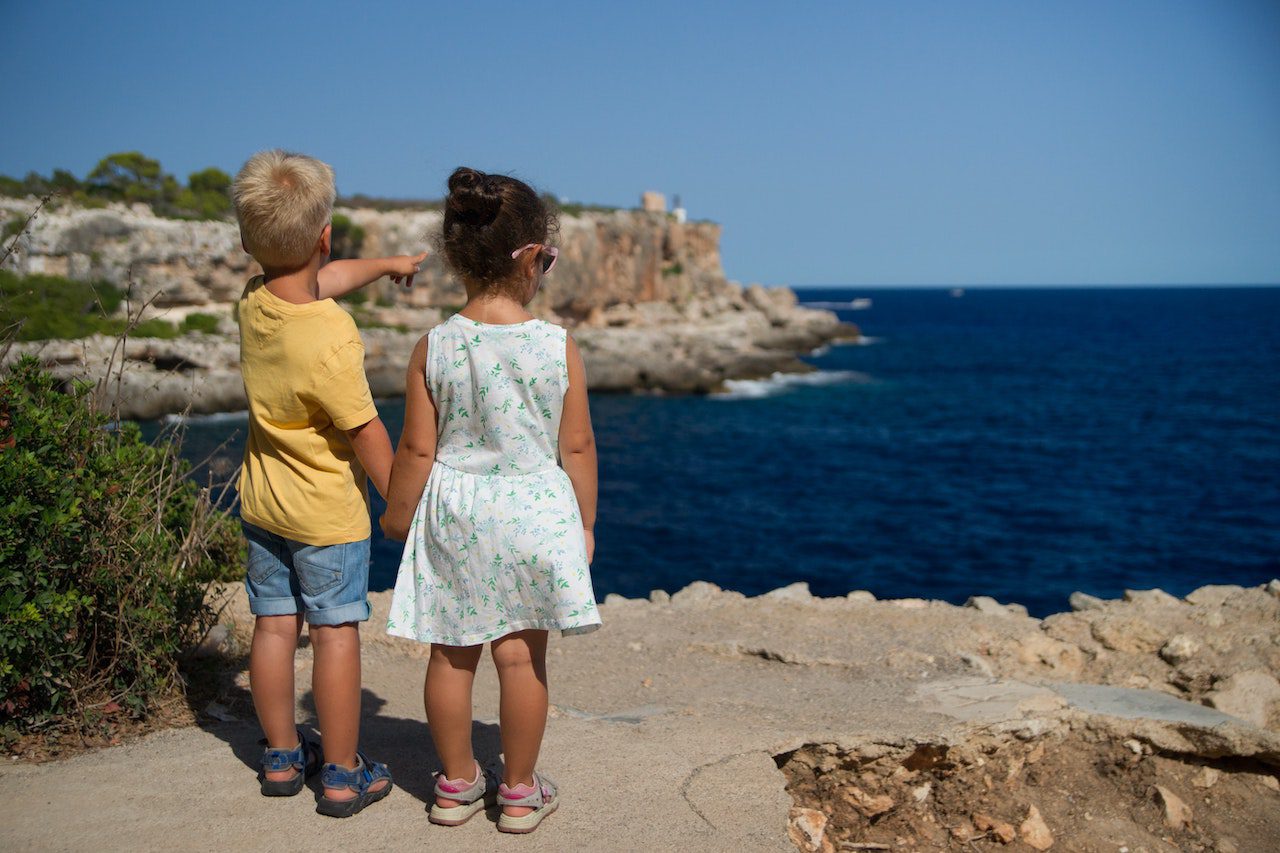
Chances are you or someone you know has a child who will be traveling this summer. If they are a minor, under the age of 18, and are not traveling with a parent, you should consider having them travel with a notarized Child Travel Consent Form.

What Is A Child Travel Consent Form?

A Child Travel Consent Form is a letter that lets the authorities know, that as parents, you are aware that they are traveling and give your permission to do so. For the form to be valid it needs to be signed and notarized by a notary public. International travel is where they are most common, but more and more parents are having their children travel with them domestically as well. With child trafficking at an all-time high, airport security and borders are being very careful when a minor is entering their county without a parent.

Why Does The Letter Need To Be Notorized?

It is the job of a Notary to verify the parents who are signing the form are in fact who they say they are. This is typically done by using a government issued ID, like a driver’s license. It needs to be valid and match the name of the parent who is on the form. The parent will sign the form, in front of the notary, and they notary will then enter the signer’s information into their journal and have the parent then sign the journal. The notarization is completed with a thumbprint, by the parent, in the Notary Journal. Without the notarized signature the Child Travel Consent Form may be invalid and rejected.

Where Can You Get A Travel Child Consent Form?

While there is not an official form needed for the Child Travel Consent Form it is suggested that the form contain the following information.

  • Child Name
  • Child Passport or ID number
  • Date of travel
  • Where are they traveling to
  • Parents name/names
  • Name of the person they are traveling with

There needs to be a space at the bottom of the form for the parents to sign and date. The child traveling doesn’t need to sign the form.

How Much Does It Cost For The Form And To Get It Notorized?

Forms can either be typed up by yourself who downloaded from the internet. Some notaries may carry the forms with them. The Long Beach Notary Dude is a notary public in Long Beach, California and his mobile notary service includes the form. All states are different, but to notarize a signature it’s costs anywhere from $5 to $20 depending on the state. In the state of California, is costs $15 per signature. If both parents are signing the form, it would be $15 per parent or $30 total.

What Do You Do With The Form?

If your child is younger and traveling with a grandparent or older siblings, it would be smart to leave the letter with them. They can simply put it in their carry-on baggage or purse and have always it with them. It’s a good idea to put the notarized form in a plastic folder protector to keep it safe. You many need to use the form at the airport or when crossing international borders. Hotels may also ask evidence that the child’s parents are aware they are traveling. 


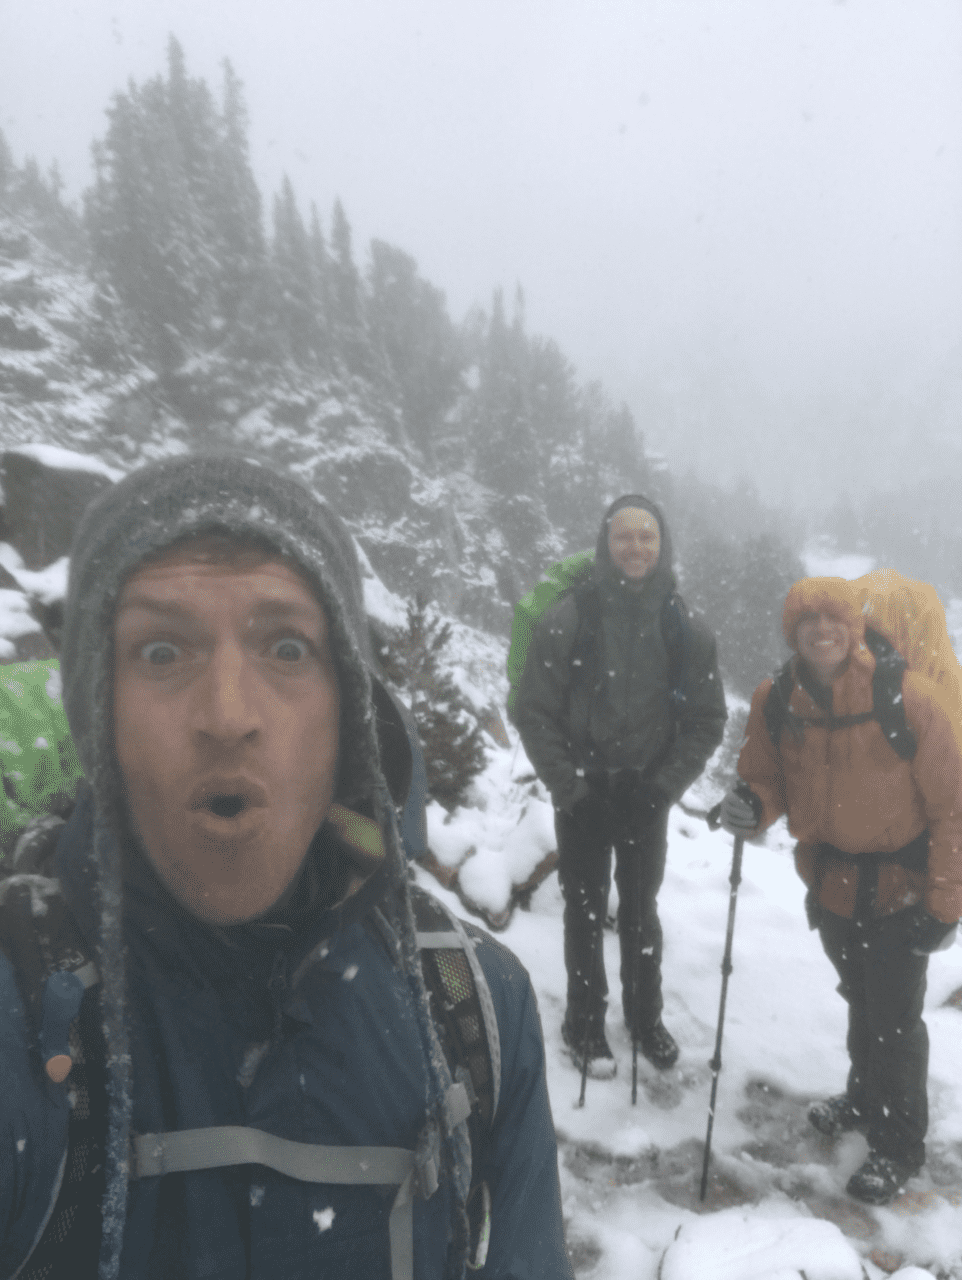
When planning that hiking trip with friends, if you are under the age of 18, you may have not considered traveling with a Child Travel Consent Form, but it is a great idea to have one on hand. It just protects you and those who are traveling with you.

About The Author:

Rufus aka “Long Beach Notary Dude” is a notary public in Los Angeles, CA. He offers both General Notary Services onsite and is a Mobile Notary, where he can travel to you.  Rufus is the owner of MY PO BOX LA, a mailbox rental and shipping store in Monterey Park, California. At 6’3 340 lbs he enjoys spending time with his wife, 3 kids and 3 cats. He can be reached at (626) 620-3667 or via email notarydude1@gmail.com. You can visit his websites at www.notarydude.net and www.mypoboxla.com

Categories
Uncategorized

The Best Of Arches National Park

The Best Of Arches National Park:

Best of arches national park

Welcome to the Best of Arches National Park where I give my take on the “best” of all things Arches National Park!  I spent a total of two days in the park hiking everything I could and it was incredible below are some of the highlights.  If you are looking for a complete overview of the park you should check out my post “Arches National Park Hiking Guide”.

Best Overall Hike In Arches National Park:

Devils Garden Trail

Best Overall Hike Devils Garden Trail

Distance: 7.9 miles

Type of Trail: Loop

Permit Required:  None

It only makes sense to start with this one since hiking is what we do here.  The best overall hike has to go to The Devil’s Garden Trail.  The views are amazing, but even more than that, you get the chance to see nine unique arches.  What else can you ask for from a hike in a park, literally called “Arches”?!  While I will say that the hike is one of the longest in the park if you are in good shape and have the day, it is absolutely worth doing. 

Best Hike To Avoid Crowds In Arches National Park:

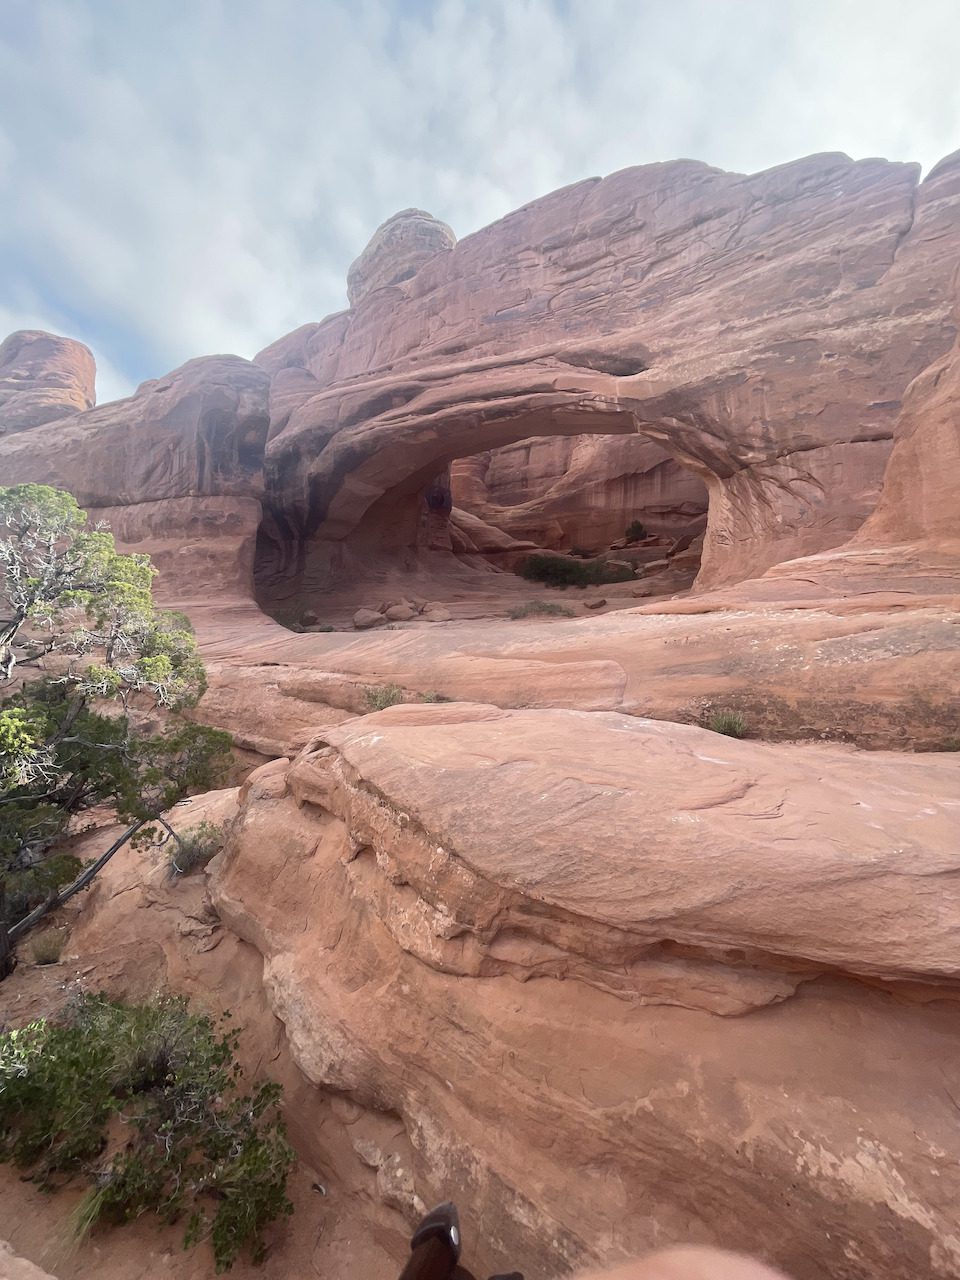
Tower Arch Trail

Best Hike To Avoid Crowds In Arches National Park Tower Arch Trail

Distance:  ~3.4 miles

Type of Trail: There And back

Permit Required:  None

Another important one for us hikers out there.  The best hike to avoid crowds has to be the Tower Arch Trail.  The catch with this hike is that you need to drive close to eight miles from the park on the unpaved Salt Valley Road to reach the trailhead.  I have a feeling that’s what turns most people off to it. 

But during this hike, you will get impressive views of the Klondike Bluffs and the Tower Arch itself at the end of the walk.  However, this is a hike that requires your full attention. It can be easy to get off the trail so keep your eyes peeled for those rock cairns!

Best Touristy Hike of Arches National Park:

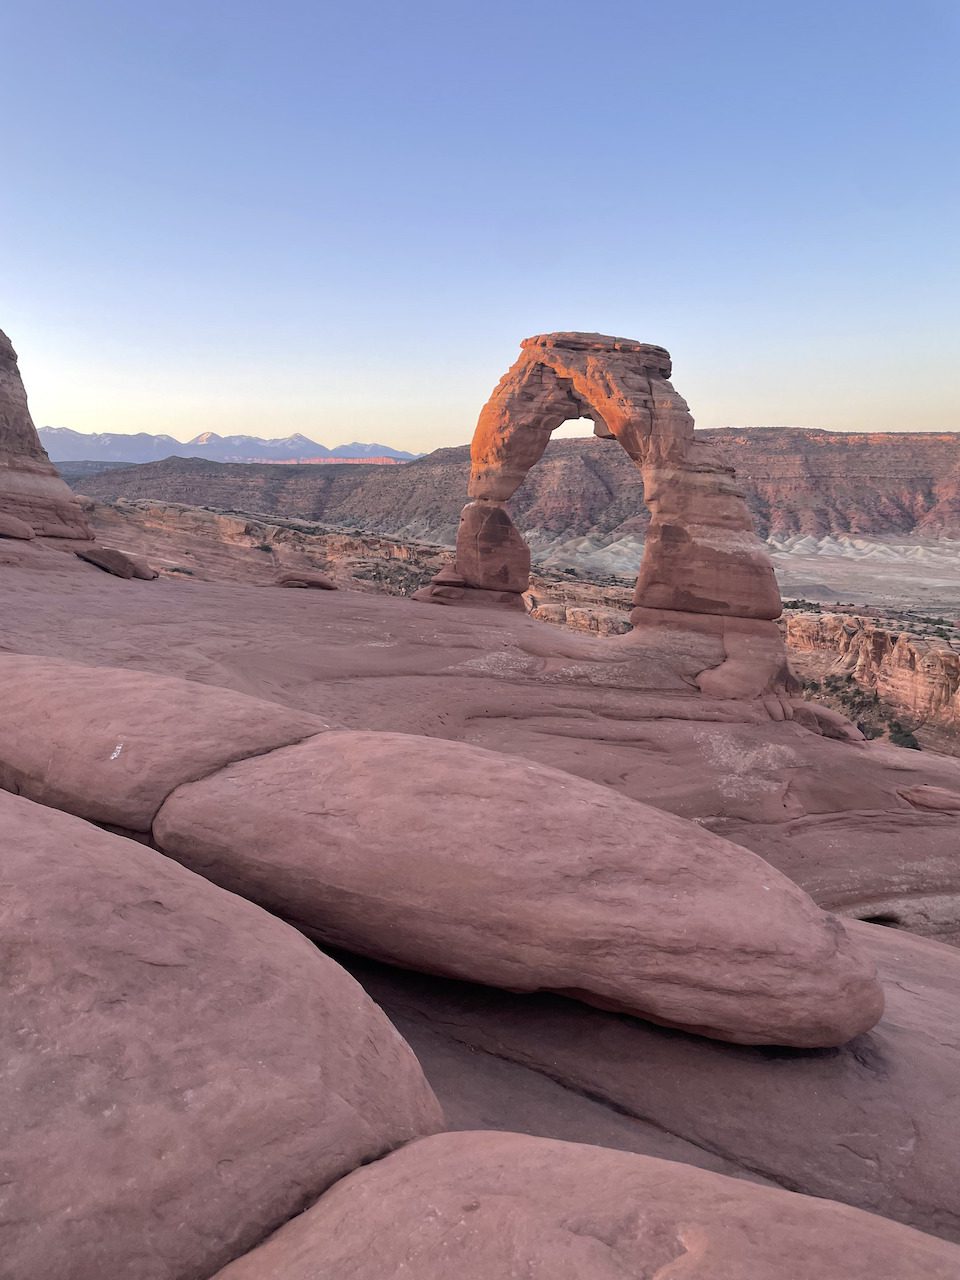
The Delicate Arch Trail

delicate arch trail

Distance:  ~2.8 miles

Type Of Trail: There and back

Permits Required: None

If you want a hike to make a postcard out of, look no further than the Delicate Arch Trail.  I mean, come on, the hike is literally the centerpiece of the Utah license plate!  However, it is important to note that because this is such a popular attraction, if you want to avoid crowds it would be best to do this hike either early in the morning or later in the evening.

The Best Arch In Arches National Park:

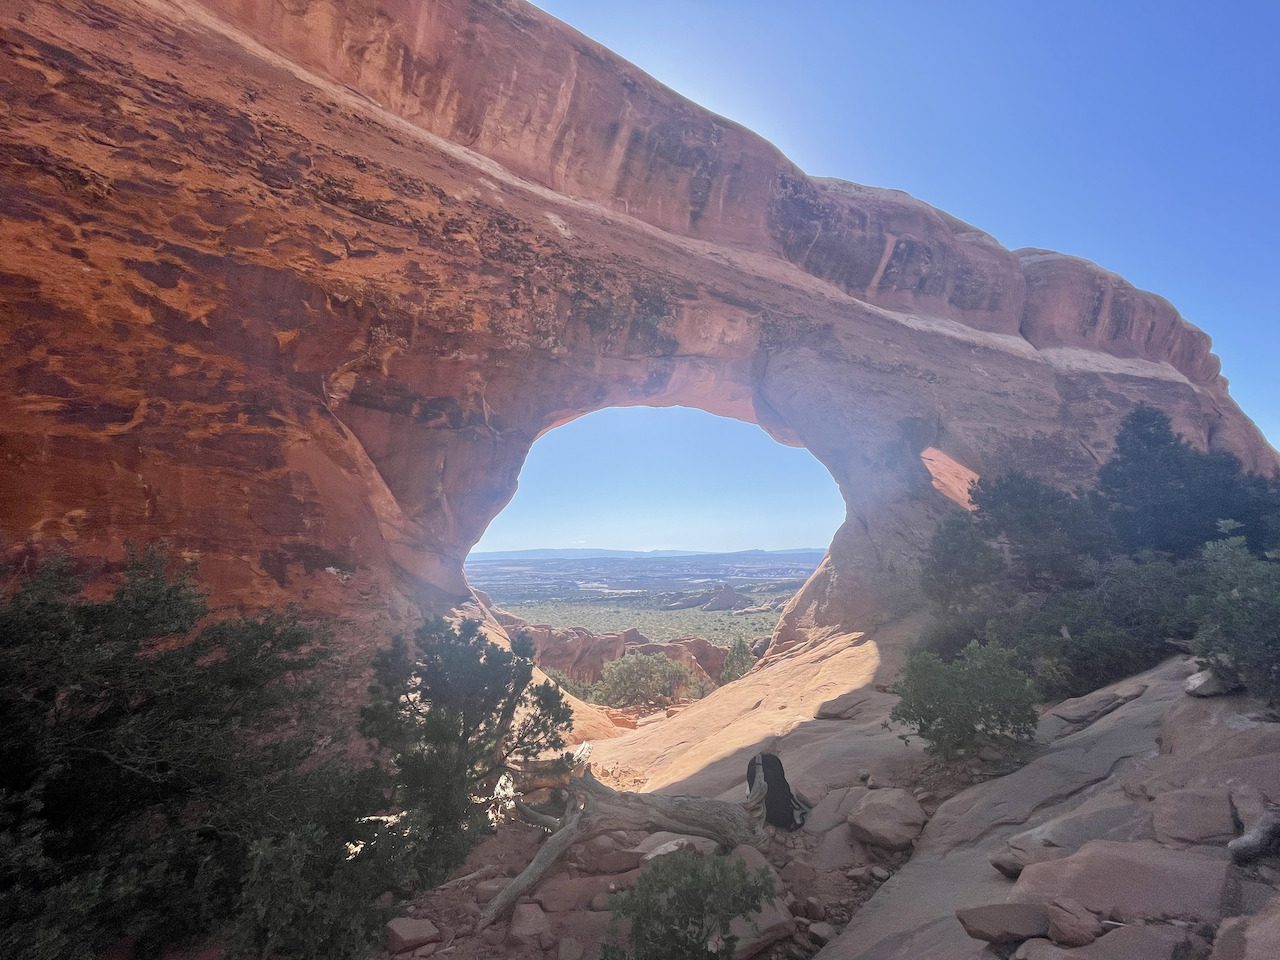
The Partition Arch

Best Arche In Arches National Park The Partition Arch

Trail: Devils Garden 

Distance From Trailhead:  ~1.1miles one way if going direct from the trailhead

Here is another important one.  As we said, the park’s name is “Arches” so which one is the best?  For me, it has to be the Partition Arch.  I loved it because it seemed like a window into a new world as I approached the arch.  I literally sat and stared through this arch for over an hour. People around me seemed concerned.  But I couldn’t help myself! It was breathtaking!

The Best Easy Hike In Arches National Park:

Park Avenue Trail

Best Easy Hike In Arches National Park Park Avenue Trail

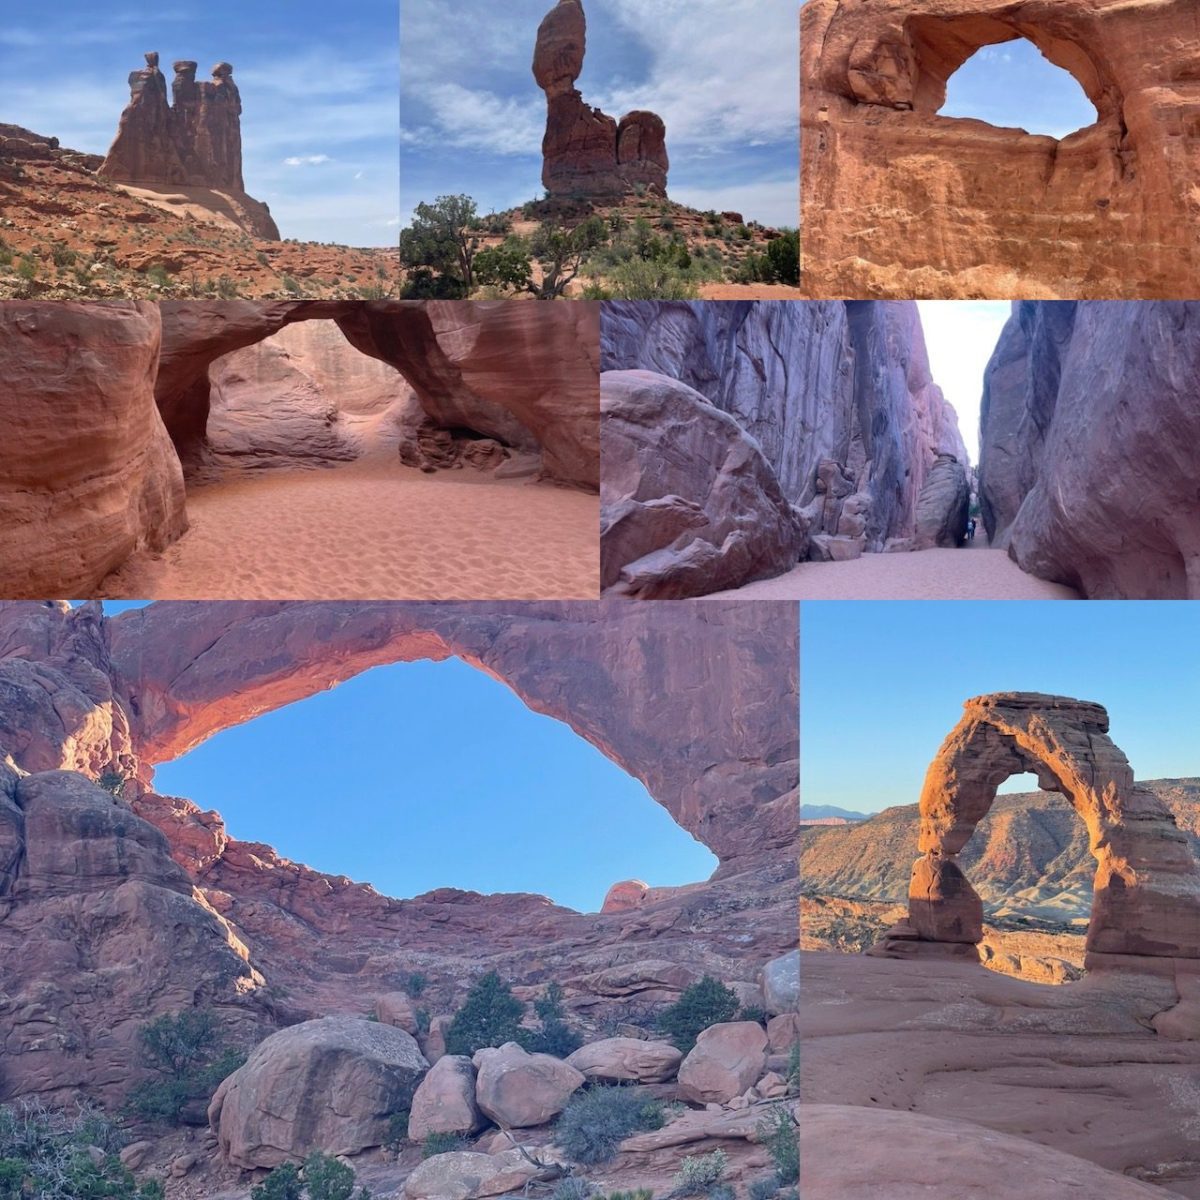
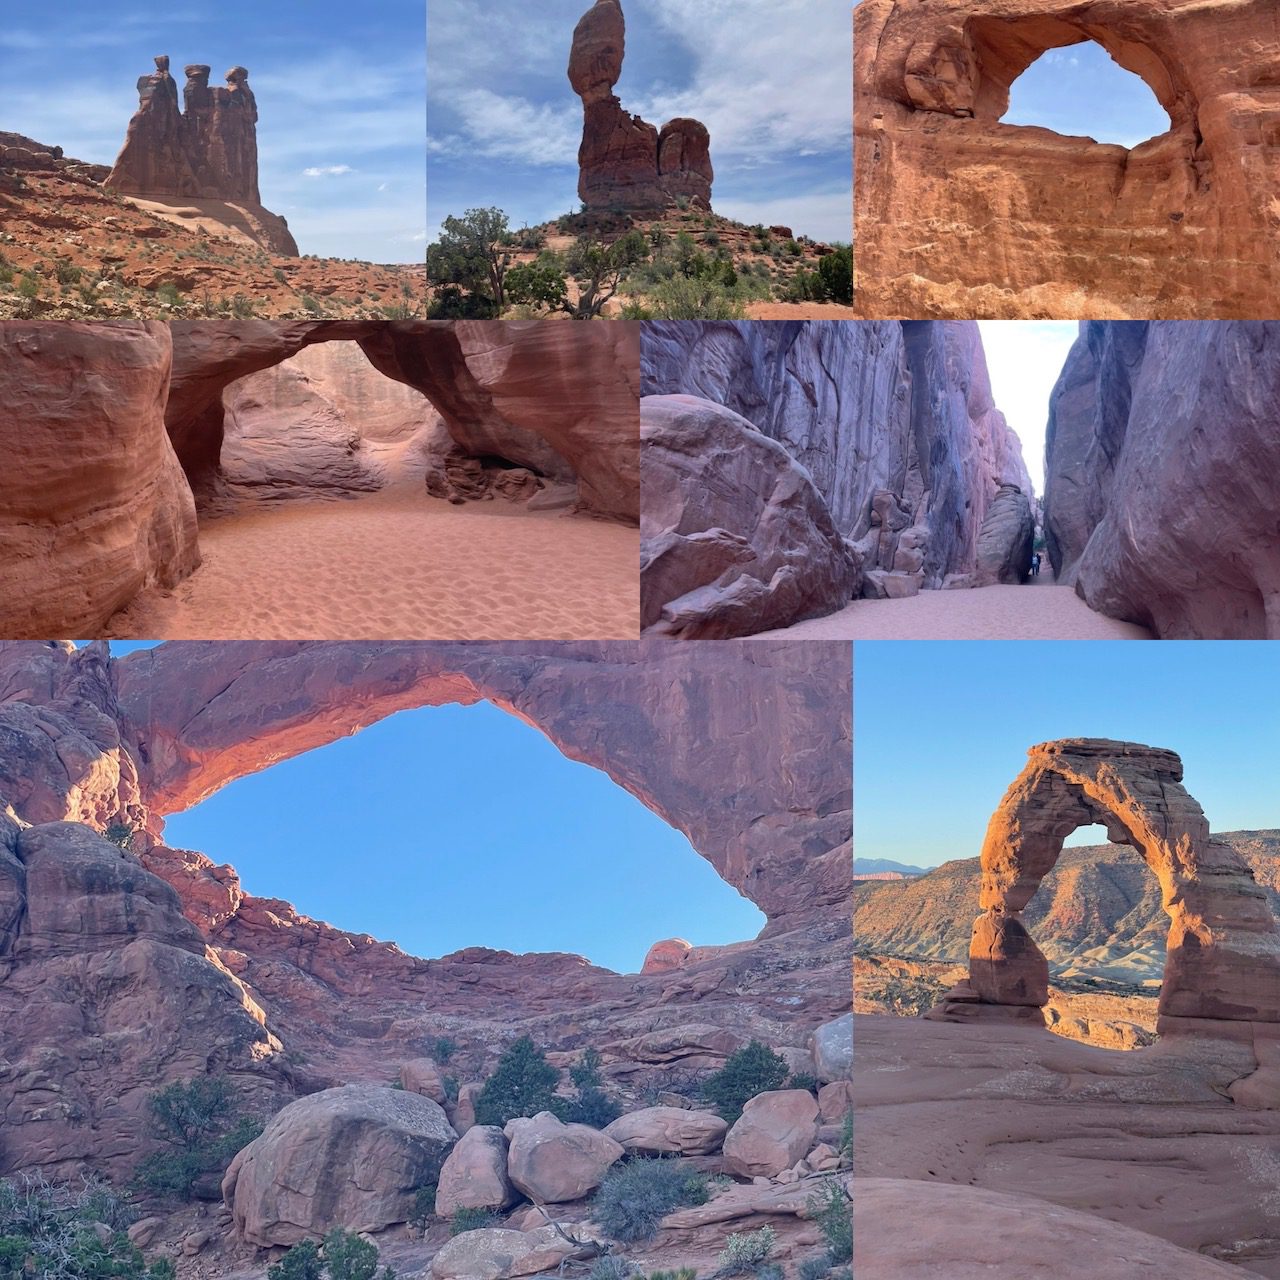
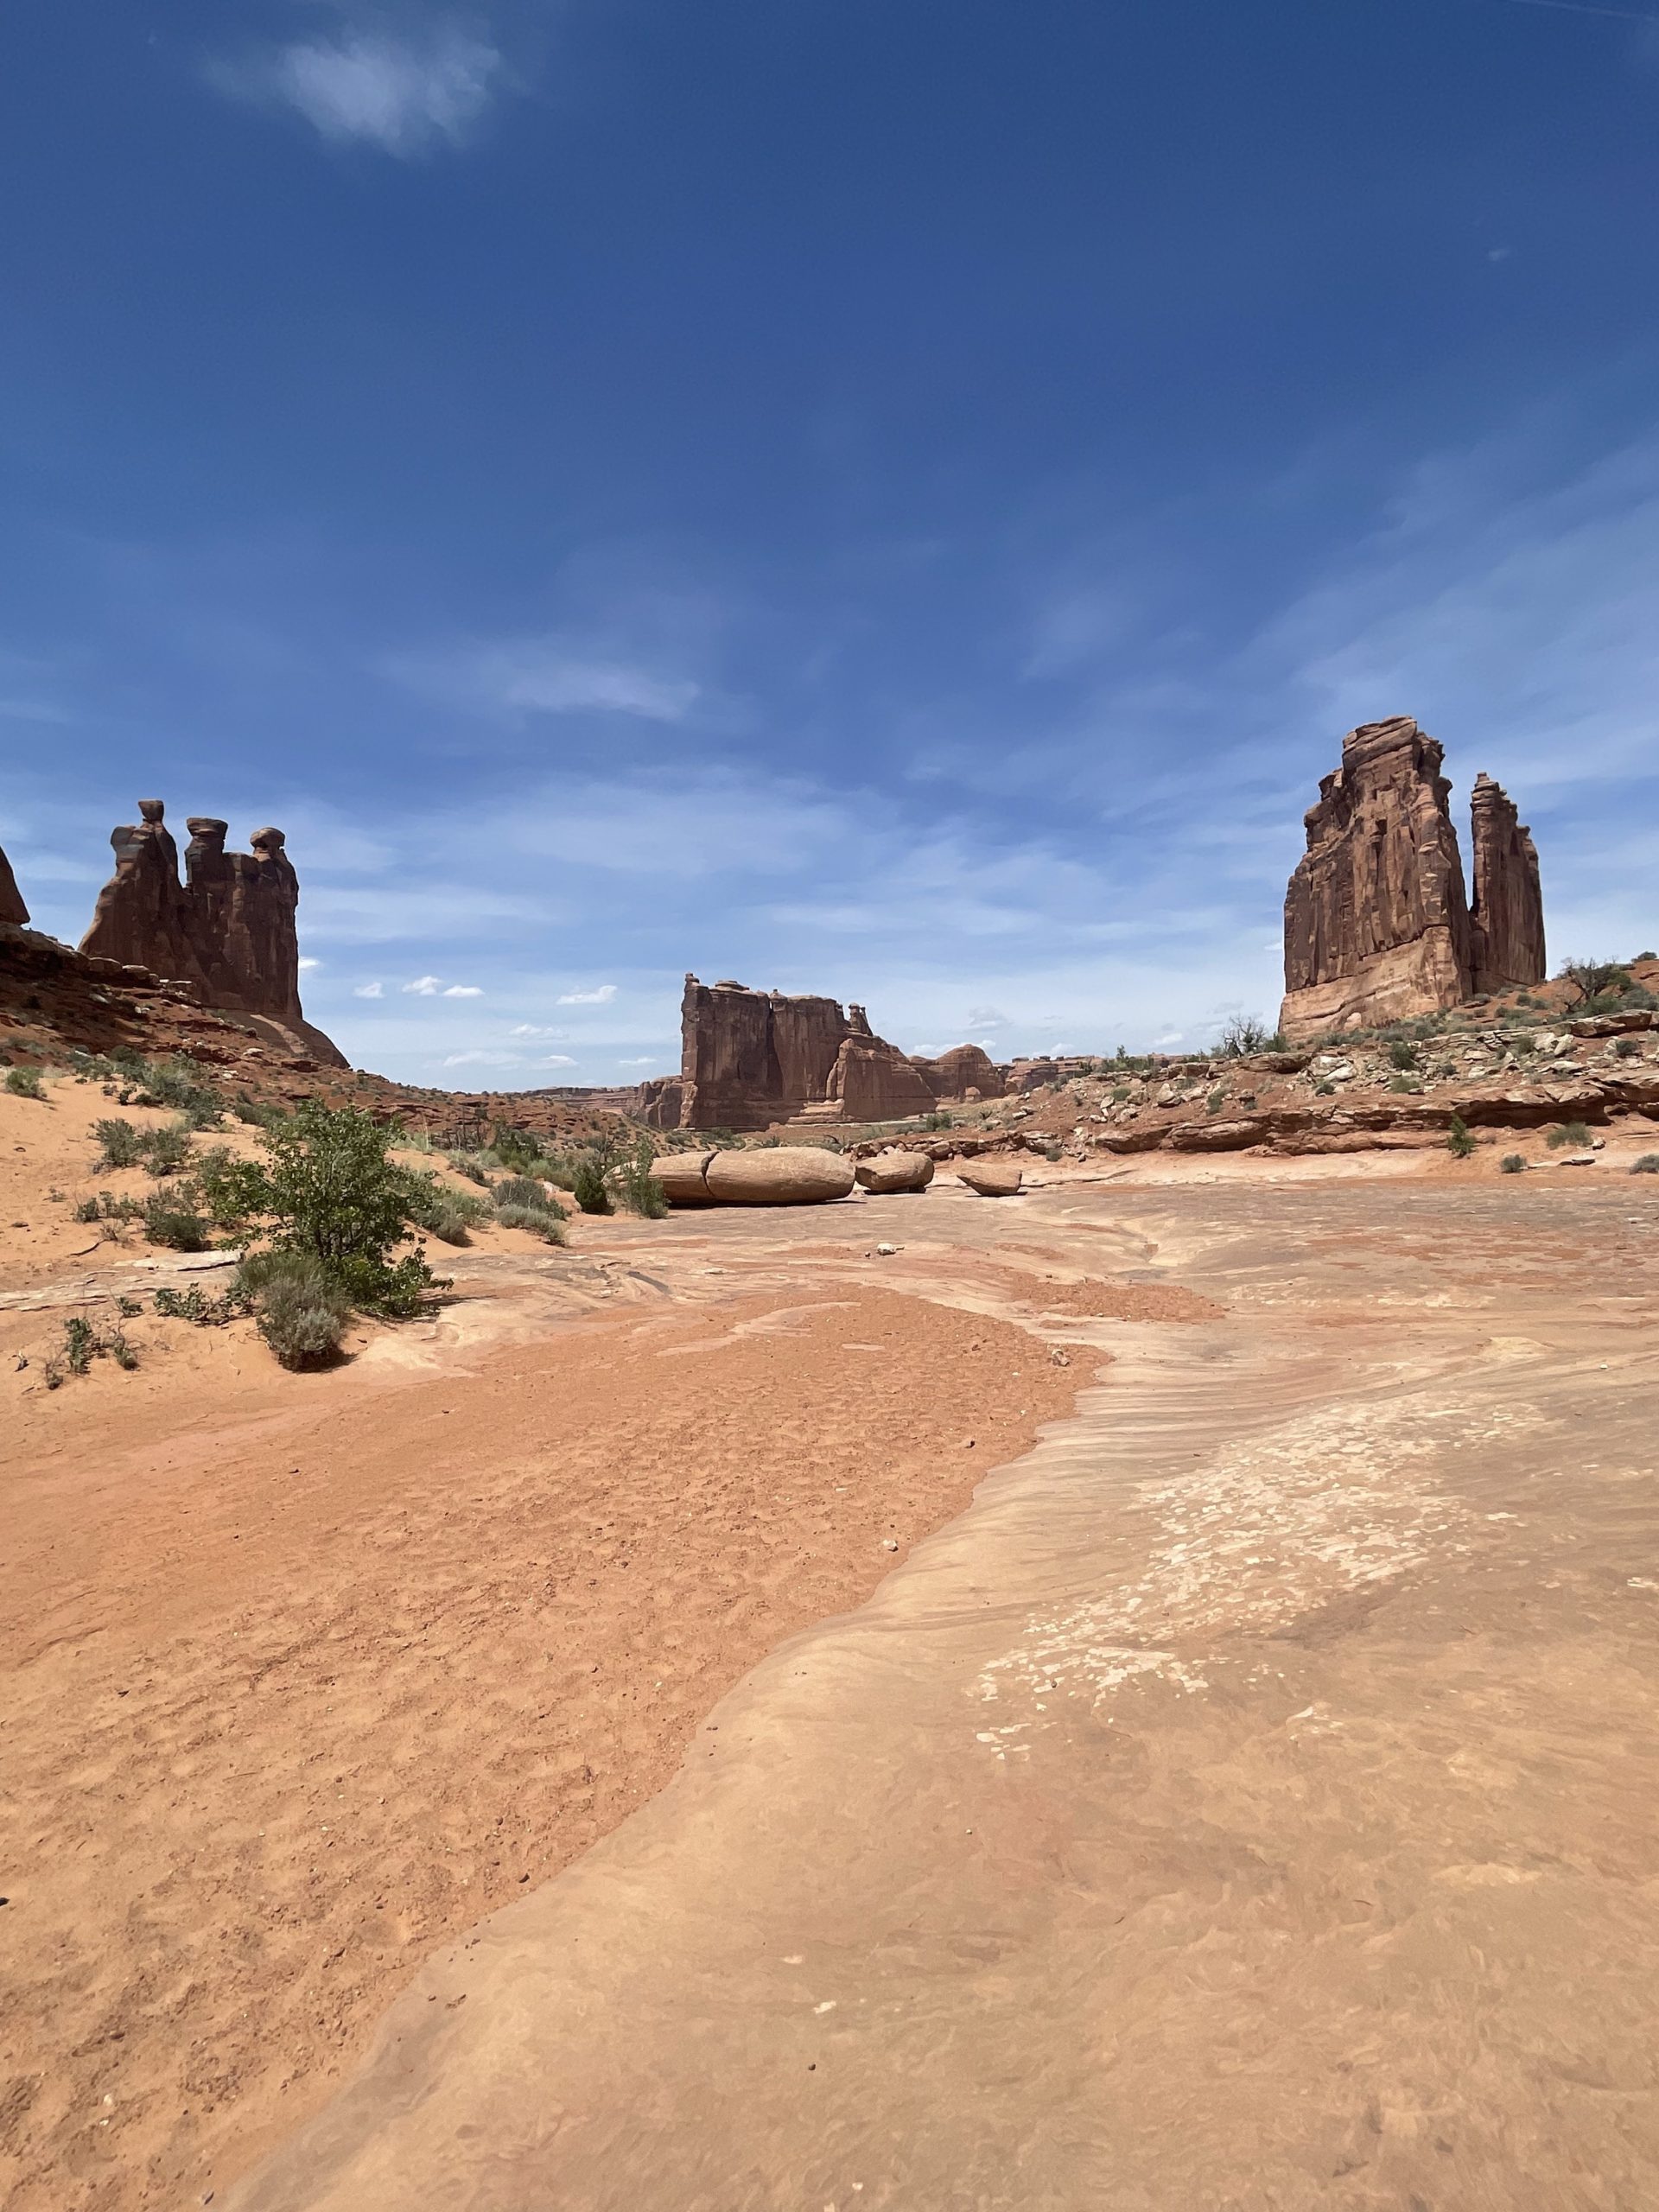
This one is for you for those of you who are getting dragged on this trip by a hiker friend!  The best easy hike in Arches National park has to be the Park Avenue Trail.  This trail is less than 2 miles round trip and has fantastic views of the Three Gossips, Babel Tower, and the Organ.  You can shorten this hike with two cars by parking them on opposite ends of the trail, making it less than a mile walk for a one-way trip.

Although there are no arches on this hike, the views of these towering sandstone structures are more than worth the title of best easy hike in Arches National Park. 

Best Viewpoint In Arches National Park:

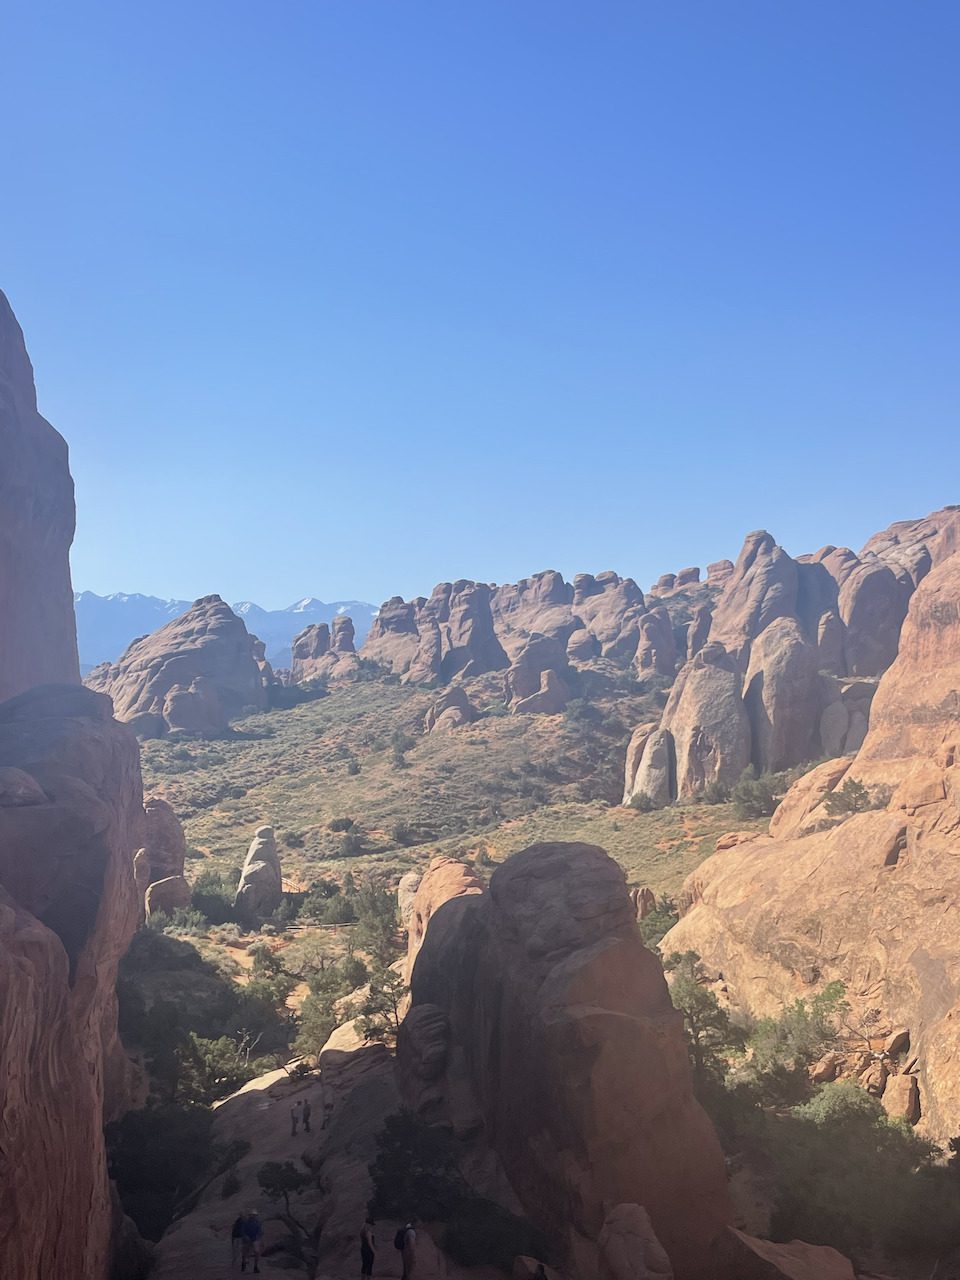
Courthouse Towers Viewpoint

Best Viewpoint in arches national park Courthouse towers viewpoint

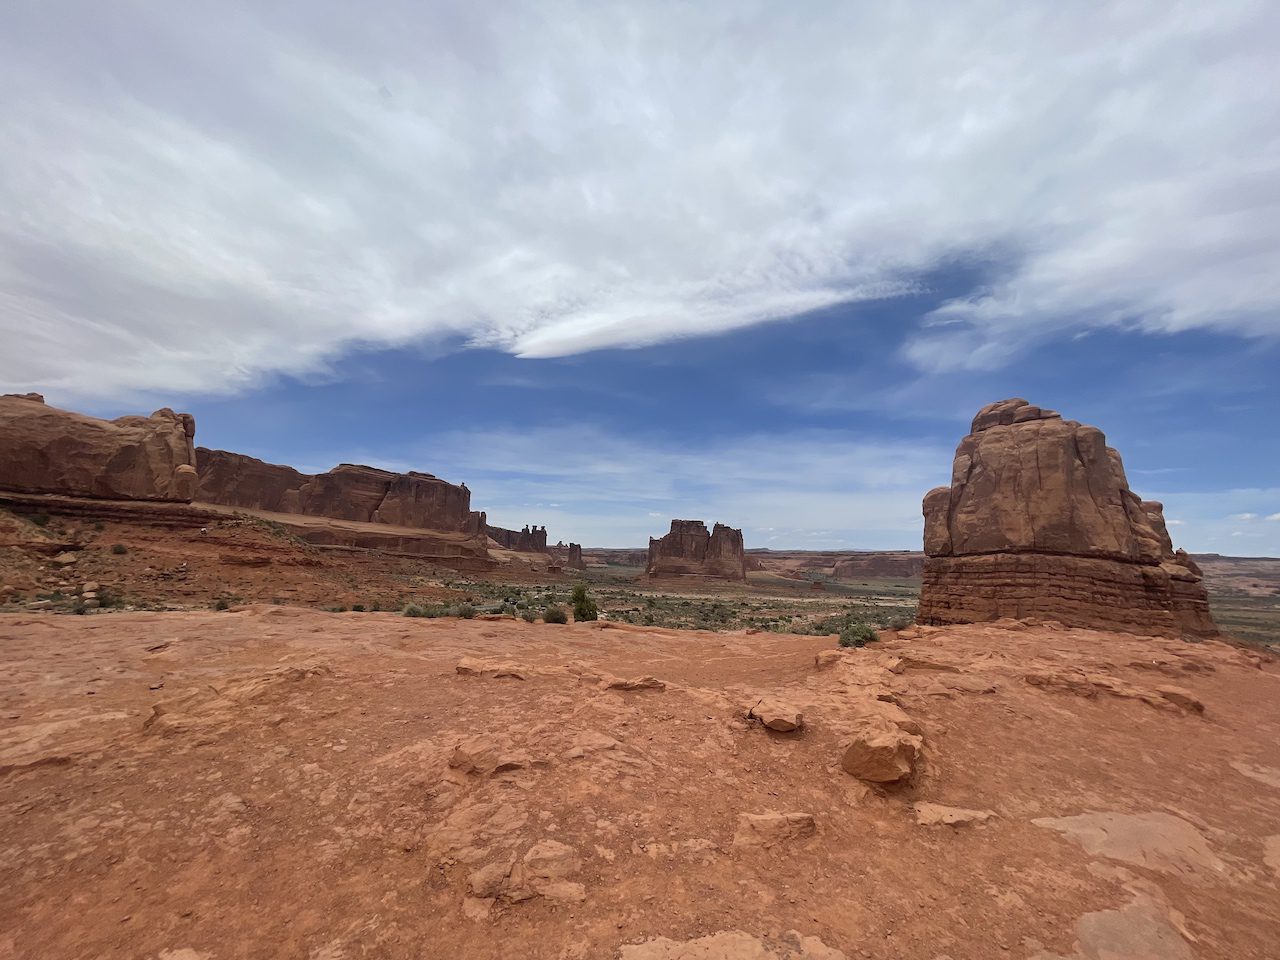
Although I am not one for driving around a park to visit viewpoints, there is one in this park that earns the title of the best of them.  That is the Courthouse Towers Viewpoint. 

Here you see many classic park structures, including the La Salle Mountains, Colorado River, Elephant Butte, Balanced Rock, Courthouse Towers, The Organ, Tower of Babel, and the Three Gossips.  Whew, that’s a lot of views!

That's All!

That is all for our Best of Arches National Park I hope you enjoyed it!  If you are looking to take a trip to the arches check out our “Arches National Park Hiking Guide” to help plan your trip.  Don’t forget to check the Arches National Park website for the latest park updates. 

Categories
Uncategorized

How To Install The Floor For A Van Conversion. In 5 Easy Steps

How To Install The Floor For A Van Conversion. In 5 Easy Steps!

How To Install The Floor For A Van Conversion

We are going to go over how to install the floor for a van conversion!  Your floor is important for waterproofing, sound proofing and insulating your van.

If you are like me and have never installed a floor don’t worry this is something that you can do without much experience.  Just follow these five steps that I did and you will have a van floor in no time!

  1. Clean the van floor of any dirt or debris
  2. Level the van floor with insulation or wood
  3. Cut and install floorboard insulation
  4. Cut and install plywood subfloor
  5. Install the finished flooring 

Disclosure: Some links on this page are affiliate links, and if you go through them to make a purchase or a booking, I may earn a commission. Using these links DO NOT affect the cost of the product/booking. The price remains the same affiliate link or not.  This is the process that I did my flooring in different vans may have their own nuances it is important to do thorough research of your van and needs prior to installing your flooring. 

Step #1 Clean The Van Floor:

First thing’s first we need to clean the floor of our van.  Use a metal-friendly cleaner and wash out any dirt or debris on your van floor.  Dirt and debris can interfere with the bonding of the glue we will use to stick our insulation down.

Step #2 Level The Floor

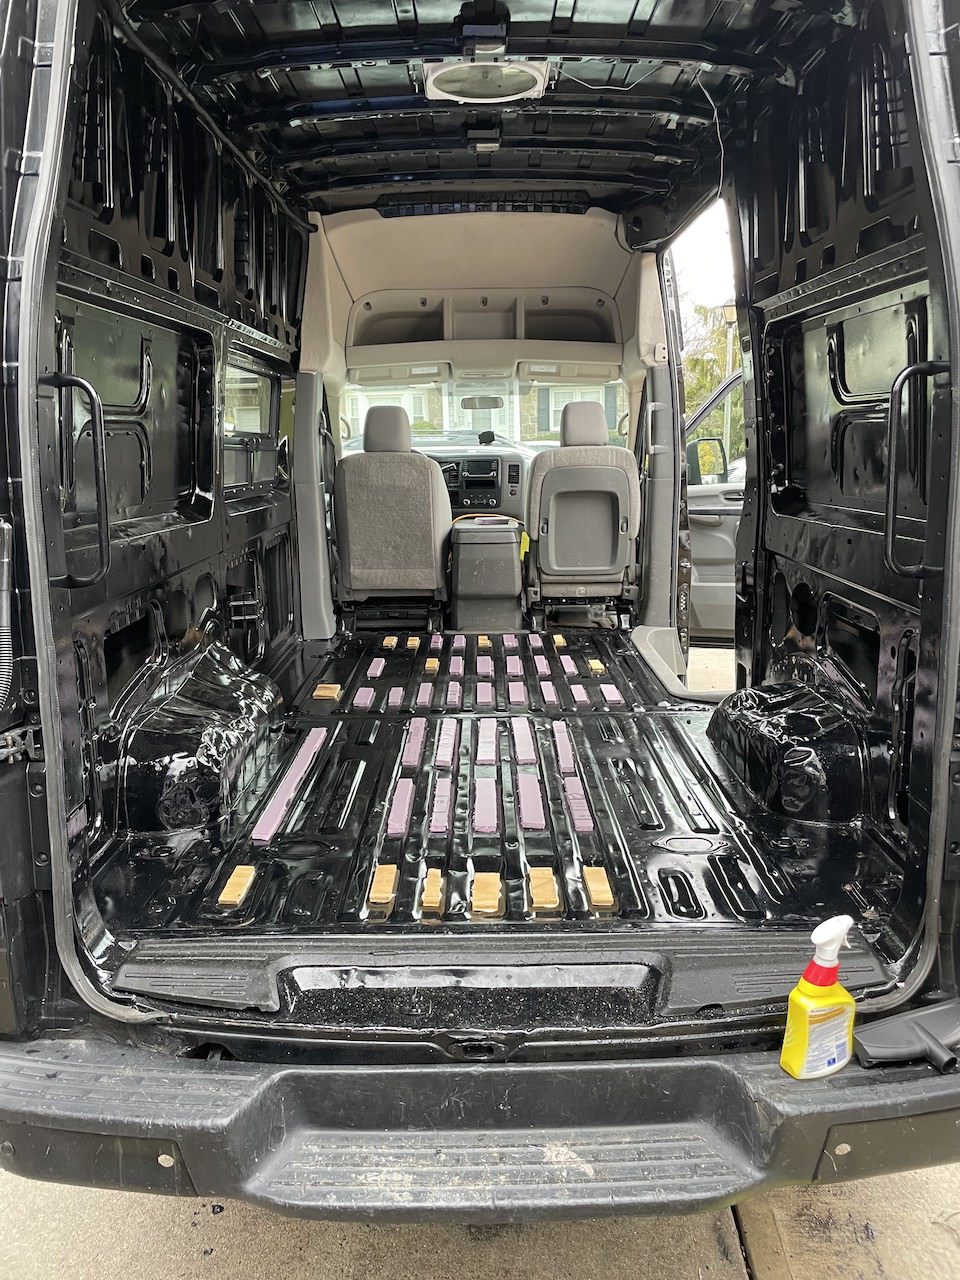
Leveling your floor requires placing insulation or wood in the grooves of the cargo van floor, which can be tedious work. You should select a material that matches the height of the tracks as close as possible.  I recommend placing all your strips of insulation or wood where you intend to secure them, then taking out a level to see if what you have set up is truly flat.  Having a level floor is crucial because it is what you will be building the rest of your floor on.    

Wood vs Insulation:

You can go with either strips of wood or insulation to level your van.  I went with a combination because I wanted to be able to better secure some parts of the subfloor.  But you would be fine with just using insulation.  After cutting your strips of wood/insulation you can use liquid nails to stick them to the floor.  

Another option is to purchase one of these pre-made bed rugs to level your floor this can save you a ton of time!

Step #3 Install Your Foam Board Insulation

Next up you need to install your foam board insulation.  I went with 1” thick XPS foam board after cutting out the wheel wells to make sure everything fit we placed Liquid Nails to secure the insulation to the van floor.  Sorry no pics of this 🙁

Step #4 Install Your Subfloor

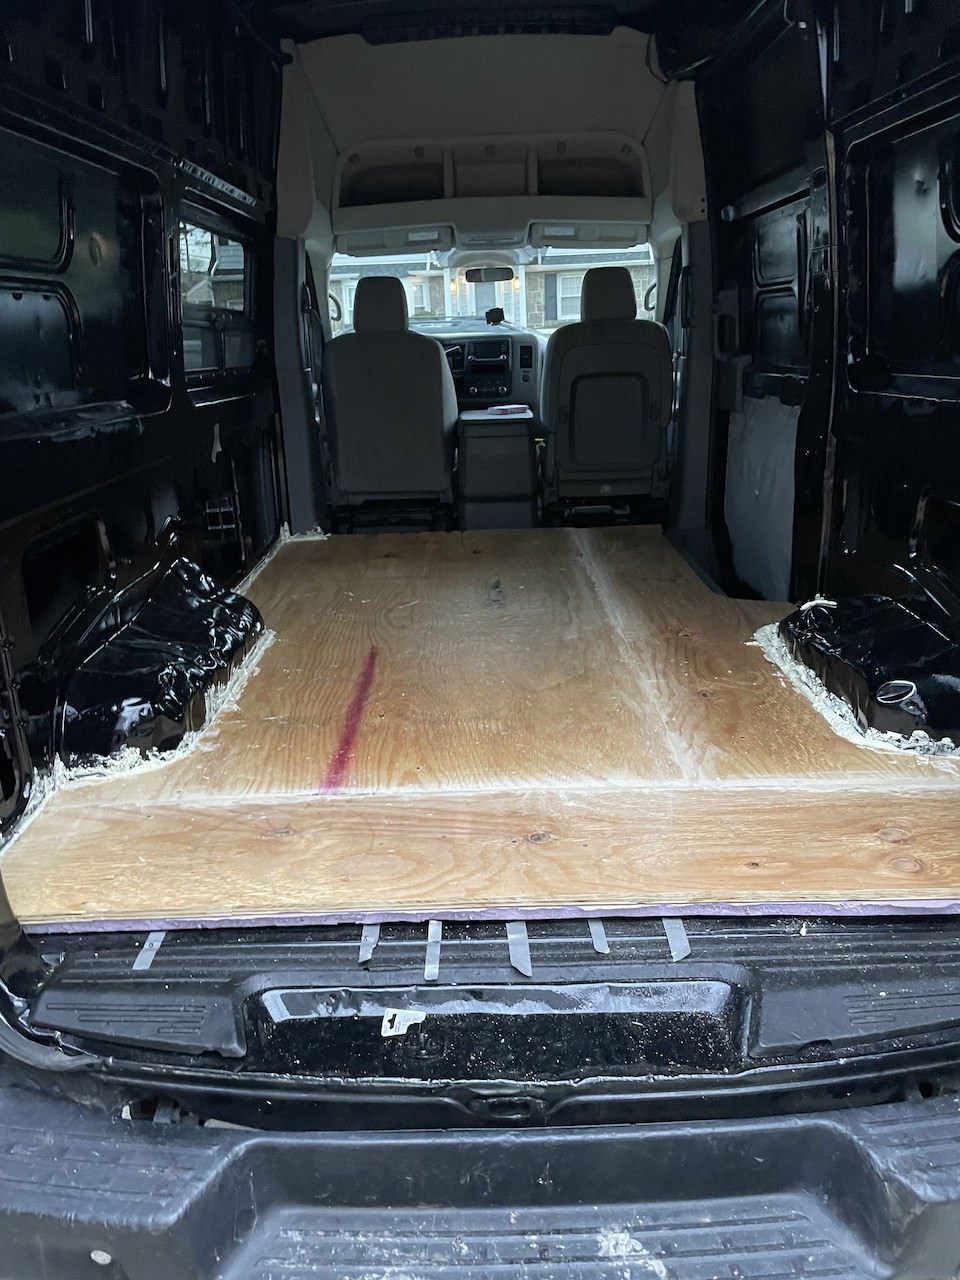
After you have your foam board insulation in place the next thing you need to do is install your subflooring.  My subflooring required 2 pieces of 4 x 8’ 3/4″ thick plywood cut into 3 separate pieces.  After cutting out our plywood I laid them down to see if they were level and applied a bunch of liquid nails to keep them in place. 

Unfortunately we ran out of the liquid nails in the middle of laying down the subflooring.  Because of this after it dried there were areas of uneven seems from the lack of adhesive.  Fortunately we were able to fix this by drilling some screws down into the wooden strips we laid down to level out the boards.  

After securing your subfloor you want to place your gaps and stuff along the edges to make sure it is level for when you place your finished floor.  Be sure to cut out the excess before it drys to make it flush with the subfloor.

Also you want to use wood filler to sand down the seams of the plywood to get rid of any gaps. 

Step #5 Install Your Finished Floor

How To Install The Floor For A Van Conversion

Now that you have your insulation and subfloor down the final step is to put down the finished floor.  There are several options you can go with then it comes to installing your finished floor.  You can either go with:

  • Vinyl floating floor
  • Vinyl sheet flooring
  • Lineoleum sheet flooring

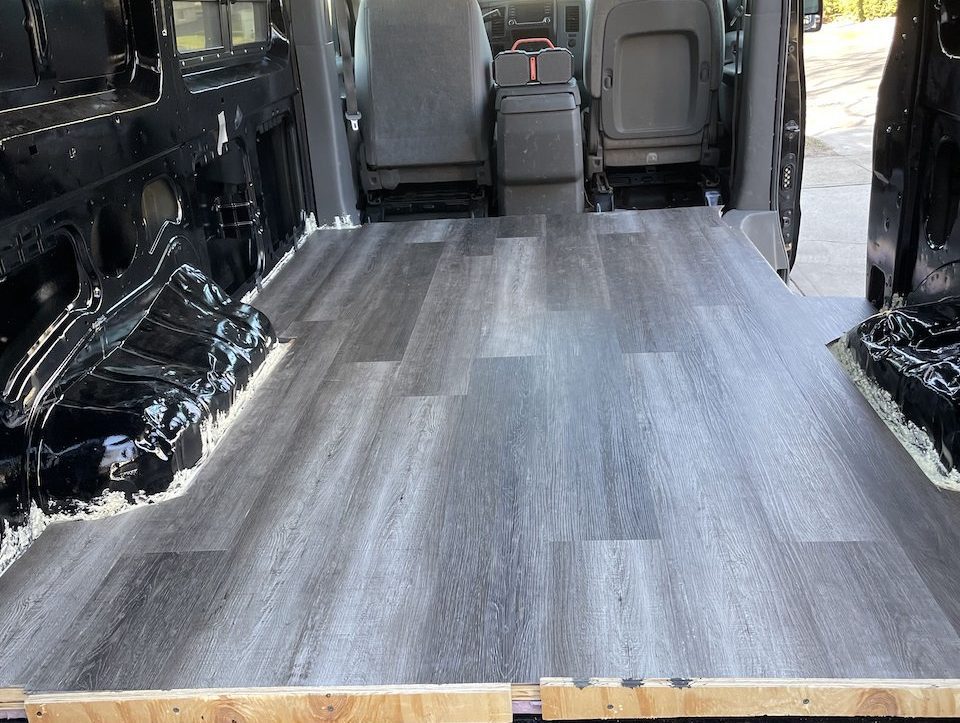
I went with the vinyl floating floor because I felt like it offered me a bit more room for error and didn’t have to worry about messing up gluing down my floor and it looking like crap.  Floating vinyl floors are extremely easy to install.  These floors work with a click lock to secure them together.  I just recommend getting a vinyl floor installation kit to help you do this.

After this apply some silicone to the border of your floor and you are all set!

Tools / Material Needed

ToolUseCheck Prices
Circular Saw

Make Straight Plywood CutsCheck Prices
Jig Saw
Make curved cuts.  Specifically for the wheel wells.Check Prices
Level
Ensure a level floor at all stages of the project.Check Prices
Utility Knife
Cut out insulation.Check Prices
Caulk Gun
Lay down adhesiveCheck Prices
Vinyl Flooring Installation Kit:

Install vinyl flooring for a FLOATING FLOOR.Check Prices
Tape Measure

Measure out cuts.Check Prices

Materials Needed

  • XPS Foam Board Insulation 1″ thick for insulation layer.  Measure to determine the thickness needed for your vans grooves. You can get from local hardware store or Home Depot
  • Two 4×8′ 3/4″ thick plywood for subfloor. You can get from local hardware store or Home Depot.
  • ~10 x tubes of Liquid Nails 
  • Vinyl Flooring
  • ~2 x tubes of Silcone II
  • ~2 x tubes of Great Stuff Gaps and Cracks

Hope This Helps!

Categories
Uncategorized backpacking for beginners Outdoors for Beginners

Do You Need Travel Insurance For Backpacking?

Disclosure: Some links on this page are affiliate links, and if you go through them to make a purchase or a booking, I may earn a commission. Using these links DO NOT affect the cost of the product/booking. The price remains the same affiliate link or not.

Do You Need Travel Insurance For Backpacking?

Do you need Travel Insurance for backpacking

Some of you who may be looking to save a buck may ask “do I need travel insurance for backpacking.”  The answer is yes.  Yes you do. 

While I understand we all want to save money travel insurance (also known as backpackers travel insurance) isn’t where you should cut costs if you are going on a backpacking trip.  The reason being is that no matter how much you prepare for your trip, you can still encounter inclement weather, broken gear, or injury on the trail.  Good travel insurance helps keep you financially covered for any mishaps that may come your way. 

We will go over the benefits of travel insurance, what’s not covered, and the best one for you!

What is Backpackers Travel Insurance?

Backpackers travel insurance is a type of travel insurance that caters to the needs of those participating in adventure activities when traveling.  These policies also have extended coverage options such as gear, emergency medical evacuation, and emergency medical expenses.  I will be using “backpackers travel insurance” and “travel insurance” interchangeably throughout this article as the names don’t matter as much as what their coverages include. 

What Should Your Travel Insurance Cover If You Are Backpacking?

When researching the best backpacking insurance for your next trek, you want to ensure that the following is included in your policy.

  • Trip Cancellation
  • Emergency Medical Expenses
  • Emergency Medical Evacuation
  • 24-hour Assistance
  • Broken / Lost gear
  • Covid 19 Related Cancellations 

Trip Cancellation

No matter what the trip, you should have trip cancellation coverage.  This coverage helps get your money back for nonrefundable trip expenses in situations of such as illness, accident, or bad weather.  It is a nice safety net to have should you have to cancel your trip altogether. 

Emergency Medical Expenses

While this is a benefit that I hope you never have to use, emergency medical expenses must be included in any travel insurance you consider purchasing for your next backpacking trip.  As we said, regardless of how much you prepare for your trip, accidents and injuries can happen, making it essential to have emergency medical expenses included in your travel insurance.

Emergency Medical Evacuation

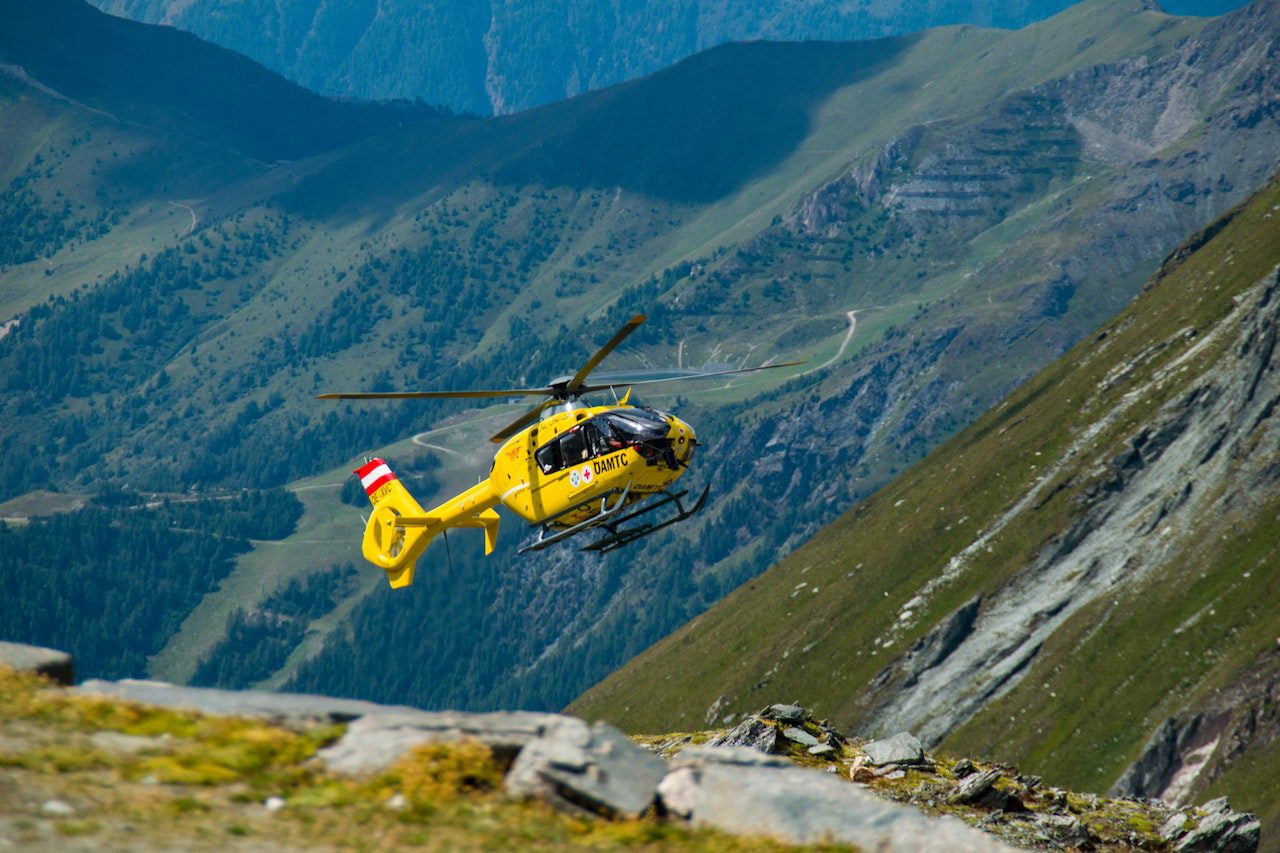
This is a biggie.  Again I hope that none of you have to use this benefit.  Still, in situations where you are injured in a remote region and can’t continue hiking, emergency medical evacuation may be needed.  These evacuations are costly and can put you in financial trouble if you have to pay out of pocket, so make sure they are included in your plan.

24-Hour Assistance

It would be best if you had an insurer available 24/7.  Accidents can happen anytime, so you need an insurer that is always available to help you through any situation that comes up.

Broken / Lost Gear

Say your baggage is lost or damaged during travel.  Without this coverage, you may be stuck with footing the bill for new gear.  With gear protection, you are covered up to a certain amount of money for any lost or damaged equipment, so you can continue on your adventure without missing a beat!

Covid-19 Coverage

Especially in this day and age, with the ever-evolving rules and regulations of travel restrictions regarding Covid 19.  I recommend purchasing a policy covering Covid 19 related trip delays or cancellations. 

What Does Backpackers Travel Insurance Not Cover?

  • Pre-existing conditions: Your backpacking/travel insurance provider will likely punt the claim back to your health insurance.
  • Travel In Areas Of Political Unrest:  Probably best to avoid these destinations altogether. It’s a big planet pick a safe place to hike.
  • Travel Less Than 100 Miles From Your Residence:  That’s what we have medical insurance for.

What You Should Know Before Buying A Travel Insurance Policy For A Backpacking Trip

Before you jump right in and buy your plan, you should make sure you do your due diligence and ask yourself the following questions:

  • What will I be doing on this trip?
  • How much coverage do  I need?
  • Is the plan I am considering purchasing fulfill all of my needs?

After answering these questions, do a bit more digging into reading some of the policy’s fine print, especially regarding medical evacuation.  Unfortunately, many of these companies use a lot of legal wording when describing their policies, making it difficult to understand.  If you find this to be the case, give the company a call to make sure the plan you want to purchase will handle all of your needs.

Backpackers Travel Insurance Agencies

insuremytrip.com

Insure My Trip is the kayak of travel insurance.  All you have to do is plug in some of your trip details, such as:

  • The type of coverage you are looking to have (recommend the comprehensive for backpacking)
  • The estimated cost of your trip
  • Who needs to be insured

Then, insuremytrip will hook you up with a tone of different insurers to help you compare prices and coverages to find the best policy for you. 

World Normads

World Nomads is an excellent travel insurance company for us adventure folk!  It has a TON of coverage options you can choose from and is an insurance designed for people participating in adventure activities.  Depending on how extreme of a trip you’re going for, you can choose from “the standard plan” or “the explorer,” the explorer being more pricy but covering many more activities with a higher payout. 
Travelex

Travelex is a travel insurance company that has been operating for over 55 years.  They offer a number of different plans at affordable rates.  Click the link below to see if any of their plans would be suitable for your travel insurance needs. 

What Is Digital Nomad Insurance

Since the boom of WFH, Digital Nomad Insurance has become essential for those individuals traveling the world while working remotely.  SafetyWing is a company that has sprouted up in this time of work from home and offers several different policies for digital nomads.  The two major policies they offer include:

  • Nomad Insurance: covers medical and travel insurance expenses when traveling outside one’s home country.
  • Remote Health Insurance: This is health insurance that caters to remote workers abroad from or within their home country.
Click the logo below to read more into SafetyWing’s insurance options to see if any of them would work for you. 

Do I need Travel Insurance If I Am Just Camping And Doing Day Hikes?

Even if you plan on doing day hikes, I think it is better to air on the side of caution and get travel insurance anyway.  All it takes is one hospital visit to make many years of purchasing travel insurance well worth it.  

Now, this does not mean you need the most comprehensive travel insurance policy.  If you are doing shorter day hikes you can probably get one with a bit less coverage but I would still make sure it includes trip cancellation, emergency medical expenses and 24/7 customer support. 

Get The Travel Insurance!

I hope this article has been helpful and answers your questions on backpackers’ travel insurance.  As I said I think it is money well spent.  Have fun and stay safe out there!

Categories
Uncategorized

Tour Du Mont Blanc Gear Guide

Tour Du Mont Blanc Ultralight Gear Guide

Welcome To Your Tour Du Mont Blanc Gear Guide!

Keep in mind this Tour du Mont Blanc gear guide is meant to be for ultralight backpacking of the TMB, for people staying exclusively at mountain huts or hotels along the route.  If you plan on camping during your stay at the TMB, you should review our ultimate backpacking gear blog.  

Disclosure: Bear in mind that some of the links on this page are affiliate links, and if you go through them to make a purchase, I will earn a commission.  Using these links does not affect the cost of the product, but it does help our small business continue to run and provide quality content.

Backpack:

When hiking the Tour Du Mont Blanc ultralight and only staying at refuges you can get away with hiking as light as a day hike backpack I used the below which worked out great

Osprey Hikelite 18:

If you think 18L is a bit too small for your needs then the below 36L should do the trick for you!  As always make sure you do a thorough check of your gear and make sure that everything fits in your pack!

Trekking Poles:

With Over 30,000ft of total elevation gain and loss, you are not going to want to miss these.  Trekking poles are a godsend for anyone especially if you have bad knees!

Foxelli Trekking Poles:


Footwear:

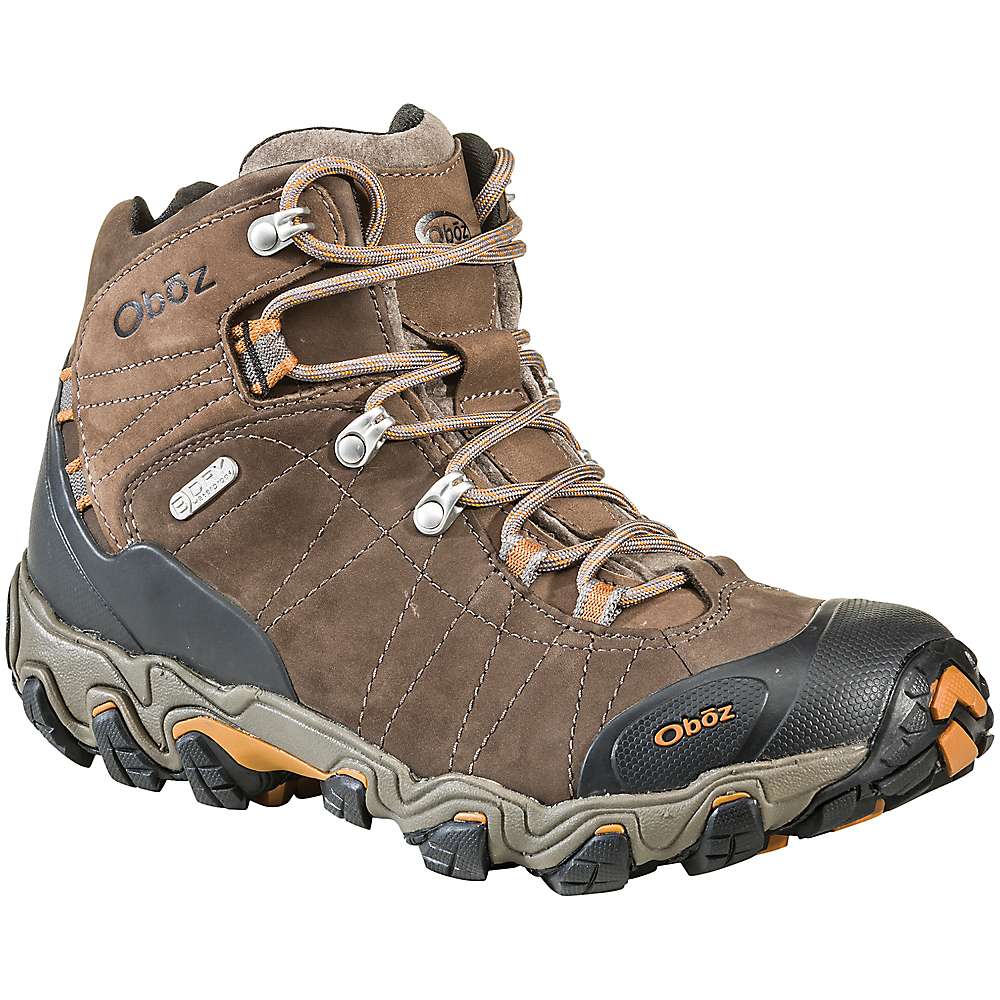
Whenever going on extended hiking trips you need to make sure have the right footwear and the TMB is no different.  Inadequate footwear can lead to ankle, knee, or back pain and can turn what is supposed to be a serene adventure into a miserable experience. 

Hiking Boots:

Personally, I used hiking boots during my treks but I know several people who have hiked the circuit in trail runners as well.  You can check out our backpacking gear blog to check out our recommended trail runners. 

Oboz Men's Bridger Mid B-Dry Hiking Boots:

Oboz Women's Bridger Mid B-Dry Hiking Boots:

Hiking Socks:

Hiking socks are essential for protecting your feet and keeping you comfortable when on the trail.  Check out our hiking sock article to learn all of the benefits of hiking socks and why they are a must-have when hiking. I recommend bringing 2 pairs for your TMB trek one for trekking and 1 for sleeping. 

Darn Tough Men's Hiker Cushion Sock:

Darn Tough Women's Hiker Cushion Sock:

Camp Shoes:

You always want a comfortable set of camp shoes to slip into after a long hike, especially when hiking the Tour du Mont Blanc.  Having a pair of camp shoes is a must when staying in huts because you have to follow proper hut etiquette and leave your dirty boots at the door before entering them.  If you want to learn more about camp shoes, check our article on them!

Sleeping Bag Liner:

When staying at refuges, especially those that are dormitory-style you want a layer of protection between yourself and the refuge sheets.  A sleeping bag liner helps add a layer of insulation as well as keep any creepy crawlers away. 

Rab Silk Ascent Hooded Sleeping Bag Liner:

Toiletry / Wilderness Bathroom Kit

Whenever traveling a basic hygiene kit such as travel shampoo, body wash, toothbrush, toothpaste, and deodorant are a must.  Also, I would also recommend having a bathroom kit with you because you never know when nature calls! Check out how how to poop while backpacking article for a complete rundown on pooping in the backcountry. 

Travel Toothbrush

Travel Toothpaste:

Travel Shampoo:

Travel Body Wash:

Water Storage:

With over a hundred miles of trekking you better make sure you keep hydrated!  If you want to learn more about carrying and filtering water when backpacking check out our article that goes over it all. 

Water Filtration System:

Whether it be water treatment drops or mechanical filtration you should always carry a water filtration system in case you run out of water while on the trail.

Head Lamp:

When trying to navigate throughout a dimly lit mountain hut on the TMB a headlamp is a must have!


Clothes:

Having the correct hiking clothing is essential anytime you are heading into the backcountry.  You want clothes of good quality materials to avoids chaffing, blisters or discomfort when on the trail. 

Down Jacket:

Northface Mens Sierra Down Jacket:

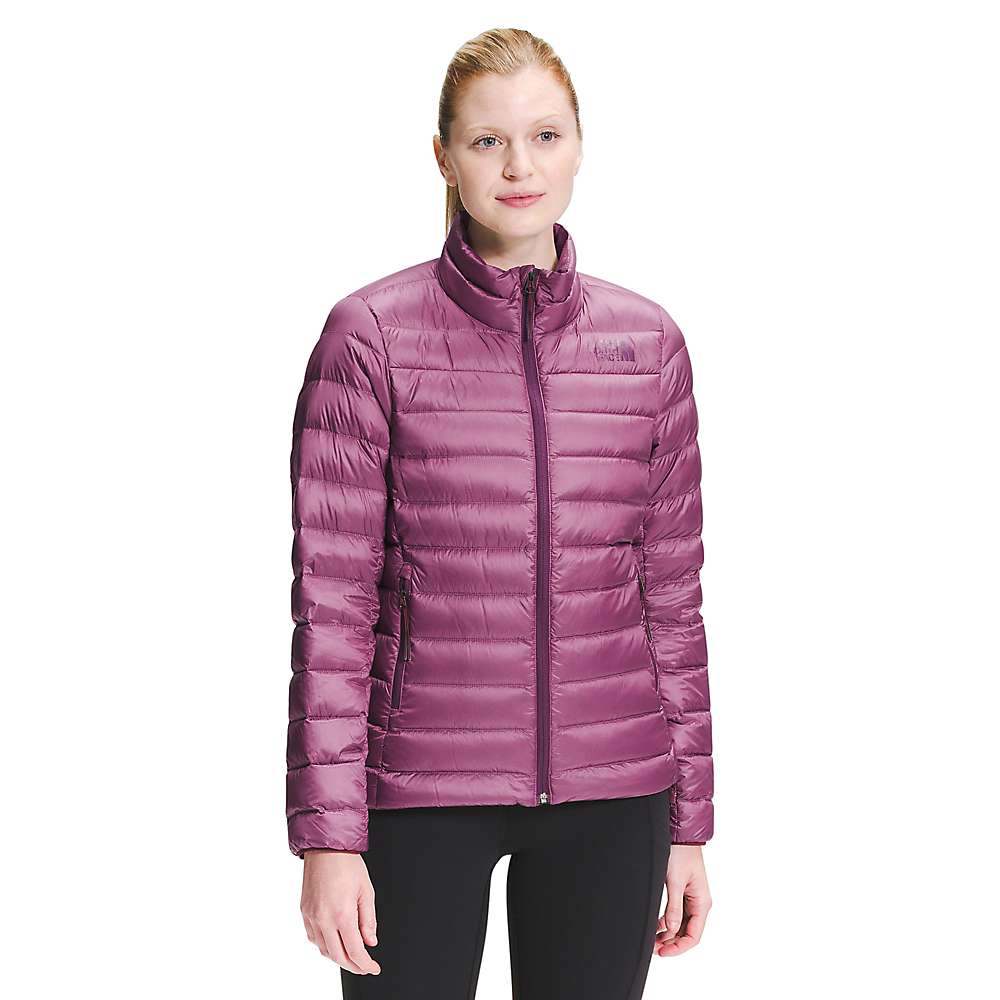
Northface Women's Sierra Down Jacket:​

Hiking Pants:

Prana Men's Brion Pants:

Prana Women's Halle Pants:

Hiking Shirts:

Smartwool Men's Merino 150 Baselayer:

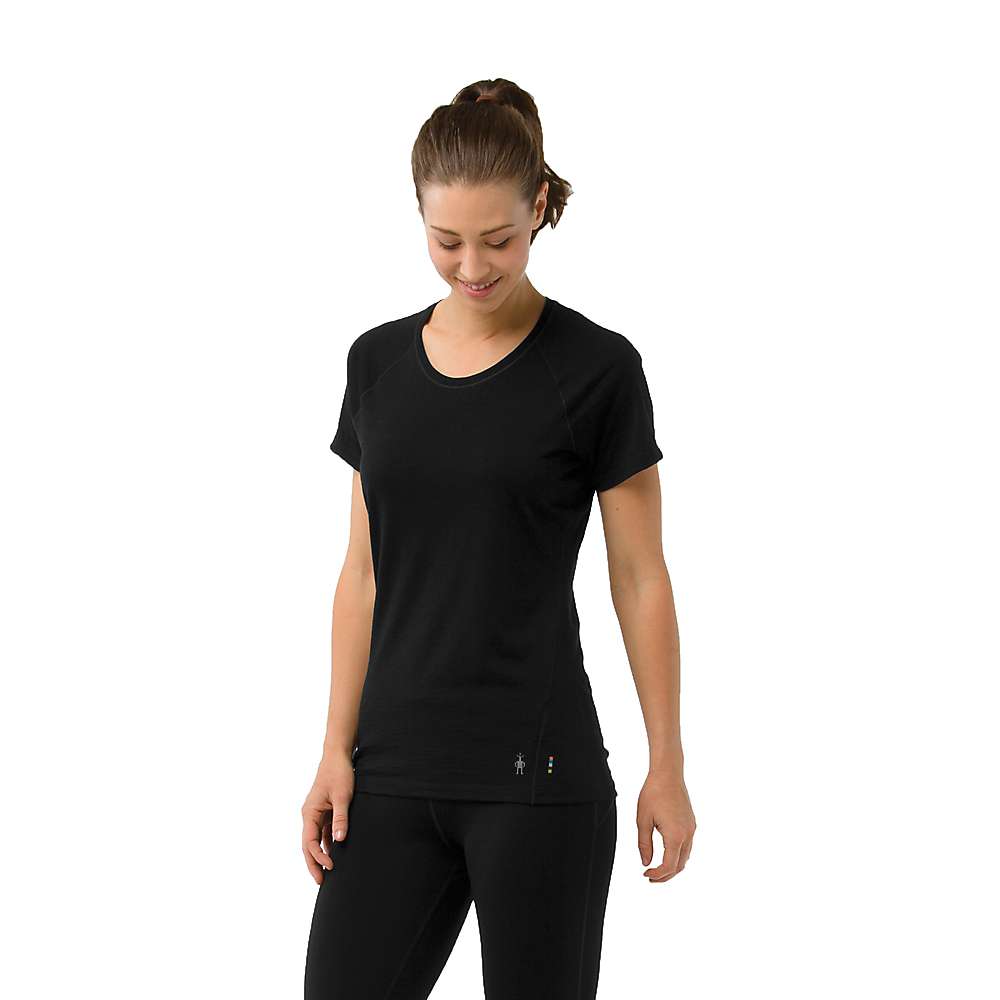
Smartwool Women's Merino 150 Baselayer:

Fleece:

Men's Helly Hansen Fleece:

Women's Helly Hansen Fleece:

Rain Jackets

North Face Men's Arrowhead Triclimate Jacket:

North Face Women's Arrowhead Triclimate Jacket:

Rain Pants:

Power Bank:

Anker Power Bank

Other Gear You Will Need:

Sunscreen:

Coppertone SPF 50

Hat:

Carhartt Fleece Hat

Categories
Uncategorized

city slicker to mountain man

City Slicker to Mountain Man

Now I know it must be hard for you guys to believe, but I was not always this super good-looking outdoorsman.  In fact, up until about 4 years ago, I was just a super good-looking city slicker! I was never going hiking, and definitely not revolving my vacations or free time around it. My idea of a vacation was partying!!!  I wanted to go to Miami, New Orleans, or Las Vegas I was trying to live it up.  Now not to say there is anything wrong with that or that I have stopped partying because that is definitely not the case.  But If you told me that the for next four years, almost all of my vacations would revolve around hiking and backcountry camping with zero alcohol involved, I would say SIKE!


Me as a young wharthog partying it up

Then I met my good buddy Joe….  This guy is a crazy backpacking, cycling, granola bar eating nut, who I met while I was in grad school.  I remember he would always go on these multi day backpacking trips to gorgeous locations across the US.  He would show me some of the amazing pictures from the places he hiked and I was floored.  The images he showed me did not look real.  My life up until then consisted of living in long island, NY and NYC not exactly the wilderness.  So when I saw the places that Joe was going I said I want to give one of these vacations a shot! I went on my first road trip backpacking through the southwestern United States, since then I was hooked.

My good buddy Joe on the left.

There are so many things that I love about hiking.  The exercise, hanging out with friends, and the views, oh god, the views are the most beautiful things you will ever see.  But perhaps the most incredible gift hiking has given me was healing. 

Especially being from a high-strung environment like NYC, I am constantly being pulled in a million different directions. That is why it is rejuvenating to go on the trail and forget everything. I am not mindlessly scrolling Instagram, rushing to catch the next train, or worrying about not having plans for the weekend. I am just in the moment. The things you think are problems in real life are not actual issues on the trail.  The trail does not care how much money is in your bank account, your Instagram followers, or how you look.  Everyone is treated the same. To get to point A to point B, you need to hike the same mileage and climb the same elevation. 

I learned to appreciate the difficulty of hiking and enjoy the incredible views you encounter on your journey.  I start to love the simple things.  Like sitting down on a log for a break, eating a hot meal after a long day of trekking, or having shelter after hiking in the rain for HOURS! Then when I return to everyday life, I can try to live as I live on the trail.  No, I will not be pitching a tent on park ave anytime soon, although that would be hilarious.  But I will be acknowledging that there will be difficulty in the day-to-day, but it is handling the difficulty and appreciating what you have that will make your life beautiful.

Being in nature is where I feel my happiest, and I am sure that goes for many of you!  Please take a look at our National Park Guides to help inspire and plan your next outdoor adventure. If you are new to backpacking and hiking I highly recommend you give it a shot!   I know it can be overwhelming to undertake a trek or even just go camping without having doing something like that before but hey that’s where we can help.  Just head over to our outdoors for beginners section for some articles to get you started and you have any questions please feel free to reachout at contact us.  Happy travels and do not forget to wonderfarr!!!


Get Your Backpacking Checklist!!!

Get your free backpacking checklist!

Join our mailing list to get the latest news, updates, posts, trails, and itineraries!