
![]()

![]()
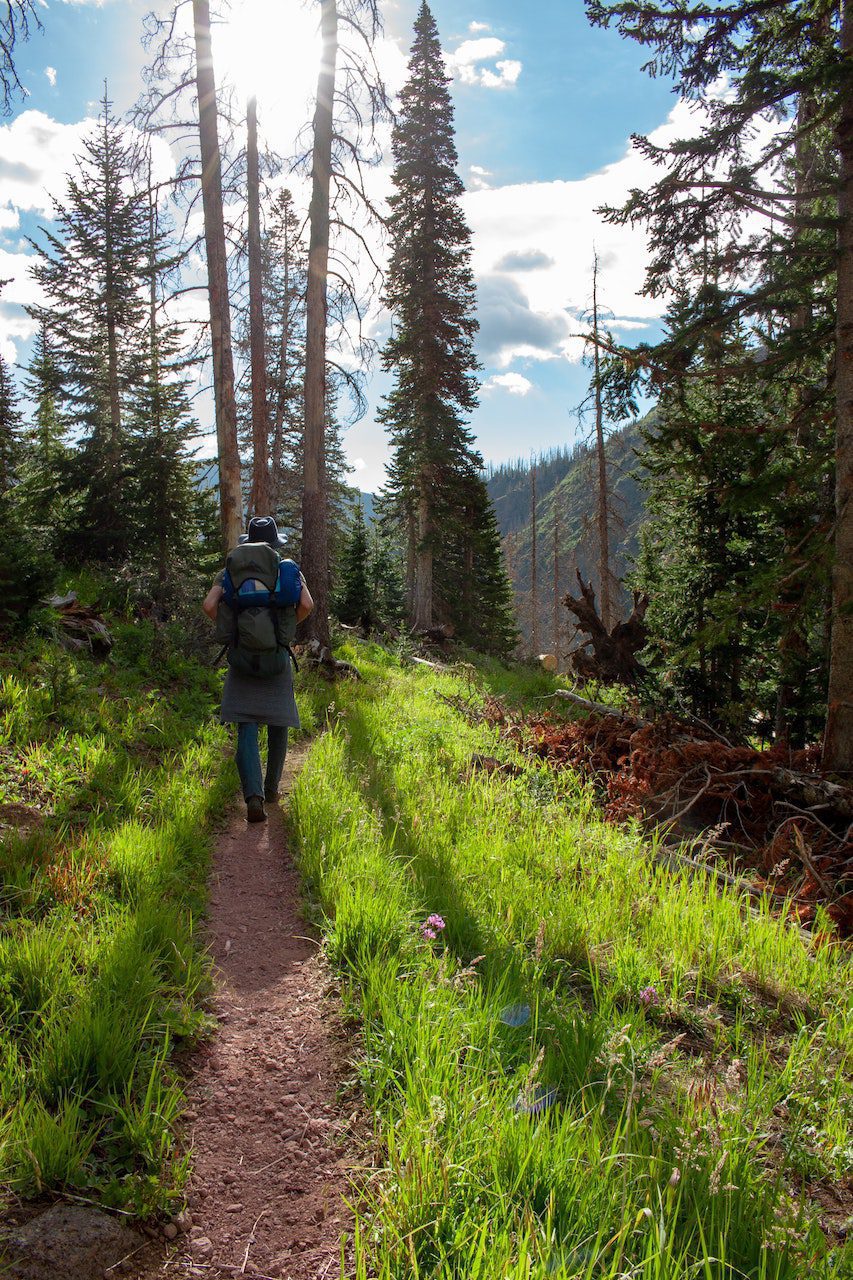
Whenever we are hiking or engaging in any activity that involves sweating, we must adequately rehydrate. Poor rehydration practices can lead to dehydration, which can in turn, cause muscle cramping, fatigue, dizziness, and in extreme cases, death.
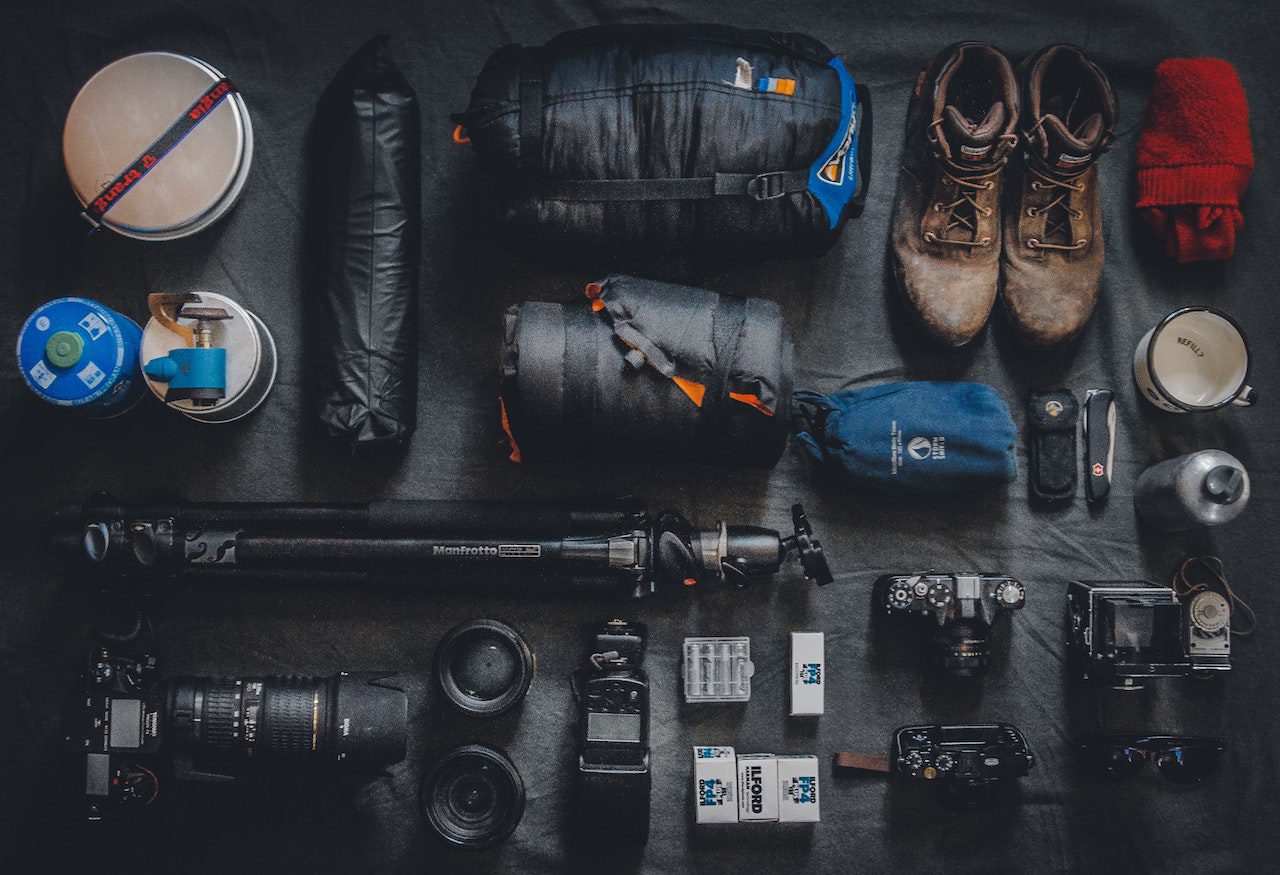
What sets backpacking and hiking apart from other forms of exercise is that unlike going for a jog in your neighborhood, you can’t just grab a water bottle from a store when you are parched out on the trail. When hiking or backpacking, you are in remote regions without potable water readily accessible. Therefore, knowing how to carry and treat water when in the backcountry are vital skills for any outdoorsman.
Disclosure: This post contains affiliate links. If you purchase a product after clicking a link I will receive a commission. The price of the product remains the same if you purchase through the link or not.
Before we get into how to carry and treat our water, how much do we need? The answer constantly changes depending on the situation, as there are many variables to consider when planning how much water you need.
I personally carry three liters of water on me total with the expectation that I will resupply during a backpacking trip. As mentioned, the amount of water you need will vary based on many factors, so I would always check with a park ranger on conditions and appropriate water preparation for the time of year you are visiting the park.
Is water all you need to keep you adequately hydrated on the trail? I used to think it was until I started hiking longer distances, then I realized I was frequently cramping and easily getting fatigued despite constantly drinking water.
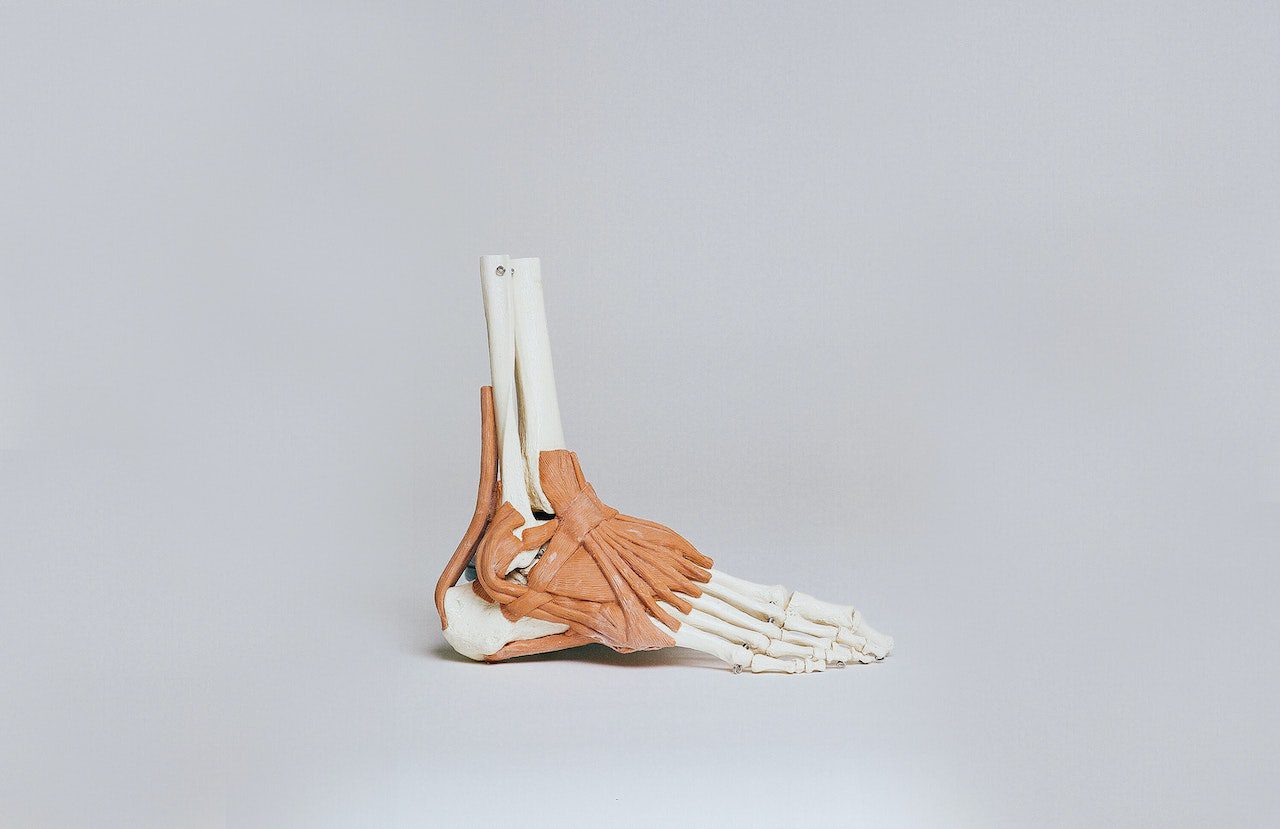
Eventually, I learned that although I was frequently rehydrating with plain water, I neglected to properly replete my body’s electrolytes. Electrolytes such as sodium and potassium are crucial for sustaining long periods of repetitive aerobic exercise such as hiking.
I recommend adding an electrolyte tablet or powder to your water bottle or bladder to make sure you are correctly repleting your electrolytes while out on the trail. Some that work well for me are:
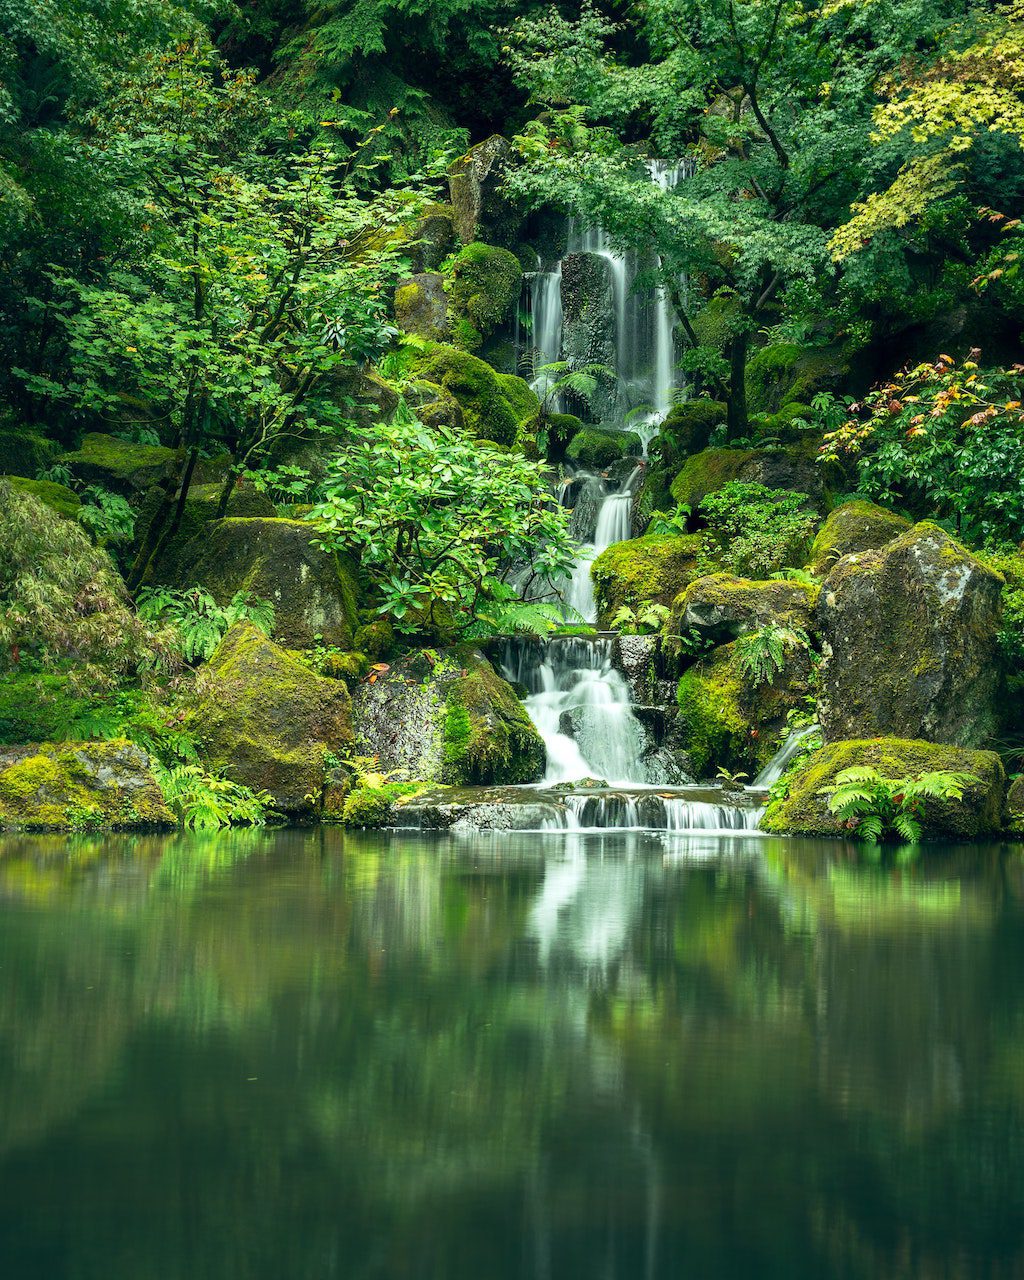
When on a multi-day backpacking trip, it is not feasible to carry all of the water you need to drink during the trip in your backpack. Therefore you must rely on local water sources. Ideally, you want to get water from a fast-moving stream or river as these are generally cleaner and give less opportunity for bacteria to grow than the still water of a pond.
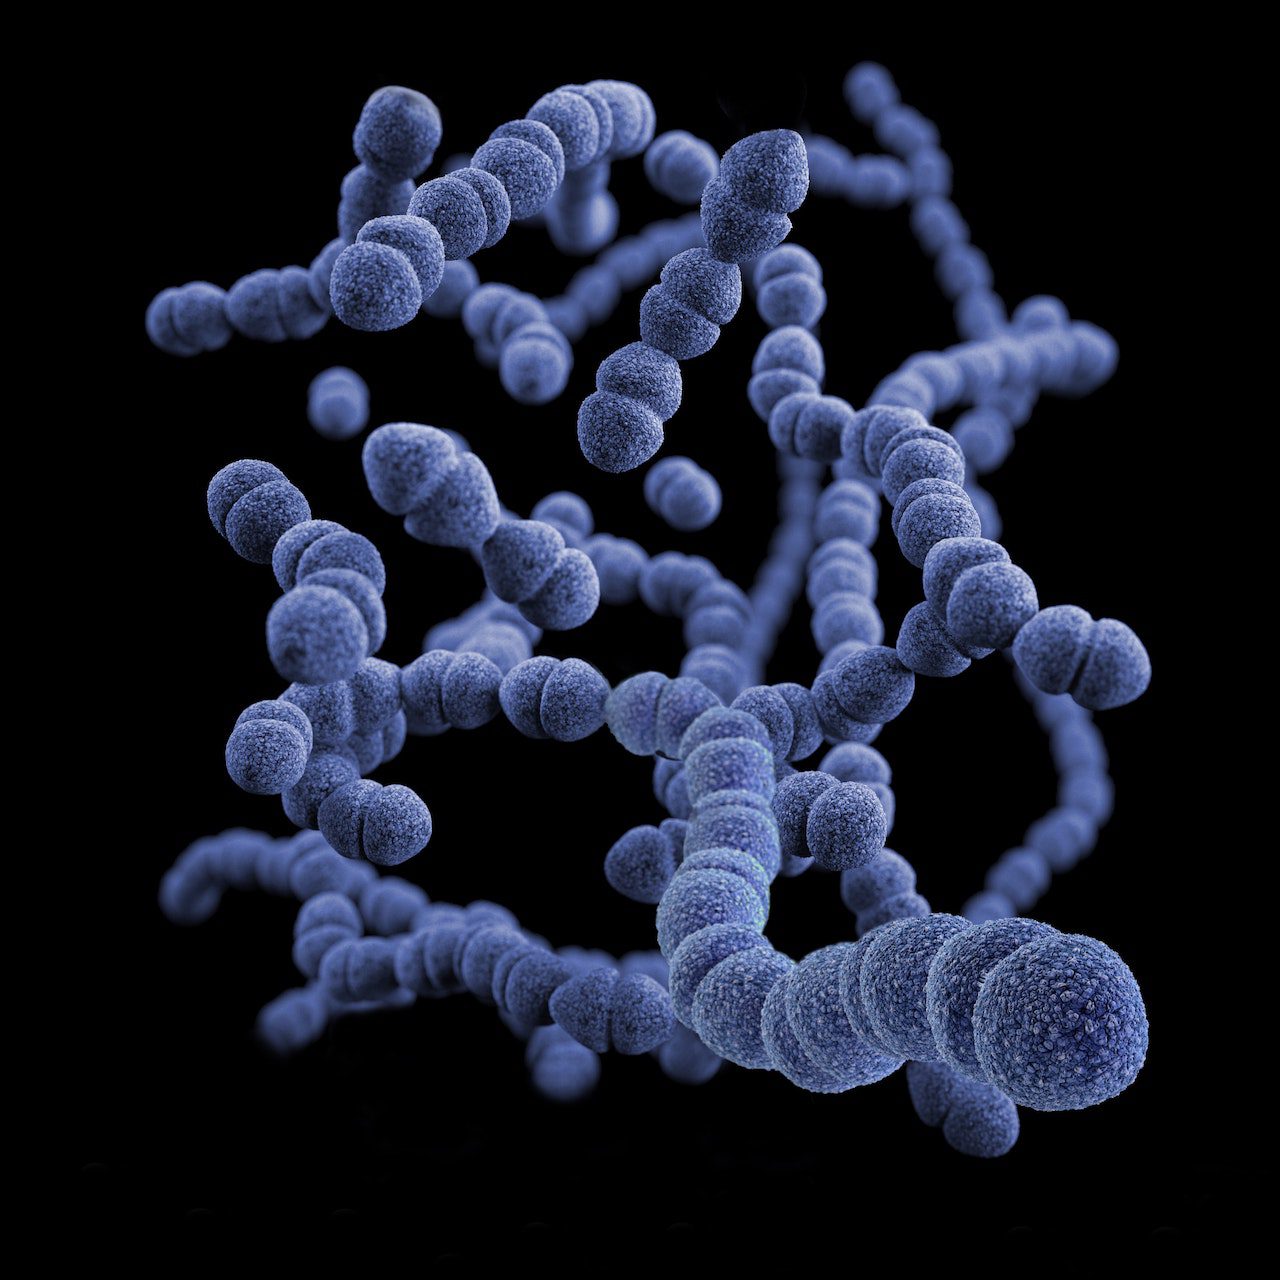
Yes, you MUST treat your water before drinking it. The reason for this is that untreated water can contain parasites, viruses, or microbes that can wreak havoc on your digestive system.
Before we get into how to treat our water we first need to go over the important difference between water filtration vs purification.
Water filtration is filtering the water using a barrier technique which is commonly effective for larger debris, particulates, and bacteria however it often misses smaller organisms such as viruses.
Water purification is purifying the water typically through a chemical that will remove the smaller organisms like viruses.
There are four methods to filtering water when in the backcountry:
Treatment with purification drops or tablets is a method that relies on a chemical reaction to kill any bacteria, viruses, or parasites in your water. Before treating your water with these methods, you need to make sure you perform a basic filtration of your water by using a piece of cloth such as a buff to keep out larger debris from entering your water bottle. Two popular options for this version of water filtration include:
Using a pump relies on mechanical filtration that removes the debris and particulates such as harmful bacteria and protozoa from the water. A pump filter usually requires having a separate bag that you use to capture unfiltered water. After you have your unfiltered water, you will need to attach the filter to the bag and squeeze the bag to push the water through the filter and into your water reservoir or mouth.
One nice feature is that some pumps can be attached to water bottles or even the hose of a water bladder, so you can filter the water as you drink it.
There are many different water pumps out there(many of them extremely bulky), but my number one choice is the Sawyer mini pump below:
This process uses UV rays from a lamp light to kill harmful bacteria, viruses, and protozoa in your water. It ist as easy as dipping the light into your water and holding it there for the specified amount of time. If you are interested in this type of filtration check out the following product:
Boiling water as a means of filtration should only be used as a last resort if one of the above methods has failed. Boiling water is a tedious and time-consuming process and would be extremely inconvenient when backpacking. Not only does it require carrying a large pot around to boil your water, but you also need to wait for the water to cool off after boiling.
Rules With Boiling Water:
According to the CDC, you must have water at a rolling boil for 1 minute if under 6,500 ft in elevation and 3 minutes if over 6,500 ft elevation.
Okay, now that we learned how to resupply and filter our water, how do we carry it all? Fortunately, there are several different methods that you can go with when it comes to transporting your water during your hike.
I try to carry a minimum of three liters of water when backpacking, usually consisting of a two-liter bladder and a Nalgene bottle(as previously mentioned this can change depending on the regions I am hiking).
Water bladders are a bag-like reservoir typically stored in a pouch in your pack. These bladders carry anywhere from two to six liters of water. While they can get heavy when full, they are good to have when going on longer-distance treks as you can sip as you hike rather than stopping each time you need a sip of water.
Nalgene bottles are a classic with the hiking community. These nearly indestructible water bottles typically carry about a liter of water and are very helpful when cooking or washing up after a long day’s hike.
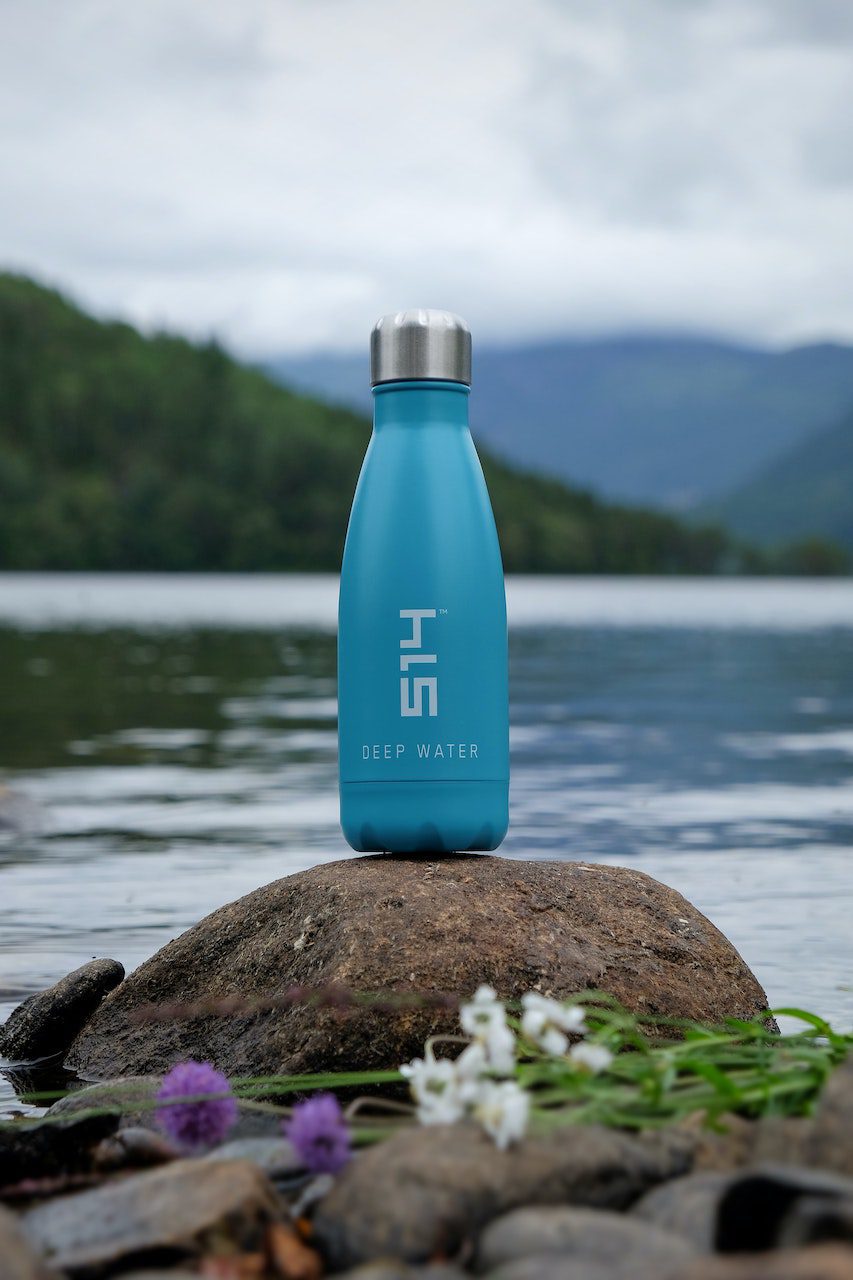
One of the other options available for carrying your water around is a run-of-the-mill plastic water bottle. I found that these are not great for backpacking trips because of their lower volume but for a day hike they can work quite well.
Water is something we all need no matter where we are. I hope this article helped you answer your questions water storage and treatment in the backcountry.
Join our mailing list to get the latest news, updates, posts, trails, and itineraries!