Wonderfarr

Categories
Hiking & Camping Hiking Basics Outdoors for Beginners

Is Hiking An Aerobic Or Anaerobic Exercise? 10 Health Benefits Of Hiking

Is Hiking An Aerobic Or Anaerobic Exercise? 10 Health Benefits Of Hiking

What Type Of Exercise Is Hiking?

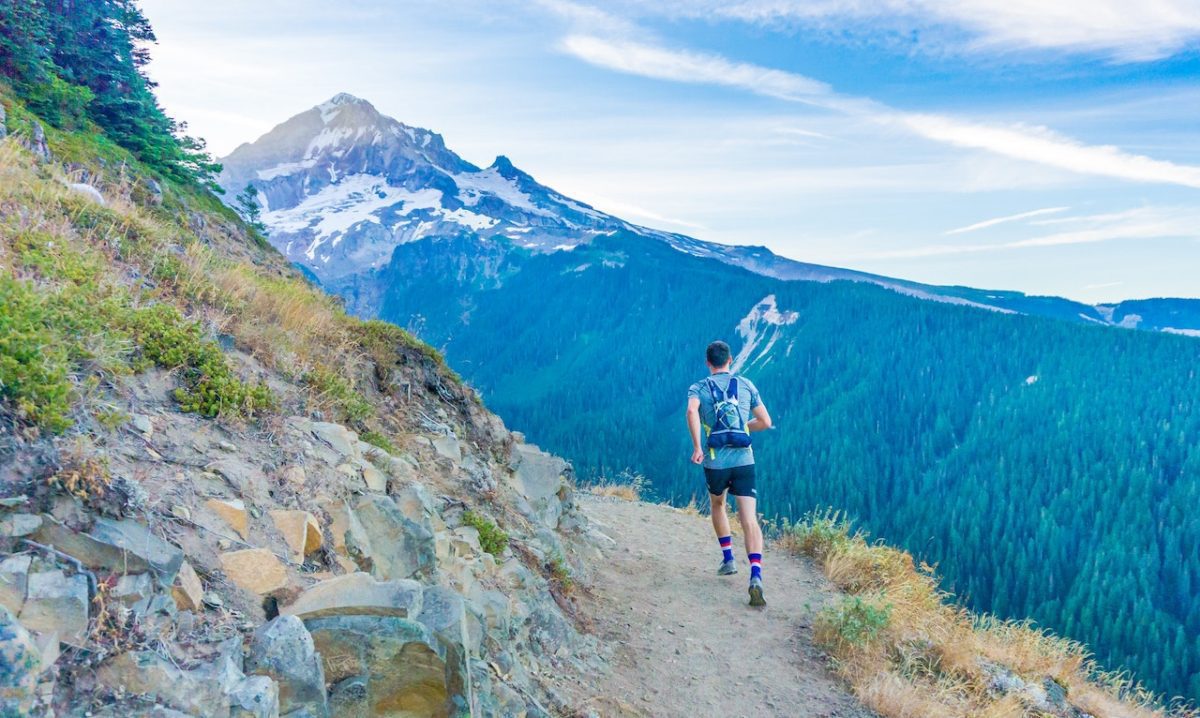
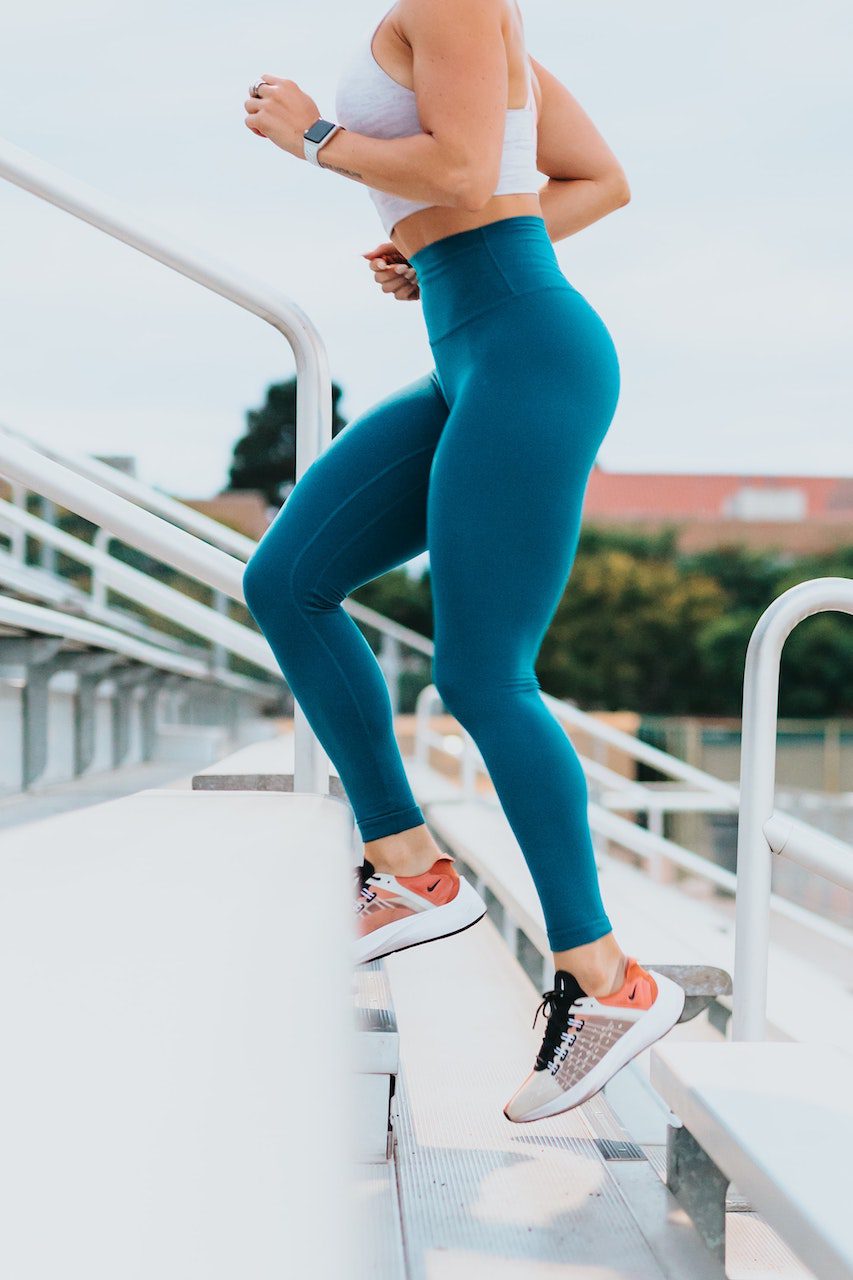
Hiking is predominantly an aerobic exercise because it is a low-intensity endurance activity that increases your respiratory and heart rate.  Like all aerobic exercises, hiking consists of repetitive rhythmic movements over an extended period of time. However, hiking is a unique form of exercise because it also triggers anaerobic fitness, especially when carrying a heavy pack or climbing steep hills.   

Since hiking is a combination of aerobic and anaerobic exercise, it yields many health benefits to its participants.  Before getting into this, we should go over the differences between aerobic and anaerobic exercise and each of their advantages.

Aerobic Vs Anaerobic Exercise
Is Hiking aerobic or anaerobic exercise

As we mentioned, aerobic exercise is a sustained low-intensity effort that increases your breathing and heart rate.  Aerobic exercise relies on oxygen for energy, requiring your body to take oxygen in and pump it to your body’s active muscle groups.  This process relies heavily on your heart and lungs, making aerobic exercise very beneficial for our cardiovascular health. 

Some different forms of aerobic exercise include:

  • Hiking (duh)
  • Running/jogging
  • Swimming
  • Cycling
  • Rowing
  • Elliptical
  • Skiing

As you can tell, all of these activities involve rhythmic movements and typically take place over an extended period.  

Anaerobic exercise is short bursts of intense exercise that rely on energy stored in our muscles.  This exercise can only be sustained for a few seconds and leads to lactic acid development within our muscles, causing soreness and fatigue after exercise.  Some of the benefits of anaerobic exercise include burning fat, building muscle, and increasing bone density. 

There are a variety of different types of anaerobic exercise, including:

  • Sprinting
  • Weight lifting
  • High-Intensity Interval Training 
  • Calisthenics 
  • hiking?

Check out this informative article to learn more about the differences and benefits of aerobic and anaerobic exercise.

Benefits Of Hiking As A Blend Of Aerobic And Anaerobic Exercise:

Hiking, a combination of aerobic and anaerobic exercise, lends itself to many fantastic health benefits.  Some of the aerobic benefits that come with hiking include a boost in the immune system, the elevation of mood, improved endurance, and lowering your blood pressure.  It is no surprise that these benefits come with hiking because hiking is mainly an aerobic activity.  The steady lengthy, cyclic movements of hiking make it the quintessential aerobic exercise.  

However, I said there are parts of backpacking that can trigger your anaerobic system, including steep inclines, a weighted backpack, and scrambles. Hiking steep trails turn into lunge workouts,  a calisthenic exercise for your quad’s, glutes, and hamstrings. At the same time, trekking miles in a day, carrying your pack can serve as a weightlifting program working your back and trapezii.  

Finally, the almighty scramble to get up highly precipitous mountainsides using your hands and feet serves as a full-body calisthenic workout.  This anaerobic aspect of hiking gives many other health benefits, including fat burning, building muscle, and increasing bone density.

To recap, hiking provides both aerobic and anaerobic exercise benefits, including:


Aerobic Exercise Benefits:

  • Weight loss
  • Lower blood pressure
  • Boost mood
  • Boost immune system
  • Lowers bad cholesterol raises good cholesterol
  • Increases endurance

Anaerobic Exercise Benefits:

  • Build muscle
  • Burn fat
  • Increase bone density

How To Improve Your Hiking Endurance:
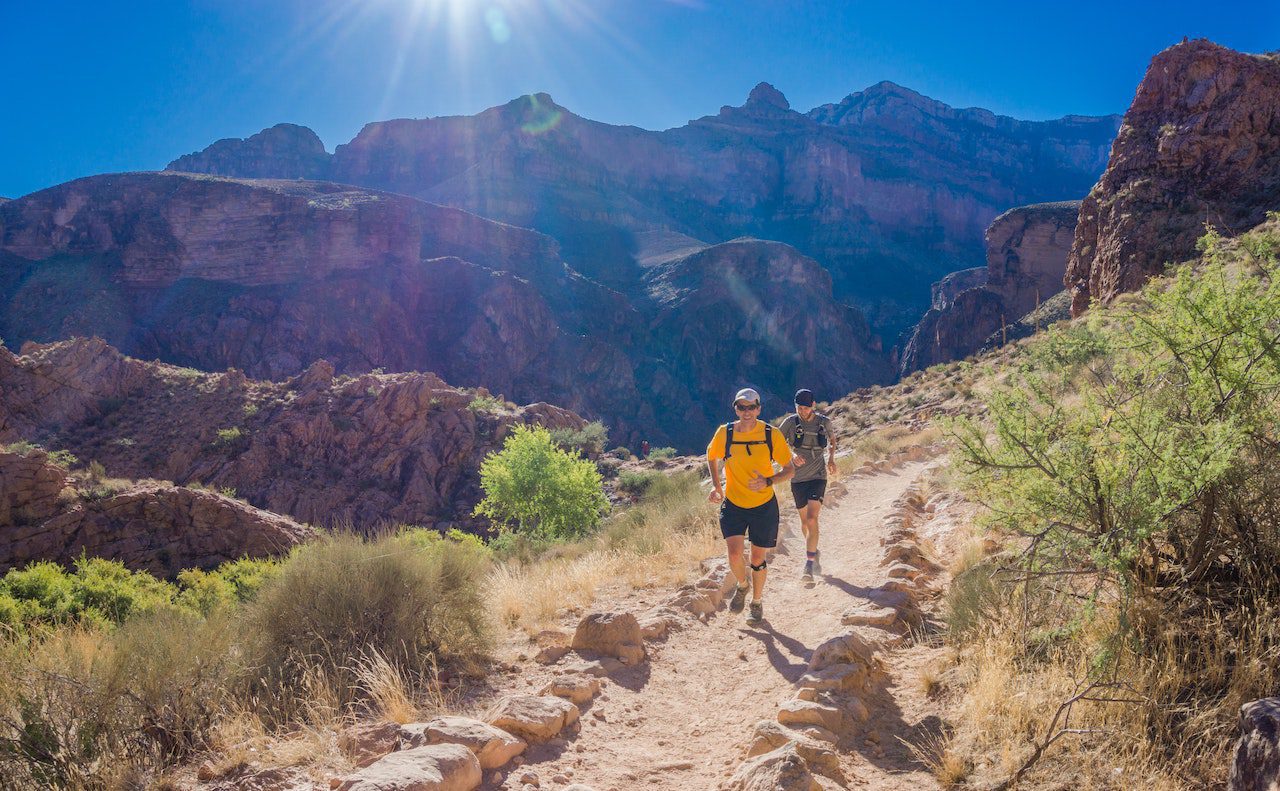
After all we have discussed, it should come as no surprise that the best way to improve your hiking endurance from a fitness perspective is to increase the amount of aerobic exercise you do regularly.  By doing so, you are prepping your cardiovascular system to take on a physically demanding backpacking trip.  Some ways of doing this include the aerobic exercises mentioned above, but I would focus on activities similar to hiking, such as jogging or going on long brisk walks.


Another great way to improve your endurance while backpacking that does not even require a shred of exercise is to focus on making your pack as lightweight as possible.  You will be shocked how much further and faster you can hike after cutting excess weight from your backpack.

A personal example of this for me was when I hiked around Mont Blanc in just a day pack.  Here, I was able to knock out twenty-mile-plus days for multiple consecutive days thanks to dropping my pack weight by nearly fifty percent.  Check out our backpacking gear blog to find great equipment to take pounds off your pack weight!  


Other tricks that can help you improve your endurance include:

  • Keeping adequately hydrated
  • Being sure you are eating enough calories on the trail
  • Using trekking poles to take pressure off your needs
  • Aerobic exercise training

Tracking Your Aerobic Activity While Hiking:

Tracking aerobic activity while hiking

Tracking your aerobic activity is a helpful tool that helps establish a baseline of your aerobic fitness and logs your hikes giving tons of fitness data from each one.  This data can vary from device/application, but often it will include your pace, distance hiked, elevation gained/lost, route, and estimated calories burned.  

These data points are helpful because they track your fitness and can help you see if changes in backpacking strategies lead to any measurable differences in your pacing or amount of distance covered daily.  So if you try a new water filtration system or pack your backpack a different way than usual, tracking your aerobic activity can help show you if your changes helped or hurt you as the old saying goes that which is not measured cannot be improved.  

 There are several different ways out there to track your hikes and your health stats while backpacking.  From free apps on your cell phone, such as Strava or the health app, to expensive smartwatches, there are several options to choose from when it comes to tracking your aerobic fitness while hiking.  

If you are starting out I would recommend starting with a free service such as one of the above applications before purchasing a more expensive smartwatch.  If you find yourself looking to buy one, I would do your research to find the best one for you as there are quite a few on the market, each with its benefits.  

Some popular brands I recommend looking into include Garmin, Apple, and Fitbit.  Check out this very informative article comparing some of the different types of hiking watches.

That's A Wrap!

Hiking is a great activity that can not only bring amazing views and experiences with friends but can also be a great way to keep your body in excellent condition.  I hope this article helped shed some light on what kind of exercise hiking is and its health benefits.  Be sure to sign up for our email list stay in the loop for all of our latest articles!.

Categories
Outdoors for Beginners backpacking for beginners Food Gear Articles

How Big Of A Pot Do I Need For Backpacking? Ultimate Guide

How Big Of A Pot Do I Need For Backpacking? The Complete Guide.

how big of a pot do I need for backpacking

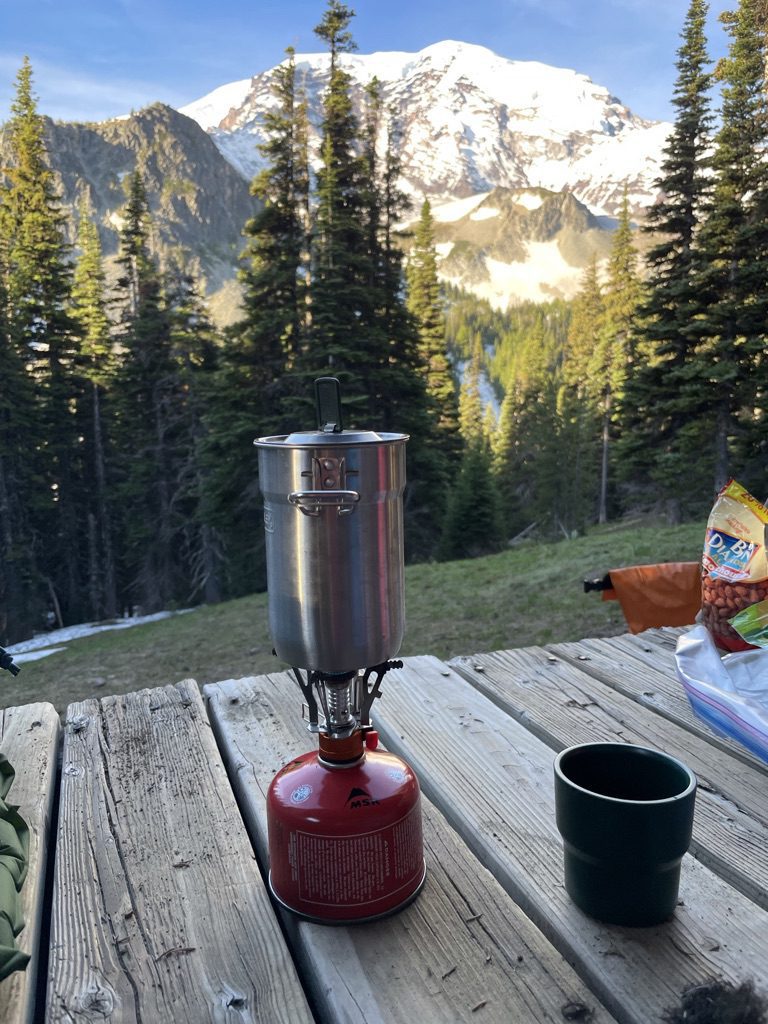
A common question I find myself asking whenever going on a backpacking trip is how big of a pot do I need?  The size of your pot can vary based on how many people you are cooking, and what you are cooking. 

If you eating backpackers freeze dried meals the straightforward equation you can use to determine the correct sized pot for you is below:

How Big Of A Pot Do I Need For Backpacking =

Most Volume Of Water Needed For A Meal x Number Of People Eating

Now, if you do not want to use freeze-dried meals and want to cook something on your own, the equation above would not work for you as you may require more space depending on what exactly you plan on cooking.

In this article we will discuss the importance of having the proper size cookware as well as which one will be the best for your next adventure. 

Why Is It Important To Have The Correct Sized Pot When Backpacking?

Everyone needs a good cooking set when out on the trail, but an important question is how big of a pot you need.  When backpacking you need to have a pot that is big enough to cook all your food in one shot but not unnecessarily large where it takes up valuable pack space and weight.

Things To Consider Before Buying Your Backpacking Pot:

As I  said, the two important factors that determine what kind of backpacking pot you need are the number of people you are cooking for and what you plan on cooking.  Let’s take a deeper dive into this to discover what kind of backpacking pot you need for your next trip

What Will You Be Cooking:

Camping Cooking

Knowing your meals beforehand will give you an idea of how much space you will need in your pot to cook your meals in.  Your meal choice comes down to preference, would you rather pack light and keep it simple with instant freeze-dried meals, or would you prefer to cook something a bit more elaborate for your backcountry adventure?

How Big Of A Pot Would You Need For Simple Backpacking Meals?

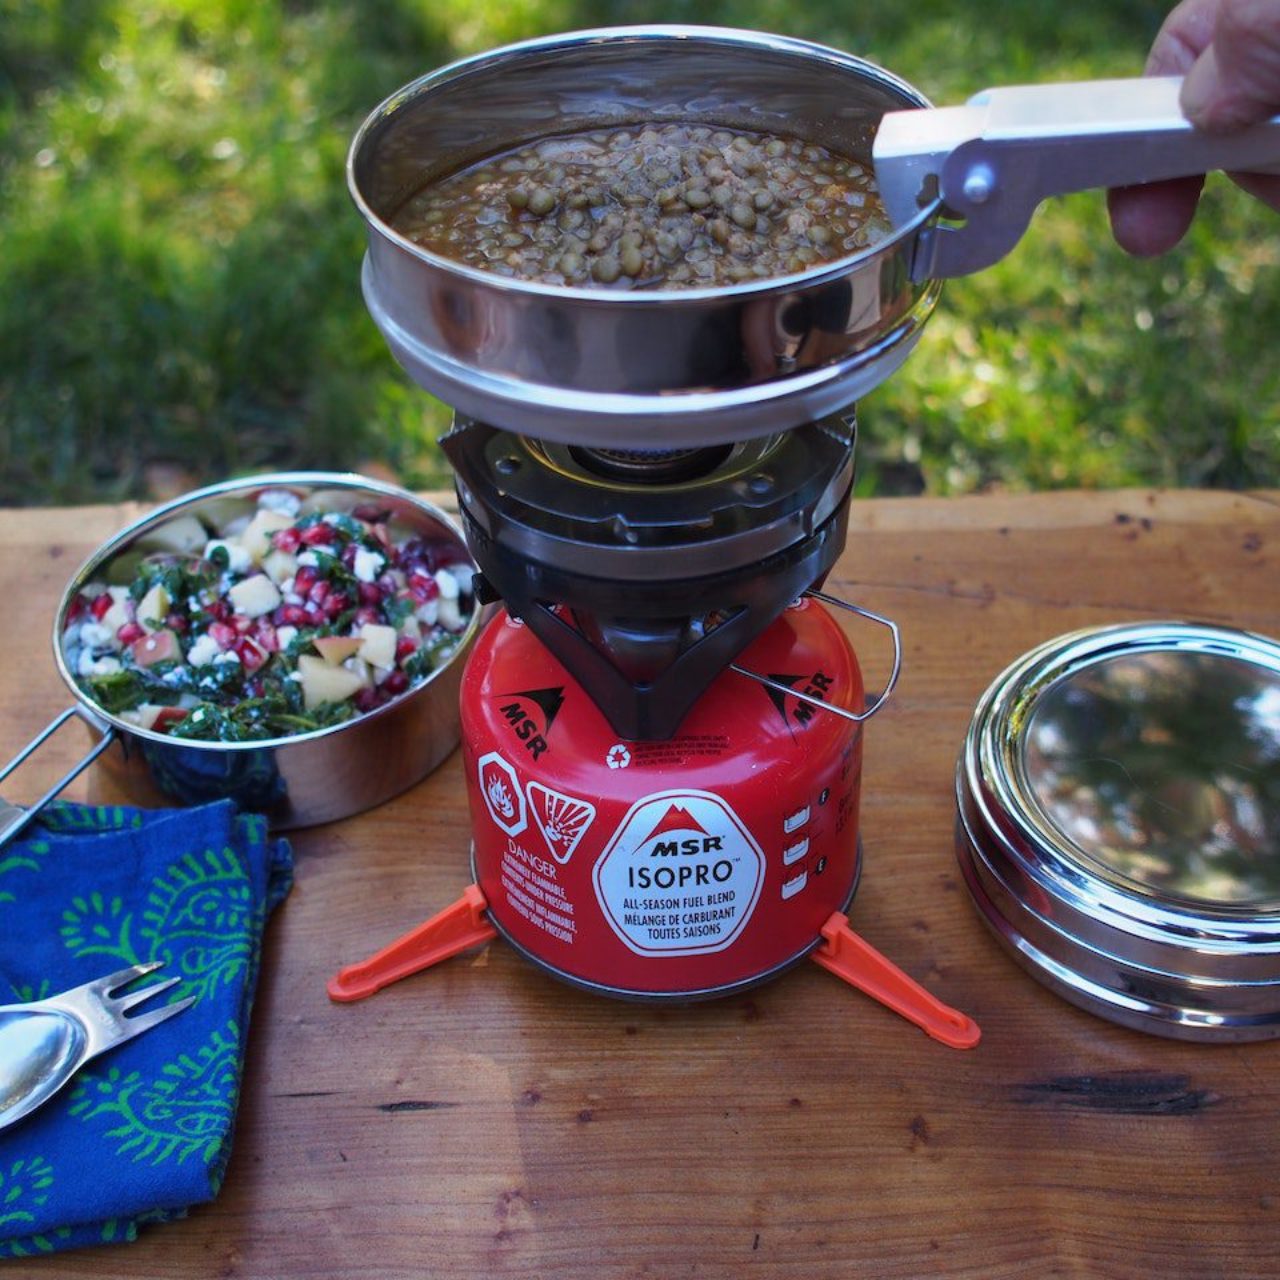
When I say “simple backpacking meals,” I am referring to meals that just require adding hot or boiling water to cook them, such as oatmeal and freeze-dried backpacker meals.  

I prefer simple backpacking meals because they allow you to pack lighter, and it is easier to know how big of a pot you need for backpacking because you just have to use our equation above.


For example:  For breakfast, I typically eat 2 instant packets of oatmeal requiring ¾ of a cup of water each and coffee which requires 1 cup of water.  Totalling 2.5 cups of water needed for breakfast.  For dinner, I eat a freeze-dried backpacking meal which, although the amount of water varies, usually comes out to about 2 ½ cups of water needed for dinner.  

2 1/2 cups is the most water I will need for any given meal and I am only cooking for myself so if I plug that into our equation….

I need at least a 2.5 cups backpacking pot

For The Backpacking Chef:

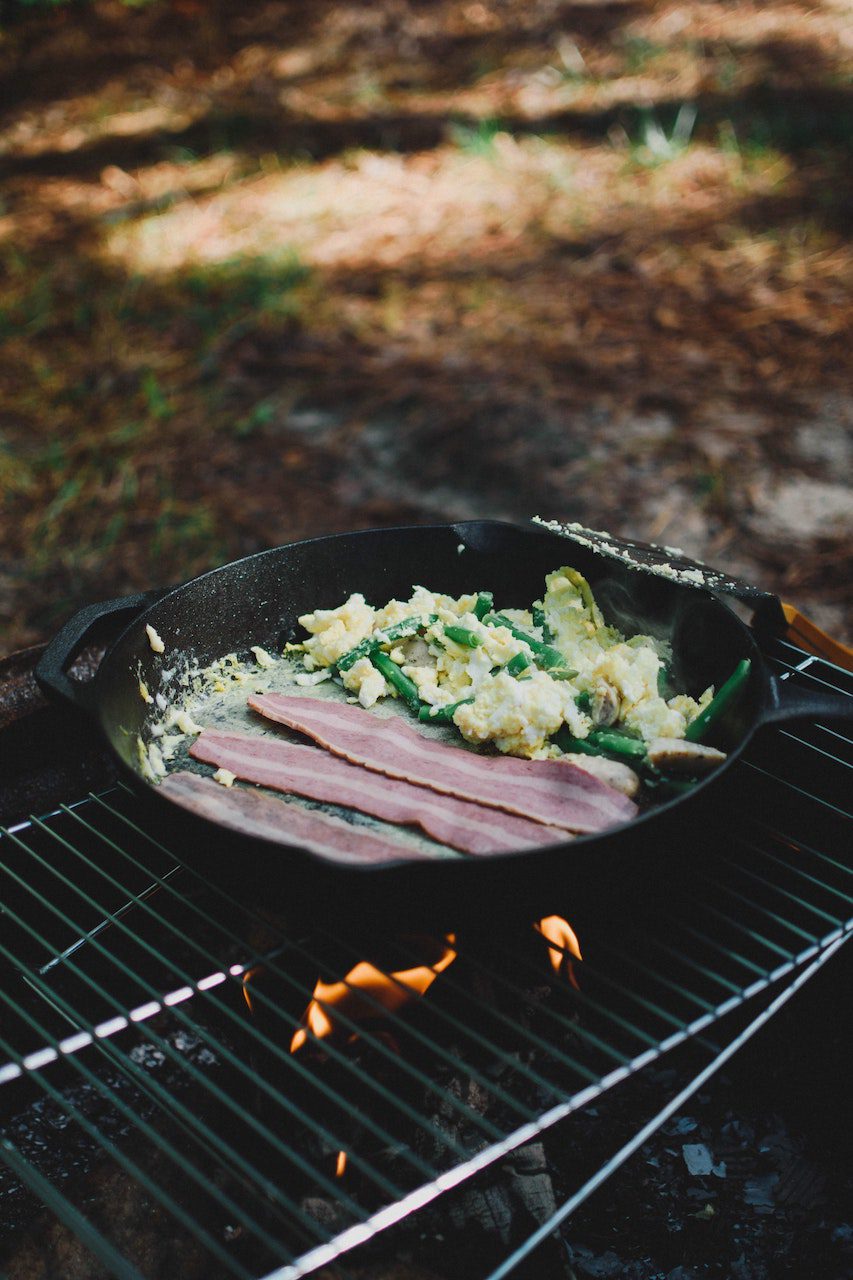
Now, if you enjoy more variety or need to have eggs and bacon for breakfast, you may need to do a little research before selecting the correct sized backpacking pot for you.  The reason being is that you are going to want to make sure that what you have is wide enough to cook your meals in a reasonable amount of time. 

For those of you trying to chef it up on the trail, you may be better off with a collapsible backpacking cook set where you have the option of different-sized cookware for whatever it is you plan on making.  While you can’t use our formula for more meals that require actually cooking, you can use trial and error when car camping before you bring your set into the backcountry

Who Are You Cooking For

Okay, after you decide what you are cooking, the last thing you need is to figure out how many people you will be cooking for.  It is helpful for those of you cooking for a group to get a pot big enough to cook for the entire group in one shot.  Otherwise, you may wind up wasting fuel by cooking multiple meals in the same pot.  

Pot vs Mug:

Backpacking Pot
Backpacking Pot
how big of a pot do I need for backpacking
Backpacking Mug

Okay now that you know about what size you need it’s time to decide whether a backpacking pot or mug would be best for you.

Backpacking Pot:  A Backpacking pot is the larger of the two, inherently making it more bulky and tougher to pack.  However, on the upside, the extra volume is beneficial when cooking for multiple people, or if you actually plan on cooking meals that require more skillet-type surfaces, such as bacon, eggs, or rice.  

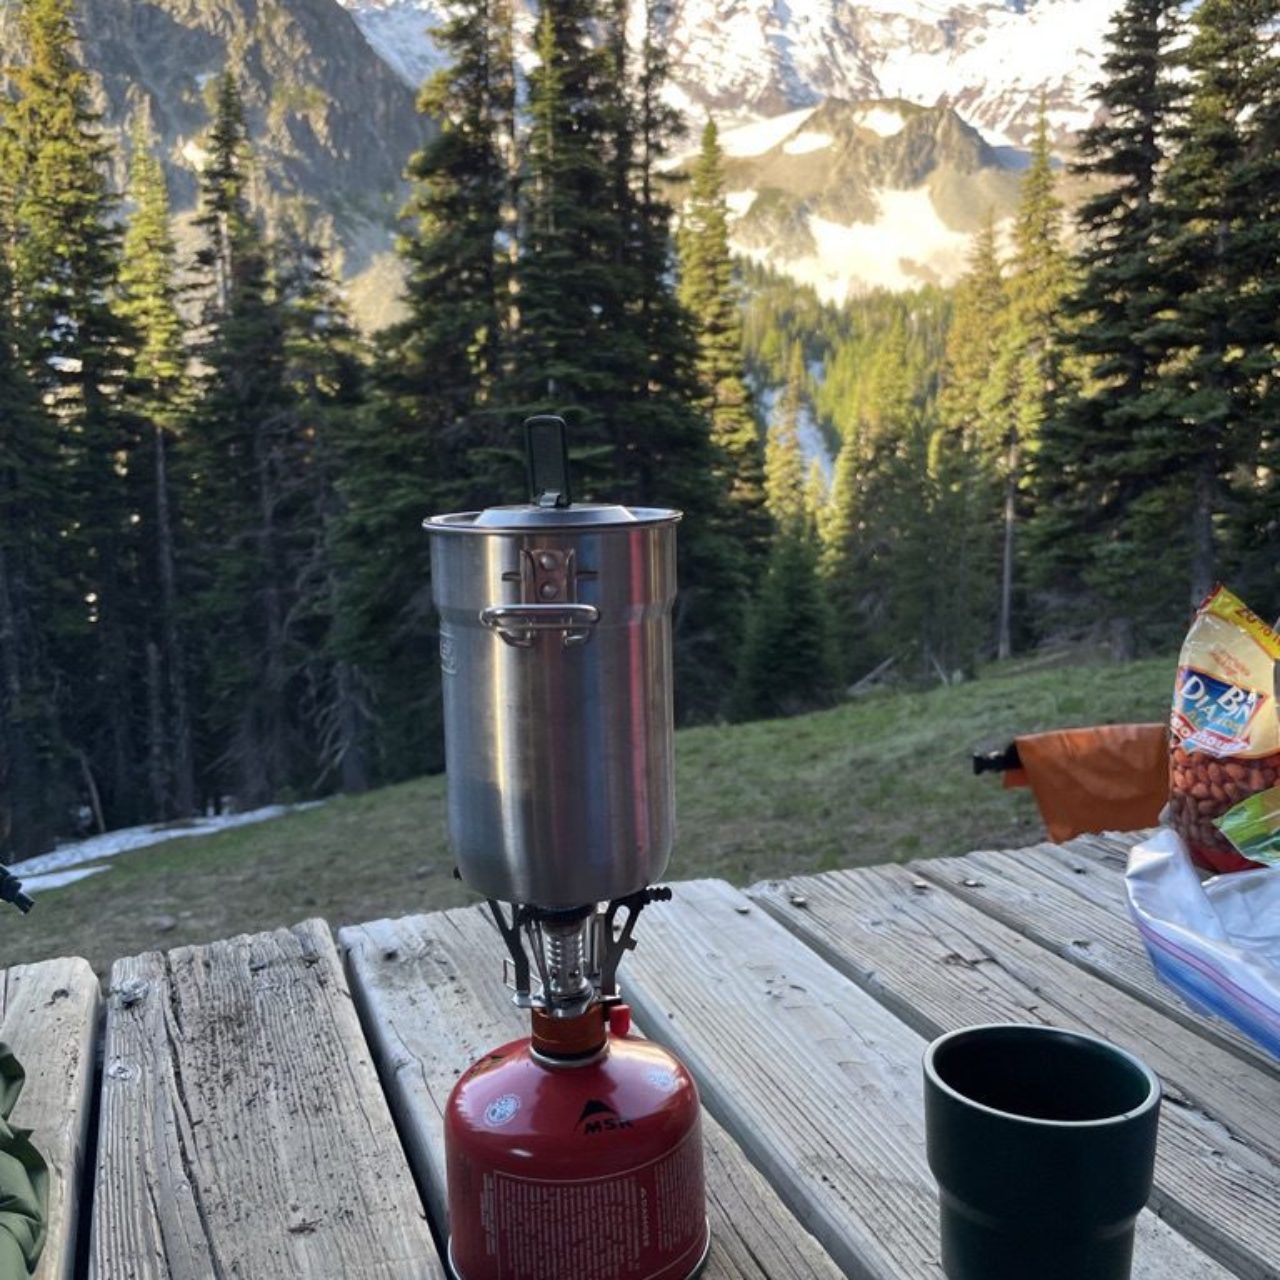
Backpacking Mug:  The backpacking mug is essentially a little can that packs down well, making it great for ultralight backpacking.  In contrast to the pot, a mug does not have the volume needed to cook for a group or to cook actual meals. Backpacking mugs are best for simple meals that can just require adding hot water.   So if you are a solo backpacker looking to travel ultralight and cook relatively simple meals, the backpacking mug would serve you well. 

Check Out Some Backpacking Pots and Mugs!

Backpacking Pots:

ItemVolumeDescriptionCheck Prices
MalloMe Camping Cookware Mess Kit
1 Liter
  • 10 piece set
  • Aluminum cookware
  • Collapsible 
  • Nonstick pot and pan included
Check Prices On Amazon
Snowpeak Trek 1400
30 fluid ounces
  • 3 piece set
    • Pot
    • Skillet (doubles as a lid)
    • Ignition
  • Lifetime Guarantee 
Check Prices On Amazon
Toaks Titanium Pot
2 Liters
  • Bail handle and lid included
  • Titanium material
Check Prices On Amazon

Backpacking Mugs:

ItemVolumeDescriptionCheck Prices
Toaks Titanium Pot 
750 ml
  • Bail and foldable handles
  • Titanium
Check Prices On Amazon
Stanley Adventure Cook Set
24 ounces
  • Collapsible set lid and locking handle
  • includes 2 mini coffee cups 
  • Stainless steel
Check Prices On Amazon
Solo Stove Solo Pot
30 ounces
  • Foldable handles
  • Stainless steel
Check Prices On Amazon
Categories
Outdoors for Beginners backpacking for beginners Gear Articles

Is A Backpacking Chair Worth it? A Complete Guide

Is A Backpacking Chair Worth It? A Complete Guide

What Is A Backpacking Chair?

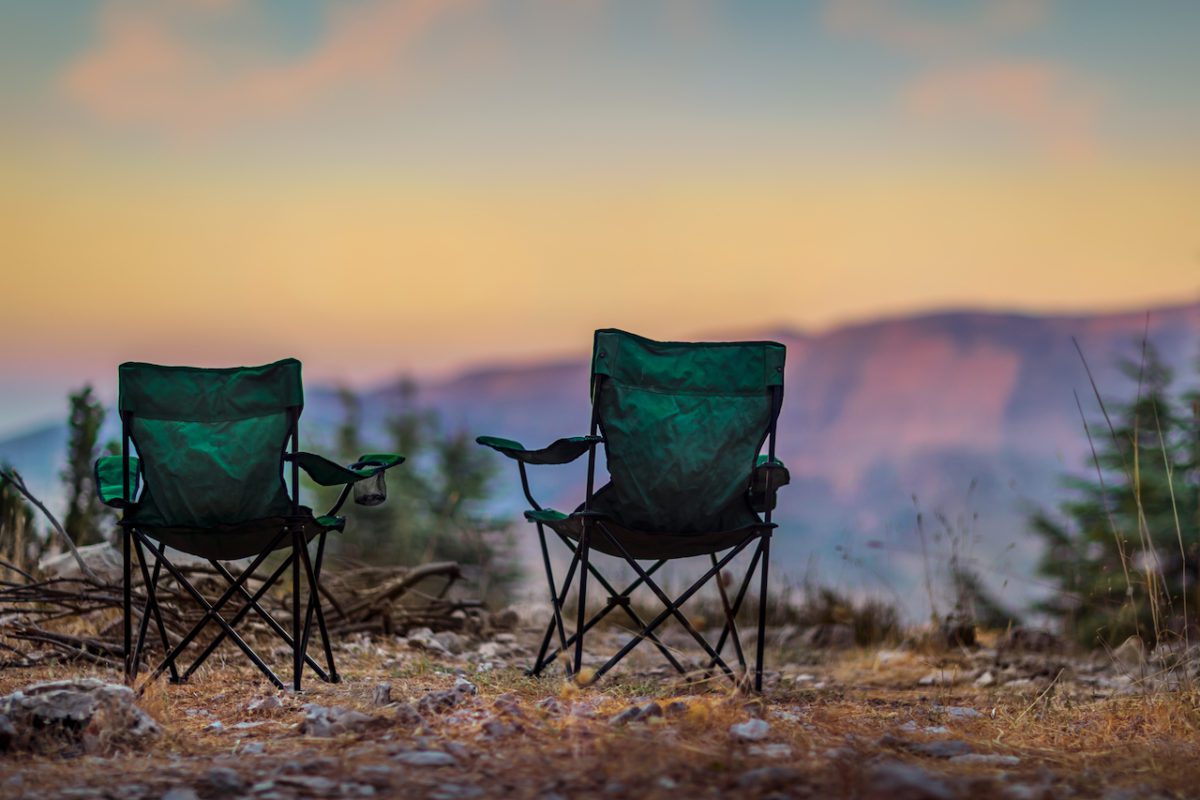
Backpacking chairs are lightweight, foldable chairs that are an added luxury when taking a load off while camping.  These are not to be confused with camping chairs which are typically larger and bulkier (are seen in the cover photo above). 

For some people, this is a must-have when on the trail, and for others, it is, to put it bluntly, is a massive waste of space and money.  The decision to purchase one all depends on what type of trip you are going on and who you are as a hiker (if you don’t know the difference between car camping and backpacking, click here).  For me, I do not find it to be worth the money, mainly because many of my trips consist of backpacking, and I do not see the value in spending over a hundred dollars on a piece of equipment that I would only use a small fraction of the day.   

To help you guys decide for yourselves, we will go over the use of backpacking chairs for both car camping and backpacking.

Backpacking Chairs For Car Camping:

car camping

With car camping, people typically spend more time around the camp, making camp luxuries very convenient, and a great chair is no exception.  Especially if you are at a front country campsite without picnic tables or benches, backpacking or camping chairs can make your time at camp much more comfortable.

If you are debating between getting camping or a backpacking chair, it is no contest. Get the camping chair.  Since your car is doing most of the heavy lifting, you can get away with having a larger and more comfy chair, so you might as well use one!  A backpacking chair would work as well, but they are typically smaller and more expensive, so I would recommend sticking with a camping chair since you do not need something ultralight for car camping.   

If you are looking for a camping chair to buy for your next trip, check these out!

Backpacking Chairs For Backpacking:

Backpacking

Despite the name, I am firmly against using a backpacking chair when on the trail for many reasons, some including price, packability, and functionality. 

If you even want to consider using one of these, you need to purchase a high-end one. Typically these fall in the price range of greater than a hundred dollars.  These chairs are usually made of lighter materials and can pack down to significantly more than a standard camping chair. 

The issue I have with purchasing one of these chairs is that although they can pack down relatively well, there are so many alternatives that you can use for simply sitting down at camps, such as a sleeping pad, a hammock, your backpack, or a bear canister.  All of these pieces of equipment should already be part of your backpacking gear, so why spend more money on something when you already have gear that can perform the same function.   

For me, I do not find the backpacking chair to be worth it when trekking through a park.  Like I mentioned, I feel like the little functionality it does provide can be satisfied with other pieces of equipment that should already be part of your backpacking gear arsenal. 

Now, if you love your comforts and think that a backpacking chair is for you, I recommend that you check out some of the models below.

Is A Backpacking Chair For You?

At the end of the day, the decision depends on what you prioritize and the type of camper you are.  While it is my opinion that purchasing one is unnecessary when going on a backpacking trip, if you enjoy extra comfort and are willing to sacrifice some space and a lighter pack, go for it.  If you are a car camper, I think buying a camping chair would be worth it since, as I mentioned, you will be spending much more time in camp and it would be worth it to buy something that can provide more comfort. If you want to see more of our backpacking gear recommendations, check out our backpacking gear blog!

Categories
Outdoors for Beginners Hiking Basics

6 Best Things To Do After Setting Up Camp

6 best things to do after setting up camp

What to Do After Setting Up Camp?

When you are backpacking, you typically hike most of the day until you reach camp.  When you arrive at your campsite you typically do some of the following:

  • Set up camp
  • Cook dinner
  • Wash up
  • Switch into sleep clothes 
  • Store your odored items

But after you finish setting up camp what are you to do with the rest of your evening?  I have gone on many backpacking trips where I failed to consider what to do with these few hours of the trip and I must say it can get quite boring. Below are some ideas for things to do after setting up camp.

Stretch Out:

Stretching after hiking

Stretching out is a great way to cool down after a long day’s hike and offers many physical benefits, including reducing the risk of injury and speeding up recovery.  The main muscle groups used when hiking include both of your legs, shoulders, and back, so it is a good idea to focus on these when stretching.  

Pro tip:   A Nalgene bottle is not only a great way to carry water but can also work as a great muscle roller to help get some nice deep stretching in when at camp.  If you do not already own a Nalgene bottle, click here to check out prices on Amazon or head over to our backpacking gear blog!

Review Your Route For the Next Day's Hike:

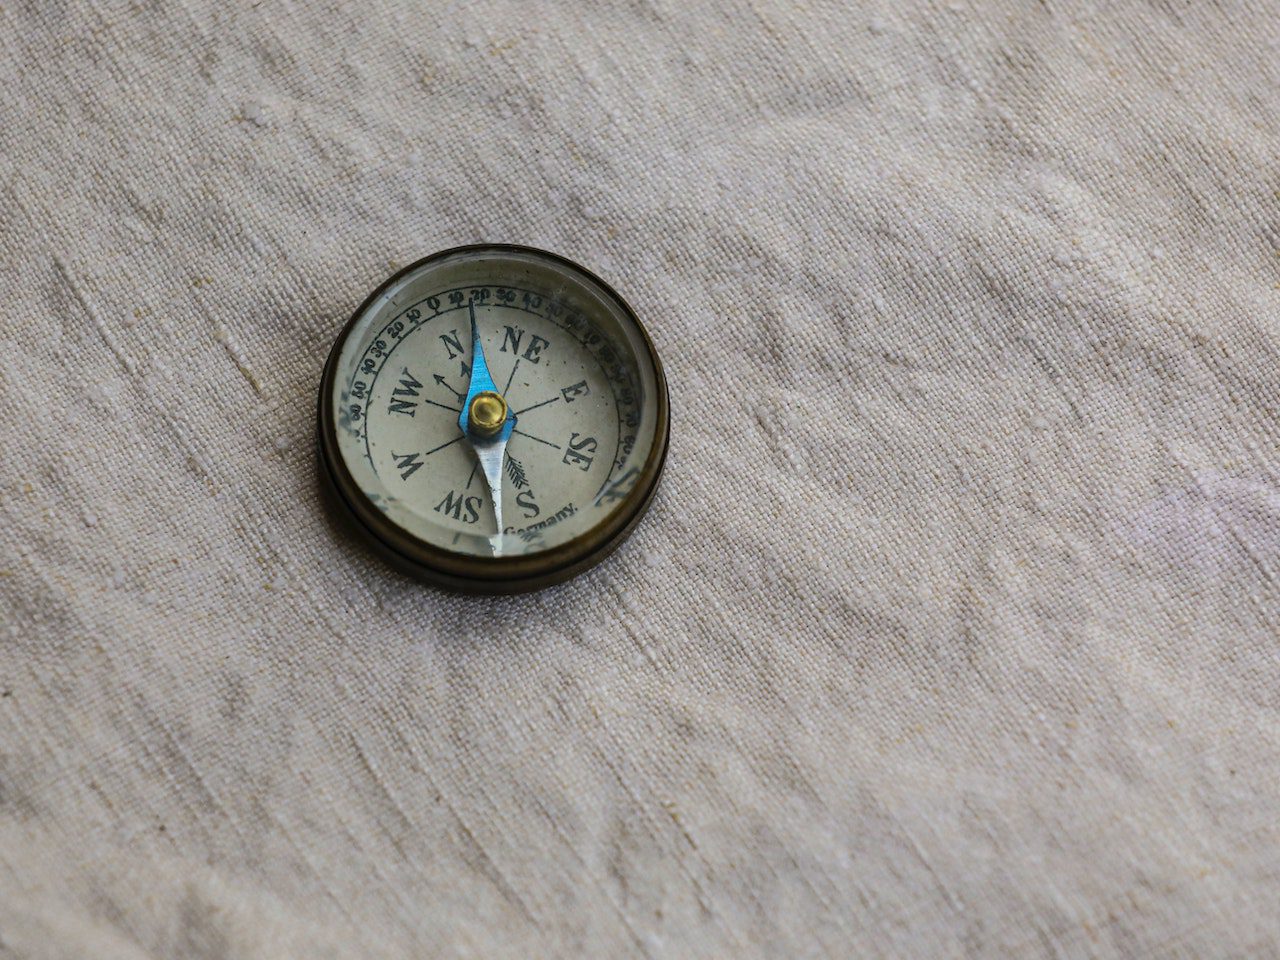
navigation after setting up camp

When you are lounging around camp thinking of something to do, good use of your time would be to pull out your map and take a peek at what your next day has in store for you.  I enjoy doing this because it allows me to mentally prepare for my next hike, whether it be a more leisurely day or a difficult one.  Planning your next day of hiking is helpful to determine what areas would be good to stop and take a break, as well as where you can refill on water. 

Read On Your Kindle:

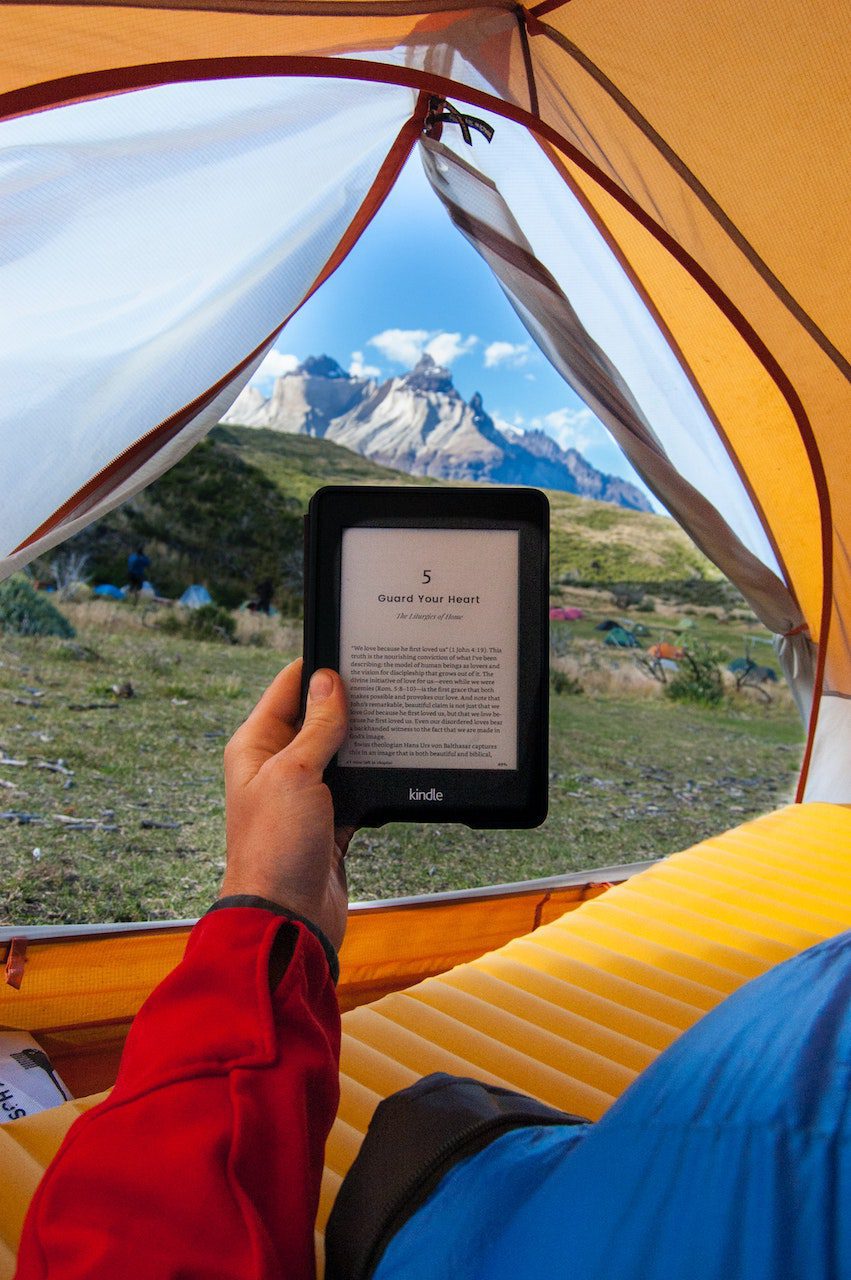
reading on kindle after hiking

It is nearing the end of your day.  You are in your tent or hammock, but you are not yet ready to go to sleep.  Reading on your Kindle is another excellent way to spend your time!  I specify a Kindle is because it is, in my opinion, the best way to read when backpacking because they are light-weight, waterproof, easy to pack, has long battery life, and can hold thousands of books.  

The problem I always have with bringing a classic paper book is that it was always very cumbersome to pack, and with all of the things in my bag, it was so easy to tear a page or get it wet or dirty.  But either way, reading can be a great way to unwind from a long day and can even help you fall asleep.  Check out prices on Amazon for Kindles here or our backpacking gear blog.

Reflect On Your Day With Journal Writing:

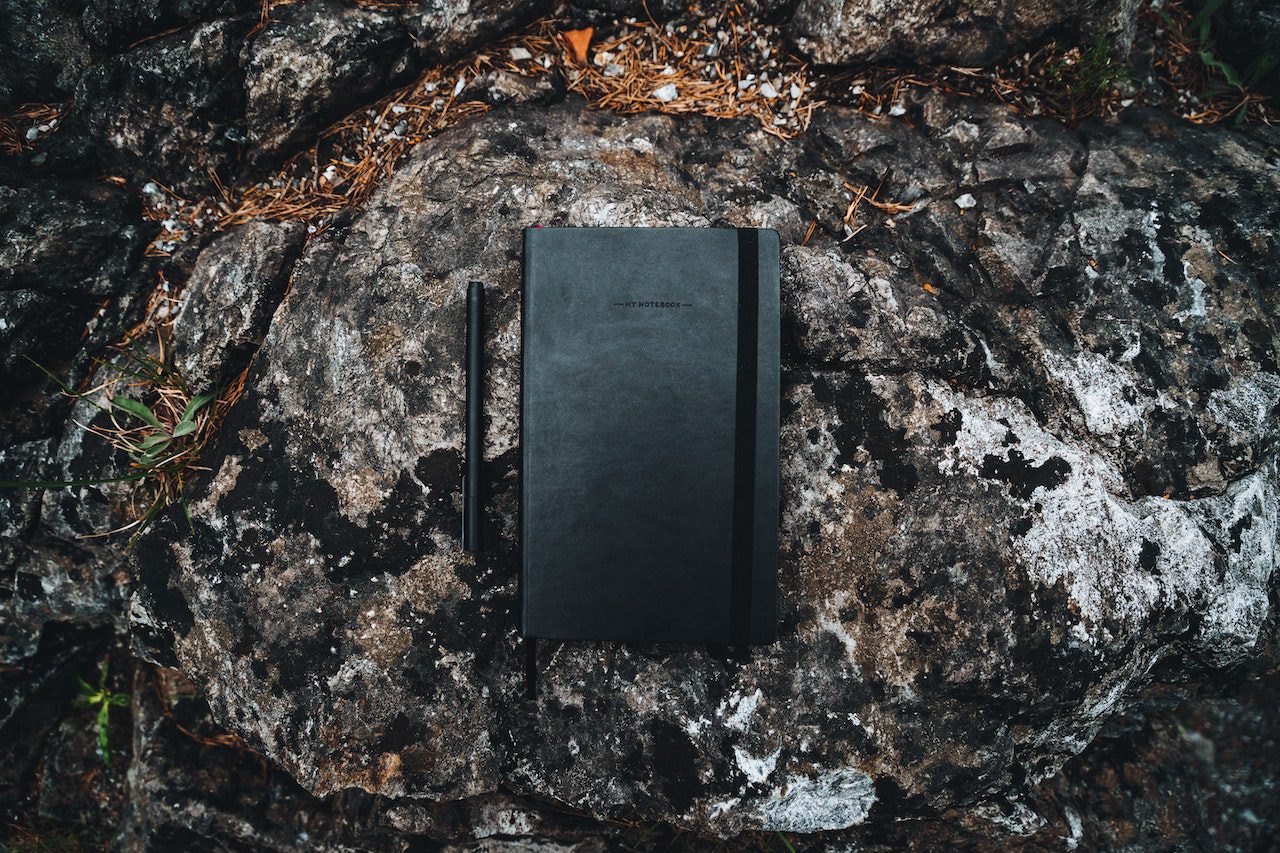
Journaling after setting up camp

Backpacking in the wilderness is a fantastic experience filled with breathtaking sights, grueling climbs, and many emotions. At the end of a long day, I enjoy putting pen to paper and just reflecting on how my day was, what I saw what happened, and ideas that I had during my hike.  

It is nice to be able to look back on unique experiences and to be able to reconnect with the person you were on your hike.  All you need for this activity is a notebook and a pen, both of which take up little space in your pack.  

Playing Cards:

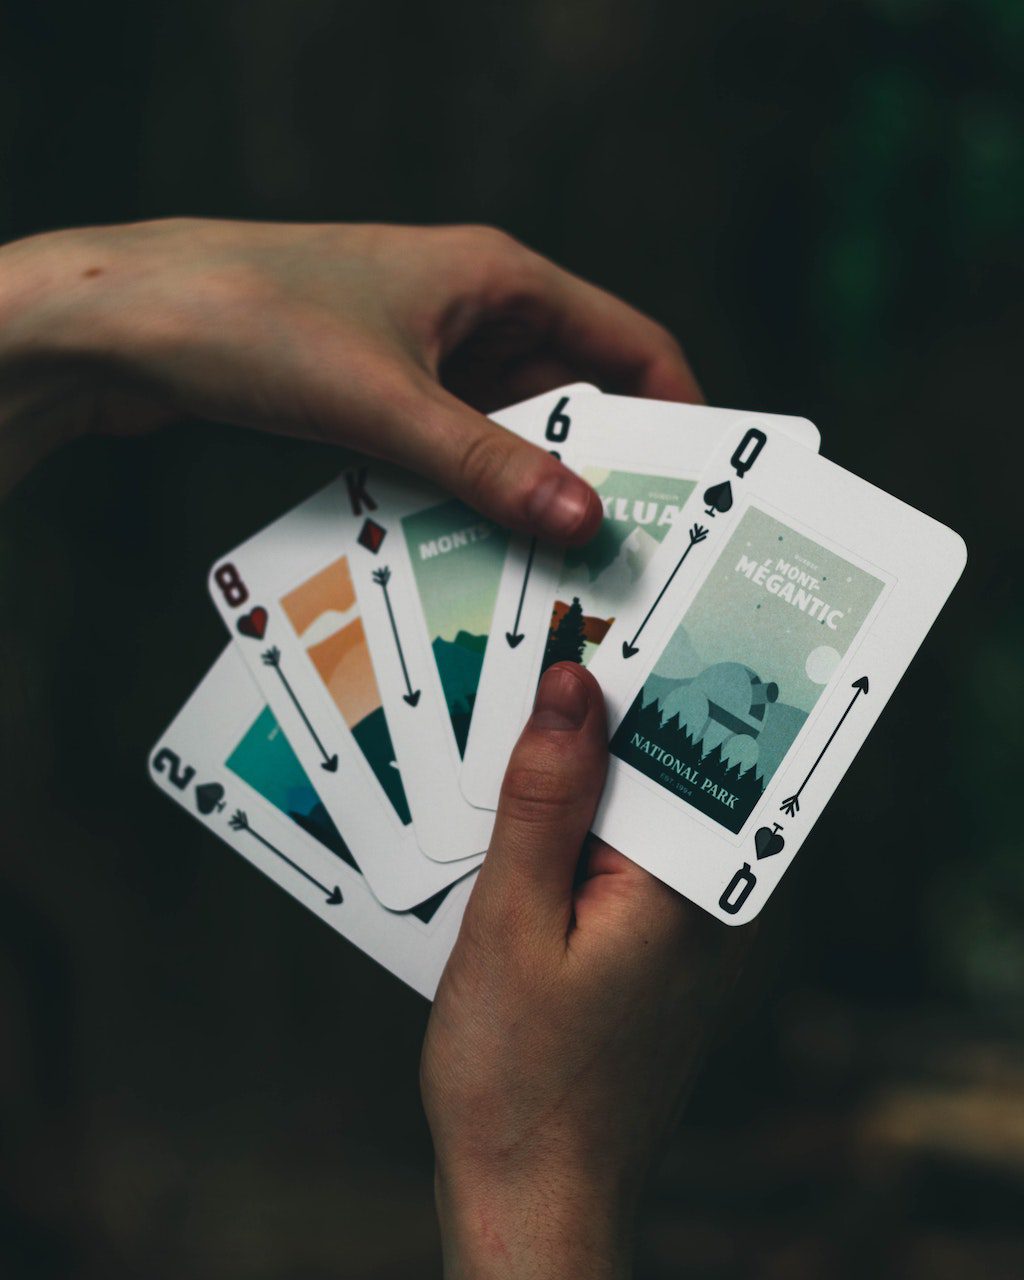
playing cards after setting up camp

A simple deck of cards can help you and your hiking buddies pass hours just by playing games.  Here are some fun card games that my friends and I typically play when out on the trail.  Here is a great site for card game ideas and rules for each game!

Star Gazing:

Star Gazing after setting up camp

Being from Manhattan, one of my favorite things about hiking is looking at the constellations usually blocked by the big city lights.  I am not much of an astronomy buff, but it does not take an astronomer to appreciate the beauty of a night sky. 

Happy Trails!

I hope these tips help you guys make more memories on your future hikes comment below with your favorite things to do after setting up camp!

Categories
Outdoors for Beginners backpacking for beginners

Most Important Things to Know About Backcountry Permits

Everything You Need To Know About Backcountry Permits.

What Are Backcountry Permits?

backcountry permits great smoky mountains

In short, a backcountry permit is a permit issued by a park that allows you to enter their wilderness and camp overnight at designated campgrounds or shelters.  Different campsites will have a different amount of nightly permits available depending on the size of the campground and the regulations of the park.  

What Is On A Backcountry Permit?

The typical information found on your permit includes:

  • Dates you are spending in the backcountry.
  • Your Hiking itinerary.
  • Which campsites or shelters you will be camping at.
  • How many people are in your party
  • The name of your “party leader” (person who reserved the permits

 You are required to have your backpacking permit on your person at all times while backpacking in the backcountry. 

Why Do We Have Backcountry Permits?

reason for backcountry permits
Backcountry permits helps national parks limit the human impact on the nature of the park.

These permits allow the park to keep track of how many people are entering into and out of the wilderness and how many people are staying at a campsite on a given night.  With this information, parks can quota the number of people entering the wilderness.  The reason for this is that the more people that enter the park, the more damage that is done to flora and fauna of the park due to overuse.  With the permit system, parks can control how many people use the wilderness, thus limiting the impact of visitors on the environment within the park.

Permits protect visitors by providing the park ranger with your expected time for exiting the wilderness.  Also, you provide an itinerary where you will be hiking in the park when you obtain a permit.  By giving your itinerary, park rangers know where to start looking for you if you do not exit the backcountry at your expected time.  This is hopefully never the case for you! 

Do Backcountry Permits Cost Money?

do backcountry permits cost money?

Yes, you typically have to pay some sort of registration or service fee for backcountry permits.  However I will say that they are typically inexpensive, I have never spent more than $30.00 on permits. 

But keep in mind that permit prices can vary based on several factors such as:

  • The number of days being spent in the backcountry.
  • How many people are at your party.
  • The park that you are backpacking

Do All Parks Have The Same Backcountry Permit System?

No, this is entirely dependent on the park that you are visiting because nearly all of them have their own rules and regulations for their backcountry permit system.  

Some parks require permits and some that do not.  Some have their own reservation portal and some use recreation.gov  to book permits.  Some offer walk-up permits and some only have permits available by reservations.  Some use a lottery system and some do not.  I can go on all day.

As you can see there can be a ton of differences between the ways parks run their permit systems so I would refer to a park’s website for details or check out our national park guides.  

Do You Really Need to Get Permits When Backpacking?

Yes, you absolutely should have permits if they are required by the park.  Now I know some of you may be thinking “who’s going to be checking these permits?” and that you can probably get away with not getting permits in a massive park.  Can you get away with hiking without permits?  Maybe, but does it make it the right thing to do? Definitely not.  Not only is it morally wrong, but it is also illegal and if caught by a park ranger, can lead to criminal penalties and fines.  

When backpacking in the park you are expected to carry your permit with you at all times.   This is because park rangers scout the backcountry and can ask to see your permits whenever they run into you.  With this in mind remember to clip your permit to your tent or hammock when setting up camp.  That way if a ranger comes by at night they can see your permits and pass rather than wake you up from your sleep!  So to reiterate yes, if backpacking permits are required by the park you need to consider them like a backpacking essential just like your gear.  Check out other essential backpacking gear here.

do you need backcountry permits
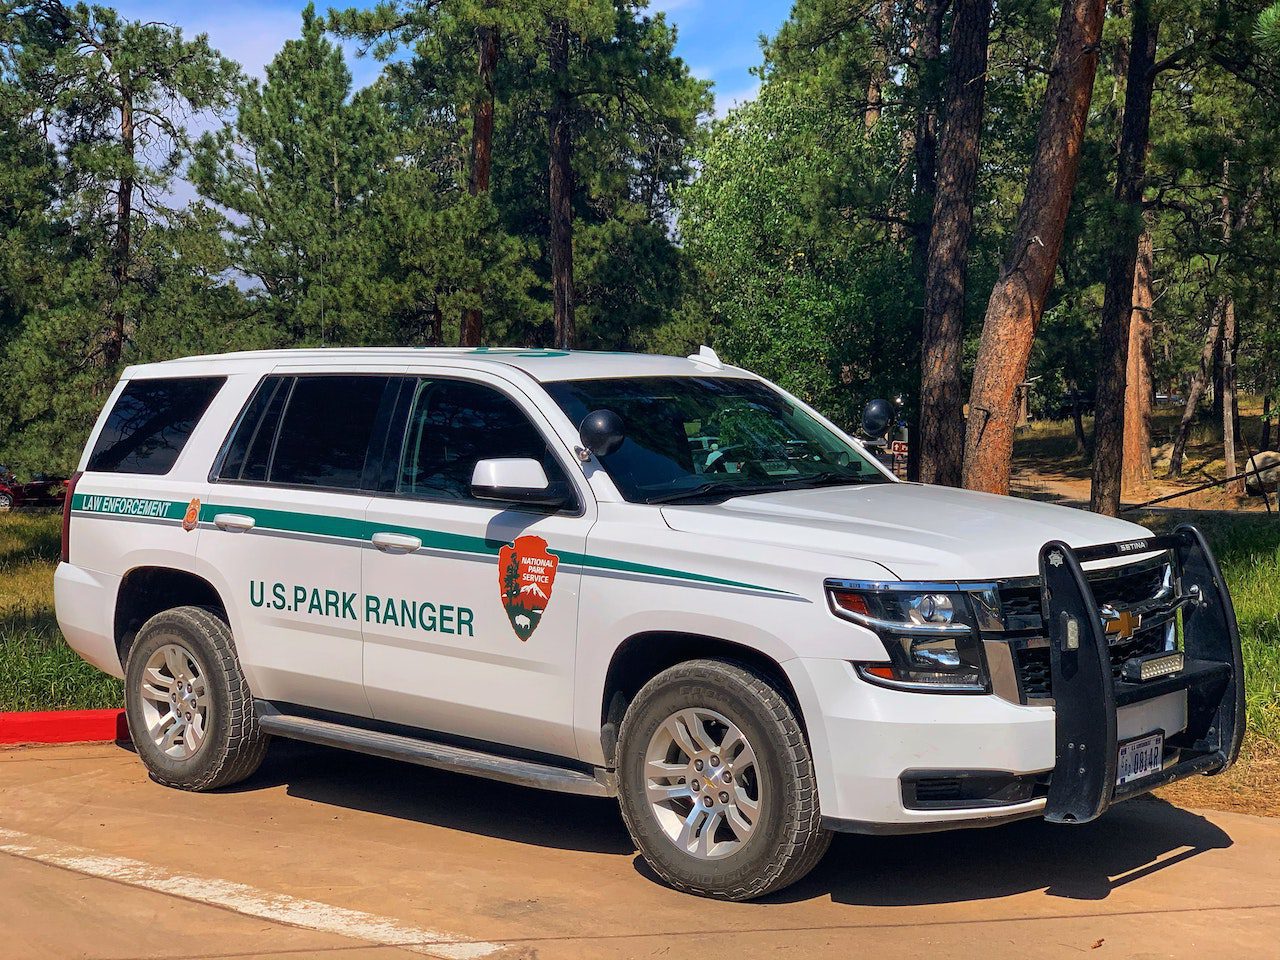
Park Rangers frequently scout backcountry trails and are responsible for ensuring that those hiking have the appropriate permits.

Walk-Up Permits

Some parks offer walk-up permits which are distributed on a first come first serve basis.  These are permits are perfect for people who are going on an impromptu backpacking trip and do not have reservations booked in advance.  Typically walk-up permits can be obtained either the day before or the day of the start of your hike at one of the park’s visitor centers or ranger stations.   One thing I will recommend which if you are trying to get walk-up permits, make sure you are at the ranger’s office as soon as it opens so you will be the first one requesting permits.

Booking Your Backcountry Permits

Here are some of the basic steps to planning your backcountry permit itinerary.   

  1. Figure out what dates and trails you want to hike. (if you need some inspiration check out our National Park Guides
  2. Then determine how long you want to hike each day and find a combination of campsites you want to stay at that fit your desired daily mileage.
  3. Go to your park’s website to figure out how and when you can book permits.
  4. Check if your desired itinerary is available.
  5. Book your campsites.
  6. Make sure you have the right gear for your trip. (check out our gear blog for our recommendations)
  7. Enjoy your trip!

I hope you guys now know a bit more about backcountry camping permits and it is important to keep them in mind when planning your next backpacking trip.  To be kept in the loop on all of our new backpacking posts sight up for our email list!

Categories
Outdoors for Beginners Hiking & Camping

Hiking With Bad Knees 5 Tips To Protect Your Knees

Hiking With Bad Knees. 5 Tips On How To Protect Your Knees When Hiking

hiking with bad knees. how to protect your knees when hiking.

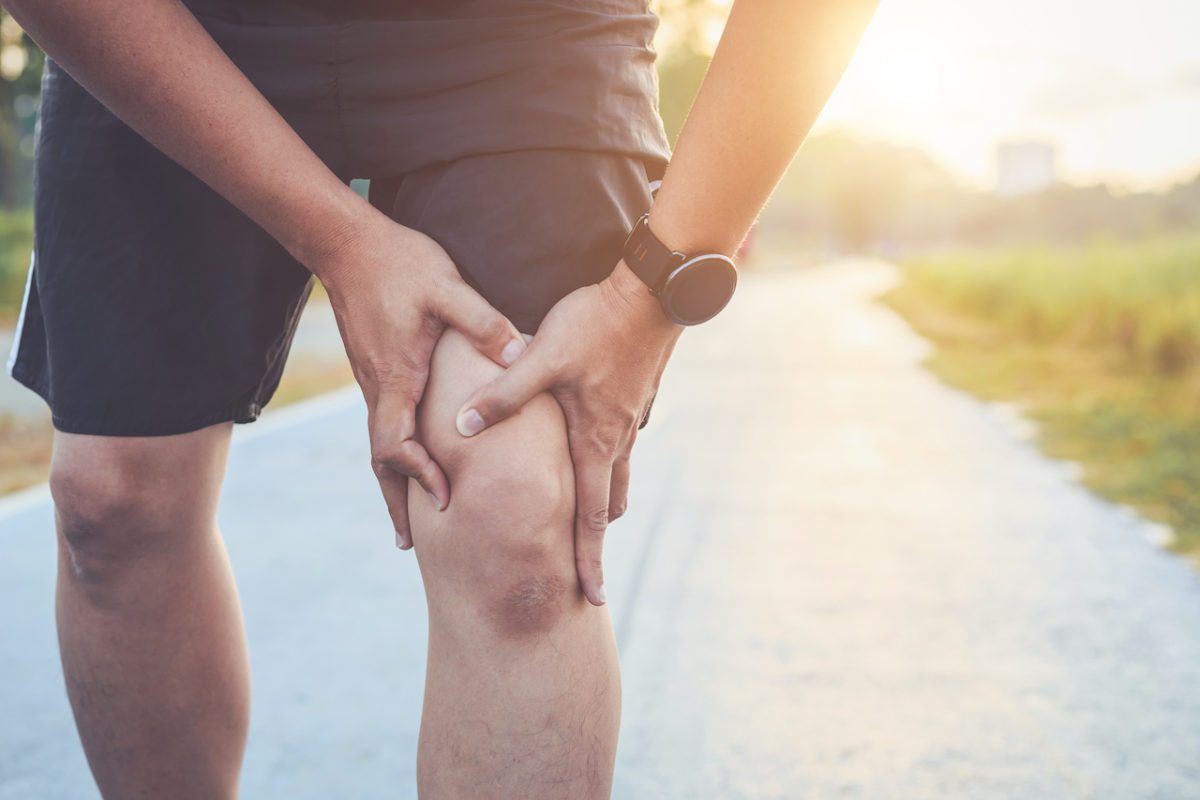
We all love hiking in the great outdoors, but if you have bad knees, it is essential to take the proper precautions to prevent knee pain from ruining a good hike.  Knee pain alone can be very debilitating, but when coupled with a long-distance hike, it can be downright miserable and, if bad enough, can keep you off the trail for a while.  That is why it is essential to know how to protect your knees and manage your knee pain when hiking.  

As both an avid hiker and an orthopedic surgery physician assistant, I have experienced and treated knee conditions both on and off the trail.  Here are five tips that will help you protect your knees for many miles to come!

  • Stretch/warm-up
  • Wear Proper Hiking Boots
  • Use Hiking Poles 
  • Pack Smart
  • RICEN (pain relievers, rest, ice, compression, elevation, NSAID’s/Pain relievers)

Stretch/Warmup:

Stretching after hiking

Stretching and warming up are crucial aspects of the pre and post-workout ritual whenever doing any exercise.  This get’s your muscles moving and your body ready for exercise.  

Now I know there are a bunch of weekend warriors out there who do not stretch ever, but I encourage you to do so before embarking on your hike because it is a simple activity that can help prevent a sprain or injury when out on the trail.  

For lower intensity exercising such as hiking, it is a good idea to perform static stretches for your major muscle groups, including your quads, hamstrings, calves, and back.  Here is a link to some helpful stretches.

Wear Proper Hiking Footware:

Hiking boots bad knees

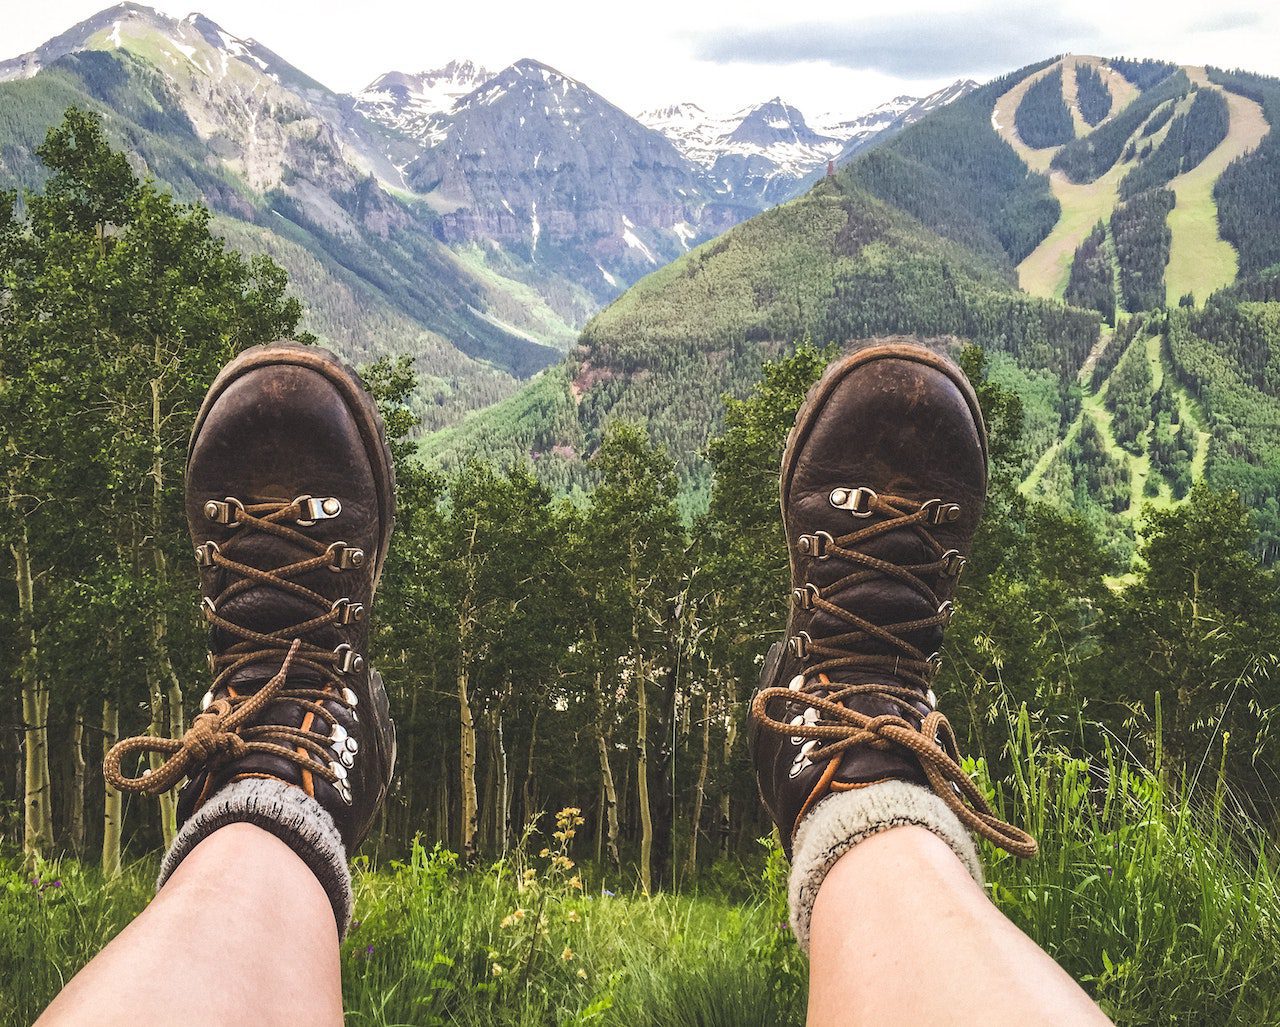
Okay, this may seem like a no-brainer, but it must be said.  You need to wear a supportive shoe whenever you are hiking, but this is even more so when trekking with bad knees.  The reason is that with every step we take, pressure is distributed throughout our leg (our knee), and each step begins with our boot hitting the ground, making it essential to have adequate footwear to help dissipate that pressure.  

If you have bad knees and typically hike with running shoes, I would say a change in footwear is a great place to start getting those knees back on track.  Learn about all of the different hiking footwear options out there and the best one for you!


Use Hiking Poles:

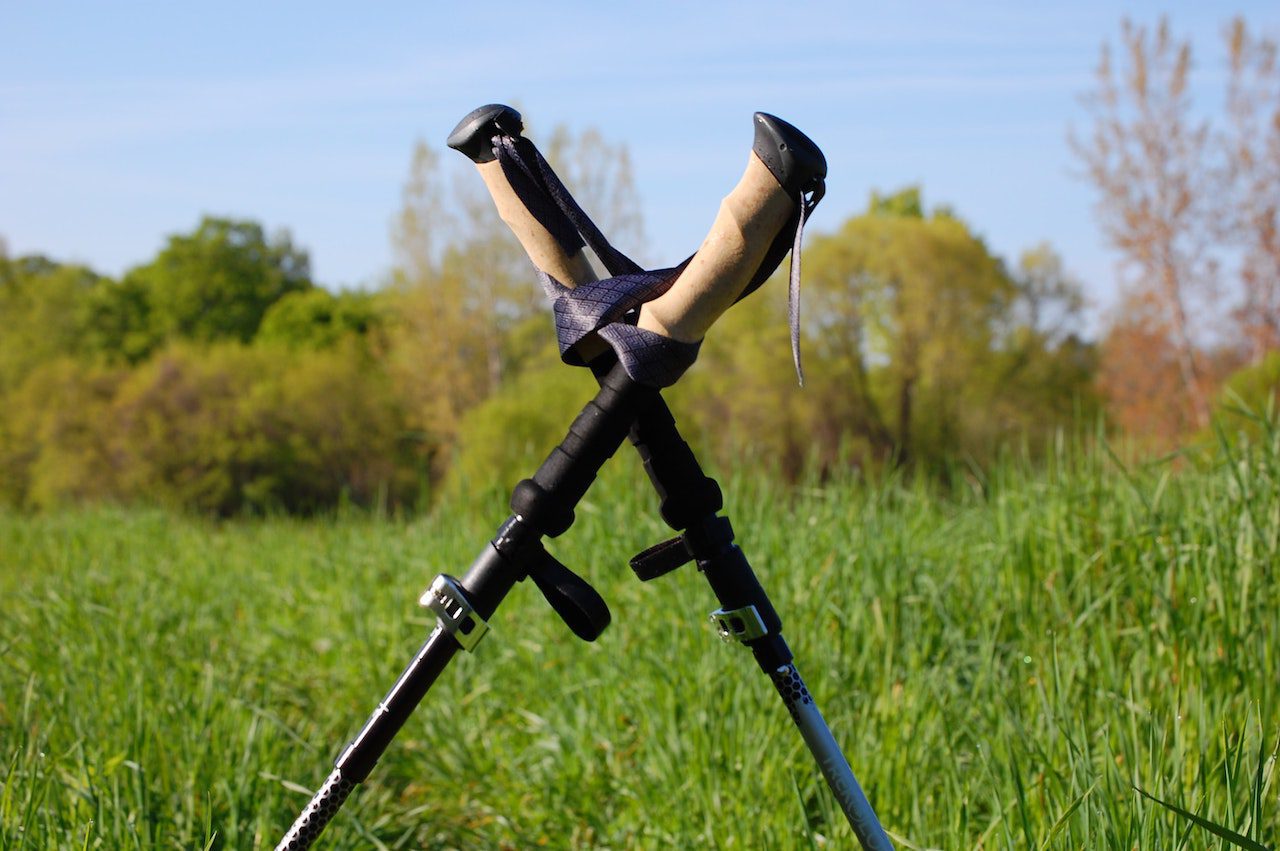
Now, these are an absolute must-buy and are something that you will immediately take notice of when you use them for the first time.  When I first saw these things, I thought, no way am I using those sticks, but then I started injuring my knees, and I decided to give them a shot.  Boy, was it worth it!  Although they looked dorky, I will say I immediately noticed the difference when using them, and now I will never go on a hiking trip without them!  

One of the reasons these poles work so well is they act as another shock absorber for your knees, and each time you take a step while using them, you reduce the pressure and load on your knees.  Not only do they take a load off of your joints, but they also provide fantastic stability when hiking on uneven terrain, especially on the downhill, which is every hiker with a lousy knee’s worst nightmare!  If you’re not sure what kind of poles to purchase, check out our recommendation here!

Pack Smart:

backpacking gear

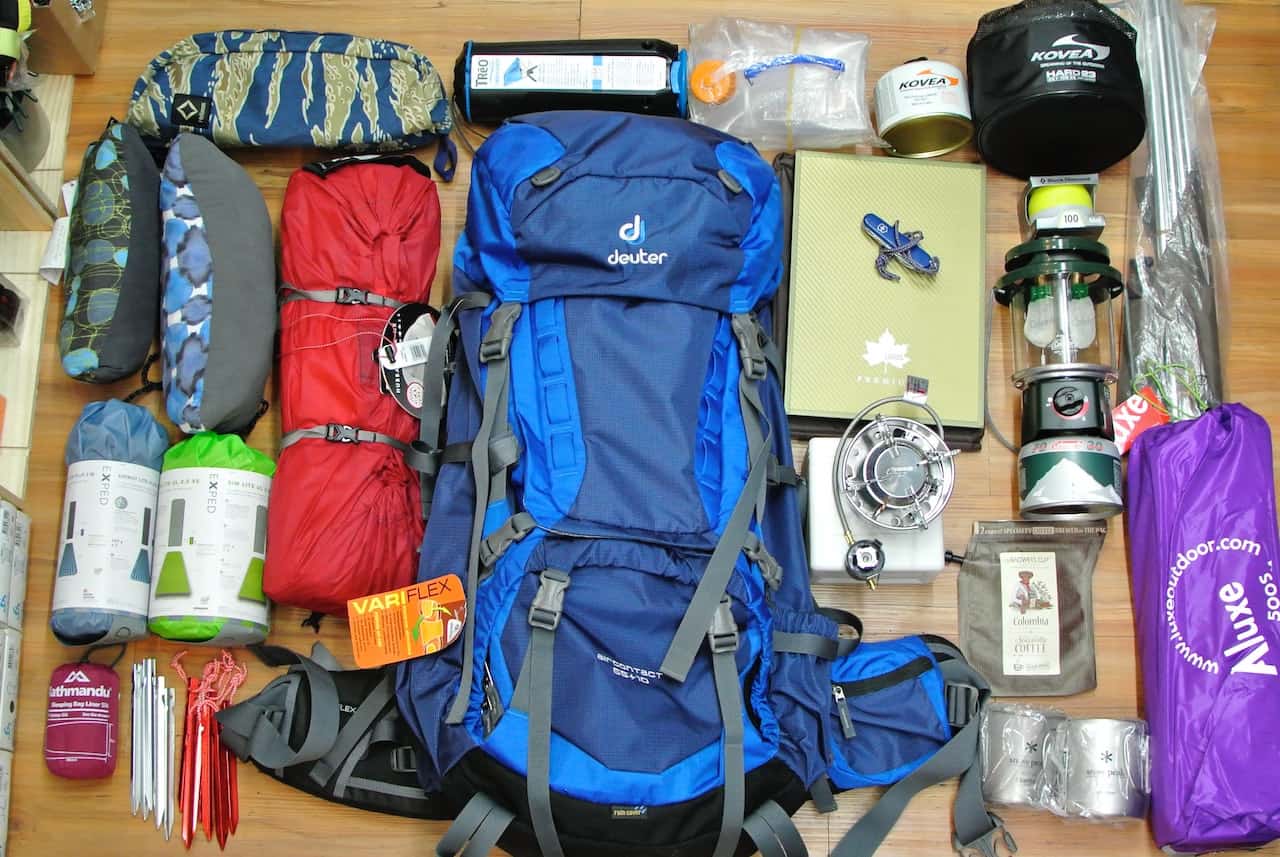
 Be mindful of how much weight you will be carrying in your pack. An overweight pack can cause severe discomfort during your hike and can even lead to injury.  Be sure to try on your backpack before going out on a long trek to ensure that it is something that you and your knees can handle.  

It is crucial to make sure that you are hiking with a reasonable-sized pack, but it is also essential that the method you use for packing makes for efficient hiking.  Be sure that most of the weight from your pack is focused on your hips, a good way to do this is by making sure that most of the weight in your pack is at the bottom. 

Having weight distribution that is too focused on the upper portion or outside of the backpack can throw you off balance during your hike, leading to falls or twisting injuries to the knee. 

RICEN (Rest, Ice, Compression, Elevate, NSAID's):

For many years, rest, ice, compression, and elevation have been the go-to first-line treatment for joint pain.  These strategies are beneficial after a long hike where your knees are achy, and you need a speedy recovery!

You can follow this tip is exactly how it is written!  After you finish a long hike that took a toll on your knees, take a load off and rest.  Relax and use either an ace wrap or compression brace for support.  You can keep your knees compressed while hiking as well for added support.  Icing your knee after a long day hike while keeping it elevated above your heart can bring down any swelling that you may have. 

Finally, consider taking pain relievers such as Tylenol or NSAIDs before/during/after your hike as needed for knee discomfort.  Be sure to check with your doctor before taking any new medications.

That's All!

Hiking is a physically demanding exercise and is even more challenging for people with bad knees.  But with the proper practices and equipment, you will realize that managing your knee pain may be easier than expected.  I hope the above tips will help you in preventing/managing/treating your knee pain.  Happy trails!

Categories
Outdoors for Beginners Hiking Basics

What is The America the Beautiful Pass?

What The America The Beautiful Pass?

what is the america the beautifulk pass

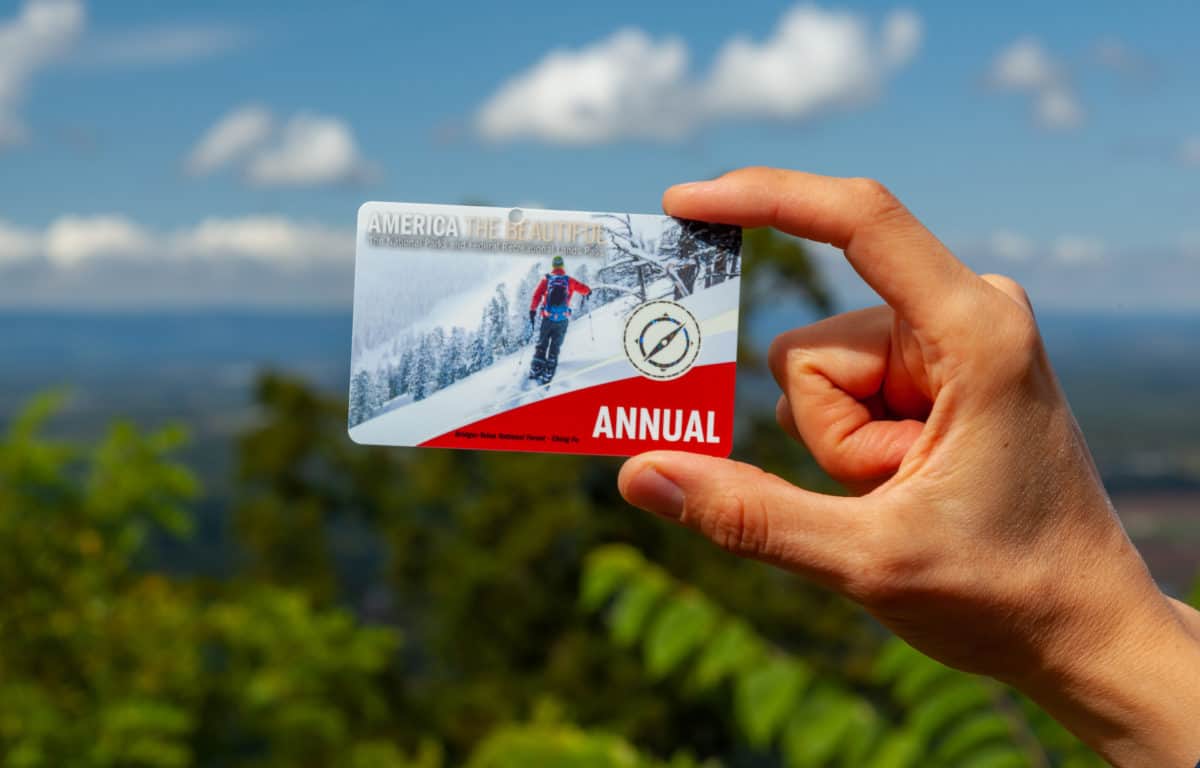
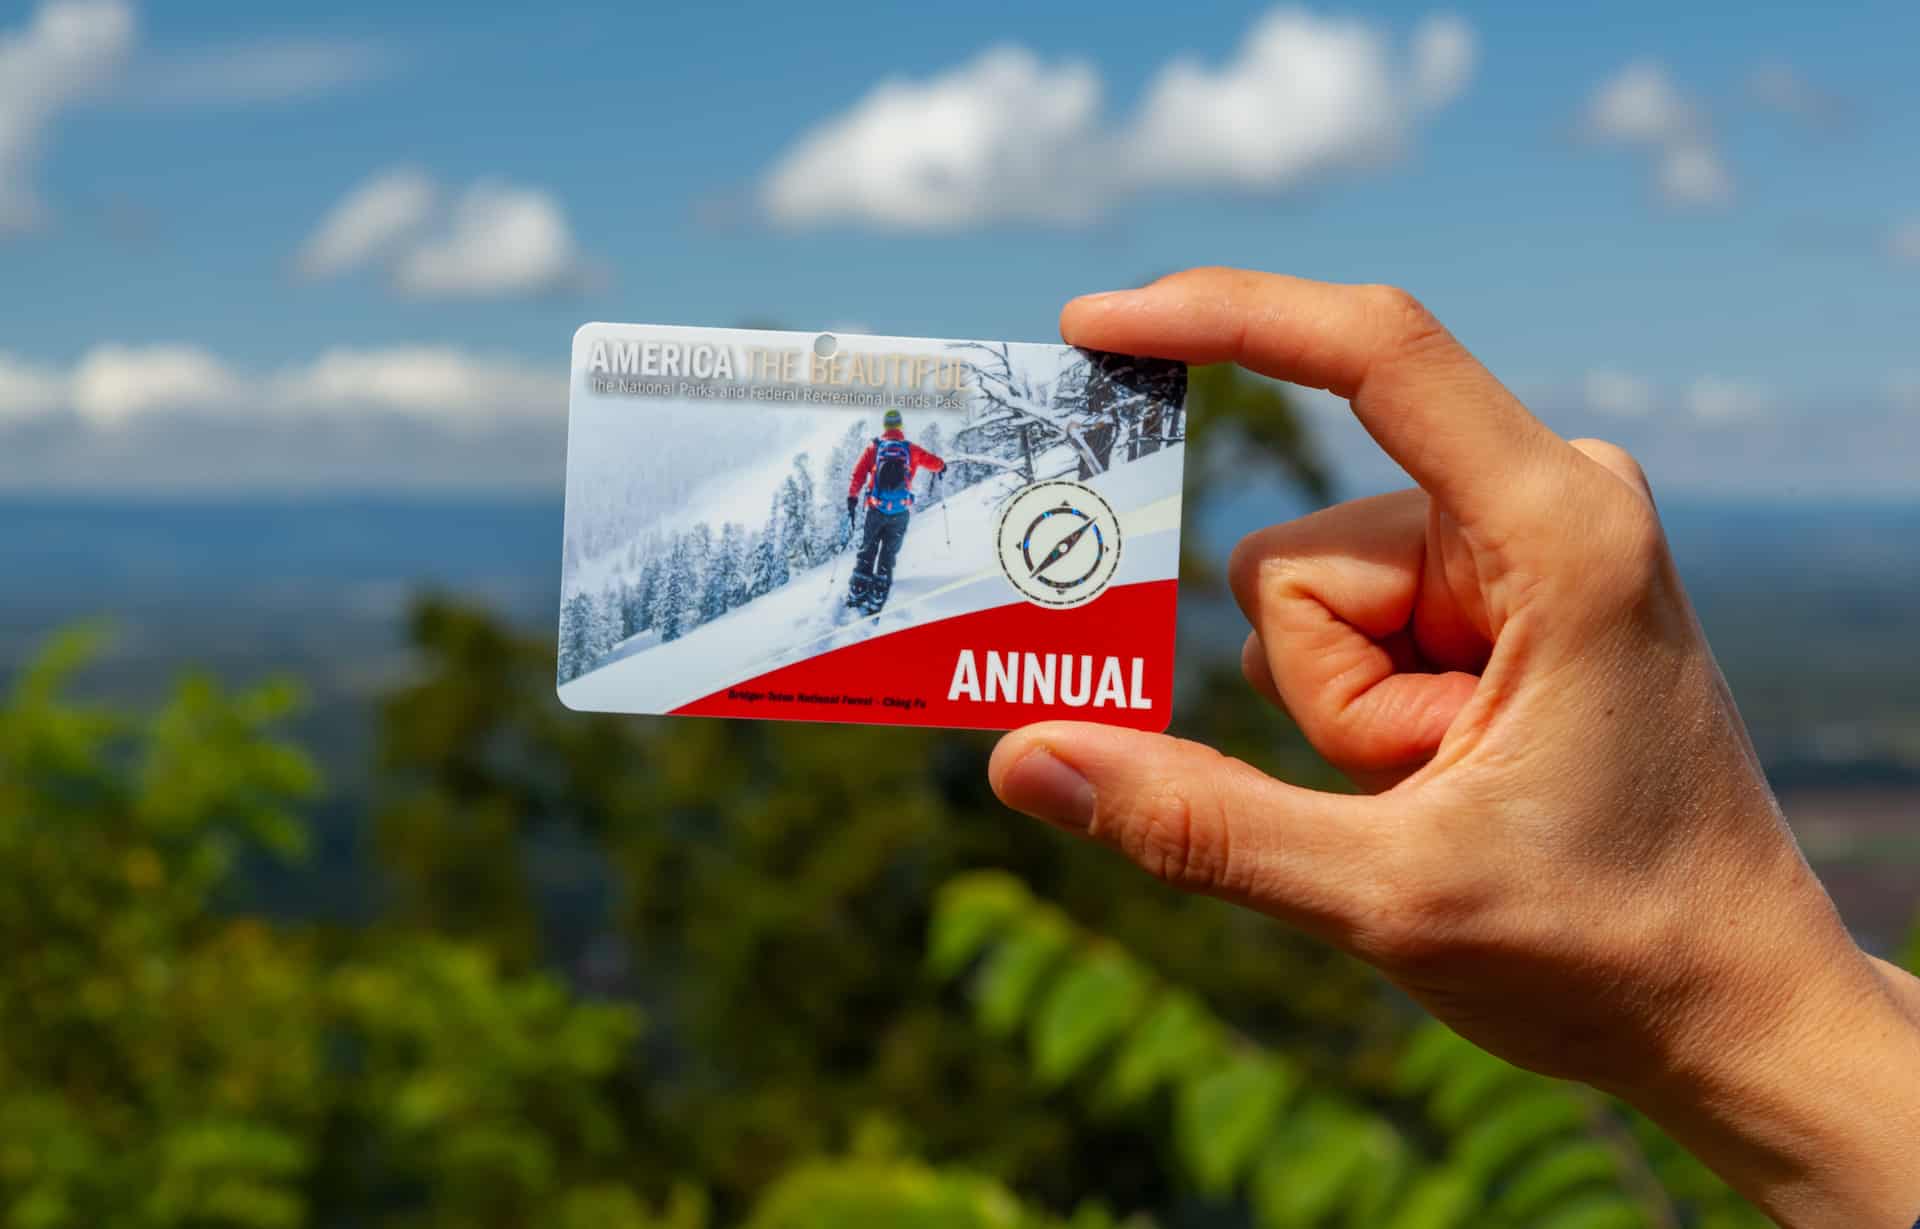
The America the Beautiful pass is an annual pass that gives you access to over 2,000 federal recreation lands including ALL for our national parks.  Not only that but this pass also covers amenity/day-use fees at national forests, BLM lands, and many other federal lands.  That means if you like camping, hiking, fishing, mountain biking climbing, or anything else that requires entering public lands there is a good chance you are covered with this pass! 

Below are some of the different versions of the pass that are available, they all grant the same access they only vary in price!

[table id=1 /]

How do I get a Pass?

You can either get your pass online here.  If the internet ain’t your thing you can always get them in person during your trip to a national park but be sure that the park your visiting does sell them because not all of them do.  Here is a list where you can see the national parks that offer the pass on admission to the park.

Should You Get a Pass?

So this is a very common question and what it really comes down to in my opinion is simple math.  If you are going to get the $80 America The Beautiful Pass it only makes sense to get at least $80 worth of entrance fees out of it right?  So I would say that the standard national park entrance fees hovers around 30ish dollars meaning that it would take visiting at least 3 national parks to get your money’s worth from your America The Beautiful Pass!  If you are a van lifer or spend most of your free time checking out these recreational sites you can easily rack up 3 park visits and this park is a must for you!

That's a wrap!

I hope this was helpful for those of you looking for more information about the America the Beautiful pass and if you have any other questions please feel free to reach out on the contact section.

Categories
Outdoors for Beginners

Car Camping vs Backpacking

Car Camping Vs Backpacking The Ultimate Guide

car camping vs backpacking

Camping is a great way to spend time outdoors and is an activity that all can enjoy.  But what many may not know is that there are two different types; car camping and backpacking.  Both have their benefits and drawbacks, but it is important to know the difference between them and which one is best for you when planning your trip.  We will go over what each of these is and the pros and cons of each to help decide which one is best for you!

Car Camping:

car camping

Car camping is camping a short distance from your car and can even be in your car.  For many parks, it is as easy as parking at a designated campsite and setting up camp. 

Since you are driving into the campsite, you have the luxury of bringing a lot of gear and supplies on these trips because camp is just a short walk from your car.  What is nice about having one base camp is that after setting up camp you do not have to worry about lugging your gear around daily.  After camp is set up, you can drive to different trailheads and enjoy the hikes available in the park. 

Car Camping Pros:

Let’s talk about some of the benefits of car camping.  First off, like I mentioned you can bring anything that you can fit in your car, which can make camp life a bit more comfortable.  Want to camp with a big tent, air mattress, grill, and fully stocked cooler then go for it, just make sure it fits in the car! 

Another major benefit is that because you are not in a remote location within the park, you will often have access to drinking water, bathrooms, and showers.  For those new to camping these comforts can make the experience more enjoyable.

Car camping is also a great way for families to get outside and hike because they do not require many miles of strenuous hiking.  While you can go and do a day hike you can also spend time lounging around camp.  These trips also do not require a significant amount of technical outdoorsman skills to do, making it great for people of all skill levels to enjoy.  

Finally, one of the best parts of car camping is that you have the flexibility to do many different hikes throughout the park on a single trip.  This is because you have access to either drive or take shuttles to the different trailheads within the park.  In contrast, on backpacking trips you must hike everywhere you want to go, making it difficult to go to multiple areas of the park on a single trip.   

Rundown of the Pros:

  • More luxuries
  • Amenities
  • Flexibility with trail options
  • Less strenuous
  • Great for families
  • Little technical outdoors skills needed


Cons of Car Camping:

Now time for the negatives. There is one major one, in particular, I have to mention and that is the crowds.  Although you can hit many different hikes in the park, because they do not require hiking deep in the wilderness or permits to do, you are much more prone to encountering large crowds.  For me, this can tend almost cheapen the experience, only because part of the beauty of hiking in nature is truly being in nature not in nature with a hoard of people!

Rundown of the Cons:

  • Can get crowded
  • Requires an automobile

Who Should Go Car Camping?

Car camping is a great way to get your feet wet with camping and hiking so I would especially recommend it to beginner hikers and campers. Car camping offers some basic luxuries without just throwing you out into nature and it also provides the opportunity to hone your wilderness and camping skills before taking on a more challenging backpacking trip.  Also if there are several different day hikes interest you but are each located in remote areas of the park, car camping would be the best way to go.  

Car camping is also an excellent way for families to come together and enjoy the great outdoors.  Especially if there are younger children, this milder outdoor experience allows you to still be together and enjoy nature without many of the struggles that come along with doing a backpacking trip i.e. carrying a heavy pack, hiking long distances, pooping outside, etc. 


Backpacking:

Backpacking

Backpacking is hiking through and camping in the park, as the name suggests you will be carrying everything in, you guessed it your backpack! 

When on a backpacking trip you must be entirely self-sufficient, you are filtering your water, cooking meals, and setting up/breaking down camp on your own every day.  During this hike, you are camping in remote locations within the park at designated backcountry campsites, which can sometimes consist of a lean-to shelter or will be just a region of wilderness where the park allows you to set up camp. 

Planning for a backpacking trip involves a great deal of research and preparation, much of which can be found in our national park guides.  Some things that come with planning a backpacking trip are making a hiking itinerary, apply and obtain permits, and ensure you have the appropriate gear (check out our backpacking gear blog for help).  It is of utmost importance that you are thoroughly prepared anytime you are doing a backpacking trip.  The reason for this is that once out in the backcountry you do not have all of the comforts of your daily life and must rely on your outdoor skills and gear in your pack to get you through your trip. 

Backpacking Pros:

Backpacking through the wilderness will offer you not only breathtaking views but also can heal the soul. 

Let’s start with the views.  When you are backpacking through the wilderness you will come across mindboggling landscapes and vistas seeing nature in its most untouched form.  Unlike a popular day hike in the front country, backpacking is much more physically demanding requiring you to carry a 20-40lb pack over many miles, with episodes of intense elevation gain and descent which deters many people from going to these locations withing a park.  Both the seclusion and miles of difficult hiking that precedes these views make them feel earned and add to the accomplishment. 

I would also venture to say that backpacking is chicken noodle soup for the soul.  When you are on the trail you are away from many of the superficial distractions of everyday life, no cellphone, Instagram, or incessant emails.   Your focus is to get from point A to B while appreciating the nature and beautiful views that surround you.  Each time after coming back from one of these trips I feel revitalized and feel as though I am better able to live in the moment appreciating the luxuries I do have when returning home. 

Rundown of the Pros:

  • Incredible views
  • Great for reconnecting with yourself and nature
  • Good exercise

Backpacking Cons

Like I mentioned backpacking can be much more physically demanding than car camping and doing day hikes.  Not to say that day hikes are easy, but the fact that you have to carry everything on your back does tend to make backpacking more difficult. 

Aside from the physical aspect of backpacking, there are a set of skills that everyone needs to have before going on their first backpacking trip. Some of these basic skills include reading a map, setting up a tent, efficiently packing, and water filtration.  Also, it is important to keep in mind that different hikes can demand different skill sets which you should be prepared for before getting out in the backcountry.  

Backpacking can also come with a higher upfront cost, especially if it is your first time.  The reason being is that there is a lot of equipment needed to be self-sufficient during your backpacking trip, and you tend to pay a premium for lightweight equipment which is a must-have when backpacking.  For a complete list of must-have gear check out our backpacking gear blog!

The last negative I can say for backpacking is that backpacking through the wilderness for multiple days without any showers, toilets or running water will get you a little dirty.  You will stink after your backpacking trip but I can guarantee the experience will be worth the stank!

Rundown of the Cons:

  • Physically strenous
  • Higher up front cost
  • Extensive planning needed
  • Zero modern comforts
  • Technical outdoor skills required, check out outdoors for beginners for some tips!

Who Should Go Backpacking?

I think that everyone should go on at least one backpacking trip in their lives.  But I would say that if you are completely new to hiking you should not go on your first backpacking trip alone.  Go with a friend who has a few trips under their belt and can show you the ropes. 

Also, it would be extremely beneficial to you if you were in decent physical shape before embarking on one of these multi-day backpacking trips.  Know yourself and your limits if you are a couch potato whose never done a day hike before maybe don’t go on a backpacking trip right off the bat.  Once you are in good shape and have the basic wilderness skills down I would strongly recommend you give a backpacking trip a shot.  These trips will not only reward you with beautiful views but will also help you appreciate the little things when you return to your regular life. 

Get Out and Hike!


Both car camping and backpacking are great ways to spend time in nature. I hope this article helped shed some light on the differences between the two and helped you decide the best one for you on your next trip.  If you have any questions or a topic you want me to write on feel free to shoot me an email contact@wonderfarr.com or you can DM me on instagram @wonderfarr. 

Categories
Outdoors for Beginners Hiking Basics

What Are The 7 Leave No Trace Principles And Why Are They Important?

What Are The Leave No Trace Principles and Why Are They Important?

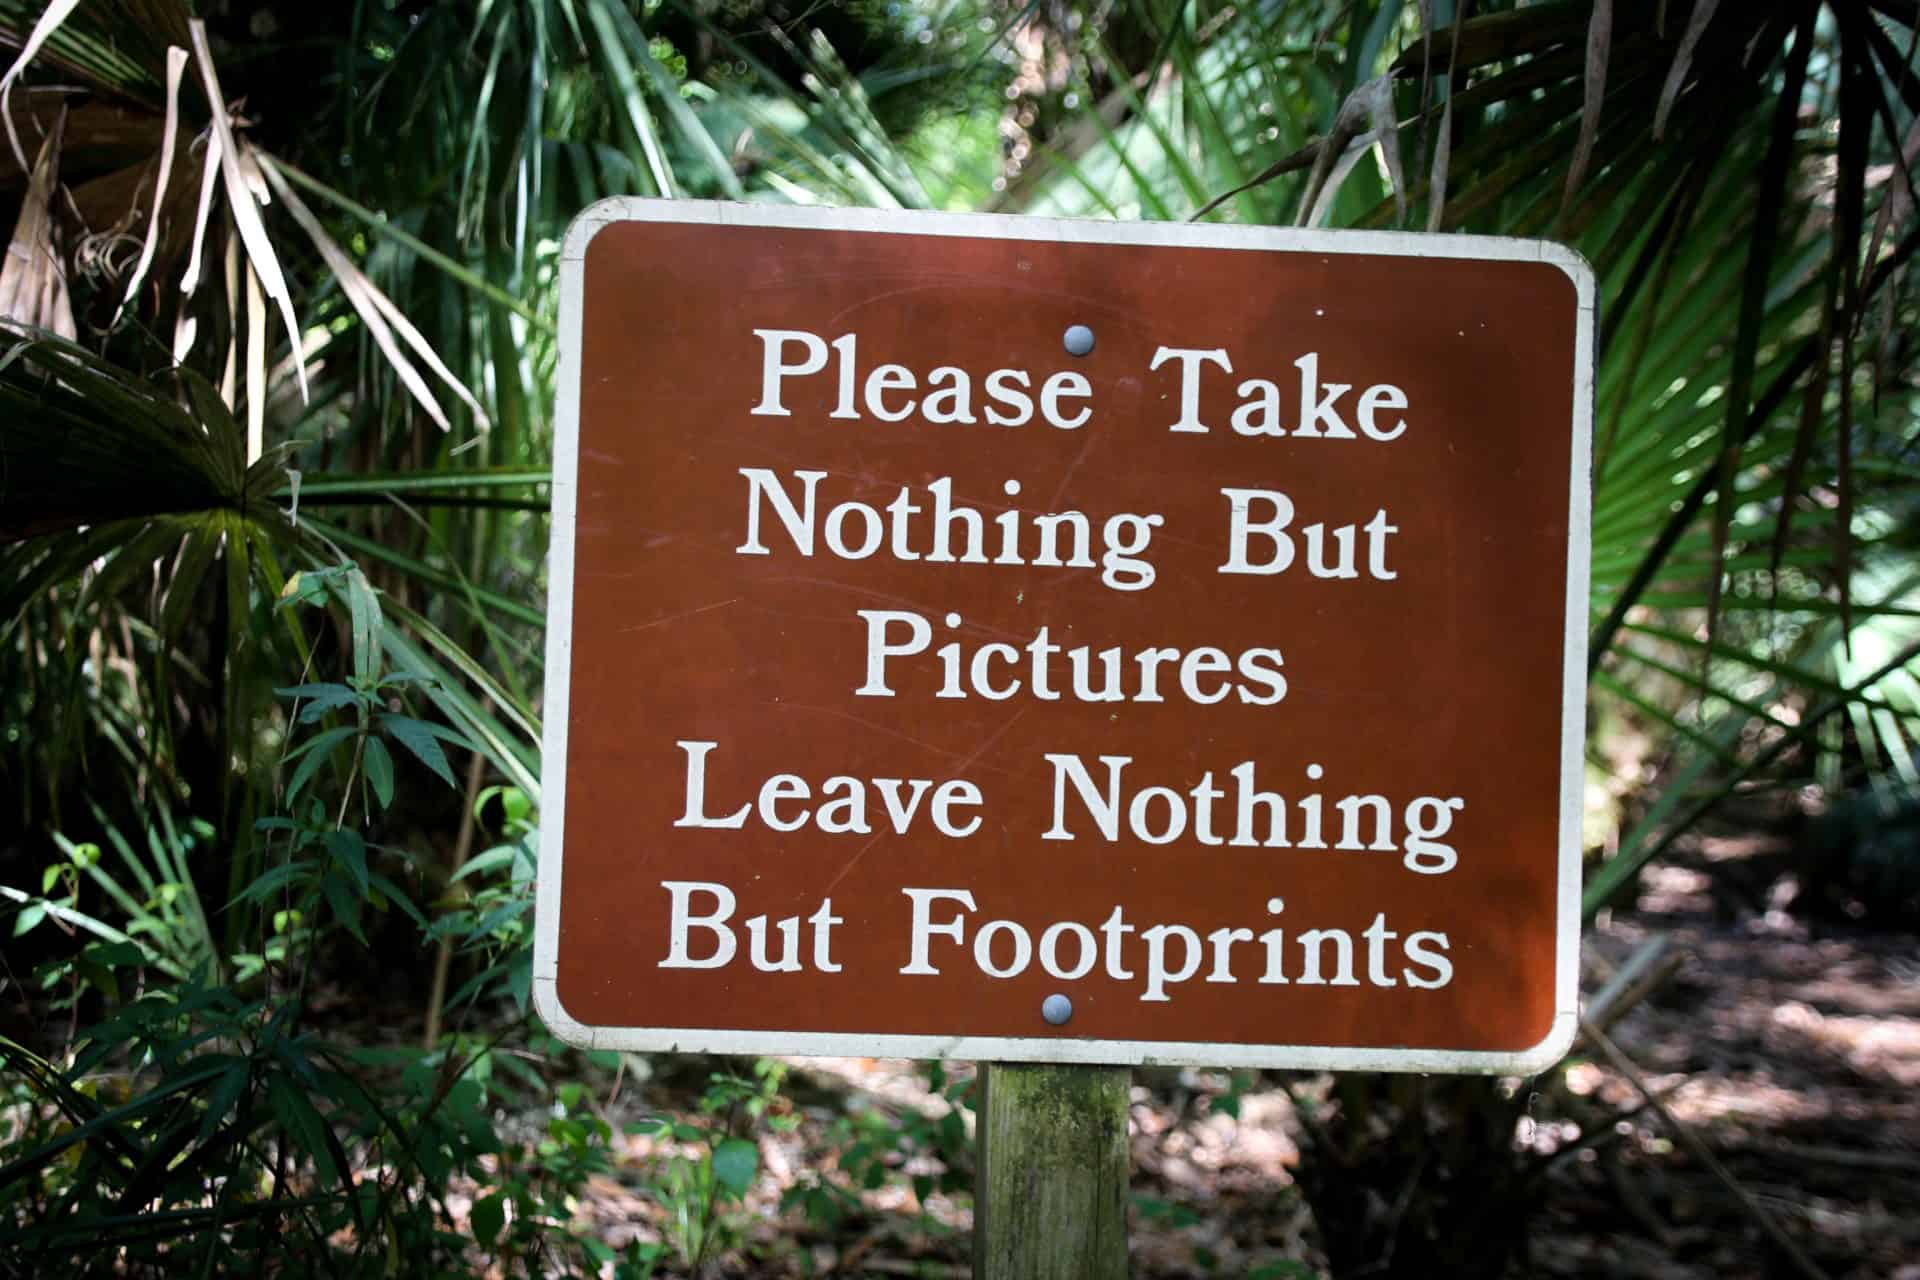
Leave no trace principles are essentially the basic rules that are to be followed when hiking or camping in nature to limit the environmental impact on nature.  These rules are commonly referred to as the “7 Leave No Trace Principles”.  Given the fragility of nature and ecosystems, it is important to follow these rules as closely as possible so we can not only minimize our impact on the environment but also keep the wilderness wild and allow others to enjoy nature in its most untouched form as well. So without further ado here are the 7 Leave No Trace Principles.

#1. Plan and Prepare:

trip planner

This is relatively self-explanatory, look into the rules and regulations of the park if permits are required make sure you try to get them ahead of time. Only camp in areas designated by the park. Try to avoid the busier season if you can as the more people present there is an inevitable greater impact on the environment.  Make sure you look into the park ahead of time follow its rules, and be prepared for your trip this means bringing the correct equipment to be sure you are adhering to the leave no trace principles while on the trail.

#2. Travel and Camp on Durable Surfaces:

car camping vs backpacking
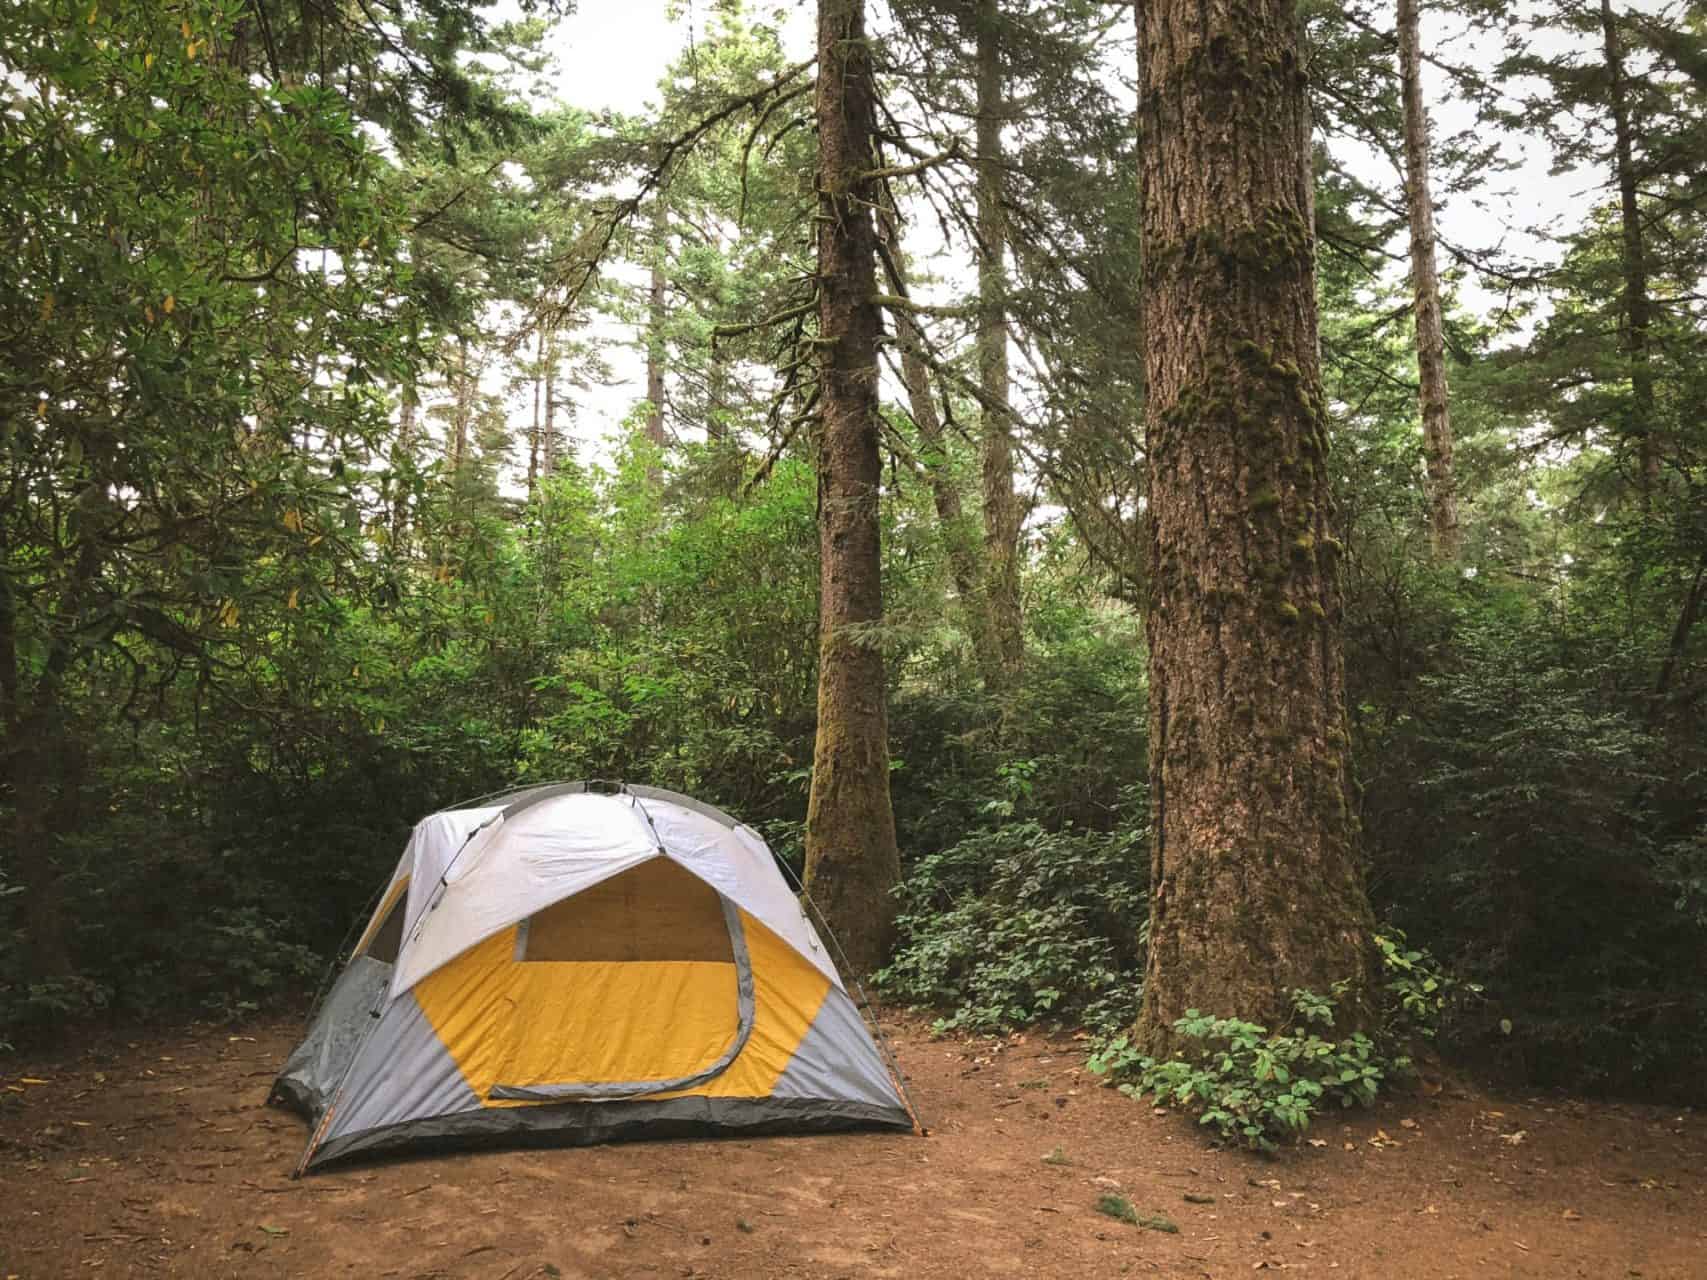
Make sure to camp on hard durable surfaces like this to avoid damaging plants or fauna!

Whether you are hiking or camping makes sure you are doing it on durable surfaces such as sand, gravel, rock, or snow. You want to avoid damaging vegetation during your trip even if a picture of you in a meadow is great for Instagram it isn’t so great for the wildflowers you are standing on! When you are searching for a campsite in a heavily used area use an existing campsite. Contrarily when you are in a pristine area you want to avoid camping in areas that appear to be turning into an established campsite to give the fauna a chance to recover. Another rule to keep in mind is you want to keep a 200ft distance from any body of water.

#3. Dispose of Waste Properly

Okay, this one I can easily make into its post and I probably will at some point but for now here is what you need to know. The first rule is whatever you pack in your pack out. Granola bar wrappers, used toilet paper, whatever it is you bring in you are responsible for packing it and bringing it out of the park to dispose of it properly. When you are going to the bathroom make sure that you are 200 feet away from all water sources and trails and be sure to dig your ditches for pooping at least 6 to 8 inches deep and cover it up (do not forget to pack out your used toilet paper!).

#4. Leave What You Find

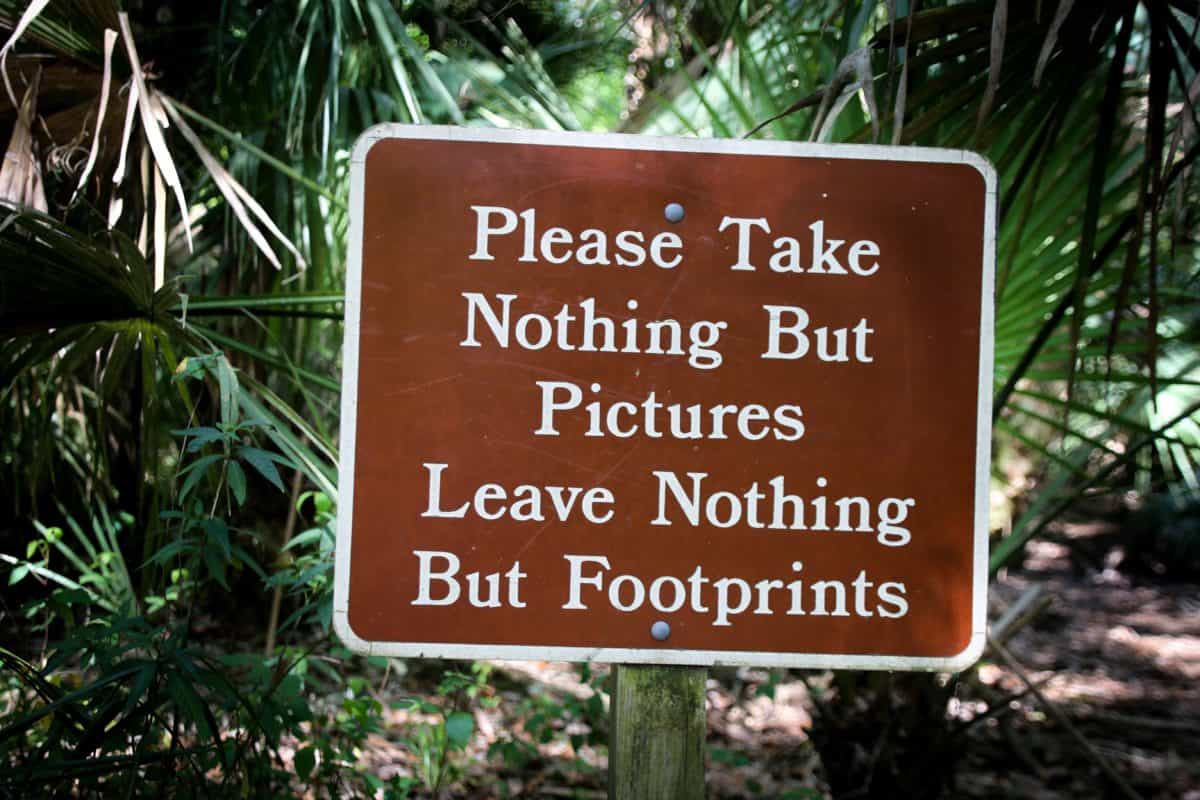
This is a super simple one do not touch or move anything.  So no picking flowers or messing with any of the rocks, plants or wildlife.  Do not alter the environment or build any structures such as chairs or trenches in the park.  You may look but no touch!

Leave No Trace

#5. Minimize Campfire Impacts

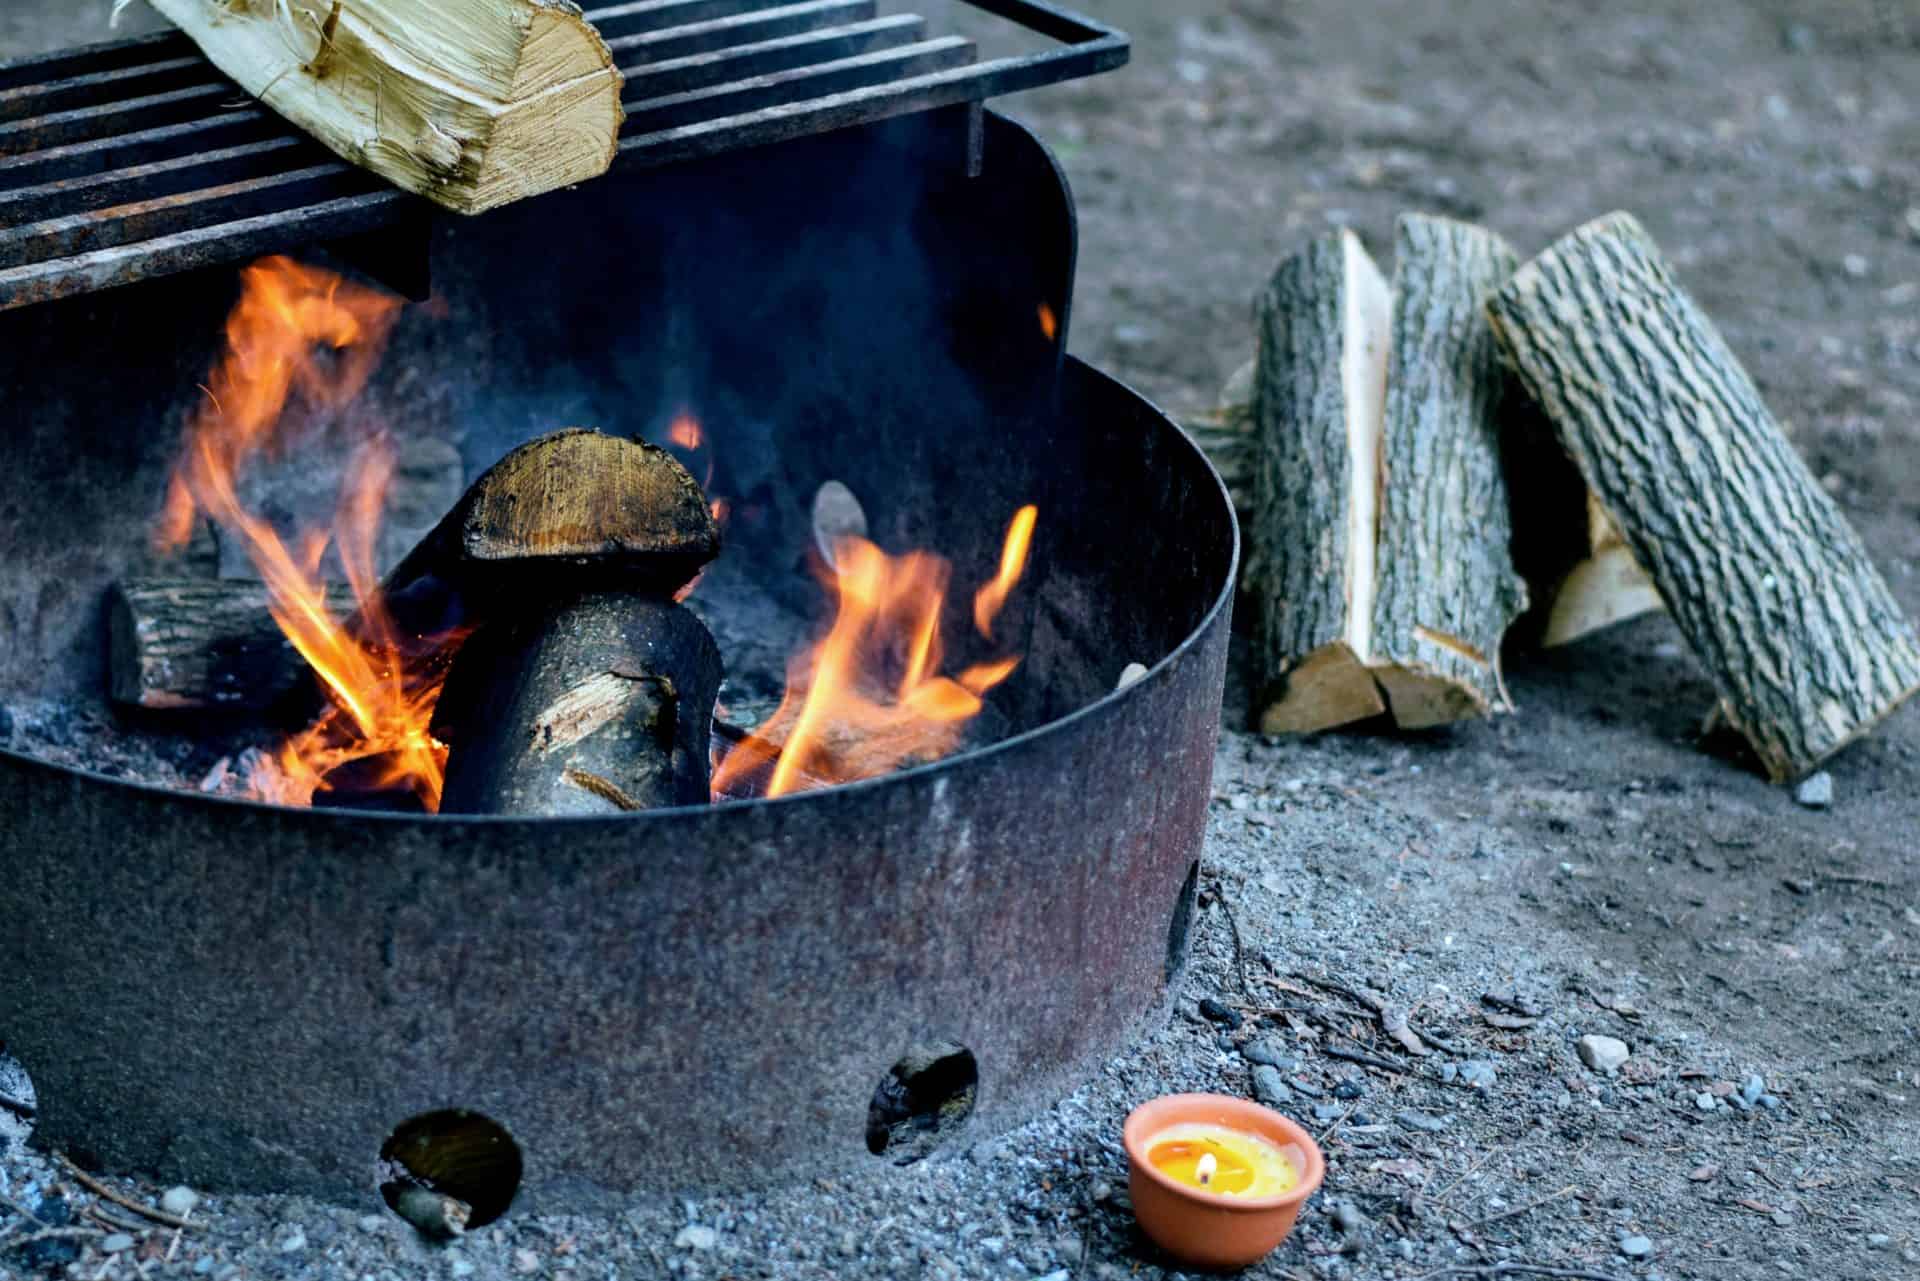
If making a fire remember to use preestablished fire rings!

Campfires can be damaging to the areas on which they are started disrupting the soil and natural mineral content.  Try to avoid using a campfire if you can and use a portable stove instead.  In regions where fires are permitted be sure to use established fire rings and only dead/downed wood for the fire.  When you are finished with the fire make sure everything has been burnt down to ash and that the fire is completely extinguished.  Once extinguished disperse the remaining ashes. 

#6. Respect The Wildlife

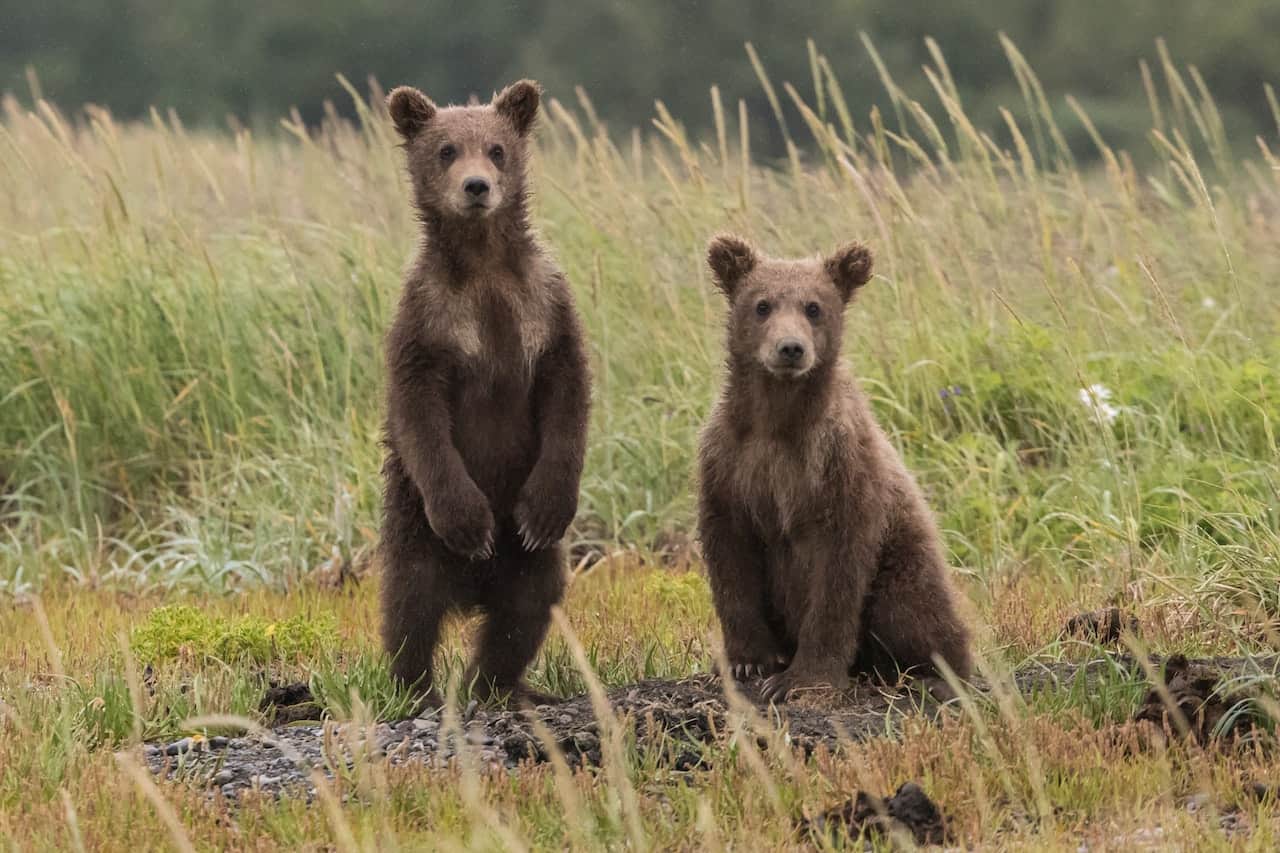
Again a pretty obvious one but cannot leave anything to chance.  Leave the wildlife alone, keep your distance (sorry no selfies), and DO NOT feed the wildlife.  Also be sure to secure your food properly using either bear boxes, bear canisters or a bear hang depending on the rules of the park you are in.  

Wildlife in the great smoky mountains

#7. Be Considerate of Others

Another easy one just be nice to other and respectful of their time in the park.  Avoid yelling or playing music through a speaker and allow others to enjoy nature without having to listen to you or your music.  When taking breaks or camping give ample space to others all of these parks are pretty big no need to be on top of eachother!

Want to Learn More About Leave No Trace???

Here are some great resources for more information regarding leave no trace principles!

National Park Website

Leave No Trace Center for Outdoor Ethics

Get Your Backpacking Checklist!!!

Get your free backpacking checklist!

Join our mailing list to get the latest news, updates, posts, trails, and itineraries!