Wonderfarr

Categories
Outdoors for Beginners backpacking for beginners Gear Articles

Is A Backpacking Chair Worth it? A Complete Guide

Is A Backpacking Chair Worth It? A Complete Guide

What Is A Backpacking Chair?

Backpacking chairs are lightweight, foldable chairs that are an added luxury when taking a load off while camping.  These are not to be confused with camping chairs which are typically larger and bulkier (are seen in the cover photo above). 

For some people, this is a must-have when on the trail, and for others, it is, to put it bluntly, is a massive waste of space and money.  The decision to purchase one all depends on what type of trip you are going on and who you are as a hiker (if you don’t know the difference between car camping and backpacking, click here).  For me, I do not find it to be worth the money, mainly because many of my trips consist of backpacking, and I do not see the value in spending over a hundred dollars on a piece of equipment that I would only use a small fraction of the day.   

To help you guys decide for yourselves, we will go over the use of backpacking chairs for both car camping and backpacking.

Backpacking Chairs For Car Camping:
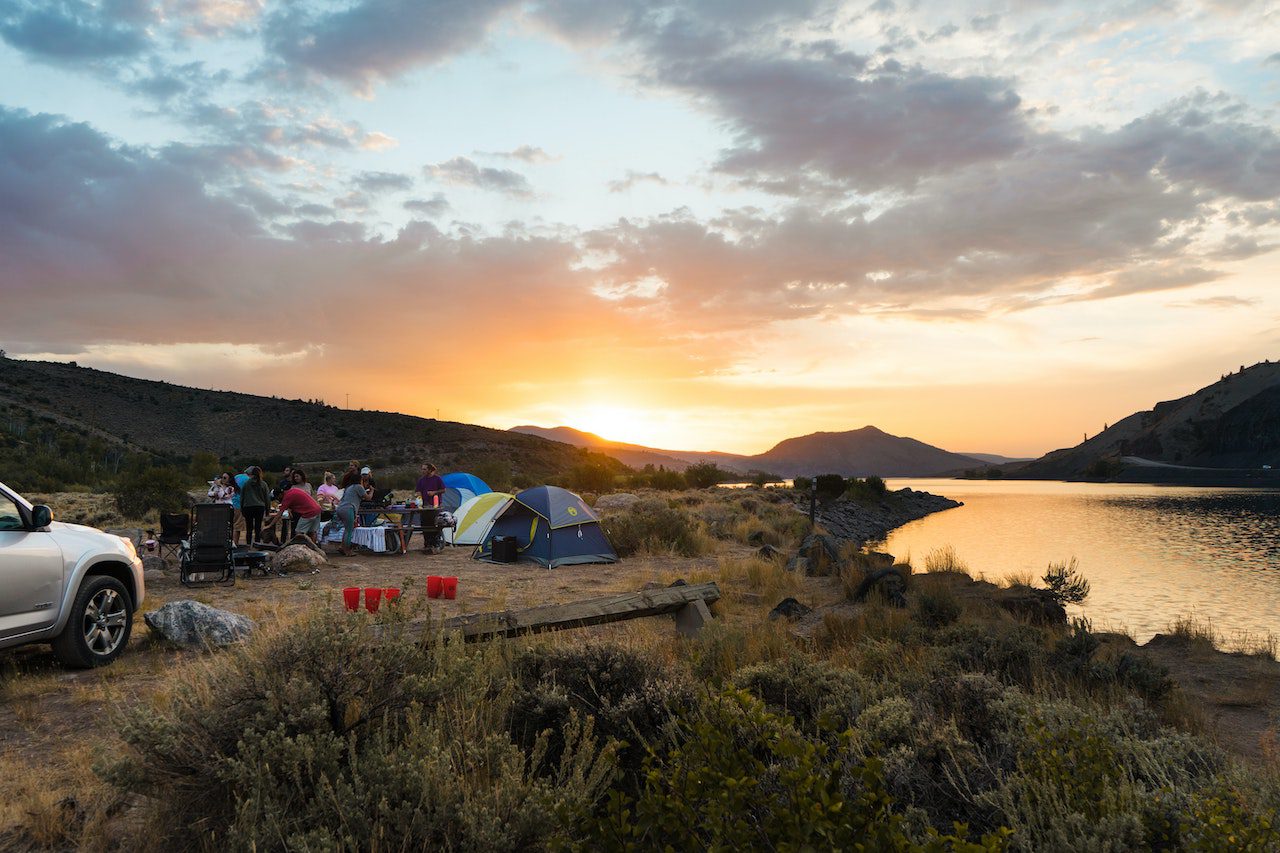
car camping

With car camping, people typically spend more time around the camp, making camp luxuries very convenient, and a great chair is no exception.  Especially if you are at a front country campsite without picnic tables or benches, backpacking or camping chairs can make your time at camp much more comfortable.

If you are debating between getting camping or a backpacking chair, it is no contest. Get the camping chair.  Since your car is doing most of the heavy lifting, you can get away with having a larger and more comfy chair, so you might as well use one!  A backpacking chair would work as well, but they are typically smaller and more expensive, so I would recommend sticking with a camping chair since you do not need something ultralight for car camping.   

If you are looking for a camping chair to buy for your next trip, check these out!

Backpacking Chairs For Backpacking:
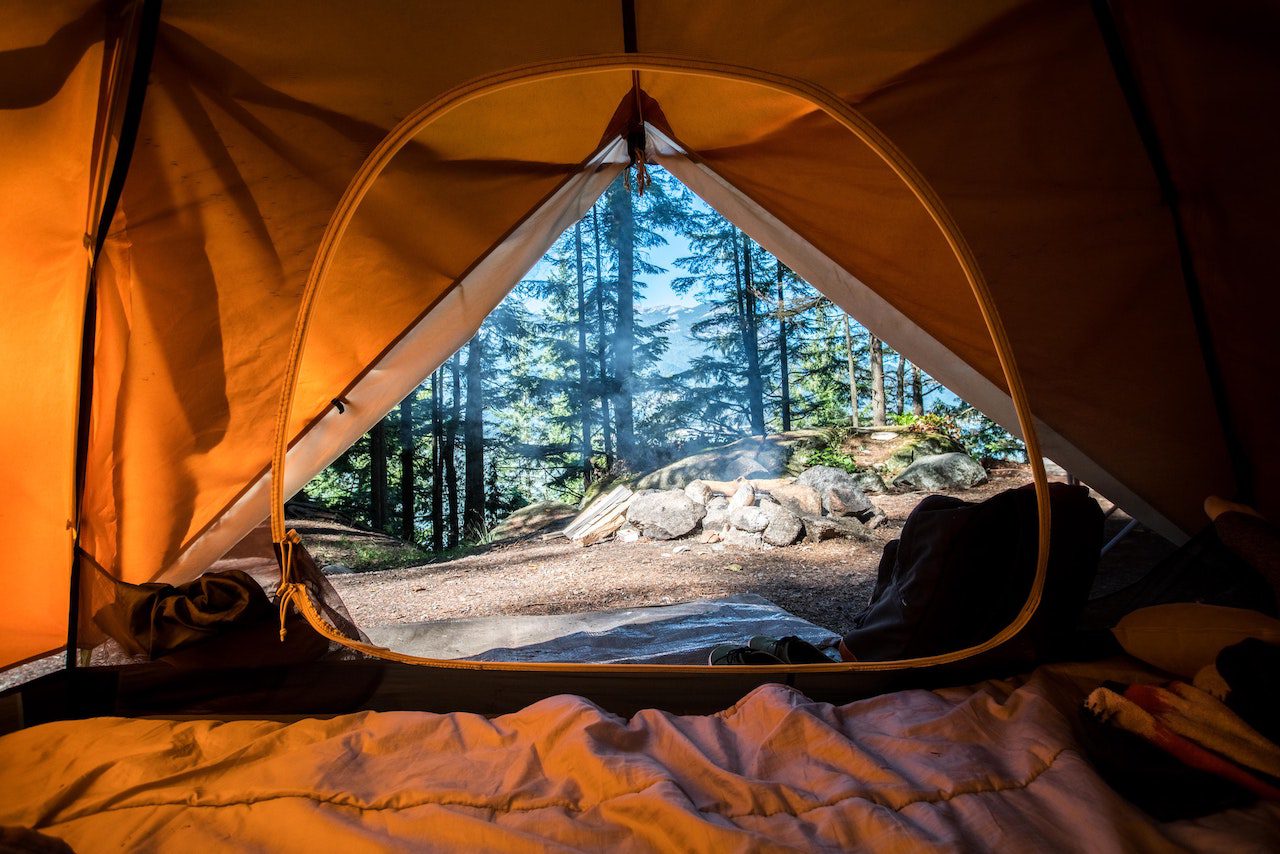
Backpacking

Despite the name, I am firmly against using a backpacking chair when on the trail for many reasons, some including price, packability, and functionality. 

If you even want to consider using one of these, you need to purchase a high-end one. Typically these fall in the price range of greater than a hundred dollars.  These chairs are usually made of lighter materials and can pack down to significantly more than a standard camping chair. 

The issue I have with purchasing one of these chairs is that although they can pack down relatively well, there are so many alternatives that you can use for simply sitting down at camps, such as a sleeping pad, a hammock, your backpack, or a bear canister.  All of these pieces of equipment should already be part of your backpacking gear, so why spend more money on something when you already have gear that can perform the same function.   

For me, I do not find the backpacking chair to be worth it when trekking through a park.  Like I mentioned, I feel like the little functionality it does provide can be satisfied with other pieces of equipment that should already be part of your backpacking gear arsenal. 

Now, if you love your comforts and think that a backpacking chair is for you, I recommend that you check out some of the models below.

Is A Backpacking Chair For You?

At the end of the day, the decision depends on what you prioritize and the type of camper you are.  While it is my opinion that purchasing one is unnecessary when going on a backpacking trip, if you enjoy extra comfort and are willing to sacrifice some space and a lighter pack, go for it.  If you are a car camper, I think buying a camping chair would be worth it since, as I mentioned, you will be spending much more time in camp and it would be worth it to buy something that can provide more comfort. If you want to see more of our backpacking gear recommendations, check out our backpacking gear blog!

Categories
Outdoors for Beginners Hiking Basics

6 Best Things To Do After Setting Up Camp

6 best things to do after setting up camp

What to Do After Setting Up Camp?

When you are backpacking, you typically hike most of the day until you reach camp.  When you arrive at your campsite you typically do some of the following:

  • Set up camp
  • Cook dinner
  • Wash up
  • Switch into sleep clothes 
  • Store your odored items

But after you finish setting up camp what are you to do with the rest of your evening?  I have gone on many backpacking trips where I failed to consider what to do with these few hours of the trip and I must say it can get quite boring. Below are some ideas for things to do after setting up camp.

Stretch Out:

Stretching after hiking

Stretching out is a great way to cool down after a long day’s hike and offers many physical benefits, including reducing the risk of injury and speeding up recovery.  The main muscle groups used when hiking include both of your legs, shoulders, and back, so it is a good idea to focus on these when stretching.  

Pro tip:   A Nalgene bottle is not only a great way to carry water but can also work as a great muscle roller to help get some nice deep stretching in when at camp.  If you do not already own a Nalgene bottle, click here to check out prices on Amazon or head over to our backpacking gear blog!

Review Your Route For the Next Day's Hike:

navigation after setting up camp

When you are lounging around camp thinking of something to do, good use of your time would be to pull out your map and take a peek at what your next day has in store for you.  I enjoy doing this because it allows me to mentally prepare for my next hike, whether it be a more leisurely day or a difficult one.  Planning your next day of hiking is helpful to determine what areas would be good to stop and take a break, as well as where you can refill on water. 

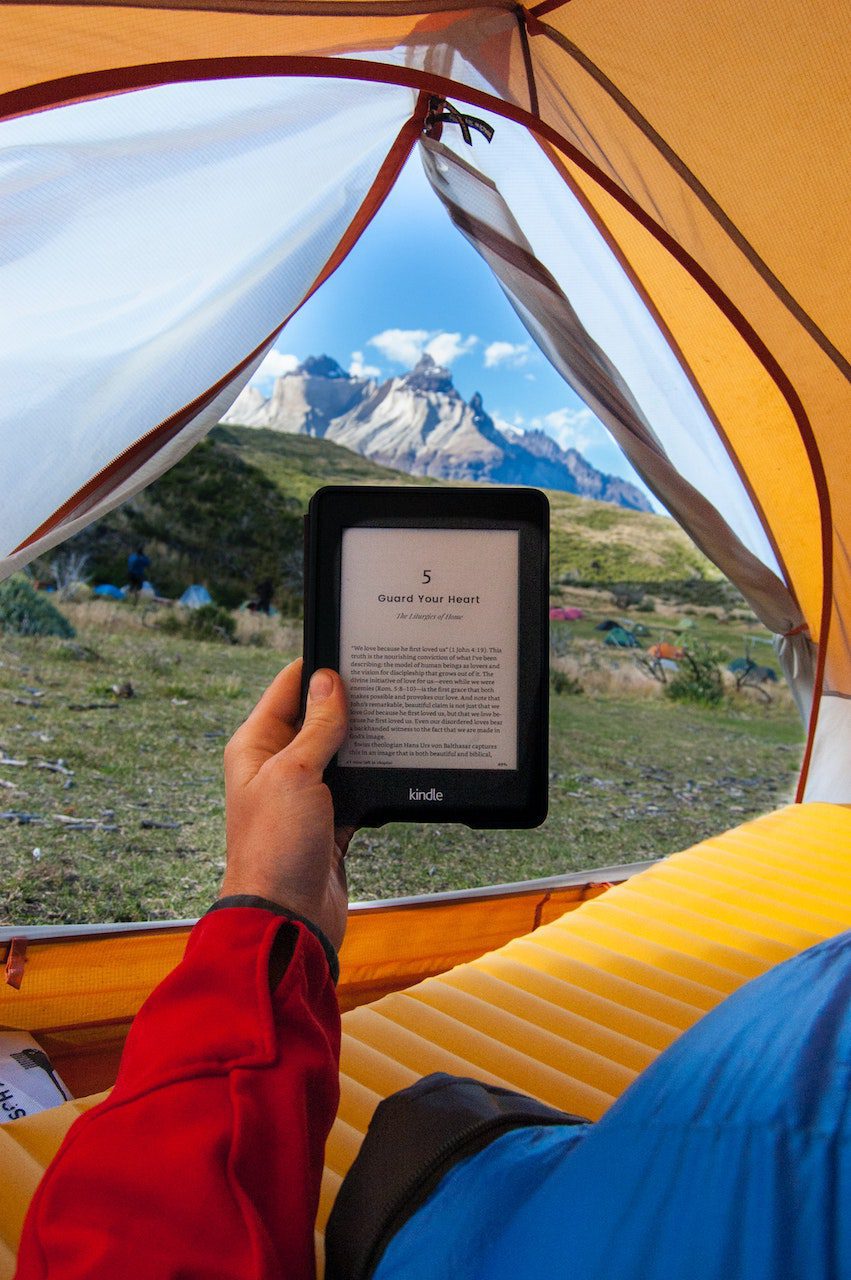
Read On Your Kindle:

reading on kindle after hiking

It is nearing the end of your day.  You are in your tent or hammock, but you are not yet ready to go to sleep.  Reading on your Kindle is another excellent way to spend your time!  I specify a Kindle is because it is, in my opinion, the best way to read when backpacking because they are light-weight, waterproof, easy to pack, has long battery life, and can hold thousands of books.  

The problem I always have with bringing a classic paper book is that it was always very cumbersome to pack, and with all of the things in my bag, it was so easy to tear a page or get it wet or dirty.  But either way, reading can be a great way to unwind from a long day and can even help you fall asleep.  Check out prices on Amazon for Kindles here or our backpacking gear blog.

Reflect On Your Day With Journal Writing:

Journaling after setting up camp

Backpacking in the wilderness is a fantastic experience filled with breathtaking sights, grueling climbs, and many emotions. At the end of a long day, I enjoy putting pen to paper and just reflecting on how my day was, what I saw what happened, and ideas that I had during my hike.  

It is nice to be able to look back on unique experiences and to be able to reconnect with the person you were on your hike.  All you need for this activity is a notebook and a pen, both of which take up little space in your pack.  

Playing Cards:

playing cards after setting up camp

A simple deck of cards can help you and your hiking buddies pass hours just by playing games.  Here are some fun card games that my friends and I typically play when out on the trail.  Here is a great site for card game ideas and rules for each game!

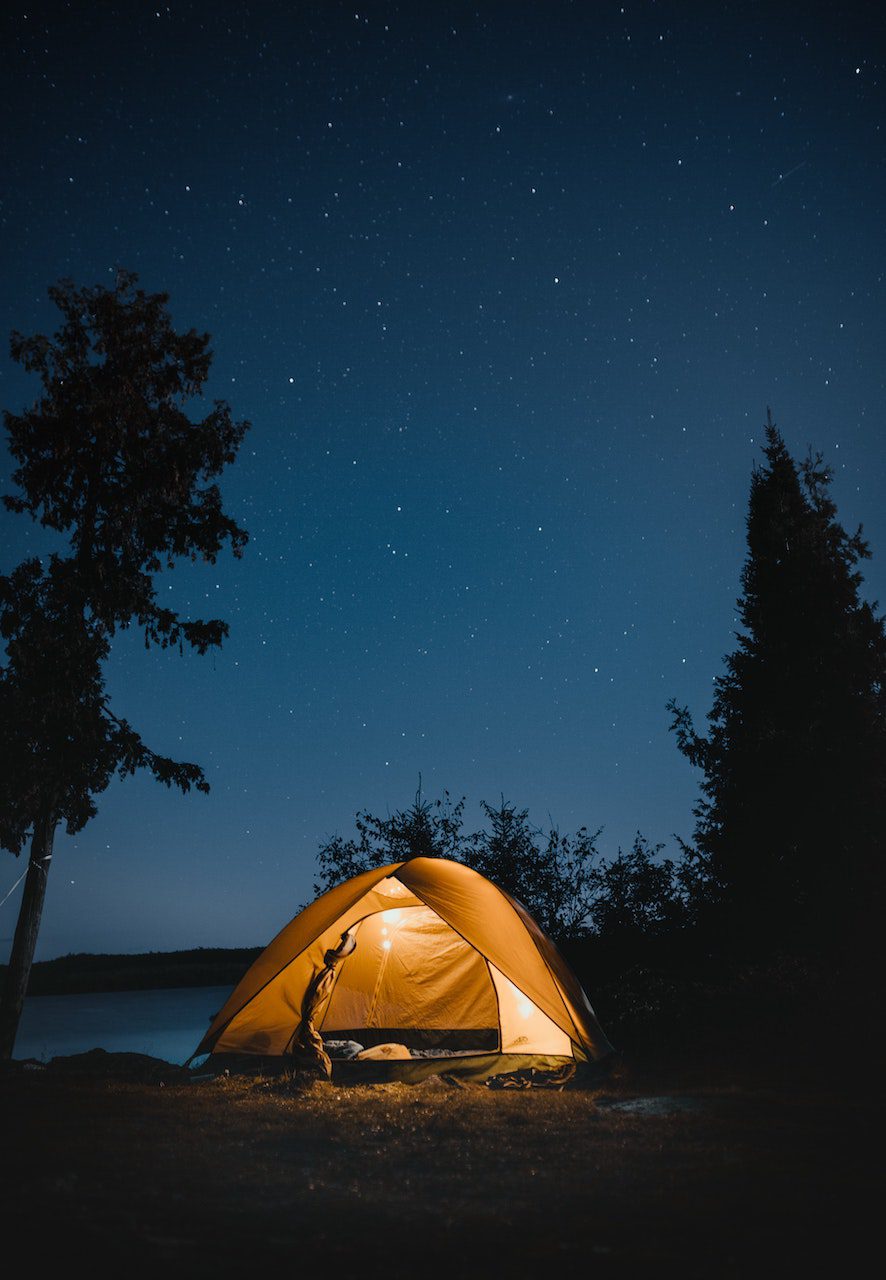
Star Gazing:

Star Gazing after setting up camp

Being from Manhattan, one of my favorite things about hiking is looking at the constellations usually blocked by the big city lights.  I am not much of an astronomy buff, but it does not take an astronomer to appreciate the beauty of a night sky. 

Happy Trails!

I hope these tips help you guys make more memories on your future hikes comment below with your favorite things to do after setting up camp!

Categories
Outdoors for Beginners backpacking for beginners

Most Important Things to Know About Backcountry Permits

Everything You Need To Know About Backcountry Permits.

What Are Backcountry Permits?

backcountry permits great smoky mountains

In short, a backcountry permit is a permit issued by a park that allows you to enter their wilderness and camp overnight at designated campgrounds or shelters.  Different campsites will have a different amount of nightly permits available depending on the size of the campground and the regulations of the park.  

What Is On A Backcountry Permit?

The typical information found on your permit includes:

  • Dates you are spending in the backcountry.
  • Your Hiking itinerary.
  • Which campsites or shelters you will be camping at.
  • How many people are in your party
  • The name of your “party leader” (person who reserved the permits

 You are required to have your backpacking permit on your person at all times while backpacking in the backcountry. 

Why Do We Have Backcountry Permits?

reason for backcountry permits
Backcountry permits helps national parks limit the human impact on the nature of the park.

These permits allow the park to keep track of how many people are entering into and out of the wilderness and how many people are staying at a campsite on a given night.  With this information, parks can quota the number of people entering the wilderness.  The reason for this is that the more people that enter the park, the more damage that is done to flora and fauna of the park due to overuse.  With the permit system, parks can control how many people use the wilderness, thus limiting the impact of visitors on the environment within the park.

Permits protect visitors by providing the park ranger with your expected time for exiting the wilderness.  Also, you provide an itinerary where you will be hiking in the park when you obtain a permit.  By giving your itinerary, park rangers know where to start looking for you if you do not exit the backcountry at your expected time.  This is hopefully never the case for you! 

Do Backcountry Permits Cost Money?

do backcountry permits cost money?

Yes, you typically have to pay some sort of registration or service fee for backcountry permits.  However I will say that they are typically inexpensive, I have never spent more than $30.00 on permits. 

But keep in mind that permit prices can vary based on several factors such as:

  • The number of days being spent in the backcountry.
  • How many people are at your party.
  • The park that you are backpacking

Do All Parks Have The Same Backcountry Permit System?

No, this is entirely dependent on the park that you are visiting because nearly all of them have their own rules and regulations for their backcountry permit system.  

Some parks require permits and some that do not.  Some have their own reservation portal and some use recreation.gov  to book permits.  Some offer walk-up permits and some only have permits available by reservations.  Some use a lottery system and some do not.  I can go on all day.

As you can see there can be a ton of differences between the ways parks run their permit systems so I would refer to a park’s website for details or check out our national park guides.  

Do You Really Need to Get Permits When Backpacking?

Yes, you absolutely should have permits if they are required by the park.  Now I know some of you may be thinking “who’s going to be checking these permits?” and that you can probably get away with not getting permits in a massive park.  Can you get away with hiking without permits?  Maybe, but does it make it the right thing to do? Definitely not.  Not only is it morally wrong, but it is also illegal and if caught by a park ranger, can lead to criminal penalties and fines.  

When backpacking in the park you are expected to carry your permit with you at all times.   This is because park rangers scout the backcountry and can ask to see your permits whenever they run into you.  With this in mind remember to clip your permit to your tent or hammock when setting up camp.  That way if a ranger comes by at night they can see your permits and pass rather than wake you up from your sleep!  So to reiterate yes, if backpacking permits are required by the park you need to consider them like a backpacking essential just like your gear.  Check out other essential backpacking gear here.

do you need backcountry permits
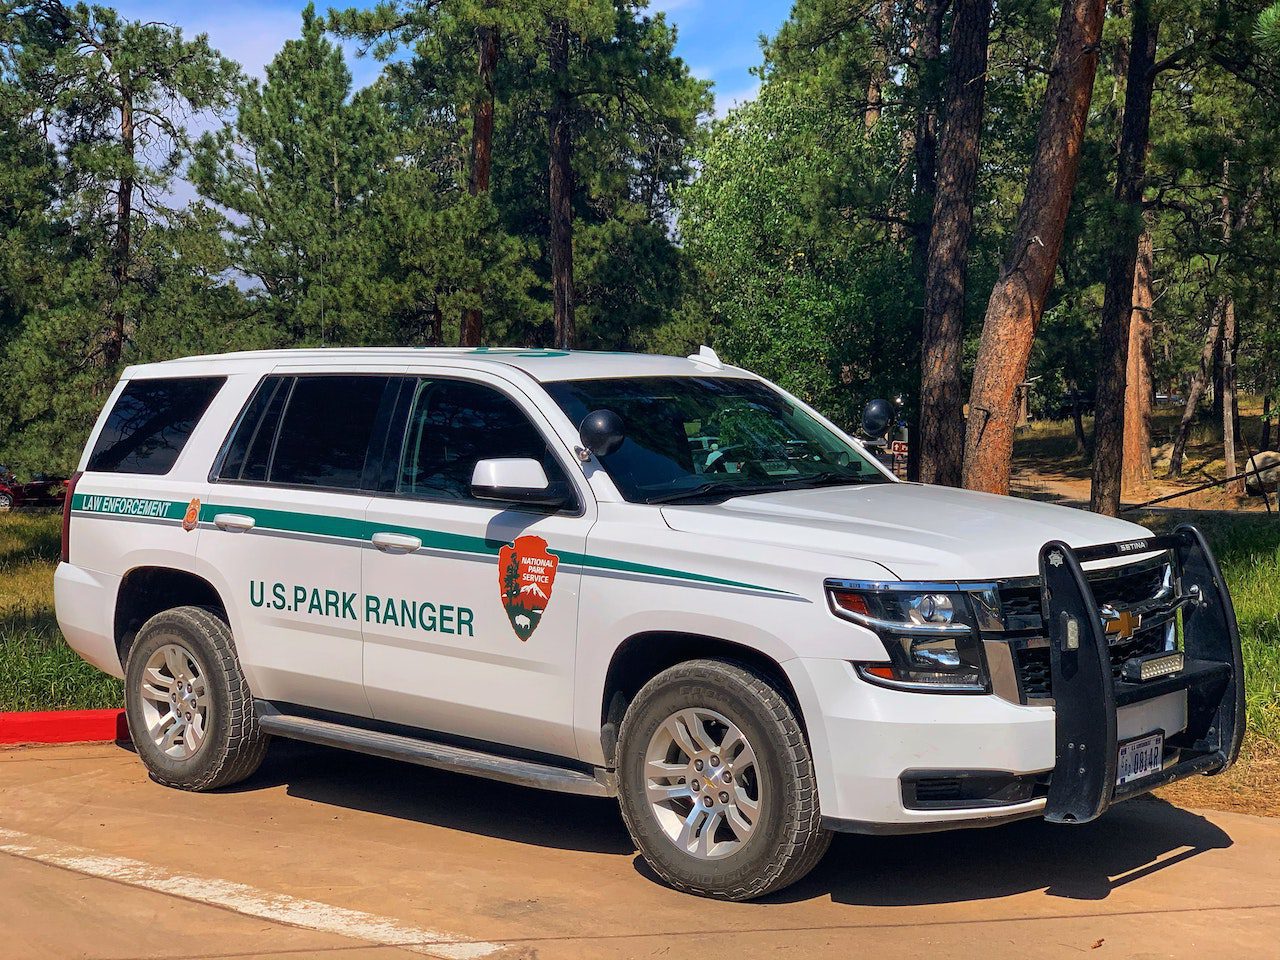
Park Rangers frequently scout backcountry trails and are responsible for ensuring that those hiking have the appropriate permits.

Walk-Up Permits

Some parks offer walk-up permits which are distributed on a first come first serve basis.  These are permits are perfect for people who are going on an impromptu backpacking trip and do not have reservations booked in advance.  Typically walk-up permits can be obtained either the day before or the day of the start of your hike at one of the park’s visitor centers or ranger stations.   One thing I will recommend which if you are trying to get walk-up permits, make sure you are at the ranger’s office as soon as it opens so you will be the first one requesting permits.

Booking Your Backcountry Permits

Here are some of the basic steps to planning your backcountry permit itinerary.   

  1. Figure out what dates and trails you want to hike. (if you need some inspiration check out our National Park Guides
  2. Then determine how long you want to hike each day and find a combination of campsites you want to stay at that fit your desired daily mileage.
  3. Go to your park’s website to figure out how and when you can book permits.
  4. Check if your desired itinerary is available.
  5. Book your campsites.
  6. Make sure you have the right gear for your trip. (check out our gear blog for our recommendations)
  7. Enjoy your trip!

I hope you guys now know a bit more about backcountry camping permits and it is important to keep them in mind when planning your next backpacking trip.  To be kept in the loop on all of our new backpacking posts sight up for our email list!

Categories
Outdoors for Beginners Hiking & Camping

Hiking With Bad Knees 5 Tips To Protect Your Knees

Hiking With Bad Knees. 5 Tips On How To Protect Your Knees When Hiking

hiking with bad knees. how to protect your knees when hiking.

We all love hiking in the great outdoors, but if you have bad knees, it is essential to take the proper precautions to prevent knee pain from ruining a good hike.  Knee pain alone can be very debilitating, but when coupled with a long-distance hike, it can be downright miserable and, if bad enough, can keep you off the trail for a while.  That is why it is essential to know how to protect your knees and manage your knee pain when hiking.  

As both an avid hiker and an orthopedic surgery physician assistant, I have experienced and treated knee conditions both on and off the trail.  Here are five tips that will help you protect your knees for many miles to come!

  • Stretch/warm-up
  • Wear Proper Hiking Boots
  • Use Hiking Poles 
  • Pack Smart
  • RICEN (pain relievers, rest, ice, compression, elevation, NSAID’s/Pain relievers)

Stretch/Warmup:

Stretching after hiking

Stretching and warming up are crucial aspects of the pre and post-workout ritual whenever doing any exercise.  This get’s your muscles moving and your body ready for exercise.  

Now I know there are a bunch of weekend warriors out there who do not stretch ever, but I encourage you to do so before embarking on your hike because it is a simple activity that can help prevent a sprain or injury when out on the trail.  

For lower intensity exercising such as hiking, it is a good idea to perform static stretches for your major muscle groups, including your quads, hamstrings, calves, and back.  Here is a link to some helpful stretches.

Wear Proper Hiking Footware:

Hiking boots bad knees

Okay, this may seem like a no-brainer, but it must be said.  You need to wear a supportive shoe whenever you are hiking, but this is even more so when trekking with bad knees.  The reason is that with every step we take, pressure is distributed throughout our leg (our knee), and each step begins with our boot hitting the ground, making it essential to have adequate footwear to help dissipate that pressure.  

If you have bad knees and typically hike with running shoes, I would say a change in footwear is a great place to start getting those knees back on track.  Learn about all of the different hiking footwear options out there and the best one for you!


Use Hiking Poles:

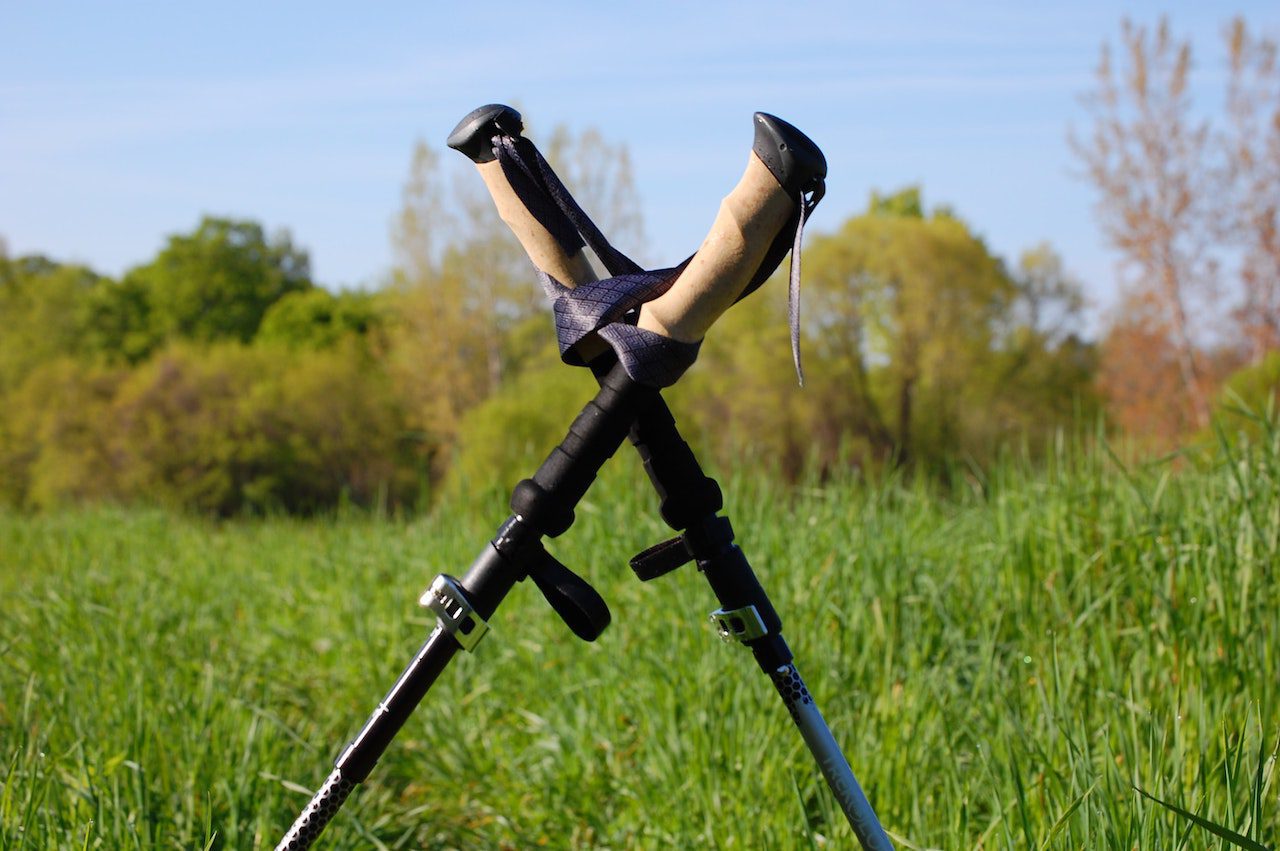
Now, these are an absolute must-buy and are something that you will immediately take notice of when you use them for the first time.  When I first saw these things, I thought, no way am I using those sticks, but then I started injuring my knees, and I decided to give them a shot.  Boy, was it worth it!  Although they looked dorky, I will say I immediately noticed the difference when using them, and now I will never go on a hiking trip without them!  

One of the reasons these poles work so well is they act as another shock absorber for your knees, and each time you take a step while using them, you reduce the pressure and load on your knees.  Not only do they take a load off of your joints, but they also provide fantastic stability when hiking on uneven terrain, especially on the downhill, which is every hiker with a lousy knee’s worst nightmare!  If you’re not sure what kind of poles to purchase, check out our recommendation here!

Pack Smart:

backpacking gear

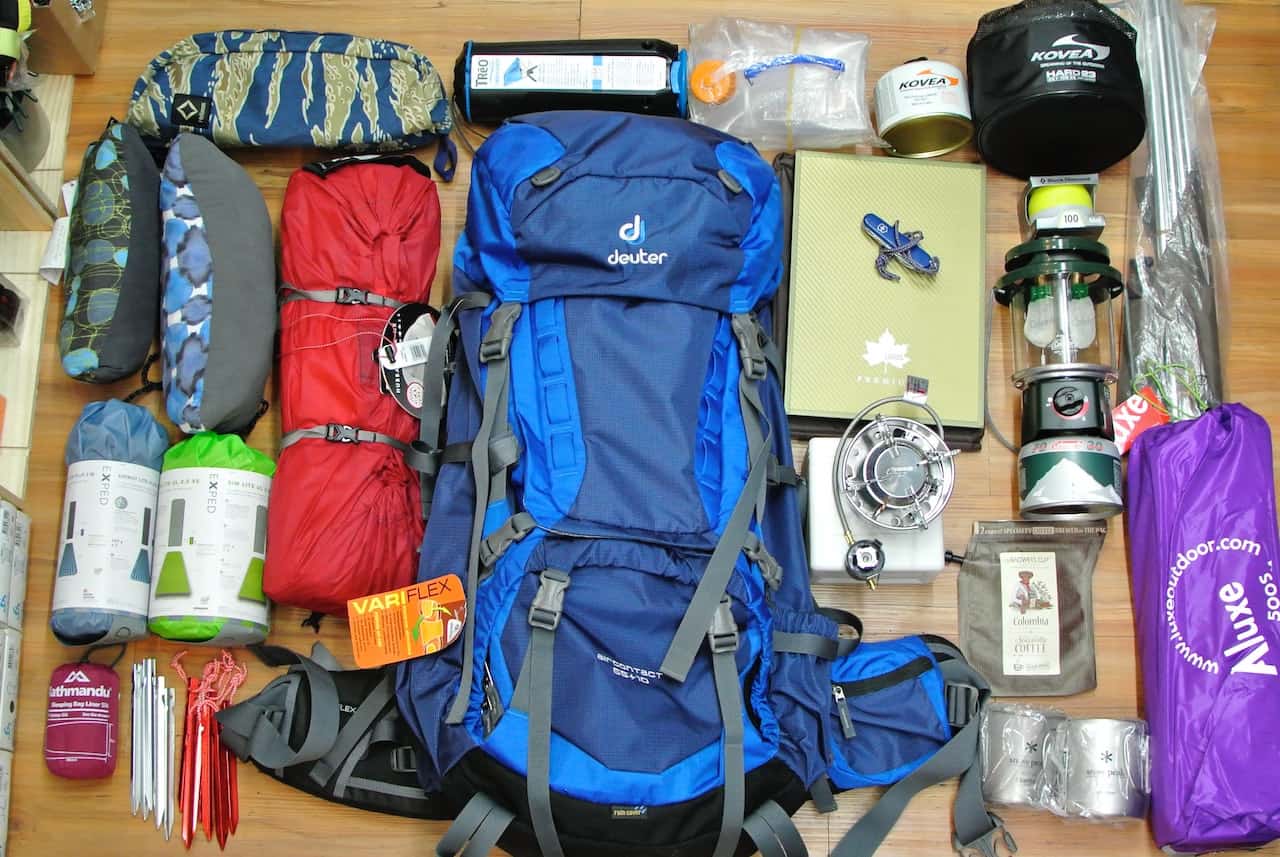
 Be mindful of how much weight you will be carrying in your pack. An overweight pack can cause severe discomfort during your hike and can even lead to injury.  Be sure to try on your backpack before going out on a long trek to ensure that it is something that you and your knees can handle.  

It is crucial to make sure that you are hiking with a reasonable-sized pack, but it is also essential that the method you use for packing makes for efficient hiking.  Be sure that most of the weight from your pack is focused on your hips, a good way to do this is by making sure that most of the weight in your pack is at the bottom. 

Having weight distribution that is too focused on the upper portion or outside of the backpack can throw you off balance during your hike, leading to falls or twisting injuries to the knee. 

RICEN (Rest, Ice, Compression, Elevate, NSAID's):

For many years, rest, ice, compression, and elevation have been the go-to first-line treatment for joint pain.  These strategies are beneficial after a long hike where your knees are achy, and you need a speedy recovery!

You can follow this tip is exactly how it is written!  After you finish a long hike that took a toll on your knees, take a load off and rest.  Relax and use either an ace wrap or compression brace for support.  You can keep your knees compressed while hiking as well for added support.  Icing your knee after a long day hike while keeping it elevated above your heart can bring down any swelling that you may have. 

Finally, consider taking pain relievers such as Tylenol or NSAIDs before/during/after your hike as needed for knee discomfort.  Be sure to check with your doctor before taking any new medications.

That's All!

Hiking is a physically demanding exercise and is even more challenging for people with bad knees.  But with the proper practices and equipment, you will realize that managing your knee pain may be easier than expected.  I hope the above tips will help you in preventing/managing/treating your knee pain.  Happy trails!

Categories
Outdoors for Beginners Hiking Basics

What is The America the Beautiful Pass?

What The America The Beautiful Pass?

what is the america the beautifulk pass

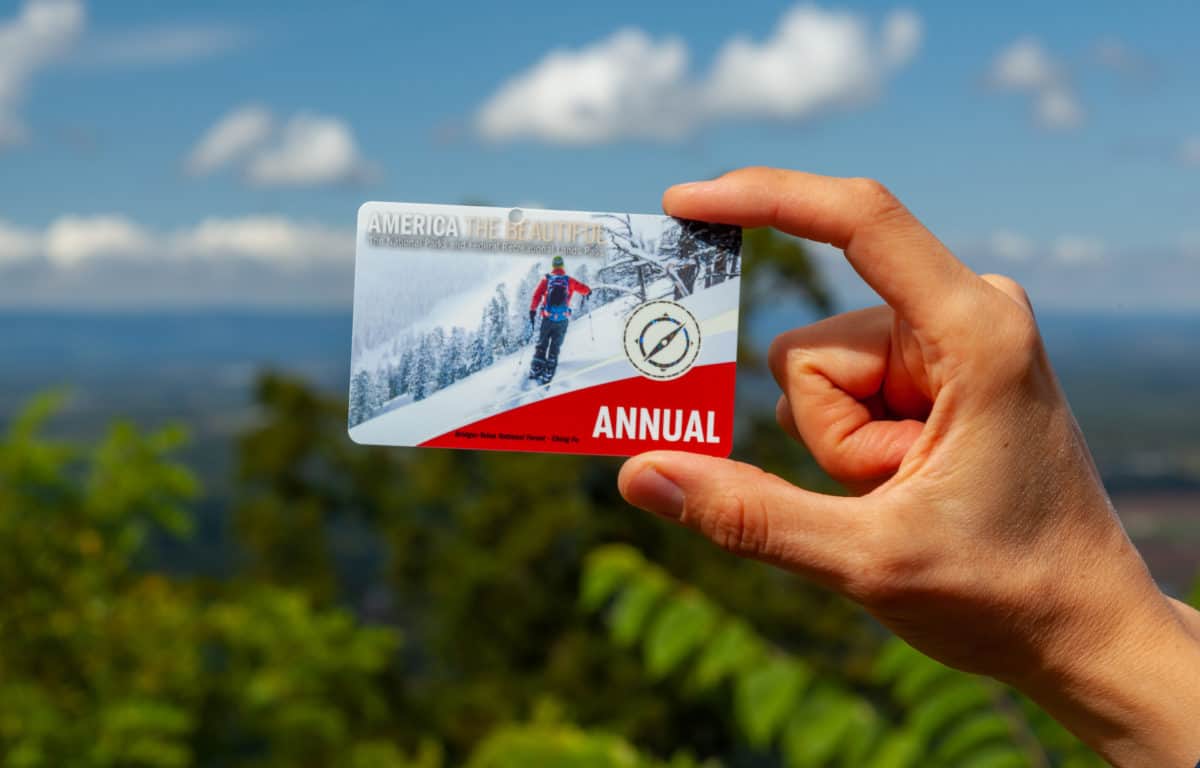
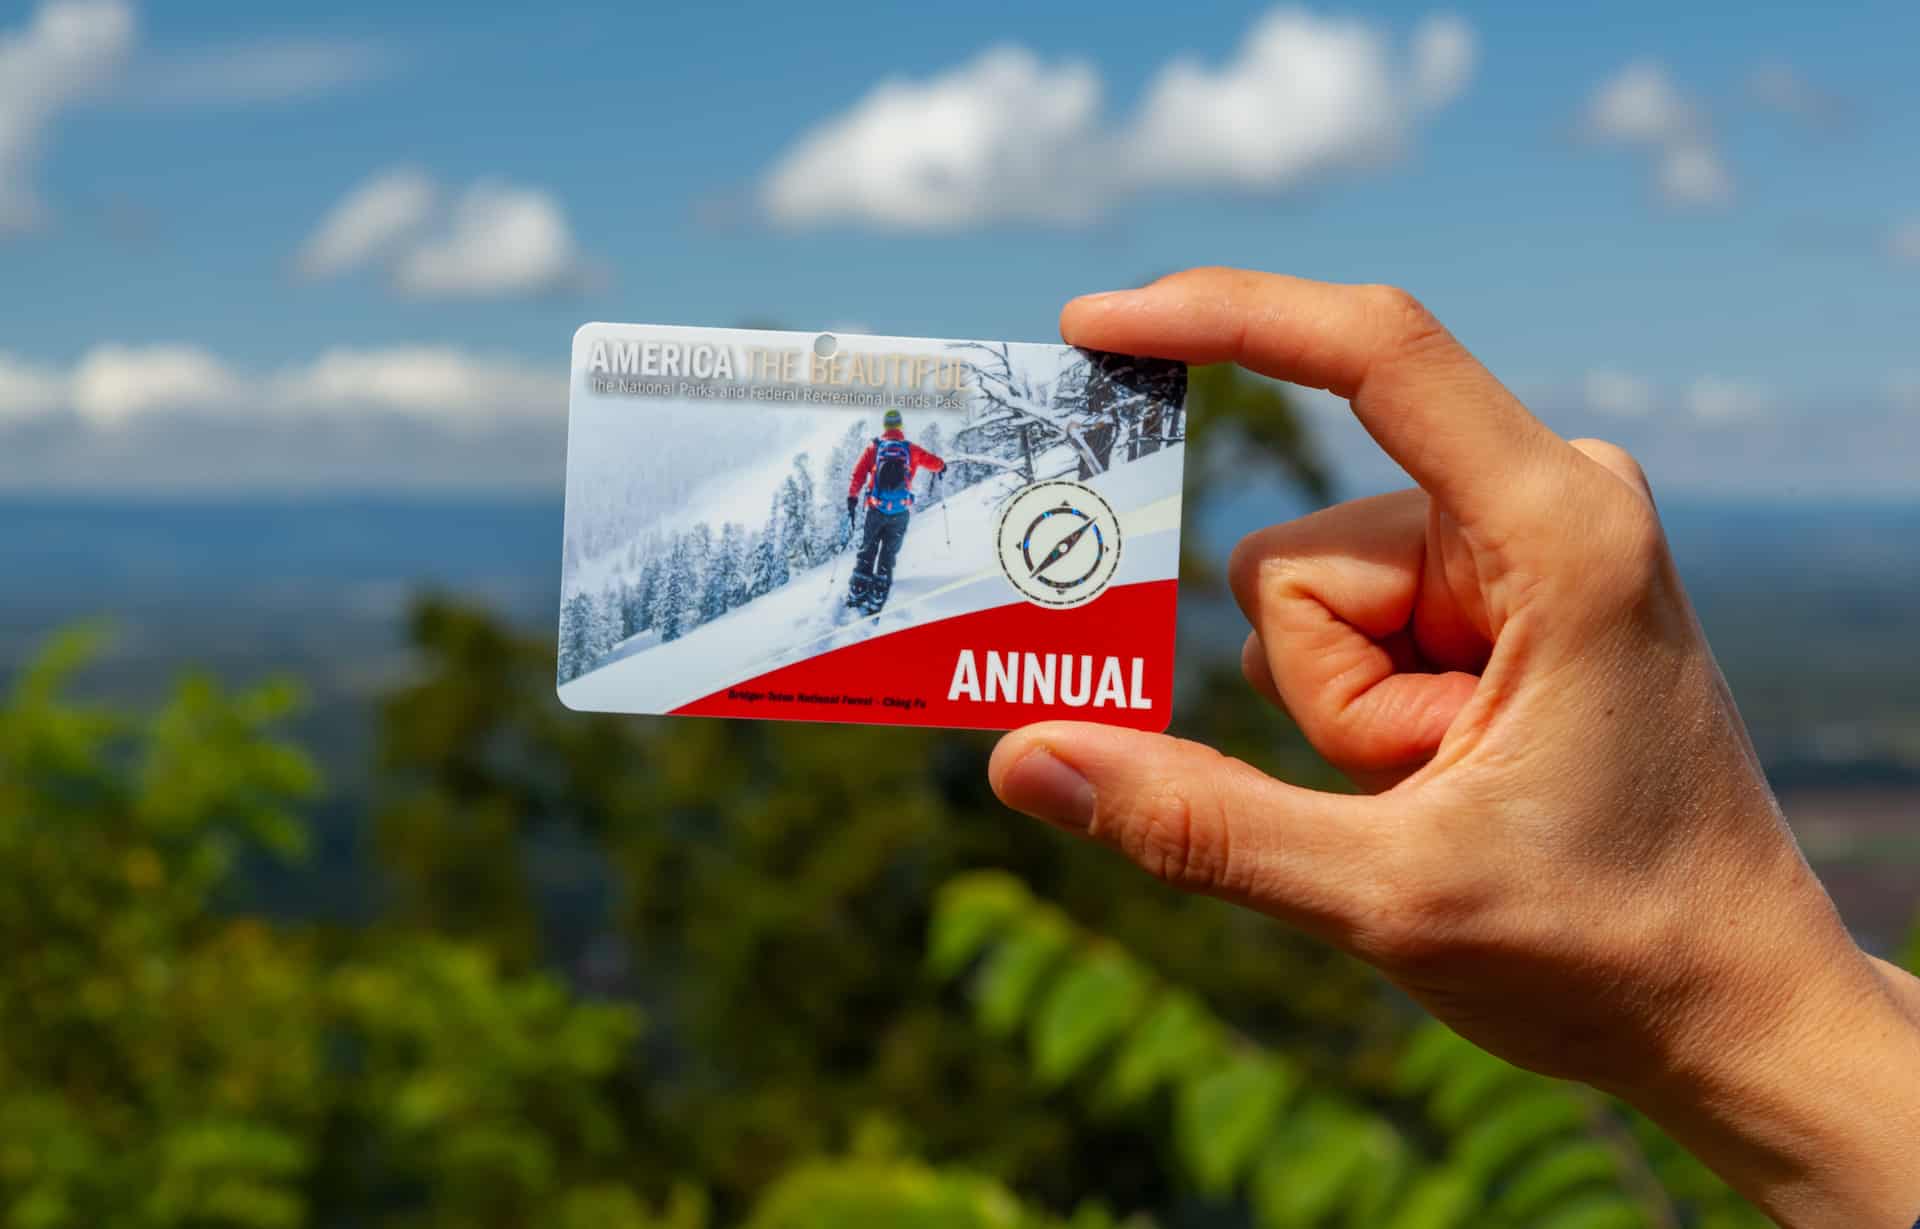
The America the Beautiful pass is an annual pass that gives you access to over 2,000 federal recreation lands including ALL for our national parks.  Not only that but this pass also covers amenity/day-use fees at national forests, BLM lands, and many other federal lands.  That means if you like camping, hiking, fishing, mountain biking climbing, or anything else that requires entering public lands there is a good chance you are covered with this pass! 

Below are some of the different versions of the pass that are available, they all grant the same access they only vary in price!

[table id=1 /]

How do I get a Pass?

You can either get your pass online here.  If the internet ain’t your thing you can always get them in person during your trip to a national park but be sure that the park your visiting does sell them because not all of them do.  Here is a list where you can see the national parks that offer the pass on admission to the park.

Should You Get a Pass?

So this is a very common question and what it really comes down to in my opinion is simple math.  If you are going to get the $80 America The Beautiful Pass it only makes sense to get at least $80 worth of entrance fees out of it right?  So I would say that the standard national park entrance fees hovers around 30ish dollars meaning that it would take visiting at least 3 national parks to get your money’s worth from your America The Beautiful Pass!  If you are a van lifer or spend most of your free time checking out these recreational sites you can easily rack up 3 park visits and this park is a must for you!

That's a wrap!

I hope this was helpful for those of you looking for more information about the America the Beautiful pass and if you have any other questions please feel free to reach out on the contact section.

Categories
Ansel Adams Wilderness

Day Hiking in Ansel Adams Wilderness

4 Must See Day Hikes in Ansel Adams Wilderness:

Ansel Adams wilderness is a dream to be in with the incredible collection of alpine lakes you can spend a lifetime in this park and not see it all.  Here are some great day hikes that will help you see the highlights of the park as mentioned in some of our backpacking itineraries.  So if you see a hike or a cool view that you want to do but do not necessarily have the time to do a multi-day trip these hikes are a great way to see the highlights for those of you who are crunched for time.

Devils Postpile:

devils postpile backpacking itinerary

As featured in a backpacking itinerary if you want to see one of the amazing geologic wonders of Ansel Adams Wilderness but don’t have the time to go on a multi-day backpacking trip, this shorter day hike is a great option to see this marvelous national monument!

Distance: ~3.4miles

Elevation Gain: 459ft

Hike to Shadow and Garnet Lakes:

Want to see some amazing glacial lakes? Don’t want to hike for several days to see them? Well this loop trail day hike is for you! Here you will be starting and ending in Agnew Meadows where you will hike along Shadow Creek Trail and the John Muir Trail catching breathtaking views of alpine lakes surrounded by snow-capped mountains. 

Distance: ~ 13.3miles

Elevation Gain: 2,549ft

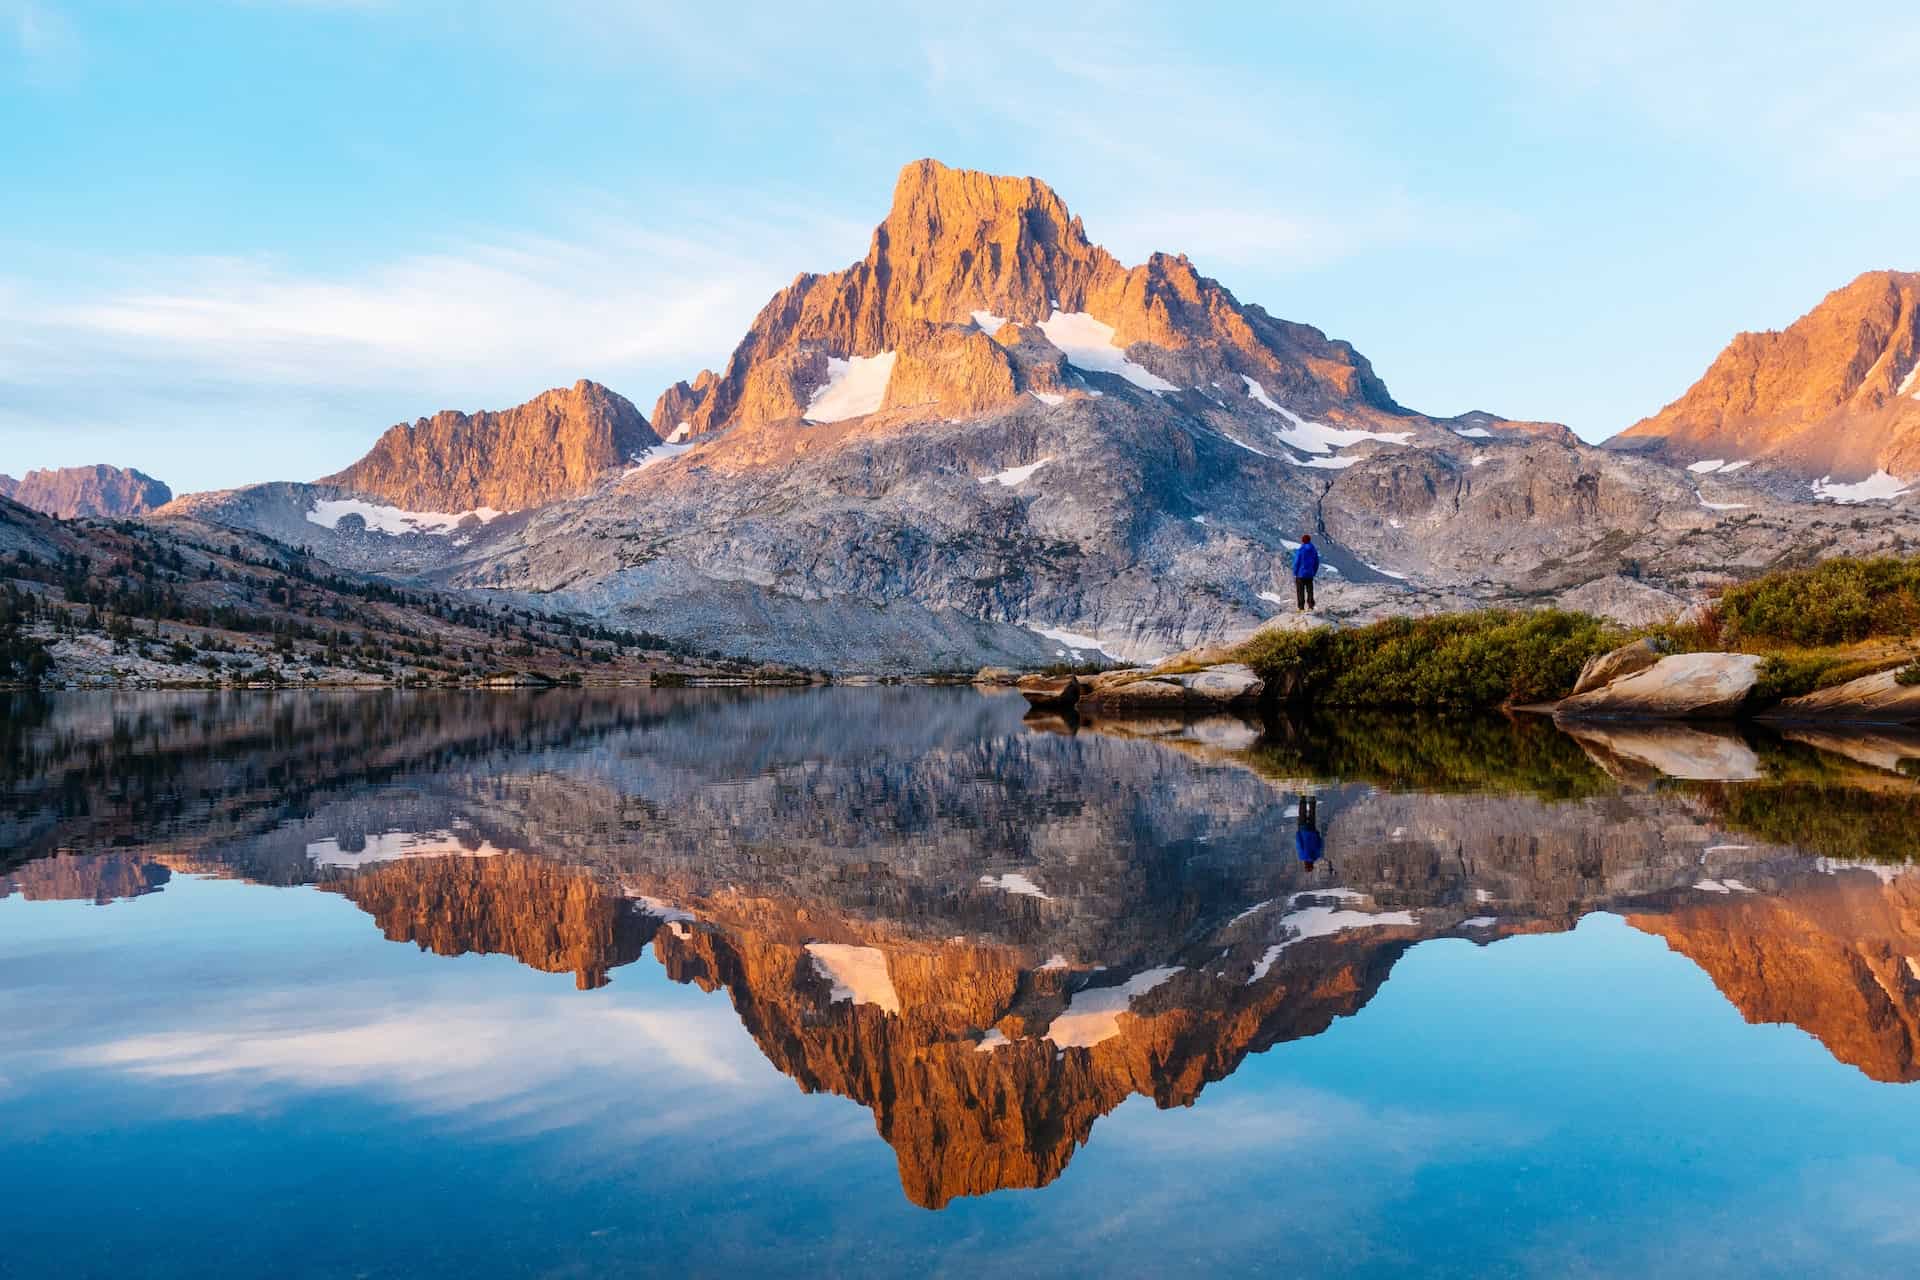
Thousand Island Lake:

thousand island lake day hike

Now let me start off by saying that this is a difficult day hike with 16 miles and gaining nearly 4,000ft of elevation will by no means be a walk in a park.  Be sure to properly prepare with enough food and water to last you the day.  But this loop although difficult will give you the opportunity to hike both Thousand Island and Gem Lakes in a single day and I guarantee these views will be worth the sore legs!

Distance: ~16.2miles

Elevation Gain: 3,976ft

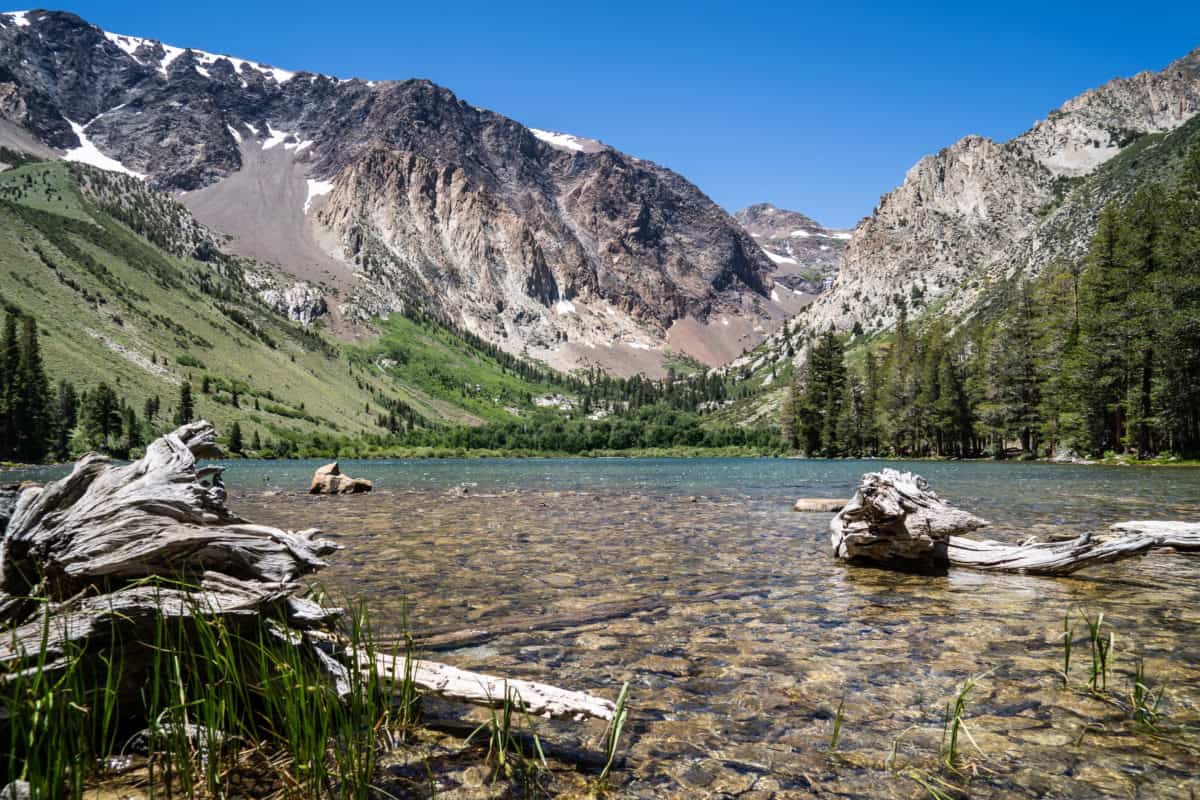
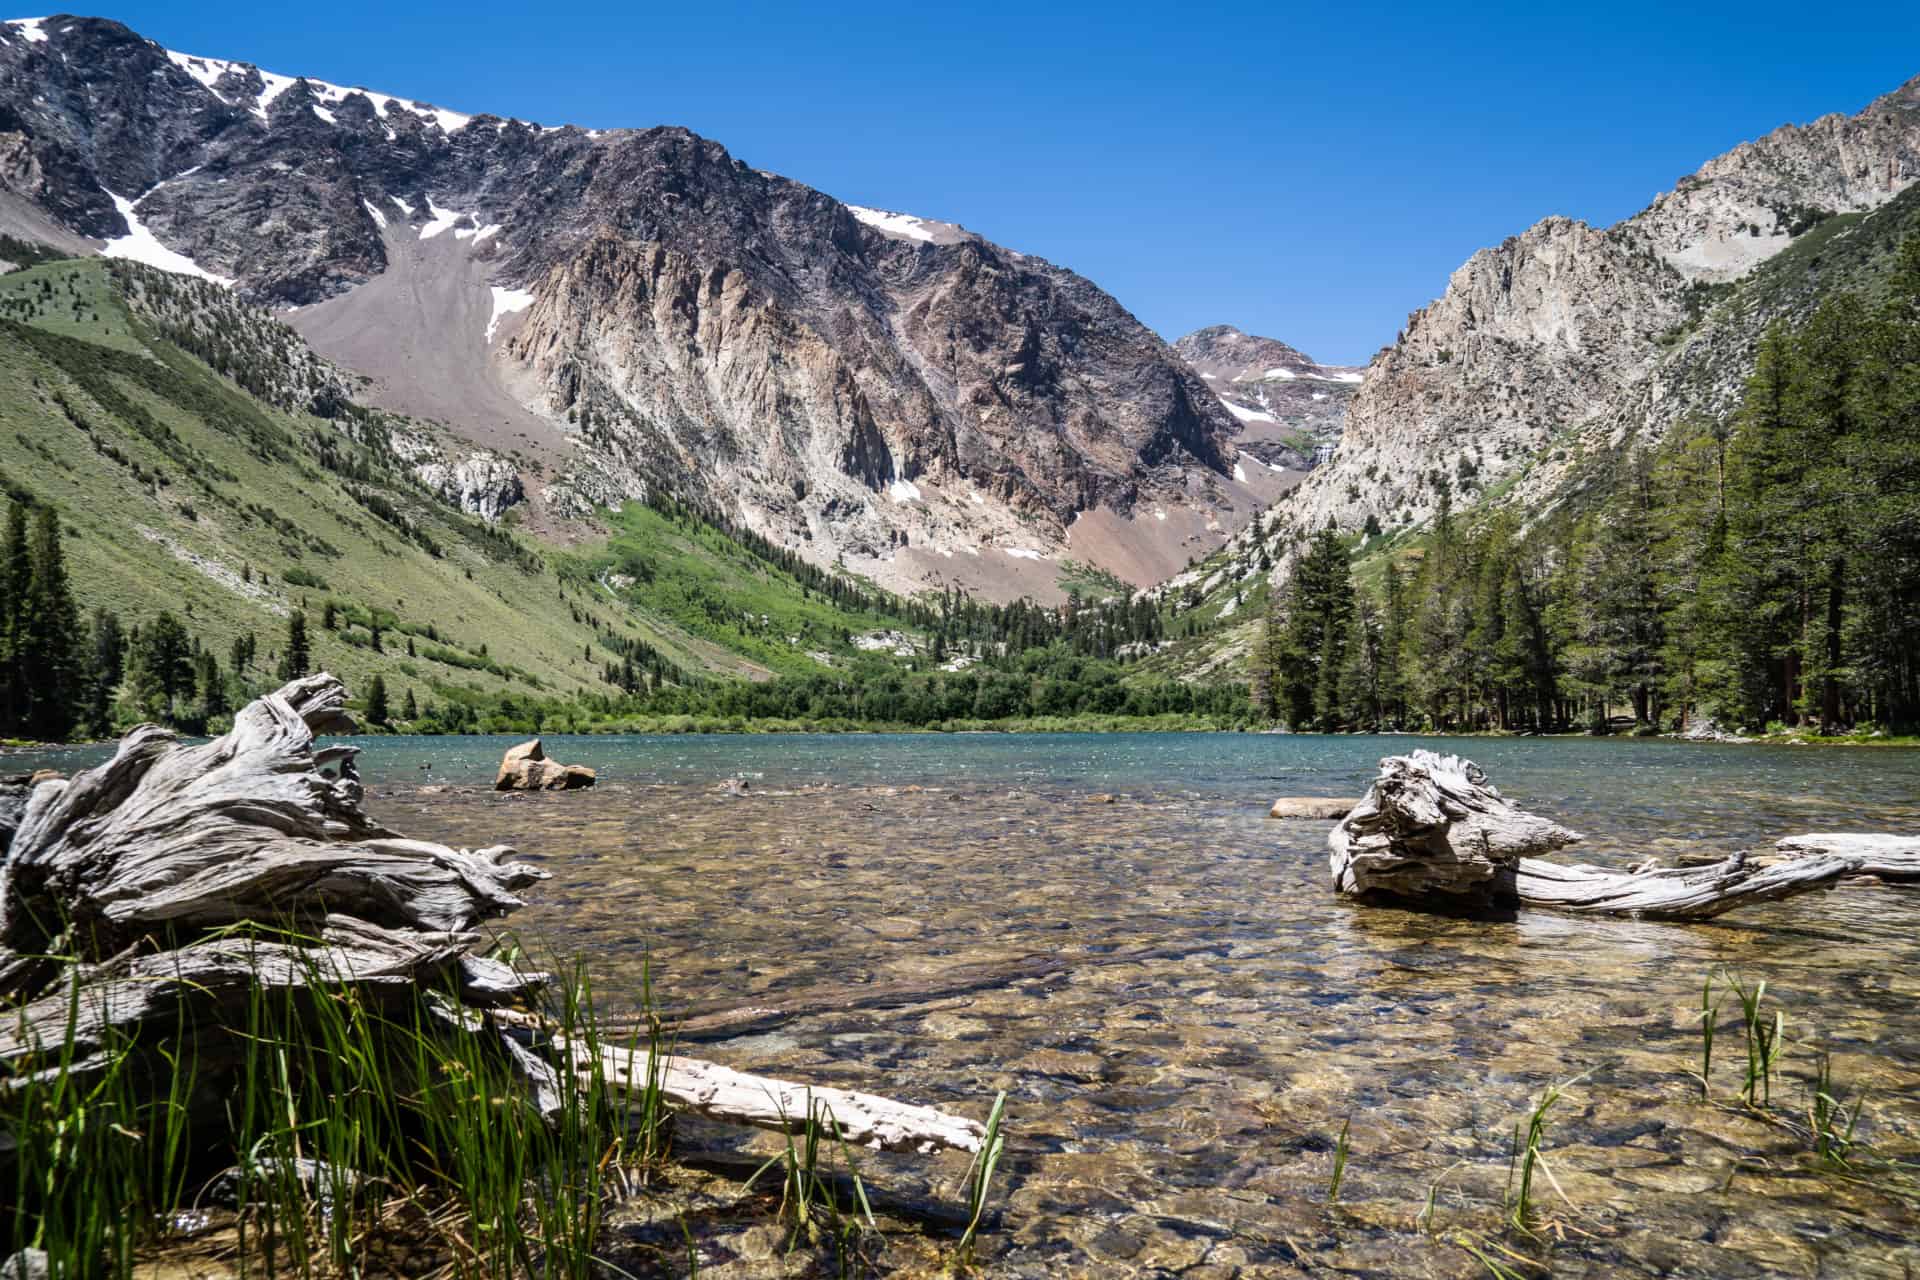
Hike to Parker Lake:

Best Day Hikes Ansel Adams Wilderness

 This low difficulty day hike can be fun for the whole family!  When you arrive at parker lake you will be greeted with a beautiful valley that opens up to the lake.  This can be a more heavily trafficked trail so it would be wise to get there earlier in the day to find parking. 

Distance: ~4.2 Miles

Elevation Gain: ~755ft 

Categories
Itineraries Ansel Adams Wilderness

Amazing Backpacking Itineraries Featuring Minaret Lake

3-Day 2-Night Backpacking Itinerary to Minaret Lake:

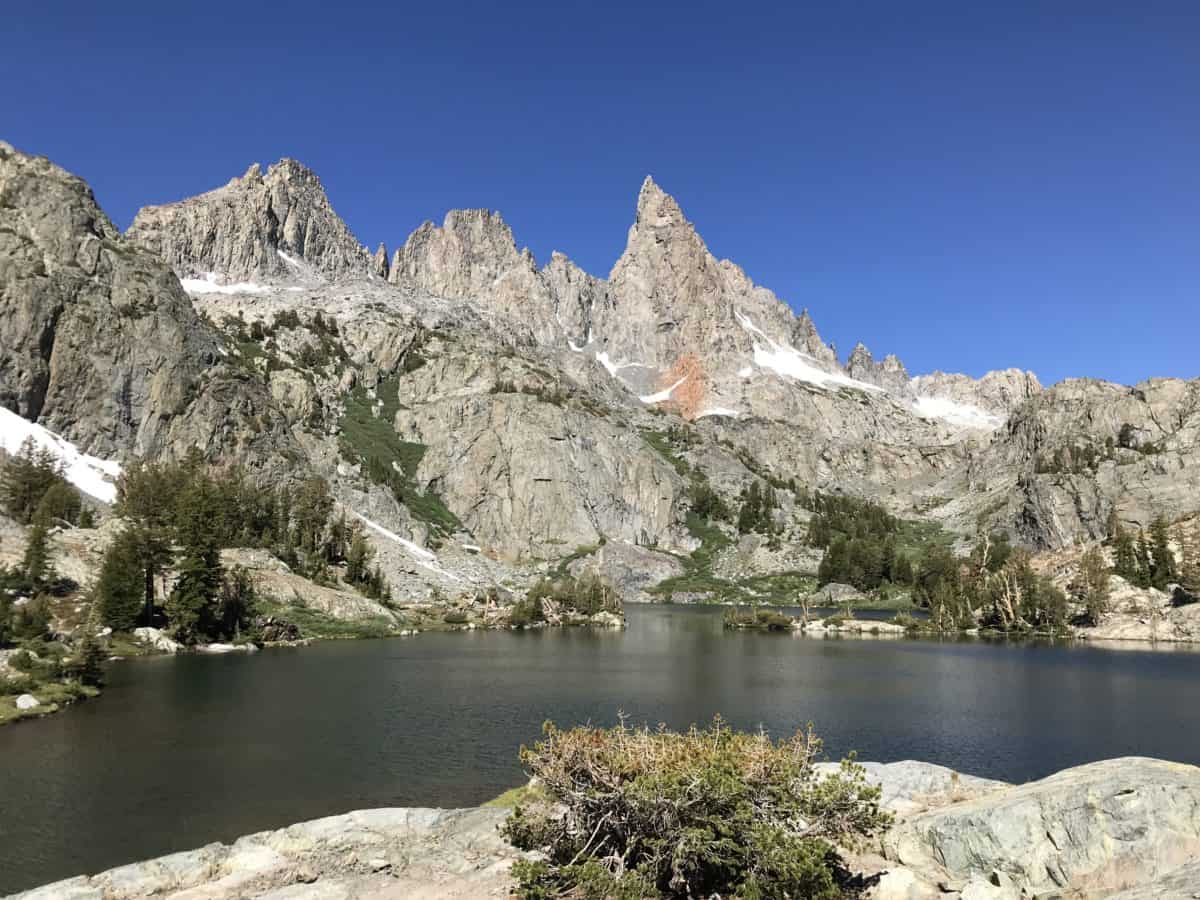
minaret lake backpacking itinerary

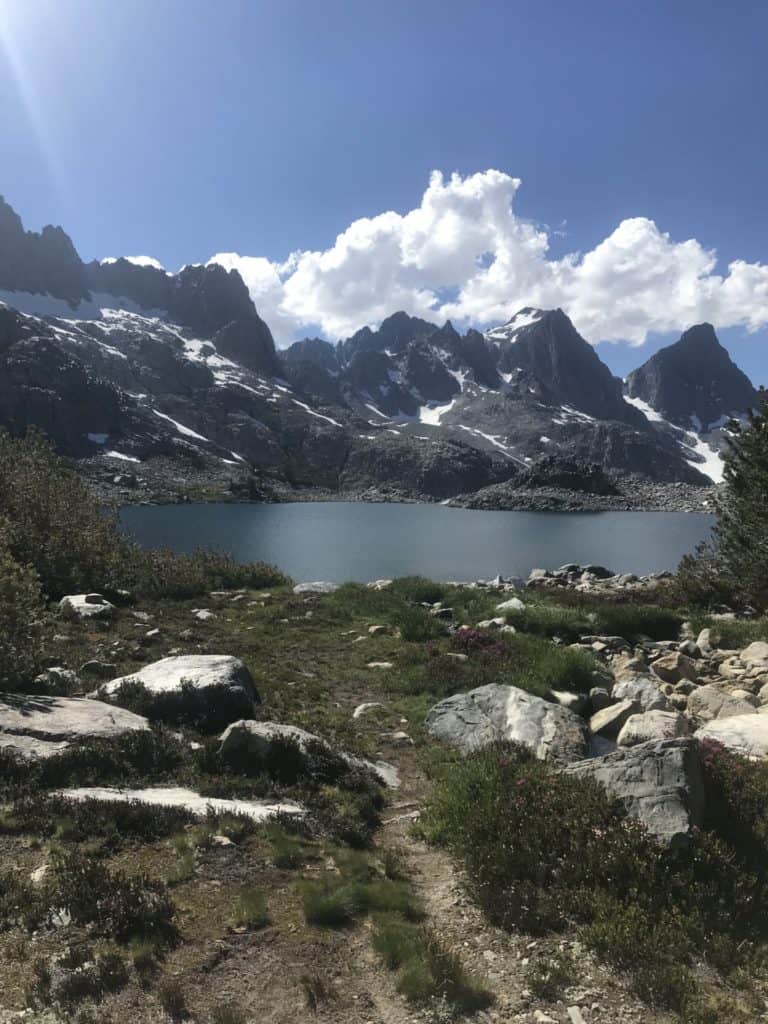
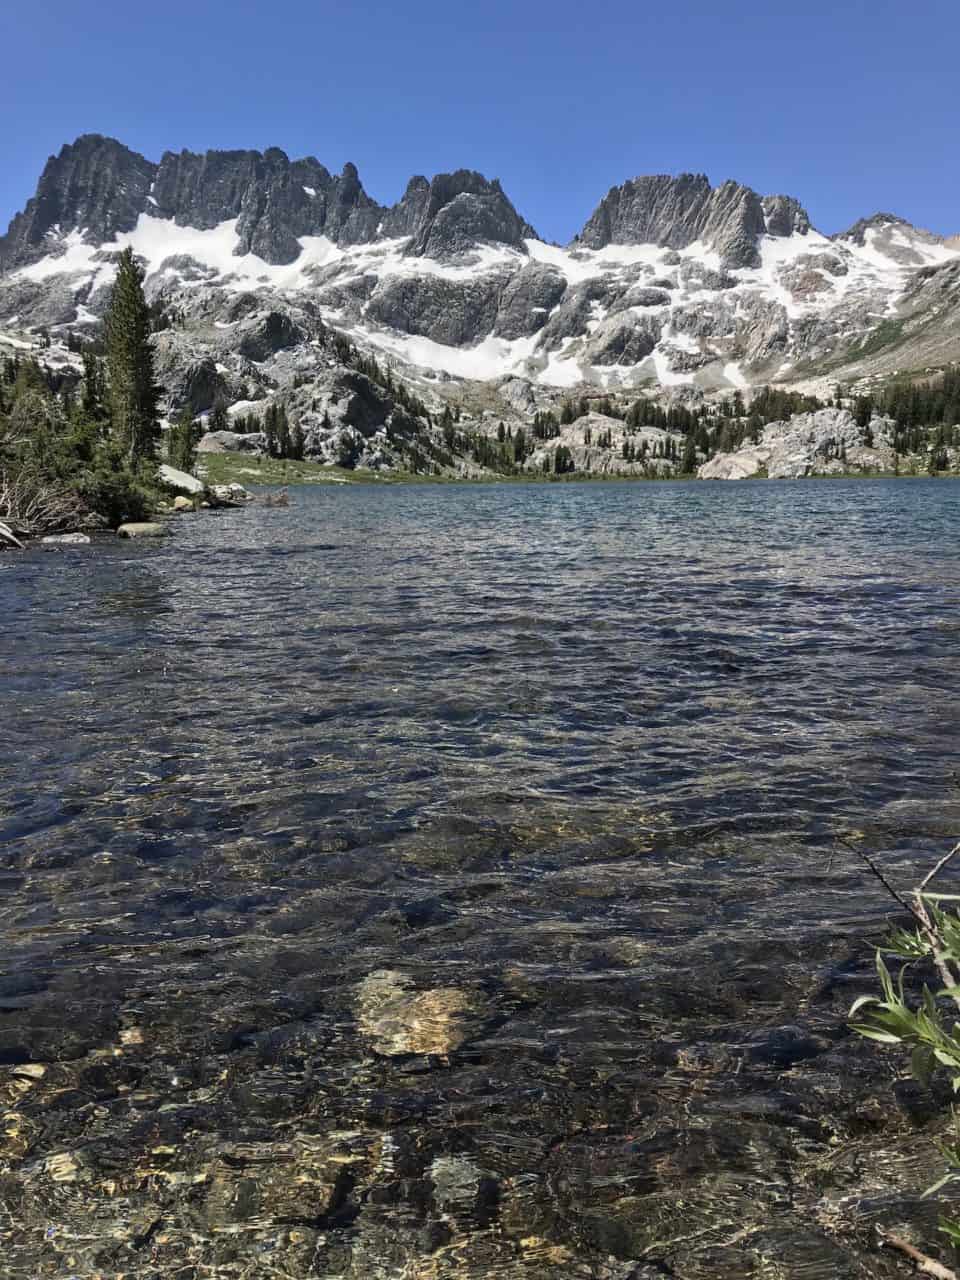
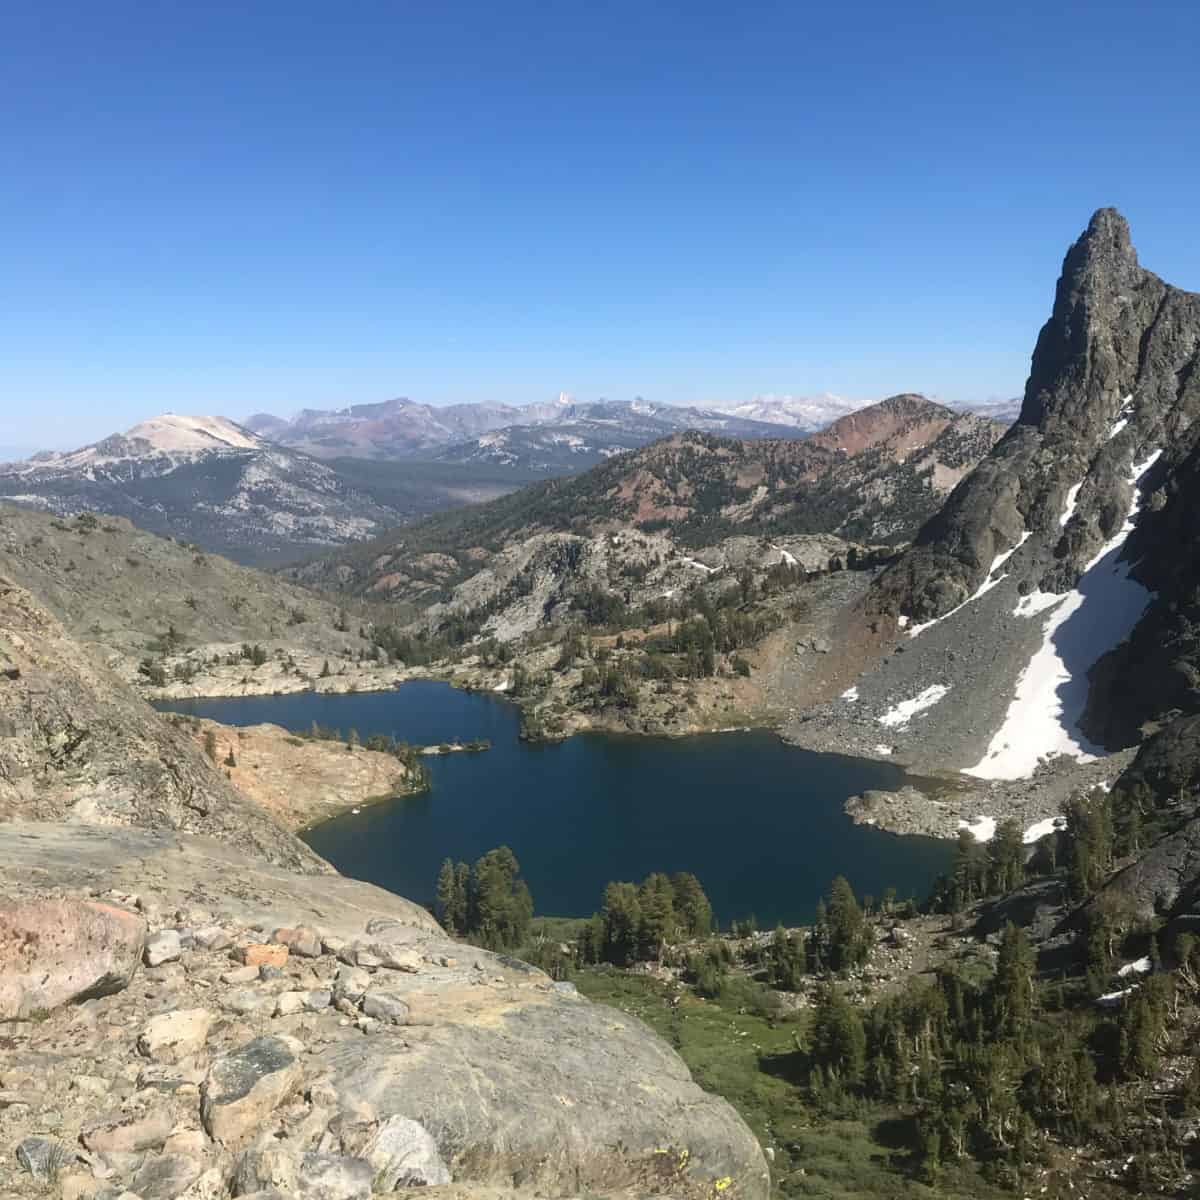
One of the famous alpine lakes in the Sierra Mountains, Minaret Lake is a must-see on your visit to Ansel Adams Wilderness.  The iconic jagged peaks surrounding the lake resemble a Minaret hence the name.  Upon arriving and camping out at this lake, you feel as though you are in an amphitheater created by the mountains.  

Trek Specs:

Type Of Route:  Loop

Total Distance:  ~24.4 miles

Total Elevation Gain:  ~7,093ft

Backpacking Permits Required:  Yes

Day 1: Car at Agnew Meadows Road to Ediza Lake (Shadow Creek).

  • Distance: ~6.4 miles
  • Elevation Gain: ~1,388ft
  • Via Pacific Crest Trail>Shadow Creek Trail(overlap with John Muir Trail)>Ediza Lake trail

Day 2: Ediza Lake (Shadow Creek) to Deadhorse Lake (Minaret Lake)

  • Distance: ~7.1 miles
  • Elevation Gain: ~4,665ft
  • Via  Route up Ritter> hike down>Ediza Lake Spur Trail>Shadow Creek trail>Cecile Lake Trail>Minaret Creek Trail
  • Here you can take a detour to the hike to Mount Ritter where we got some cool views of Thousand Island and Garnet Lakes.

Day 3: Deadhorse Lake (minaret Lake) to Agnew Meadows.

  • Distance: ~11.9 miles
  • Elevation Gain: ~1,040ft
  • Via Minaret Creek Trail>John Muir Trail>Pacific Crest Trail
Categories
Ansel Adams Wilderness Itineraries

Backpack to Devils Postpile

Backpacking Itinerary Featuring Devils Postpile:

devils postpile backpacking itinerary

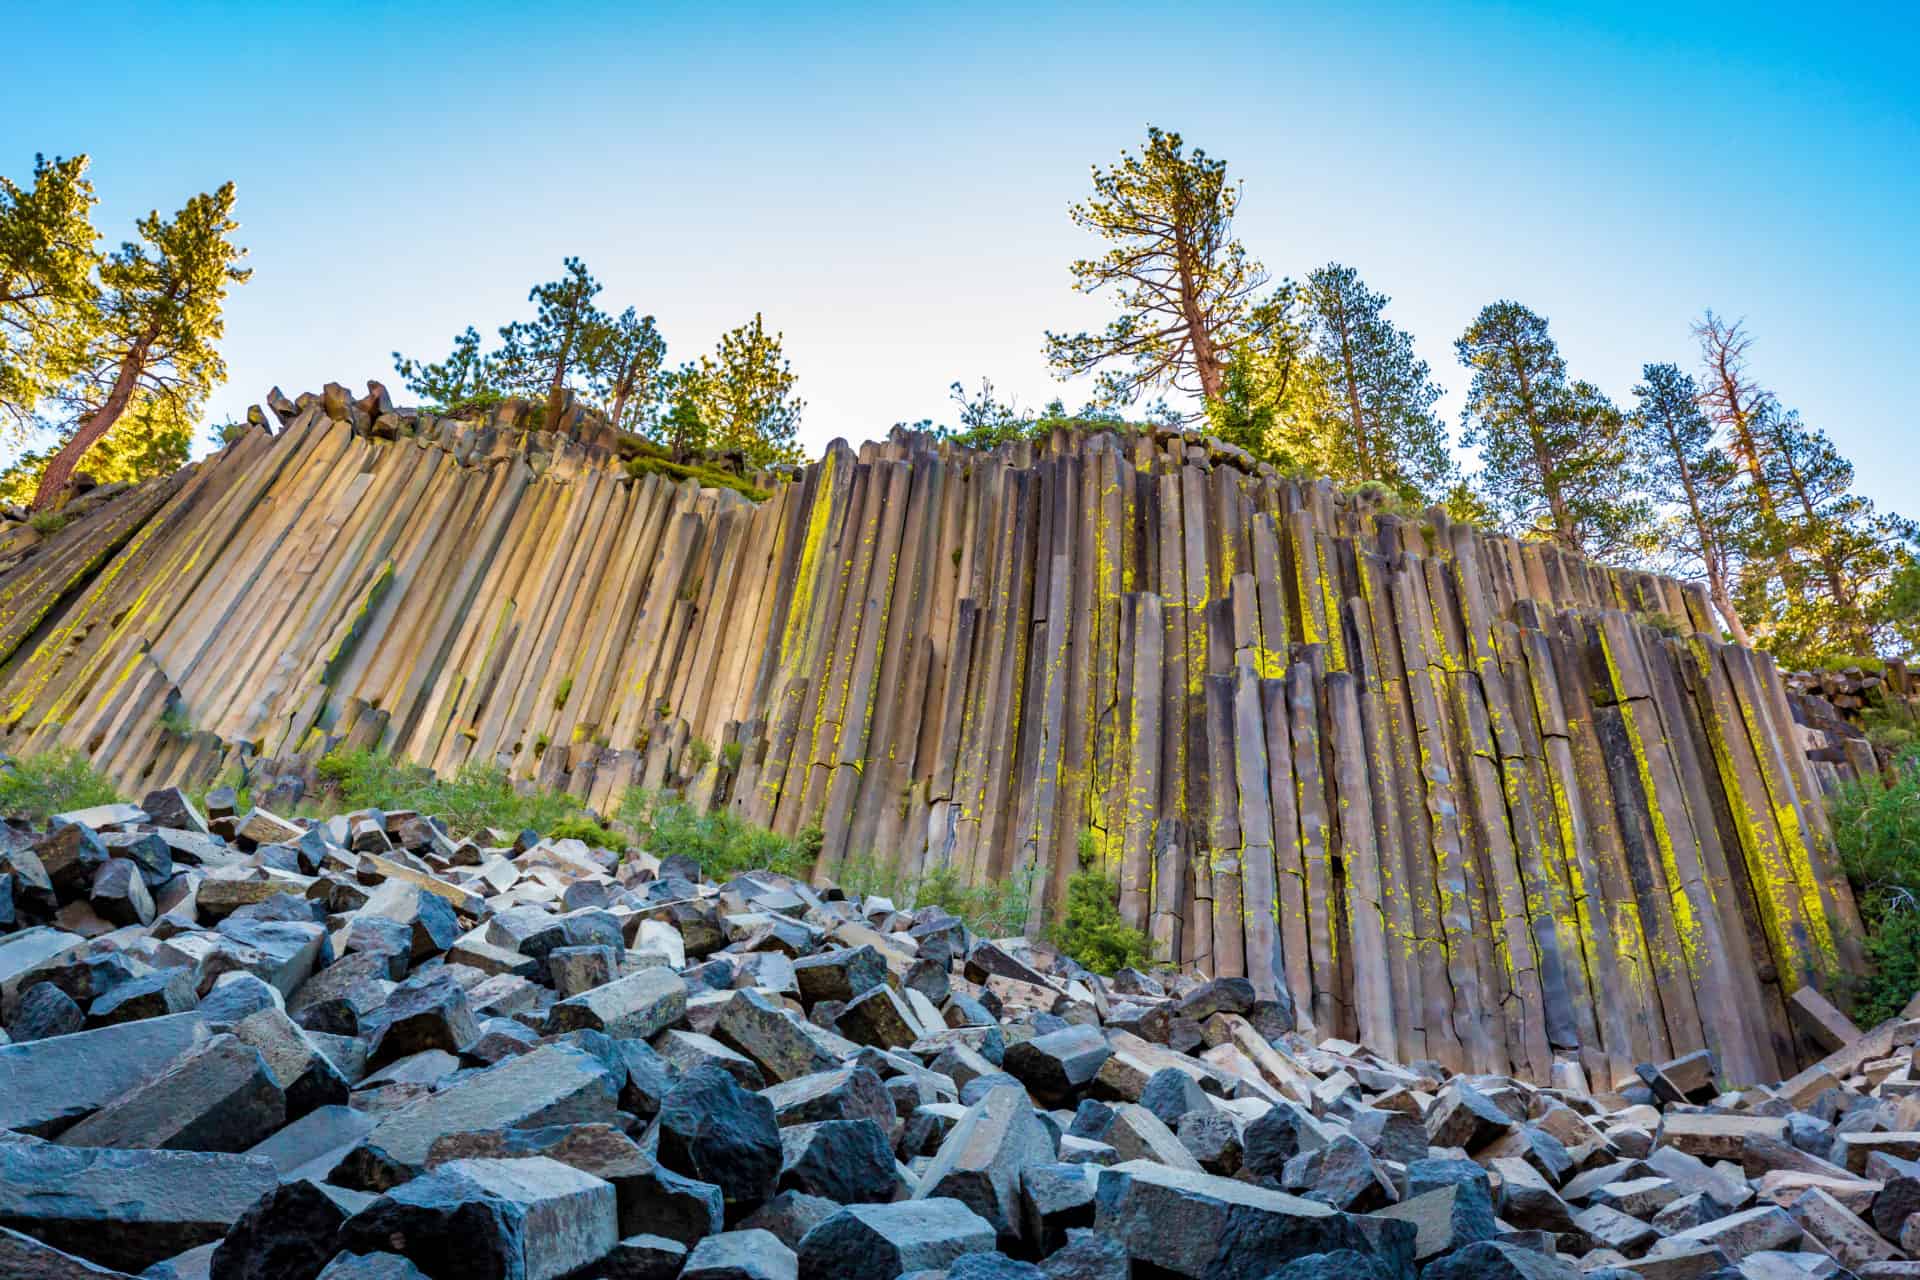
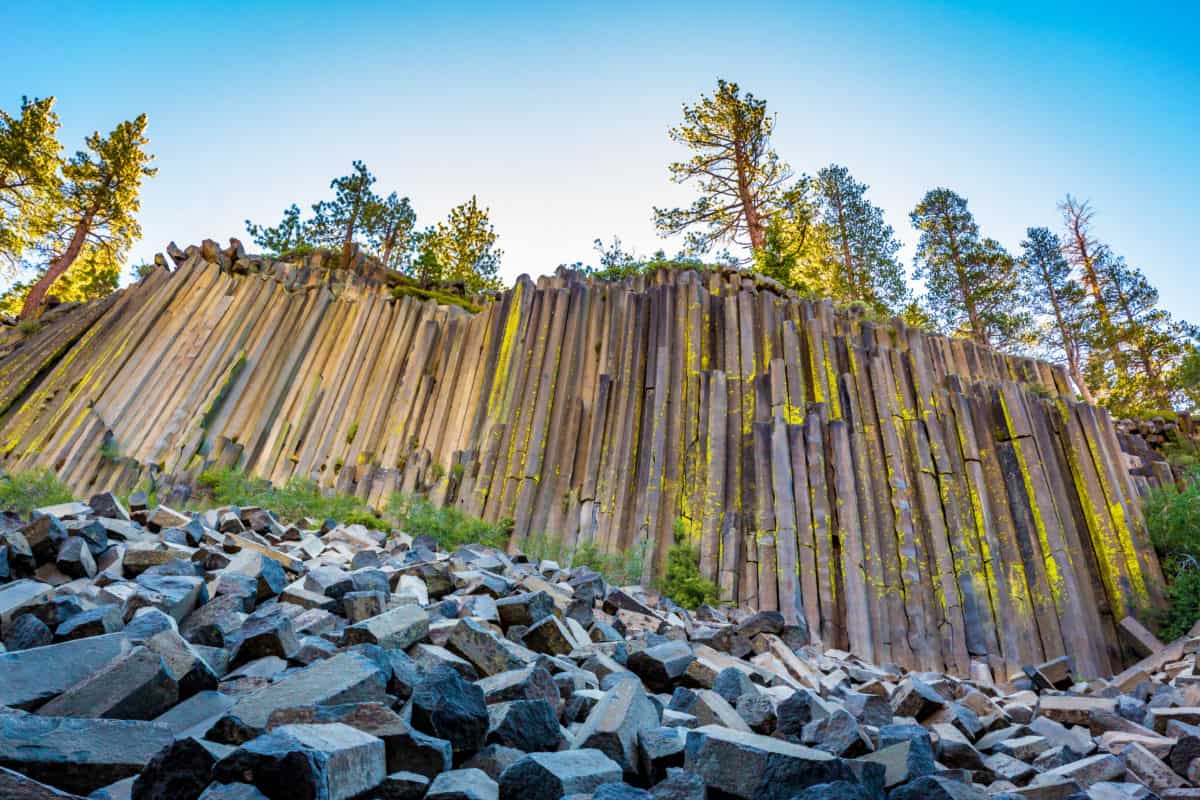
A geologic wonder of the world and a national monument Devils Postpile is a must see on everyone’s Ansel Adams Wilderness adventure!  These beautifully symmetric columns of basalt formed over 100,000 years ago are truly a unique feature to witness.  

4-day 3-night In and Out Route:

This 4-Day 3-Night in and out route starts just outside Mammouth Mountain ending at silver lake campground.  Not only will this does this route feature Devils Postpile but you will also get some amazing views of many alpine lakes including Minaret, Ediza, Clarks, Garnet, and Agnew Lakes.  

Trek Specs:

Type Of Route:  In and Out

Total Mileage:  ~32 miles

Total Elevation Gain:  ~6,179ft

Permits Required:  Yes

Day 1: Horshoe Lake Parking to Minaret Falls Campground.

  • Distance: ~9 miles
  • Elevation Gain: ~804ft
  • Via Lakes Basin Path>Mammoth Pass Cutoff Trail>Red Cones Cutoff Trail>Upper Crater Meadows Trail>John Muir/Pacific Crest Trail(runs contiguous for this section)>Kings Creek Trail>Minaret Road

Day 2: Minaret Falls Campground to Minaret Lake.

  • Distance: ~7.8 miles
  • Elevation Gain: 2,379ft
  • Via Minaret Road>John Muir Trail>Minaret Creek Trail

Day 3:  

  • Distance: ~8.2 miles
  • Elevation Gain: ~1,762ft
  • Via Minaret Creek Trail>Cecile Lake Trail>Shadow Creek Trail>Ediza Lake Spur Trail>Shadow Creek Trail>John Muir Trail going Northwest>Garnet Lake Cutoff Trail

Day 4: 

  • Distance: ~7 miles
  • Elevation Gain: ~1,234ft
  • Via River Trail going east>Clark Lakes Trail>Spooky to Clarks Cutoff Trail>Spooky Meadow Trail>Rush Creek Trail

Views From This Trek!

Devils Postpile
Minaret Lake
Thousand Island Lake
Categories
Itineraries Ansel Adams Wilderness

4-Day 3-Night Backpacking Itinerary To Thousand Island and Garnet Lakes:

4-Day 3-Night Backpacking Itinerary To Thousand Island and Garnet Lakes:

thousand island lake day hike

Thousand Island and Garnet Lakes are two of the many breathtaking alpine lakes in the Ansel Adam Wilderness. The Itinerary below will not only bring you to these lakes but will also get you some amazing views from the Pacific Crest Trail and the John Muir Trail.  

Trek Specs:

Type of Route: Loop

Total Mileage:  ~32 miles

Total Elevation Gain:  ~7,002

Permits Required:  Yes

Trek Overview:

This 4-Day 3-Night Loop route starts and ends at Park Bench Trailhead making things a bit more logistically easier as you can just return to your car at the end of your trip.  Although this trip features Thousand Island and Garnet Lakes you will also get some nice views of several other gorgeous alpine lakes including Gem, Shadow, Olaine,  and Clark Lakes.

Day 1: Park Bench Trailhead to Thousand Island Lake.

  • Distance: ~9.2 miles
  • Elevation Gain: ~3,314ft
  • Via Park Bench Trail>Rush Creek Trail>Spooky Meadow Trail>Pacific Crest Trail

Day 2: Thousand Island Lake to Agnew Meadows Campground.

  • Distance: ~10miles
  • Elevation Gain: 1,188ft
  • Via John Muir Trail>Shadow Creek Trail>Pacifi Crest Trail

Day 3:  Agnew Meadows Campground to Badger Lake Campground.

  • Distance: ~6.8
  • Elevation Gain: ~1,837
  • Via Pacific Crest Trail North

Day 4: Badger Lake to Park Bench Trailhead

  • Distance: ~5.9 miles
  • Elevation Gain ~663ft
  • Via Pacific Crest Trail>Clark Lakes Trail>Spooky to Clark Cutoff Trail>Spooky Meadow Trail>Rush Creek Trail>Park Bench Trailhead

Views On The Trail!

Olaine Lake
Shadow Lake
Thousand Island Lake
Garnet Lake
Categories
Itineraries Grand Tetons

3-Day, 2-Night Amazing Marion Lake Backpacking Itinerary

3-Day, 2-Night Marion Lake Backpacking Itinerary:

Marion Lake Backpacking Itinerary

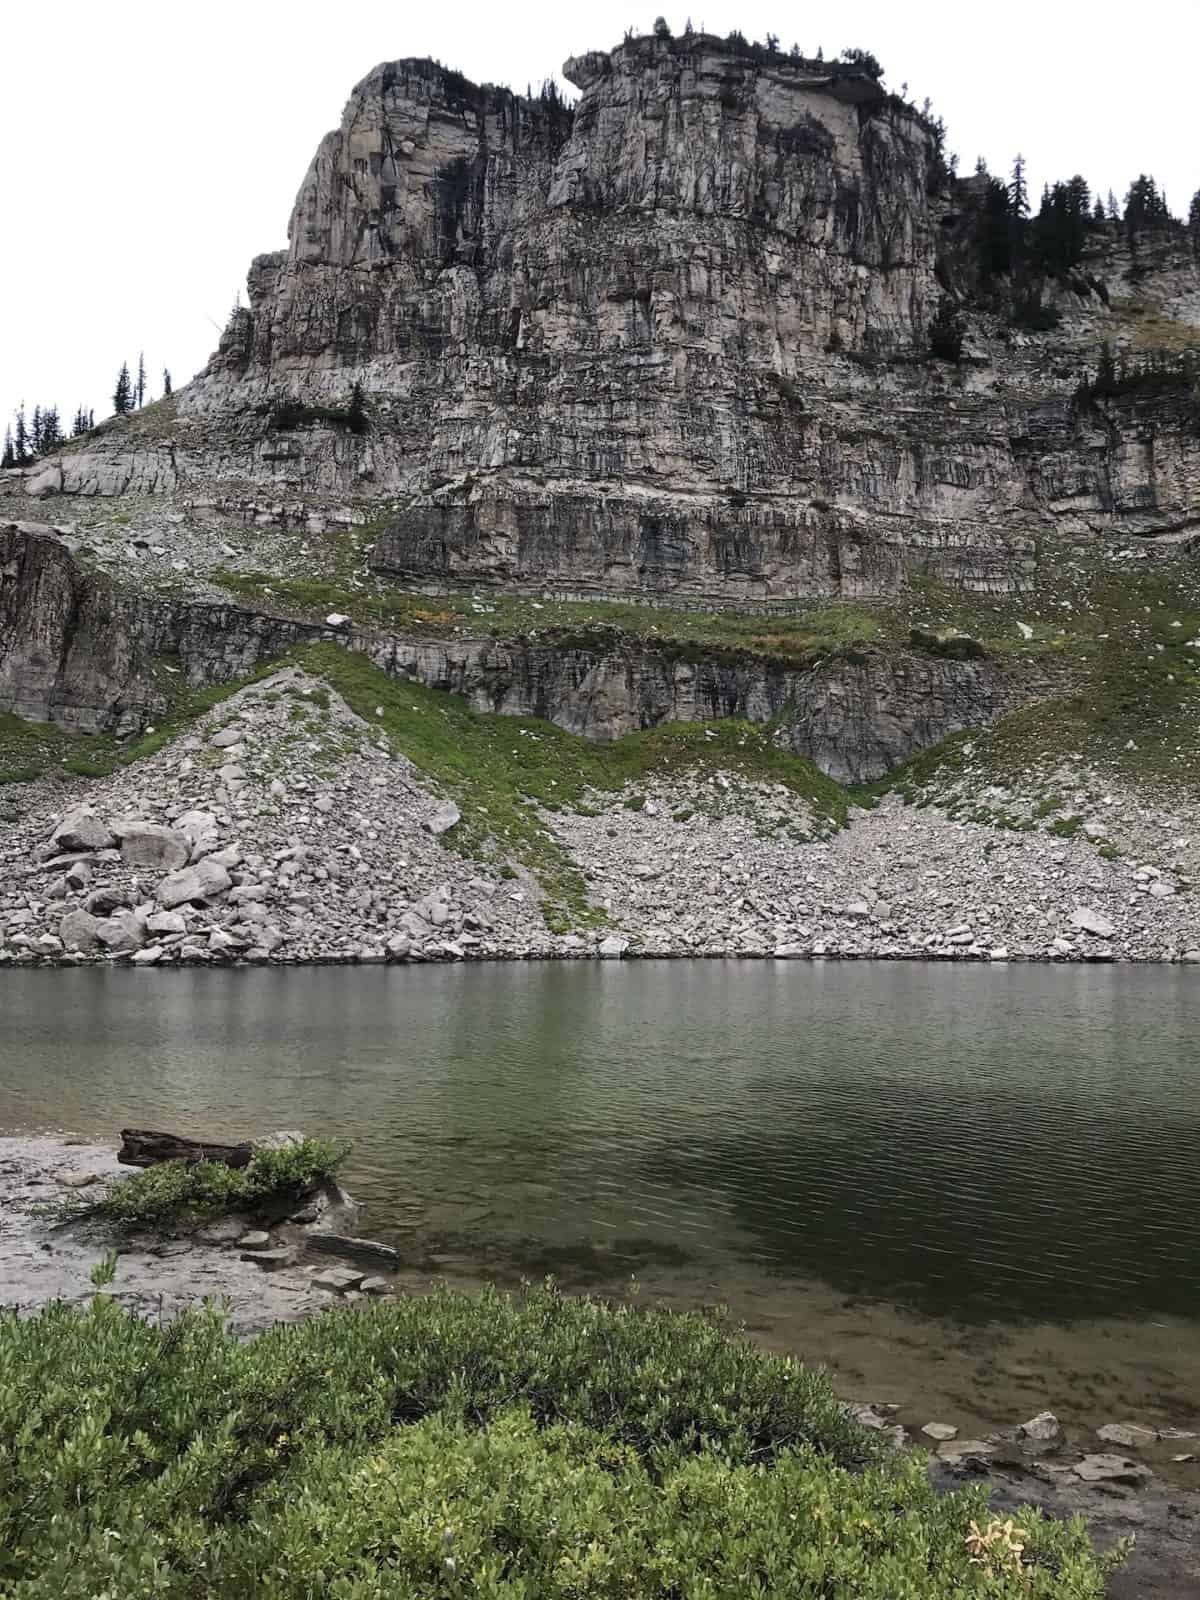
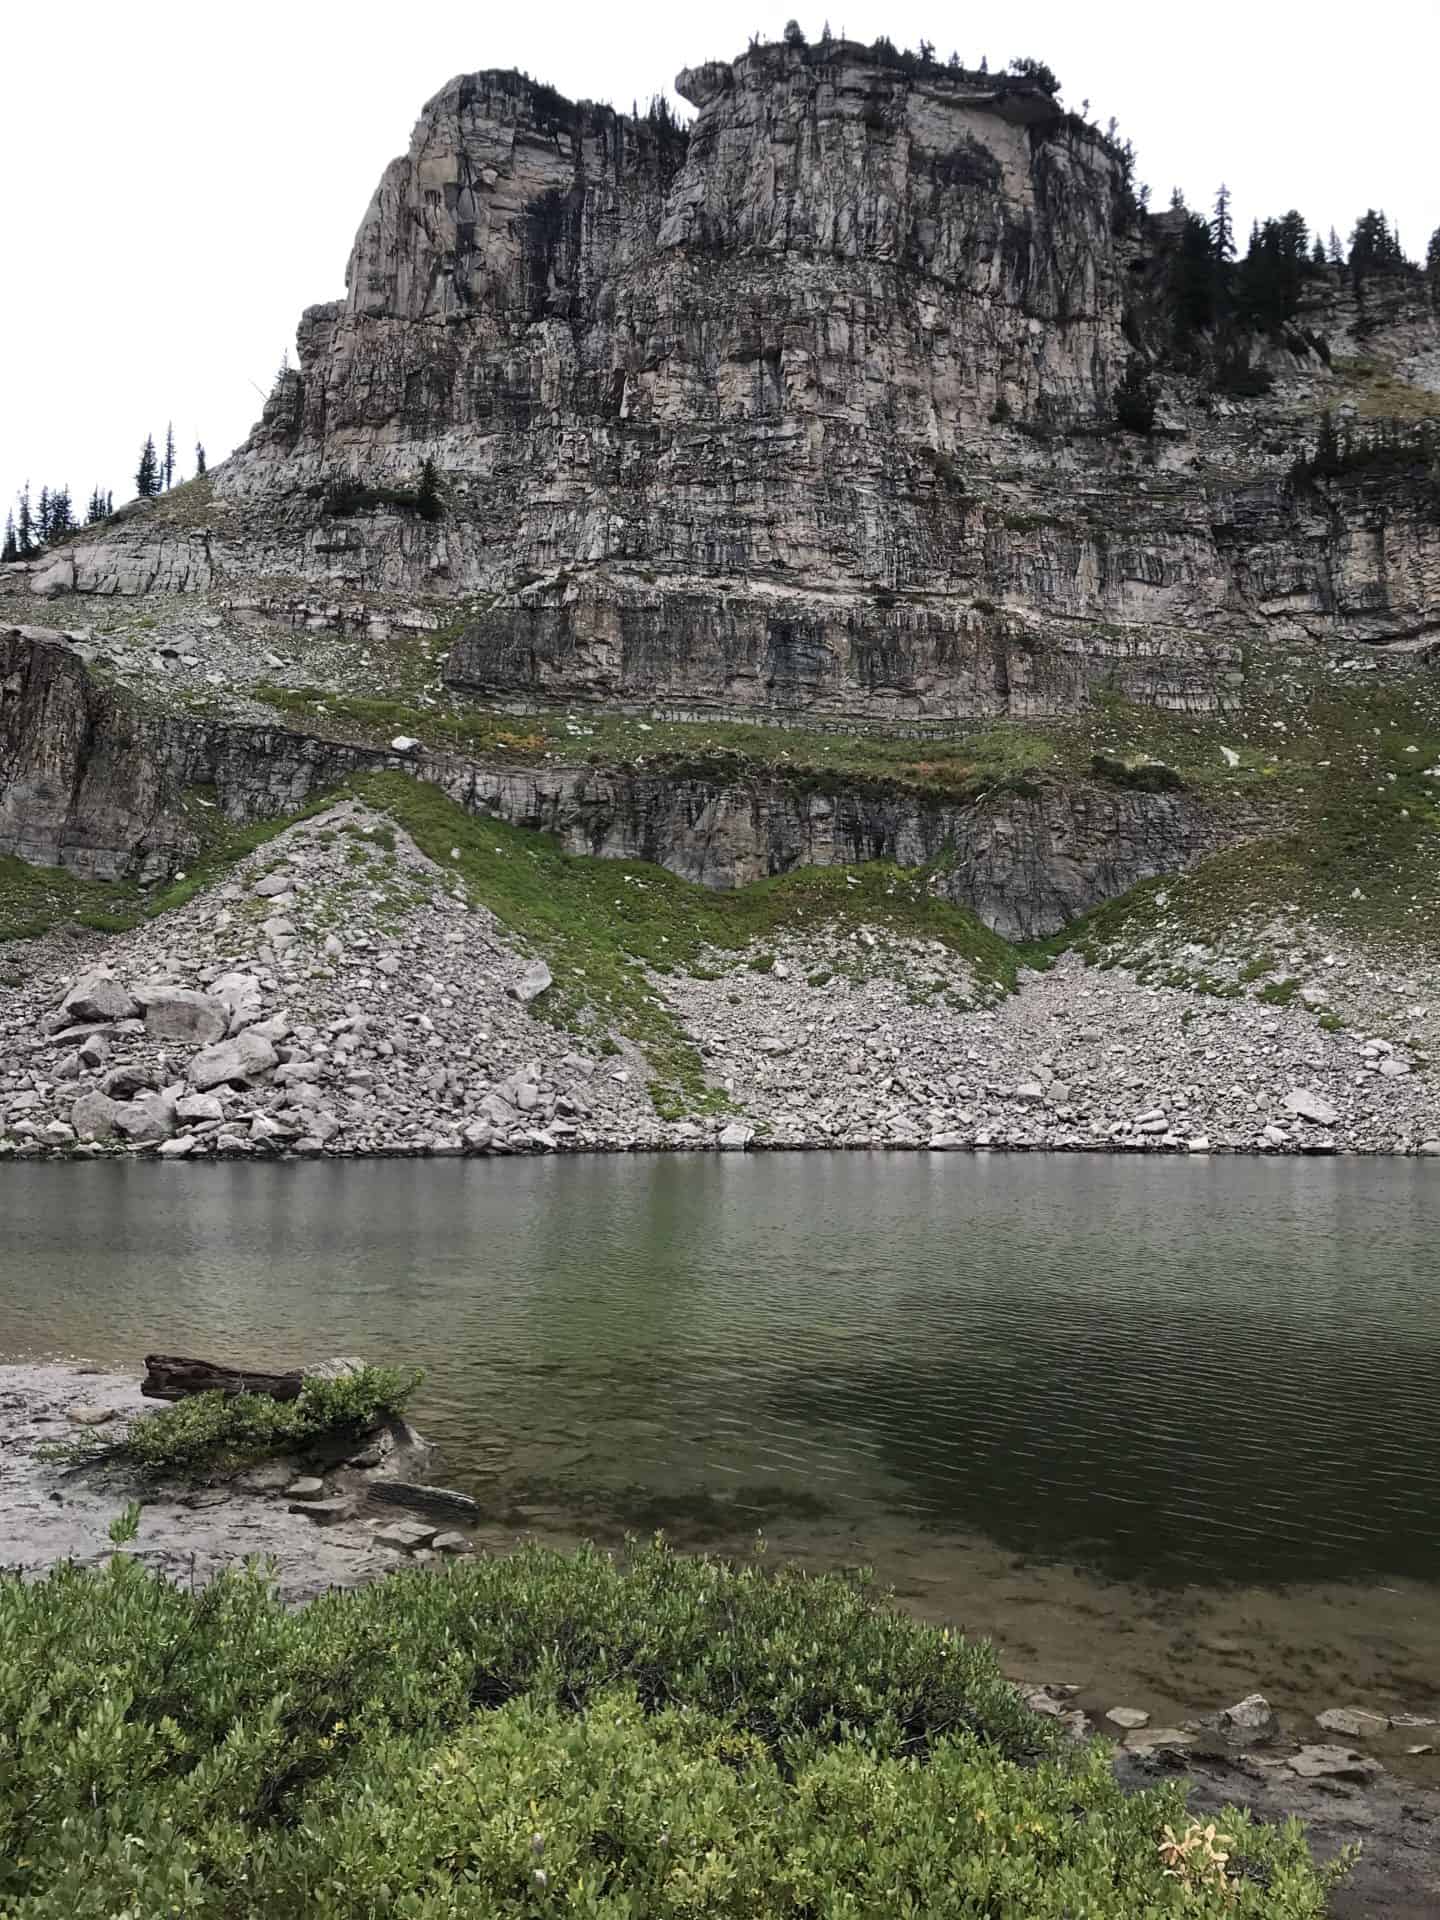
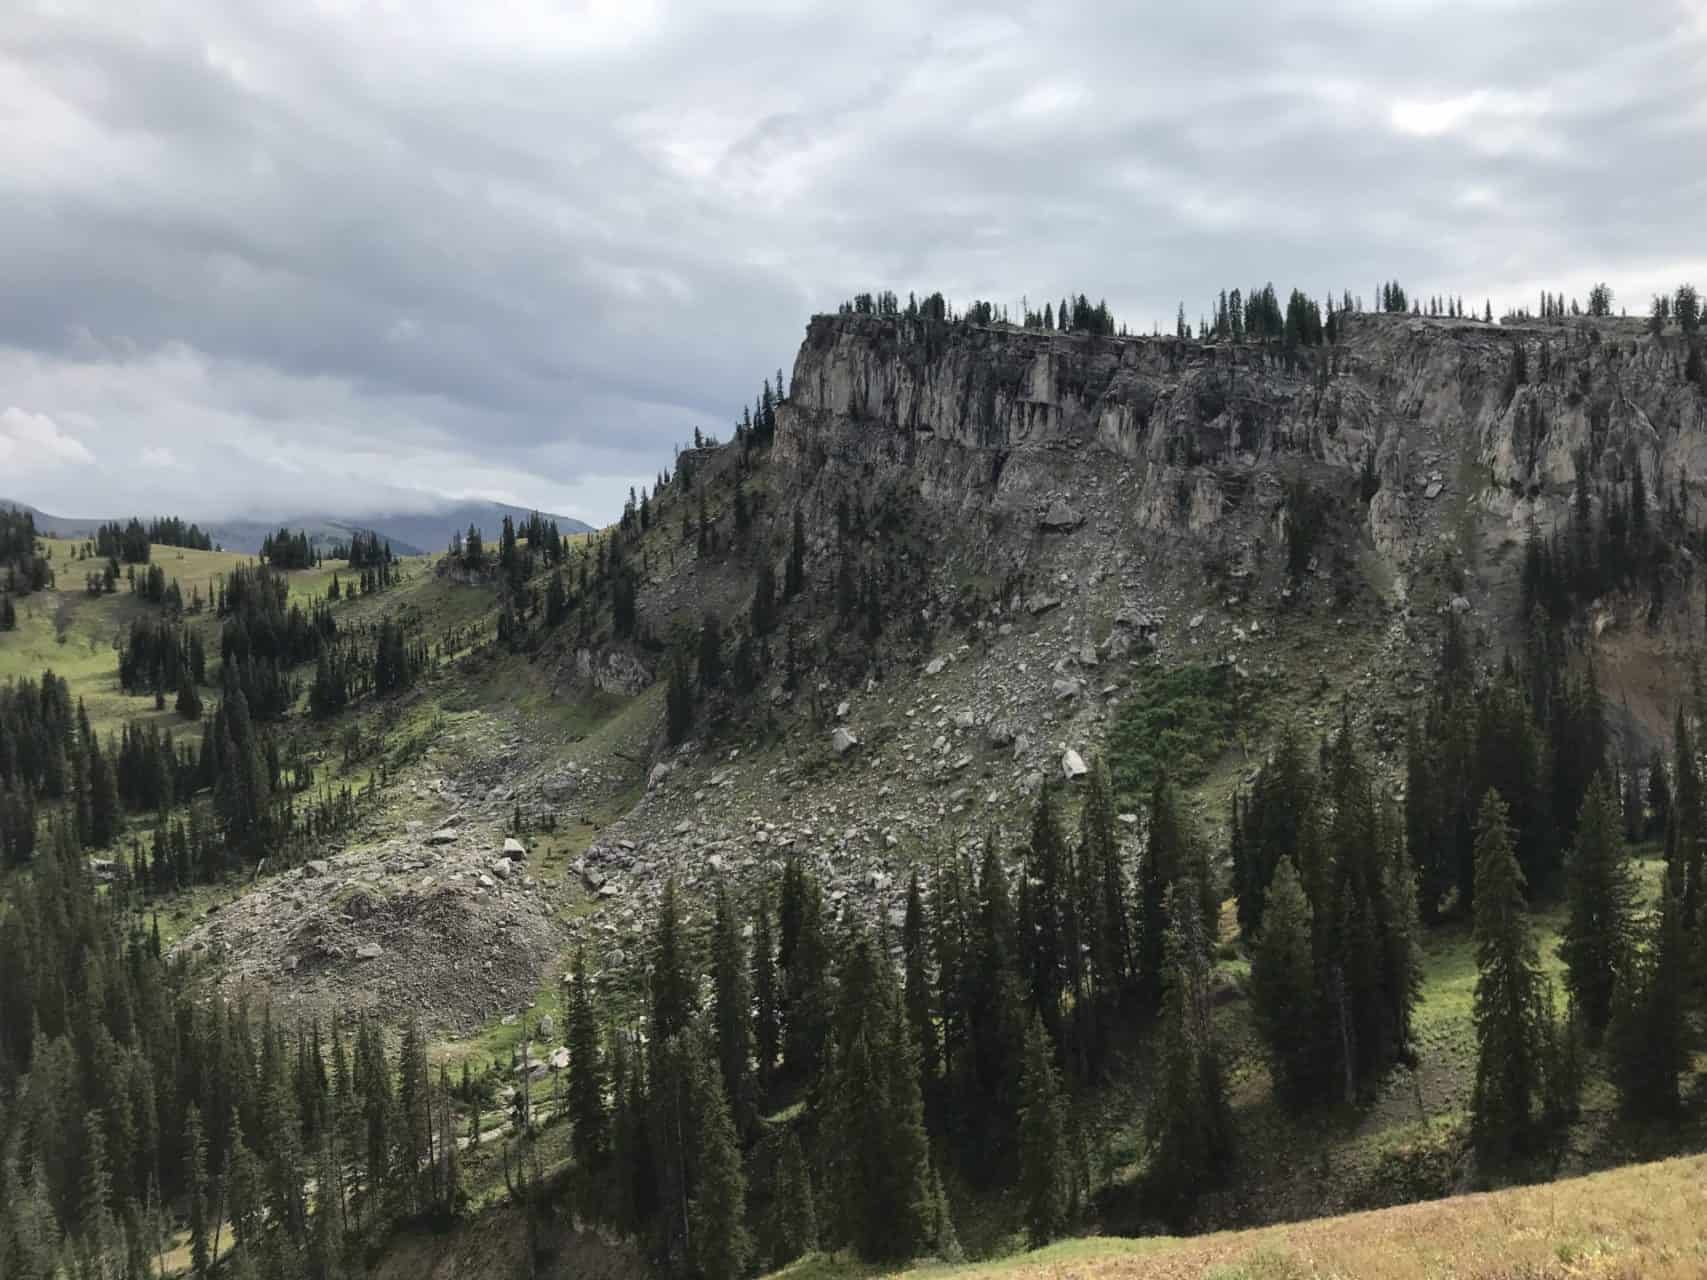
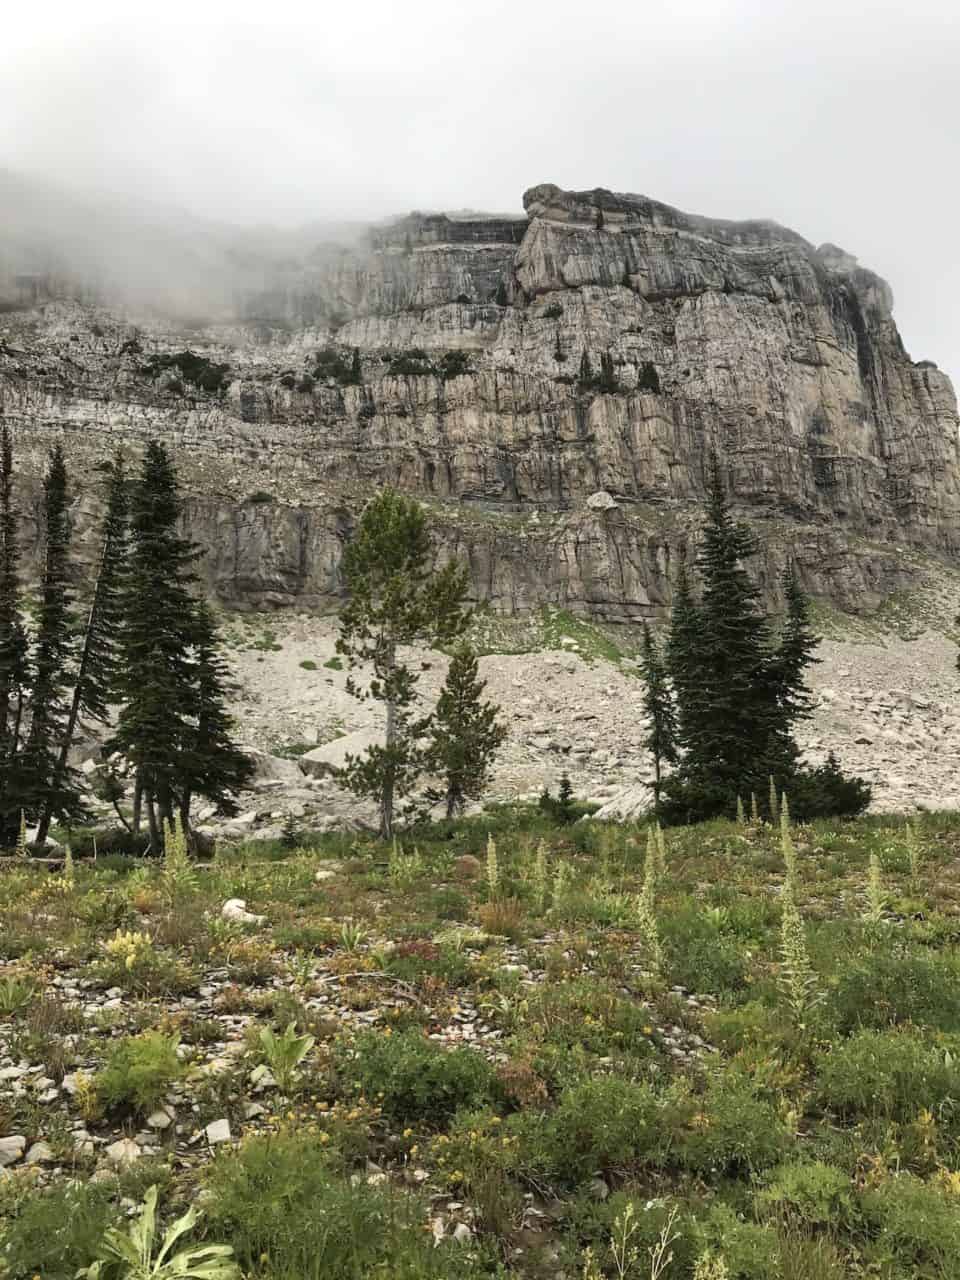
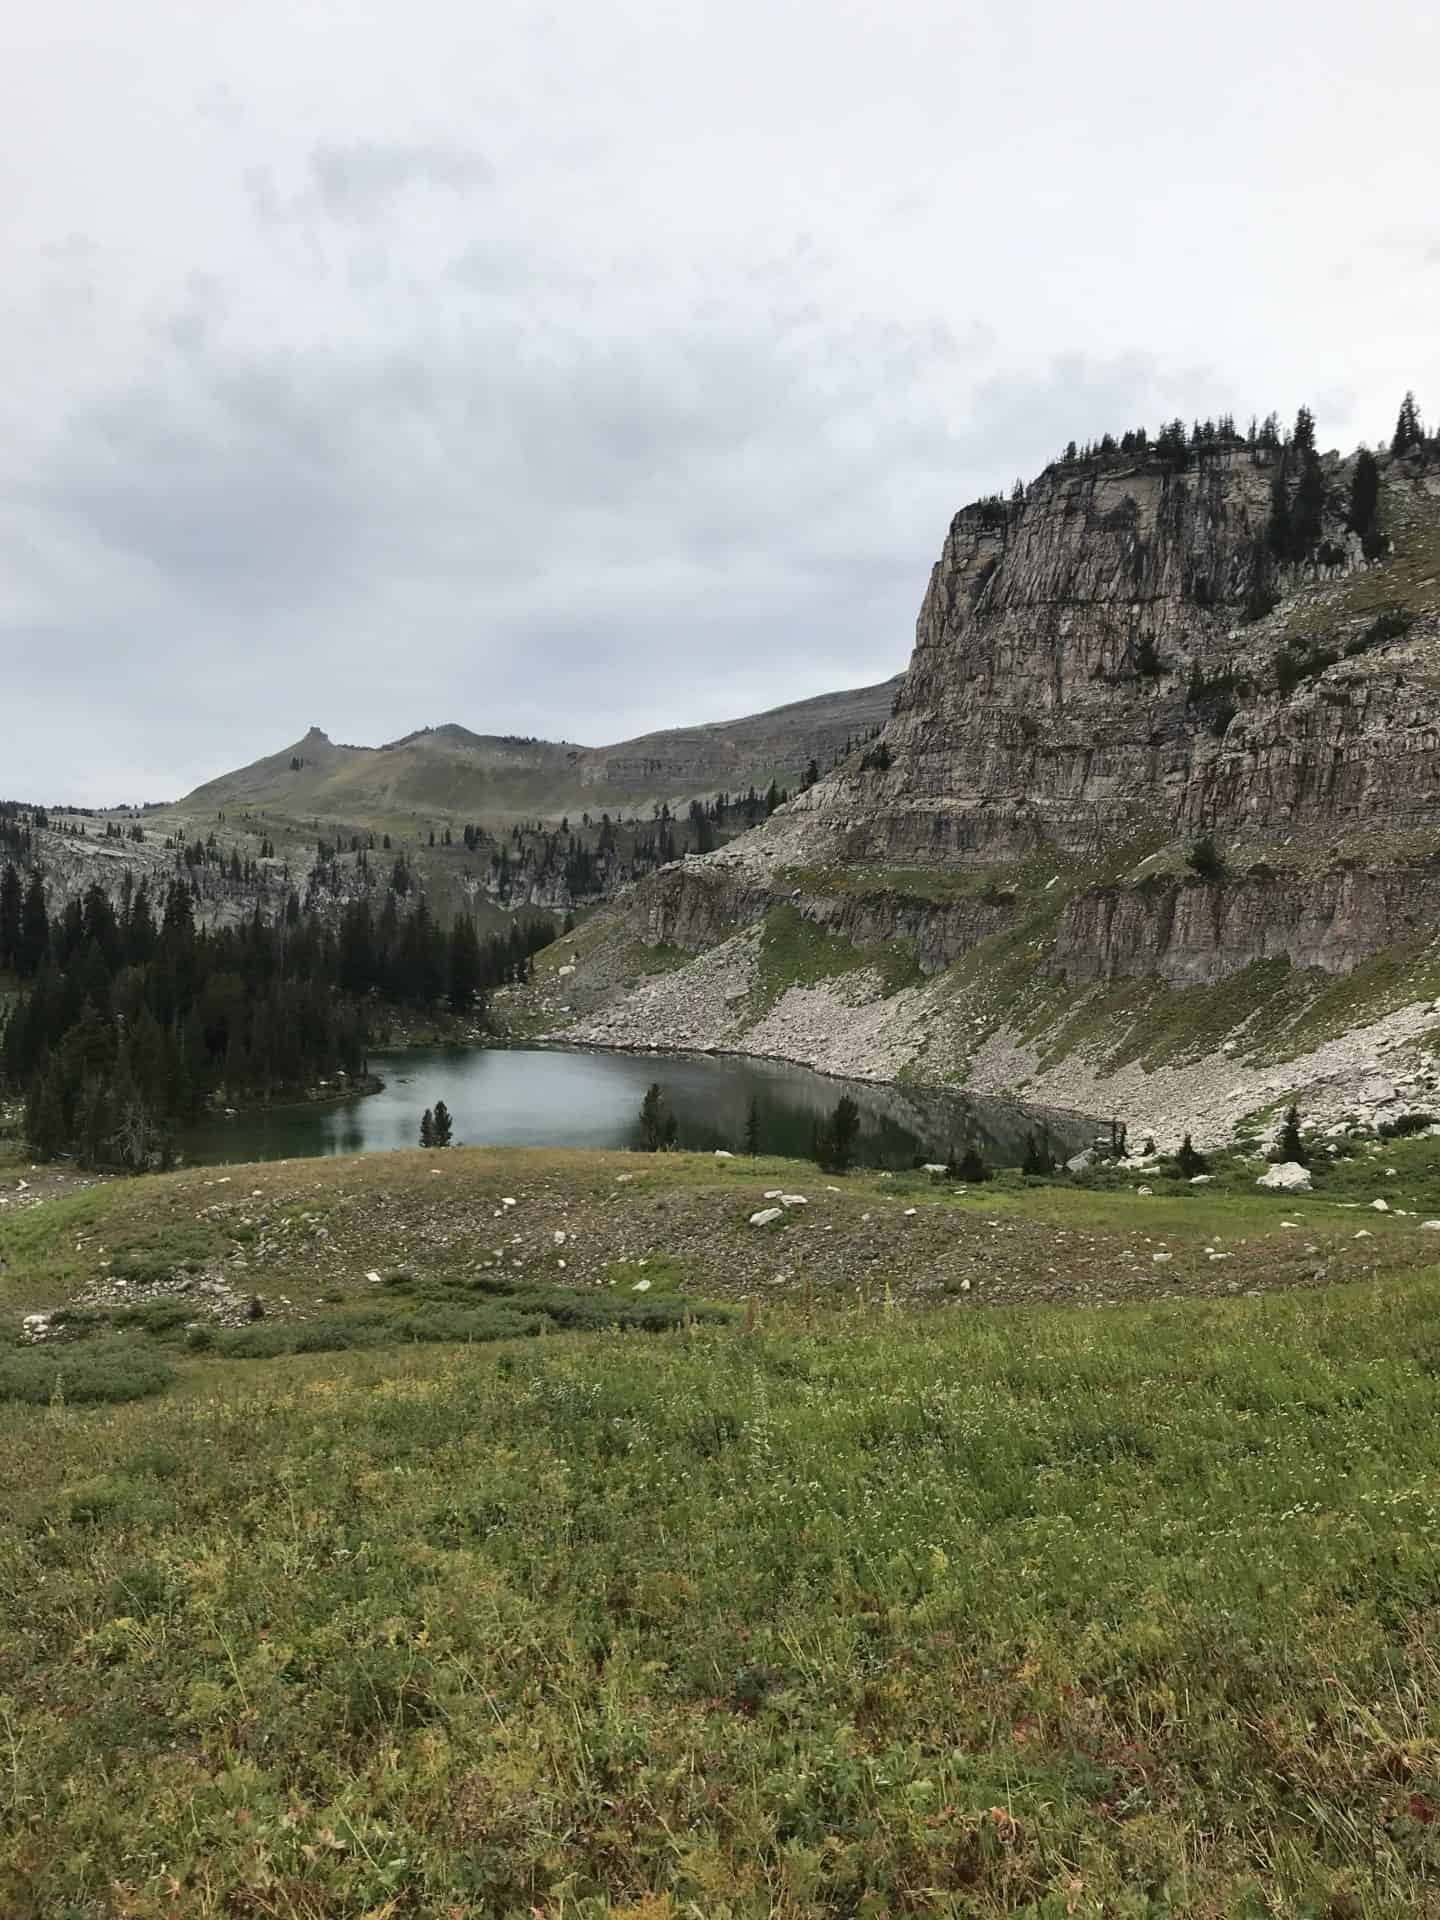
Want to go on a backpacking trip to a beautiful lake with a towering granite cliff overlooking it?  You came to the right place.  Even though this route is on the shorter side, it does not lack stunning vistas.  On this trip, you will get views of Granite Canyon, sections of the Teton Crest Trail, and of course Marion Lake!  

Trek Specs

Type Of Route:  Loop

Total Mileage:  ~20.5 miles

Total Elevation Gain:  ~5,600ft

Permits Required: Yes

Trek Overview:

This 3-day, 2-night loop Marion Lake backpacking trip starts and ends at Death Canyon Trailhead.  This route takes place in the southwest portion of the park.  Some of the highlights of this route include Phelps Lake, Mt Hunt Divide, Marion lake,  and a beautiful hike through Granite Canyon. 

Day 1: Death Canyon Trailhead to Death Canyon Backcountry Camp.

  • Distance: ~8 miles
  • Elevation Gain: ~2,411ft
  • Via Valley Trail>Death Canyon Trail

Day 2: Death Canyon Backcountry Camp to Open Canyon Backcountry Camp.

  • Distance: ~12 miles
  • Elevation Gain: 2,579ft
  • Via Death Canyon Trail>Teton Crest South Trail>Granite Canyon Trail>Mount Hunt Trail>Open Canyon Trail
  • Here you will be able to have a nice lunch break at Marion Lake!

Day 3:  Open Canyon Backcountry Camp to Death Canyon Trailhead.

  • Distance: ~4.5
  • Elevation Gain: ~627
  • Via Open Canyon Trail>Open Canyon Cutoff Trail>Valley Trail

Views From This Trip:

Check Out Some Other Grand Teton Backpacking Itineraries!

Backpack The Teton Crest

Backpack Cascade And Paintbrush Canyons

Backpack Surprise & Amphitheater Lakes

Get Your Backpacking Checklist!!!

Get your free backpacking checklist!

Join our mailing list to get the latest news, updates, posts, trails, and itineraries!