Wonderfarr

Categories
Food Hiking Basics Outdoors for Beginners

9 Best Salty Hiking Snacks

Disclosure: Some links on this page are affiliate links, and if you go through them to make a purchase or a booking, I may earn a commission. Using these links DO NOT affect the cost of the product/booking. The price remains the same affiliate link or not.

9 Best Salty Hiking Snacks:
best salty hiking snacks

Whenever out on the trail, you need to make sure you are correctly refueling!  I can talk about hiking and backpacking food all day, but let’s focus on salty snacks for now.  We will go over the best salty snacks for hiking and why they are so essential to have when hiking.

Why You Should Eat Salty Snacks When Hiking:

Whenever performing an aerobic exercise such as hiking, you will burn calories and sweat.  Therefore you need to ensure you are taking in adequate nutrients and water to match what your body is using up. 

Sidebar- if you want to learn how to treat and carry your water when backpacking/hiking,  check out this article.  

Salty snacks are especially important because they help replenish the precious electrolytes we lose through sweating while also providing calorie & nutrient dense to keep our energy up when hiking. 

What Nutrients Should You Have In Your Salty Hiking Snacks?

When you are in the grocery store picking up your last-minute snacks for your hiking trip, you want to grab snacks with a good nutrition profile.  Specifically, what you want are snacks that are:

Best Salty Hiking Snacks:

Okay, now for what you have all been waiting for here is my entirely subjective list on the best salty snacks for hiking:

  • Pretzels
  • Peanuts
  • Trailmix
  • Granola bars
  • Snickers
  • Justin’s peanut butter
  • Energy Chews
  • Crackers
  • Beef jerky

Pretzels

I go for a gluten-free option (because, celiac disease 🙁 ).  These guys are salty and contain straight-up carbs.  The only downside is that it is so easy for them to get crushed to bits in your pack!

Nuts

Nuts are super salty, rich in fats and protein, and come in various options, but my personal favorite is Trader Joe’s roasted almonds!

Trail Mix

These are one of my faves, and they can contain ANYTHING!   Chocolates, raisins, peanuts, fruit, you name it, there’s a trail mix for it, and if not, you can make your own!

Granola Bars

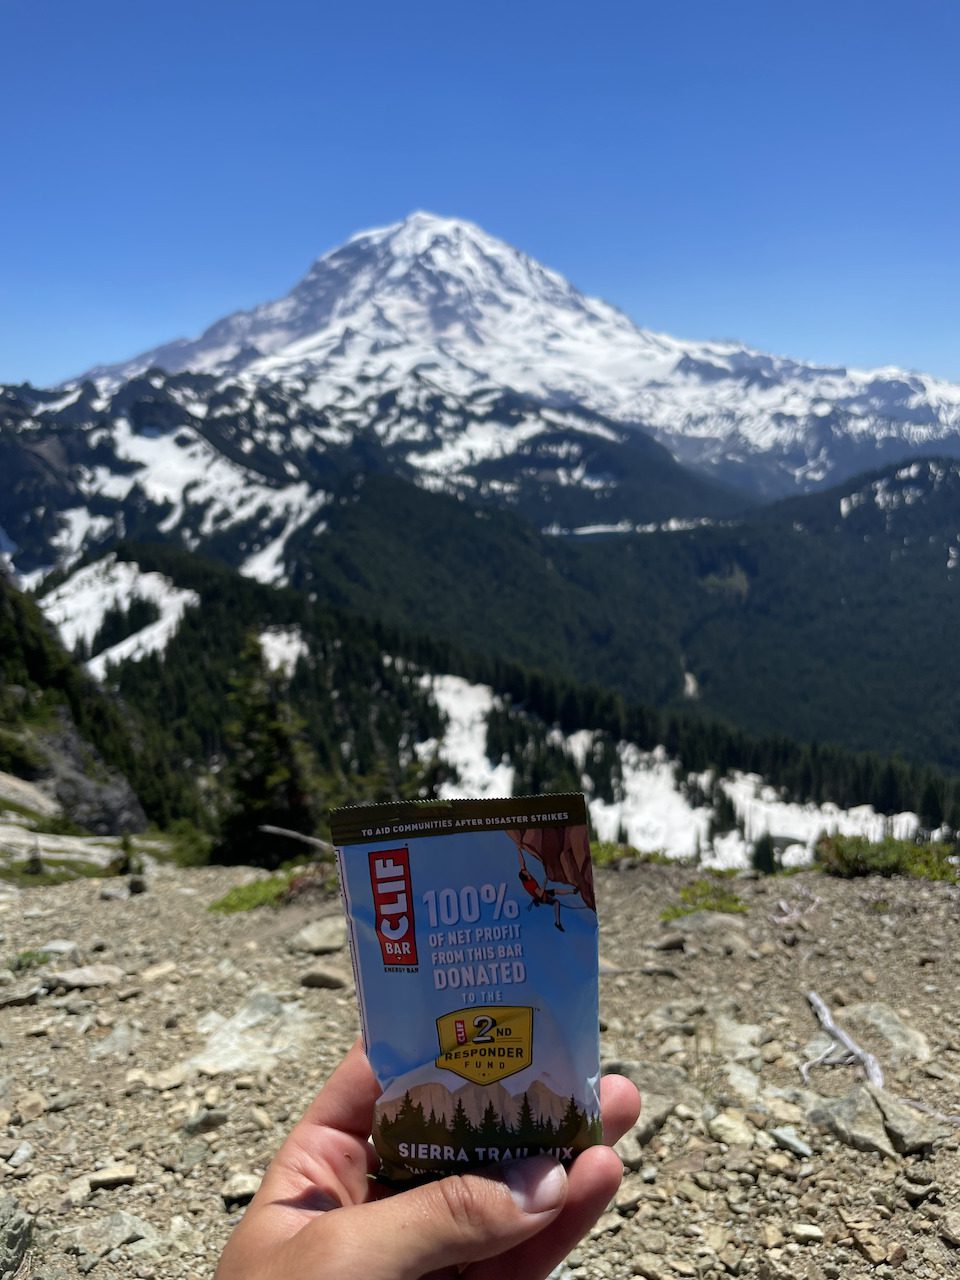
One of the most popular snack options for hikers, and for good reason.  Granola bars are a calorie and nutrient-dense food, with many brands available to choose from.  I have always been a fan of Clif bars and will be to the day I die.  They have a ton of flavor options, nutrients and are affordable, especially if you buy in bulk!

Snickers

I know what you might be thinking, why would I eat candy when I am doing a healthy activity like hiking?  Remember, you are burning tons of calories when hiking or backpacking, so foods like snickers that are packed with sugars, calories, and salt are helpful to have on a long-distance hike.  Also, come on, they taste amazing.

Justin's Nut Butter

Peanut butter, almond butter, cashew butter, oh my!  Justin’s offers a variety of flavors with these on-the-go pouches.  These little guys can be either a great addition to your morning oatmeal or can be enjoyed on their own straight out of the packet.  While they are a bit more expensive, the taste is more than worth it.

Energy Chews

These gummies are specifically designed for endurance activities and come jam-packed with all your essential electrolytes and sugars needed for a long hike!  The added bonus of these is that they are super small and easy to pack. 

Crackers

Throw some peanut butter, cheese, or spread of your choice on these salty snacks, and you have an excellent mini-meal for whenever you need to stop and take a break.  Again, avoid placing them at the bottom of the pack; otherwise, they will become dust.

Beef Jerky

High protein and salt content make this salty snack an excellent choice for your next hike.  Warning not vegetarian!

Best Way To Pack Your Hiking Snacks:

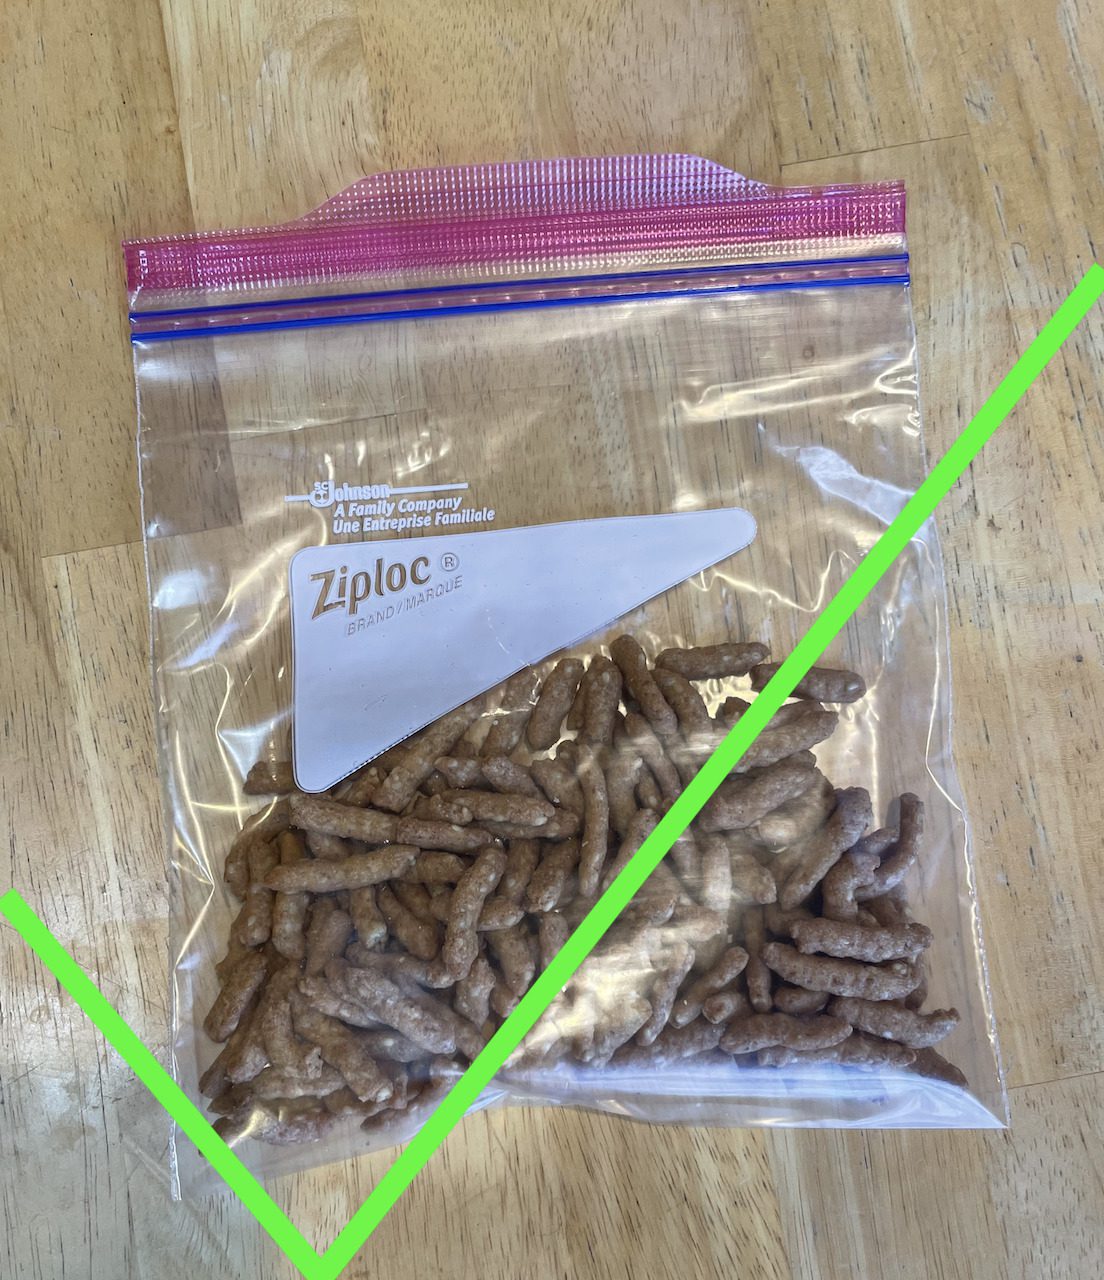
Okay, now that you have your snacks, the last thing we have to do is pack them in our pack.  The biggest piece of advice I can give is DO NOT put snacks in a rigid plastic container directly in your pack.  These types of containers are bulky and take up unnecessary space.  

To avoid this common pitfall, switch your snacks from their containers to a ziplock bag, so you don’t have to deal with bulky containers when packing your backpack.

Don't Forget To Properly Store And Dispose Of Your Food!
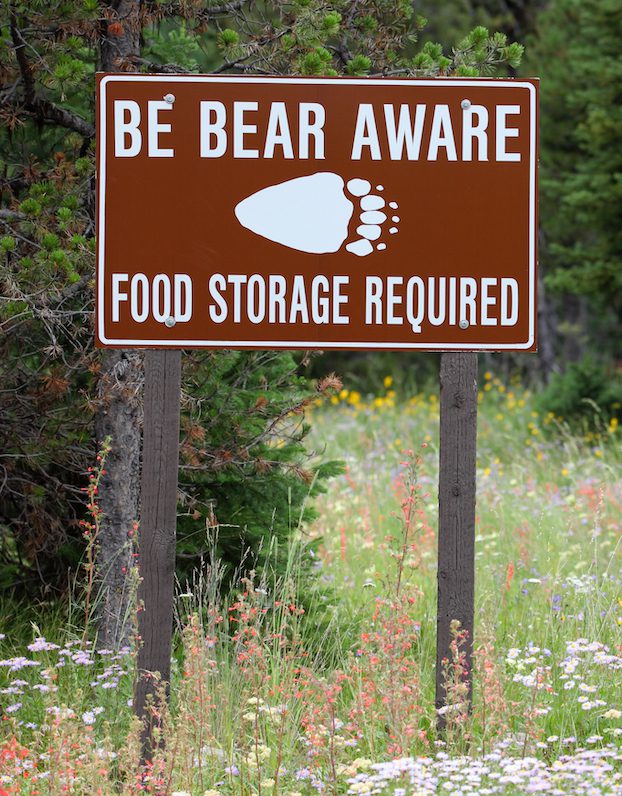
How to store food with a bear box

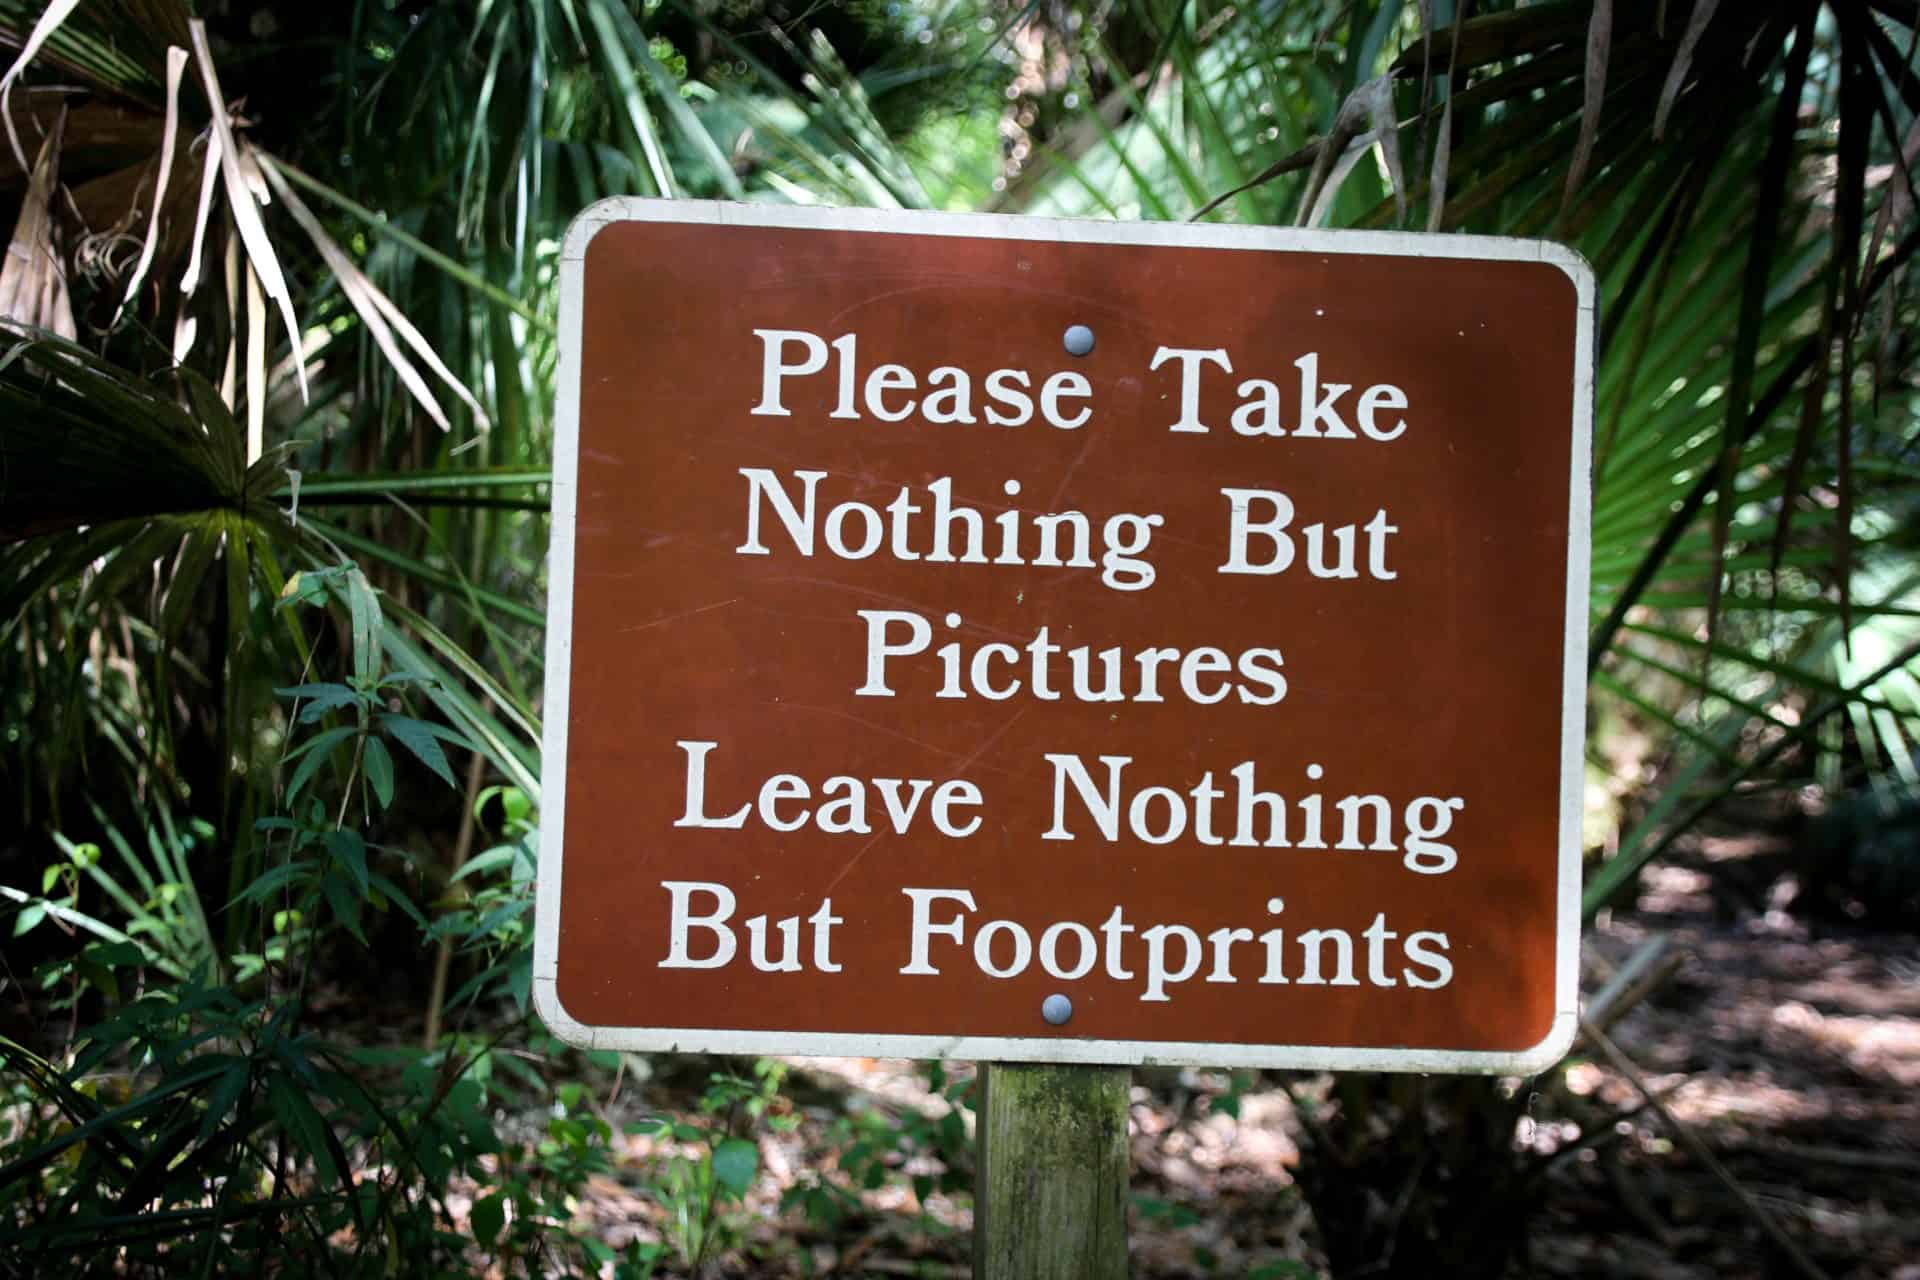
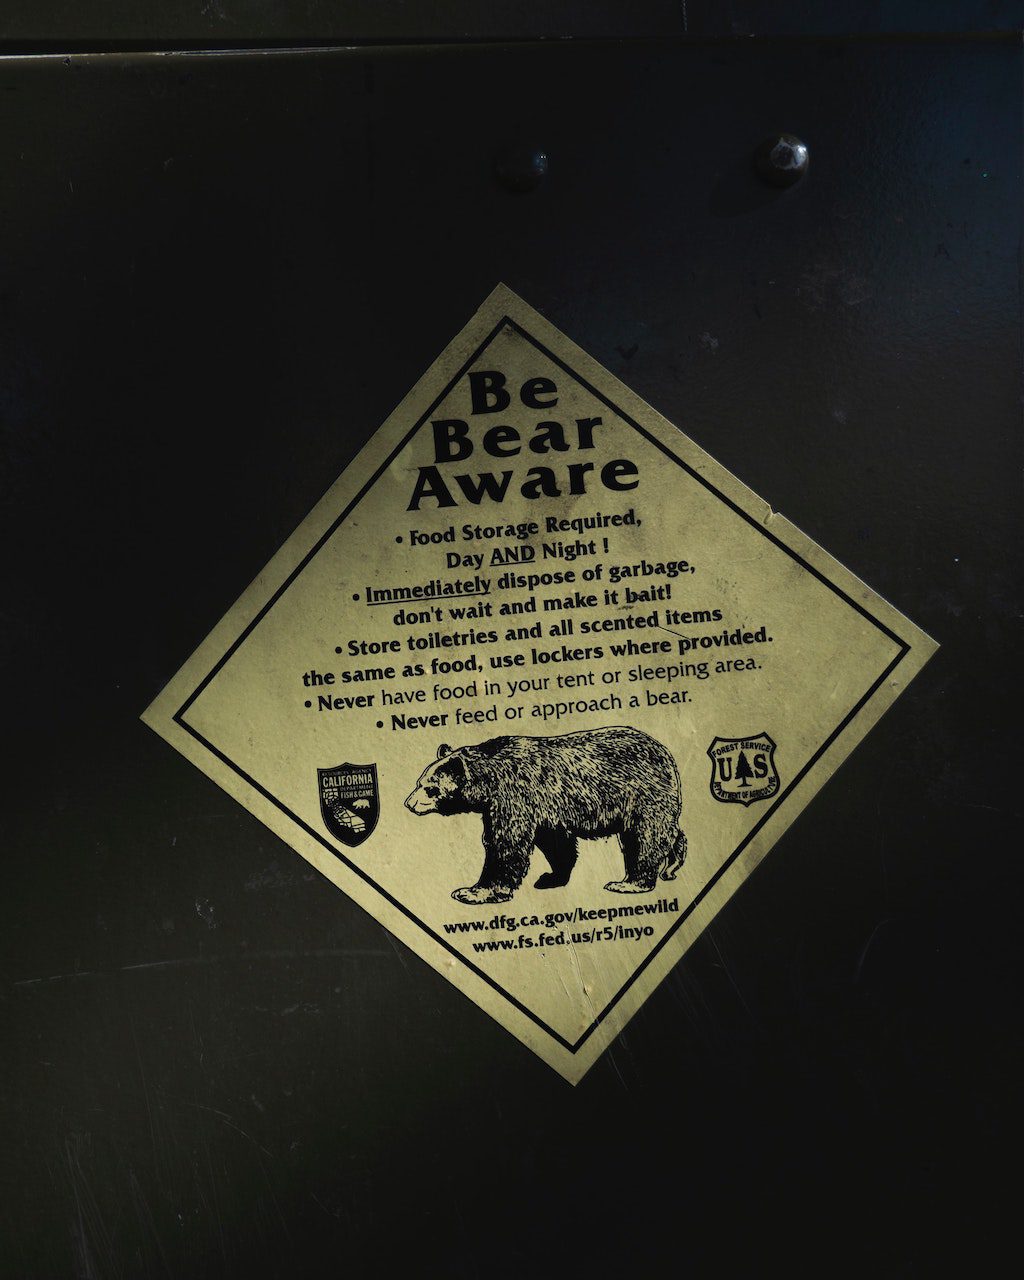
Make sure that you are following leave no trace principles, properly storing your food, and packing out your trash when on the trail.  Check out our “how to store food while backpacking” post to learn more!

Tell Me, What Are Some Of Your Favorite Hiking Snacks?

Categories
Outdoors for Beginners backpacking for beginners

Backpacking Nightmare. 8 Biggest Backpacking Mistakes From My First Trek

Backpacking Nightmare | 8 Biggest Backpacking Mistakes From My First Trek

backpacking nightmare my 8 biggest backpacking mistakes

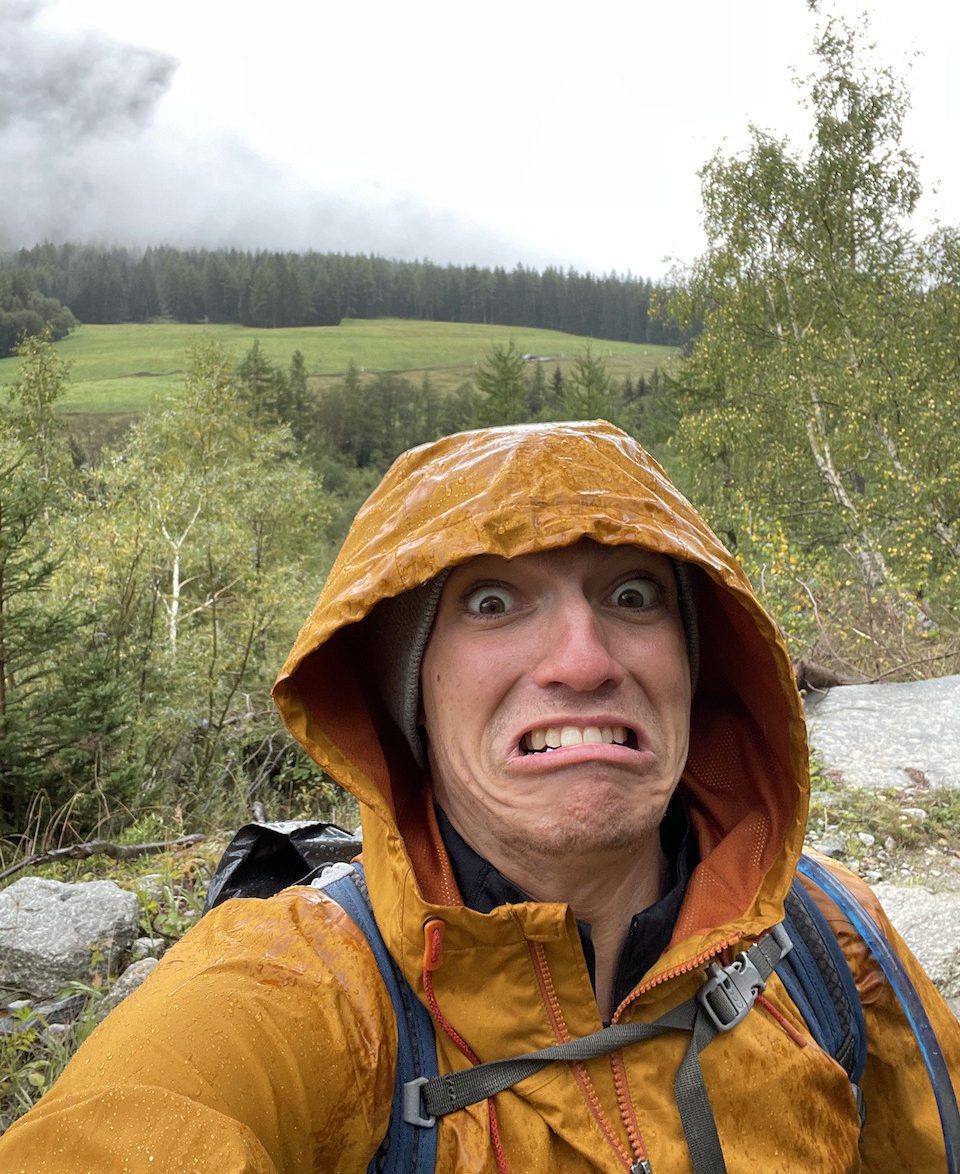
Holy crap, what did I get myself into?

I just wanted to catch some cool mountain views.  Now I’m cold, sore, and my lips are bleeding.  These were some of the thoughts going through my head during my very first backpacking trip.  It turns out dropping a city boy in the middle of the wilderness without proper gear or preparation doesn’t go smoothly.  Who knew?

My first backpacking trip was about five years ago.  Prior to this I grew up in Long Island suburbia and spent my young adulthood in New York City.  I was not an outdoorsman by any means.  

So when my friend Joe, an experienced backpacker, asked me and our friend tom to go on our first backpacking trip, I was a little intimidated.  But I figured how hard could it be?

Since neither Tom nor I had any experience backpacking, Joe sent us a list of the backpacking gear we needed for the trip, told us to get in shape, and assured us that he would walk us through the skills when we were on the trail.

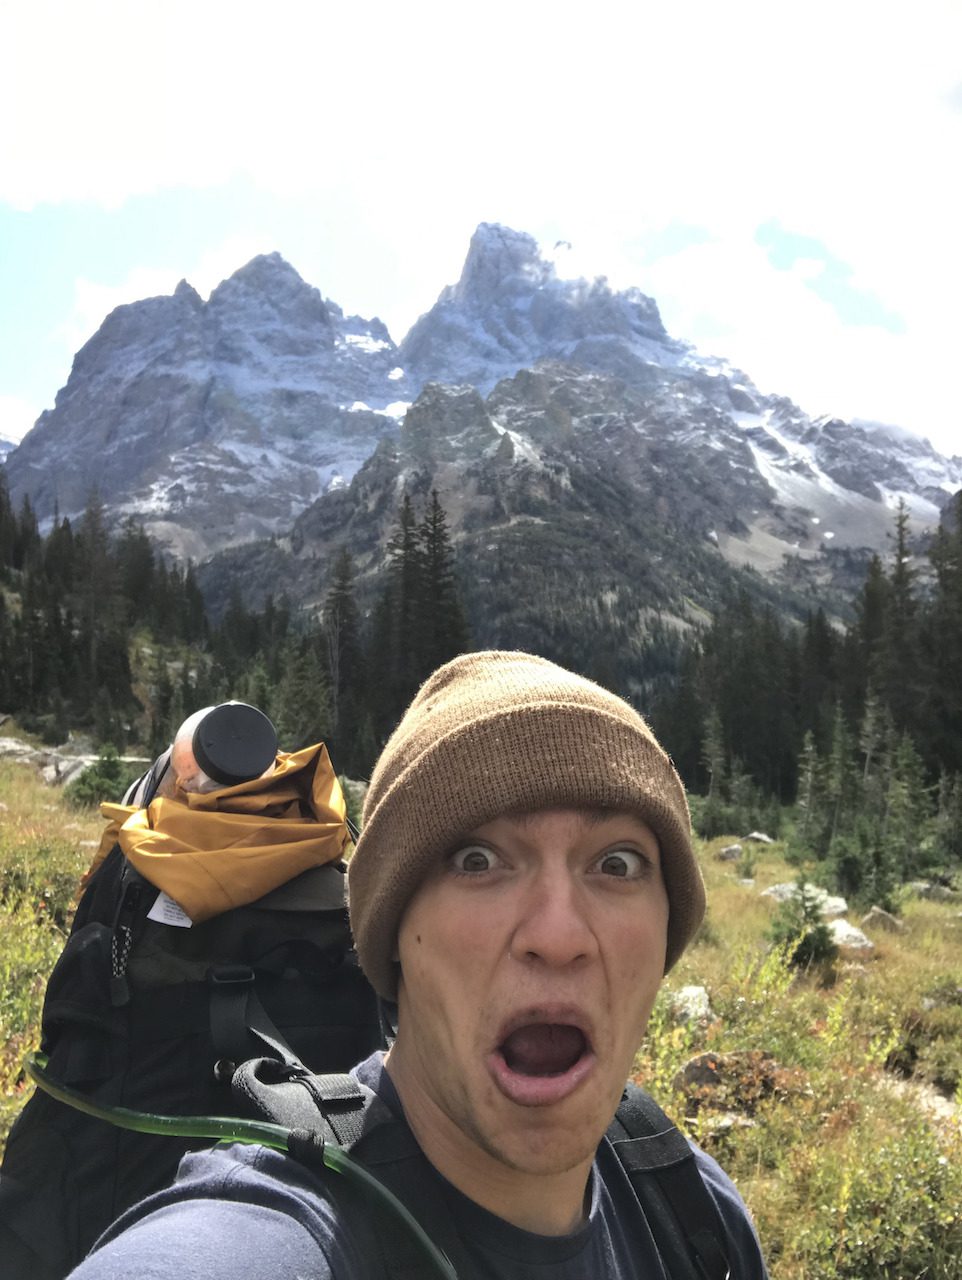
We planned a three-night, four-day backpacking trip on the Teton Crest Trail in Grand Teton National Park.  Let me tell you.  I made many mistakes throughout this trip which left me cold, uncomfortable, and sore.  While I still had a great time, this trip would be a nightmare for some and there are a lot of things I would have done differently.  So I figured let me share some of my beginner backpacking mistakes with you guys, so maybe you can avoid making the same ones as me!

Backpacking Mistake #1 Missing Raingear (no rainfly for my tent):

how to hike in the rain
It can get wet out there!
We spent the night before the start of our backpacking adventure on a front-country campsite, and as I finish setting up my tent, Joe goes, “dude, where is your rainfly?” 

“Rainfly?  What do you mean?” Says I, the dumb city boy.

Joe explains that we will encounter rain on and off throughout the trip , and I need a rainfly to cover the outside of my tent.  Without one, if it rains, both my gear and I would get soaking wet.  This meant that my tent was essentially useless.  

Fortunately for me and unfortunately for Tom, Tom had a two-person tent which meant that the two of us were getting cozy for the next three nights!  

Backpacking Mistake #2 No Sleeping Pad:

That’s right.  You know that thing you need to sleep on so you are not sleeping on rocks?  Well, I slept without that.  

Slept might be a stretch, more like I stared up at the ceiling of my, oh wait, no Tommy’s tent for three nights straight.  By the end of this trip, I was tired, and my back was killing me from lying on the hard ground.    

GET A GOOD SLEEPING PAD!  It is more than worth the investment.  A good night’s sleep will allow you to recover and enjoy your next day of hiking, and a bad one will leave you tired, sore, and cranky!

Backpacking Mistake #3 Hiking Out Of Shape:

I was no-neck-ed at this phase of my life, spending a ton of time weightlifting and avoiding cardio like the plague, so when I had to do an aerobic activity like hiking 10+ miles a day, I was in pain.   

After just one mile, I asked how much longer we had to go, and when I heard ten more miles.  I was devastated my precious biceps were doing me no good here!
Next lesson, you need to be in the proper shape for the distances you plan on hiking.  The proper shape means good aerobic fitness.  Activities such as running, long walks, or cycling can help improve your endurance for a long hiking trip. Don’t be like me.  Prepare for your hike, so your legs don’t hate you. 

Backpacking Mistake #4 No Trekking Poles:

But this one was terrible because, before our trip, Joe explicitly asked me if I bought the hiking poles he recommended.  I laughed at him and  said, “what do I need to buy hiking poles for?  I got two right here!” pointing to my legs. 

Fast forward to just our second day of hiking, we are climbing a steep uphill section of the trail, and Joe sees me struggling with the ascent.  Like any friend would do, he proceeded to let me know how dumb I am for not listening to him and then let me use one of his hiking poles. 

Yep, I’m a knucklehead.  But I have learned my lesson and now I wouldn’t dare go on a backpacking trip without my hiking poles.  I recommend them for anyone going on a backpacking trip no matter their age or skill level.  Hiking poles help you keep your balance, hike faster, and take a load off your knees.  

Backpacking Mistake #5 No Camp Shoes:

Boy I should've brought a pair of camp shoes.

The gear blunders continue. At the time, I didn’t even know what camp shoes were, so I sure as heck didn’t bring them on our trip. But boy, I wish I did!  
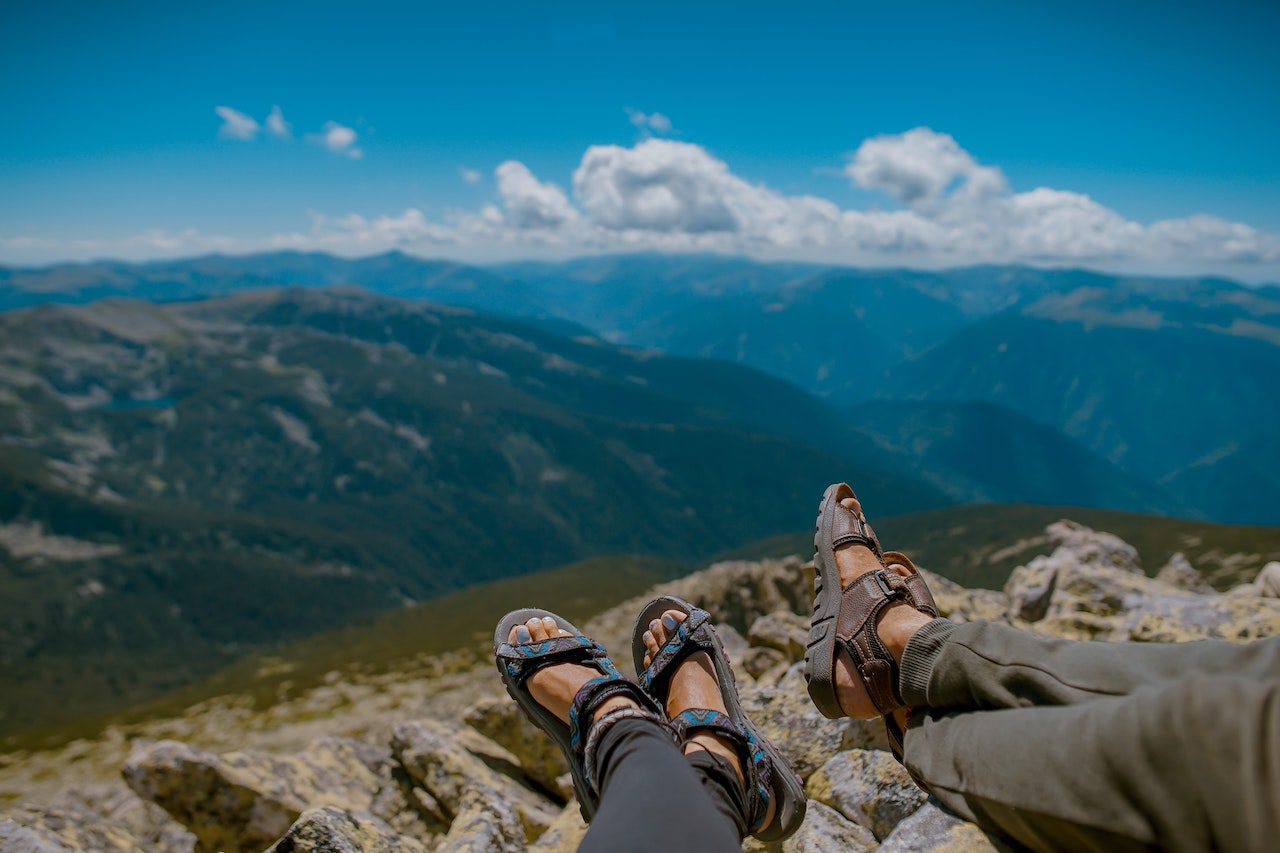
After each day of hiking, all I wanted to do was get out of my boots and slip into some comfortable sandals. Alas, I didn’t bring camp shoes. So at the end of each day, I had to either walk around in the cold barefoot or keep my sore feet in the same boots I’ve been hiking in for the past 8 hours. 

Get a pair of camp shoes. They are inexpensive and an essential.

I’m sure you can probably tell by now, but gear preparation is crucial for any backpacking trip. Check out some of my recommendations on my “Backpacking Gear Guide.”

Backpacking Mistake #6 No Chapstick:

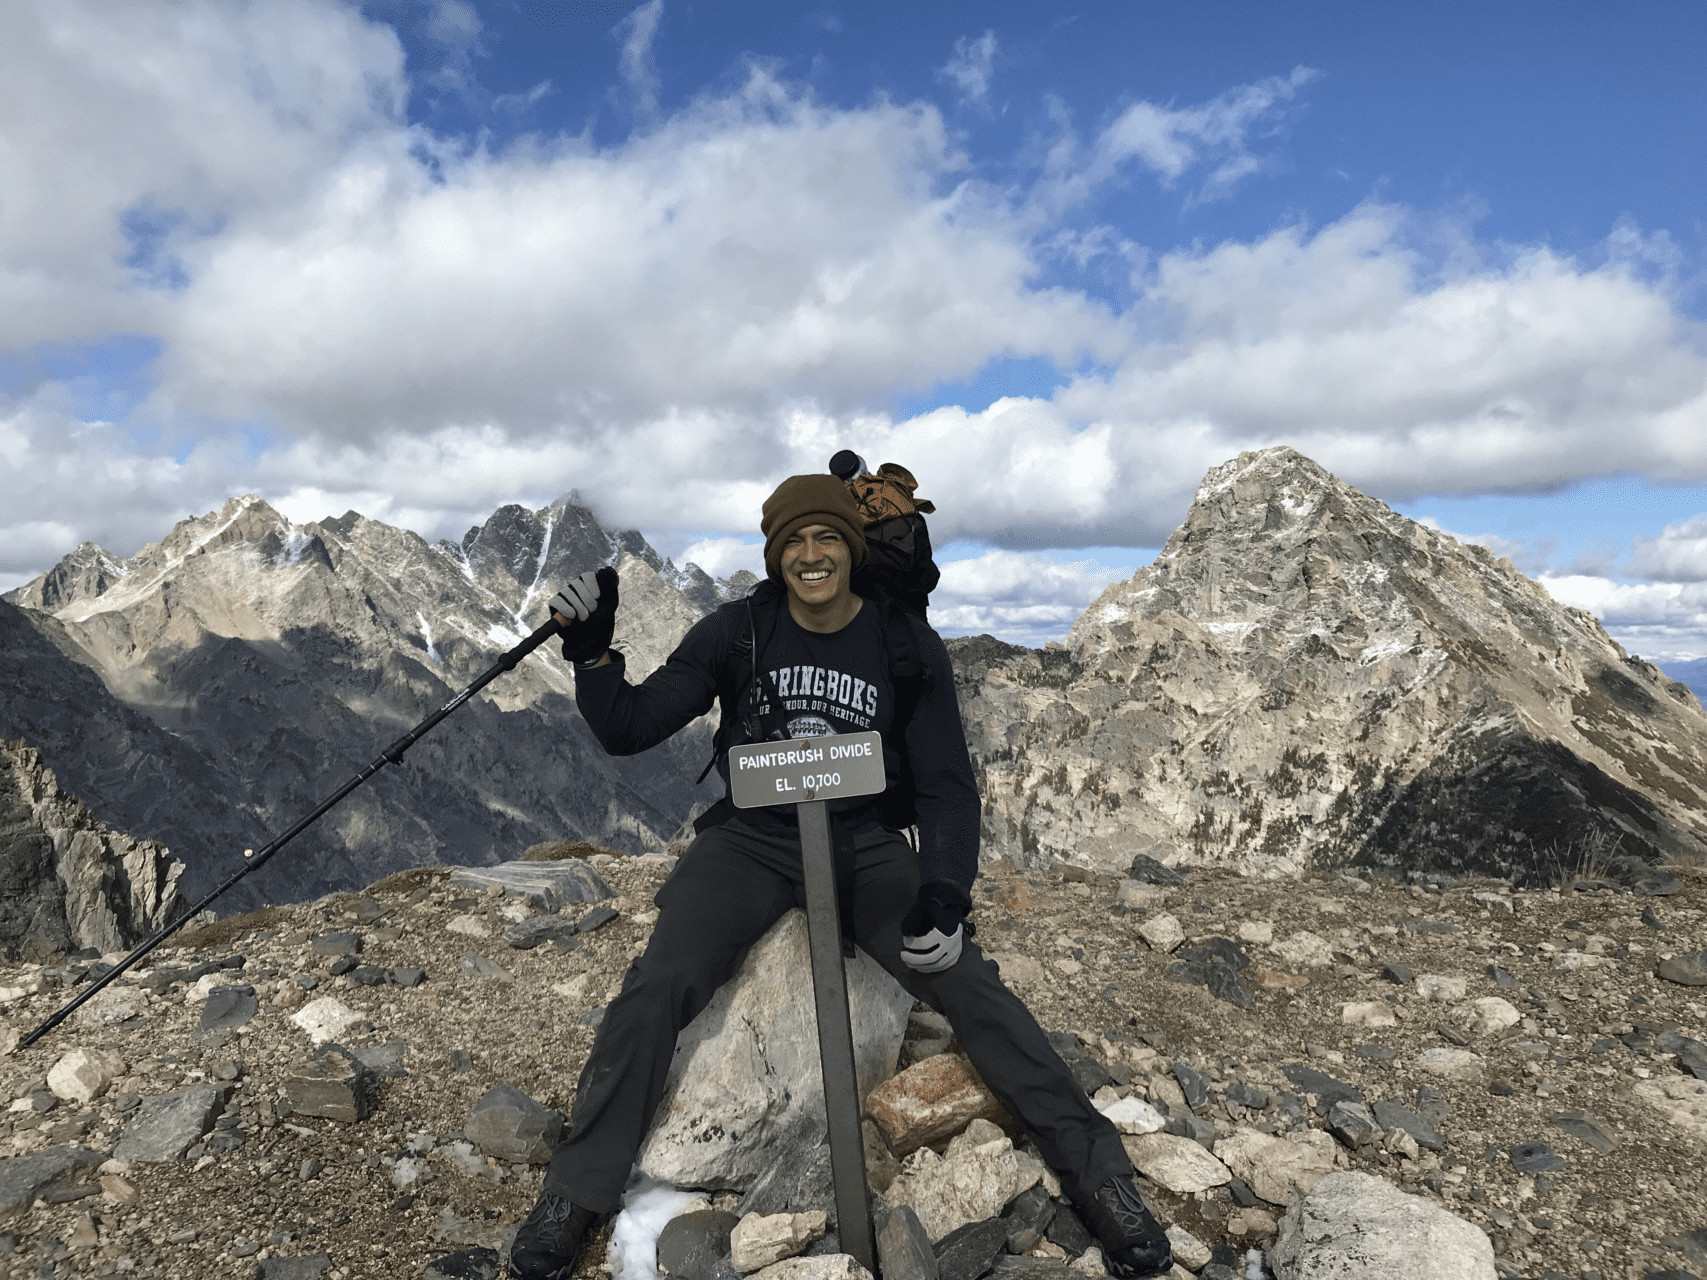
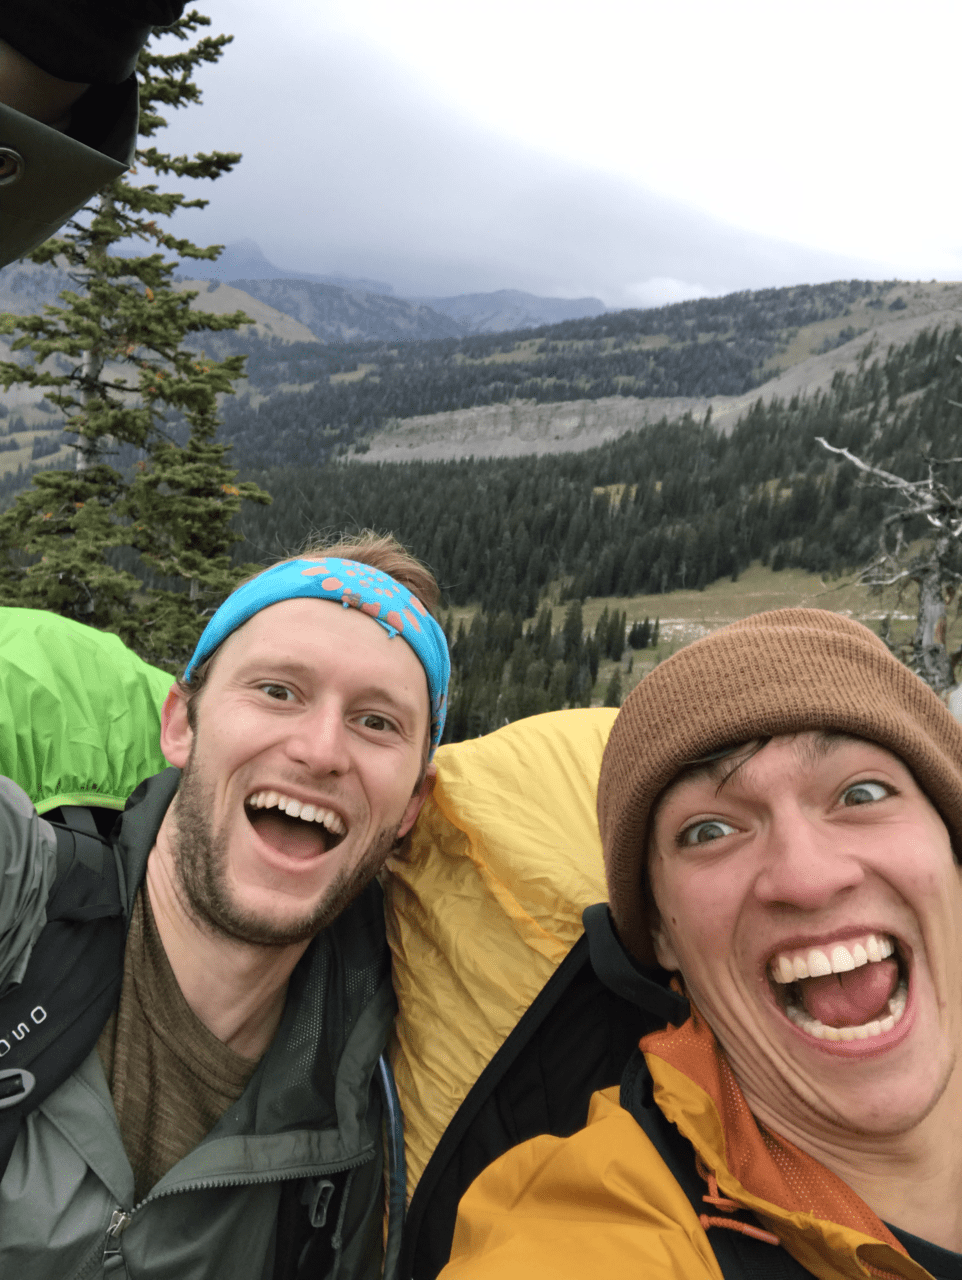
Don't let the smile fool you, I was in desperate need for chapstick.

I didn’t even imagine this could be an issue, and it may not be a big problem for most of you.   But for me, it turns out once I start hitting higher elevation, my lips chap, BADLY. 

I’m not talking about just some dry lips.  Oh no, these puppies look like they were put through a meat grinder.  My lips were so chapped that they were straight-up bleeding for three of the four days while we were hiking.  It was very uncomfortable, and I do not recommend it. 

After this trip, I never leave my house, let alone a backpacking trip without chapstick on me. 

Backpacking Mistake #7 Overpacking:

If you read this far,  you can see that I was pretty unprepared and forgot to bring a lot of necessary gear.  Tommy’s biggest backpacking mistake was that he overpacked BIG-TIME. 

Jeans, hairbrush, and hair gel are just a few of the absurd things Tom brought on this trip.  He brought so many nice clothes hiking we thought he had a Tinder date in the woods.  The worst part about this was that I had to carry his extra things that wouldn’t fit in his pack!  I can’t complain too much though, seeing as I was squatting in his tent the entire trip.

But I digress, the point is when you are backpacking, you need to find the balance of bringing all of your essential gear but not overpacking to the point where your pack is too heavy, and your friend is stuck carrying your hair gel!

Backpacking Mistake #8 No GPS:

All fun and games until you're lost!

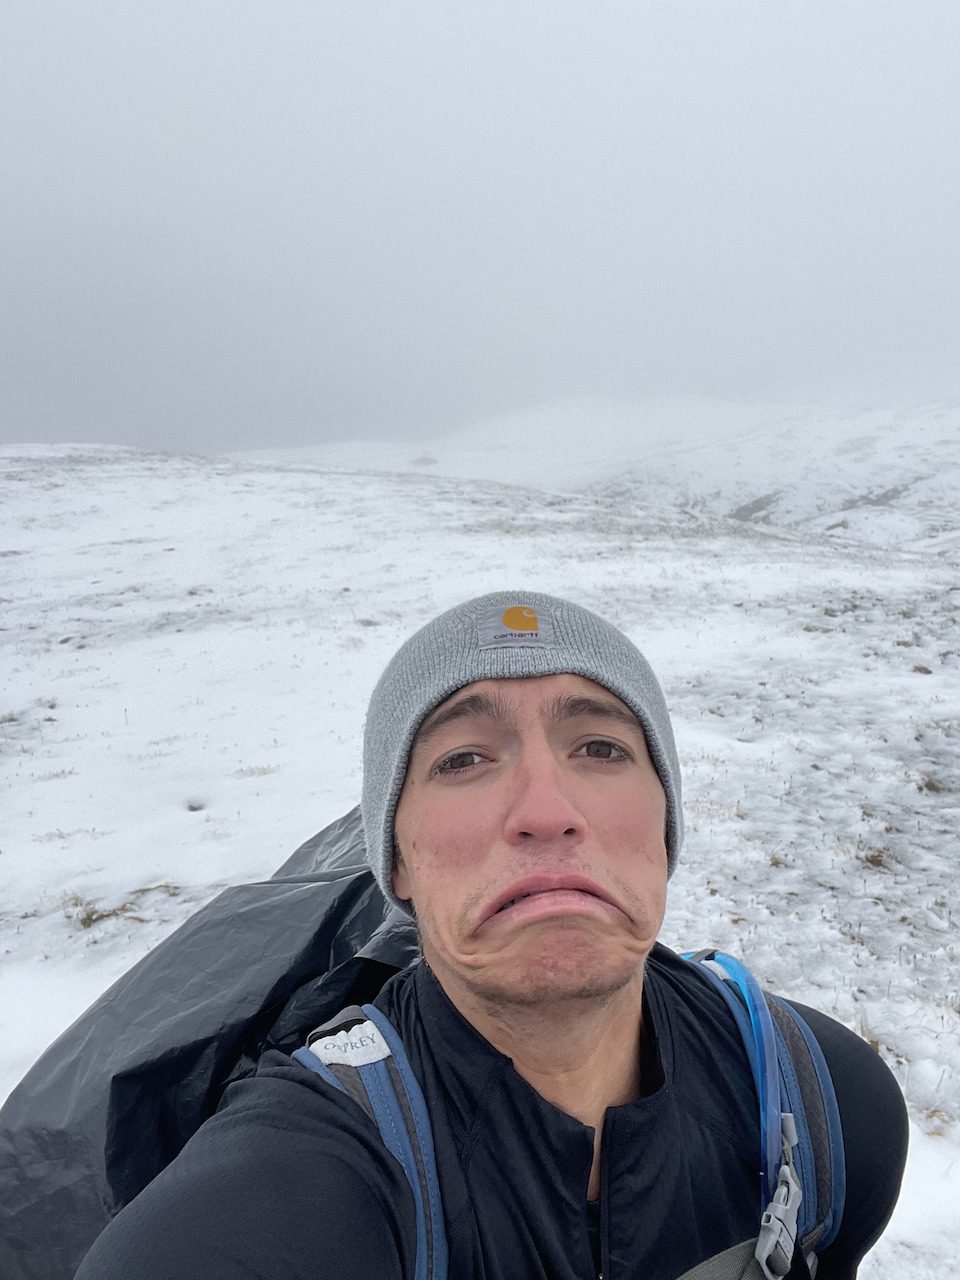
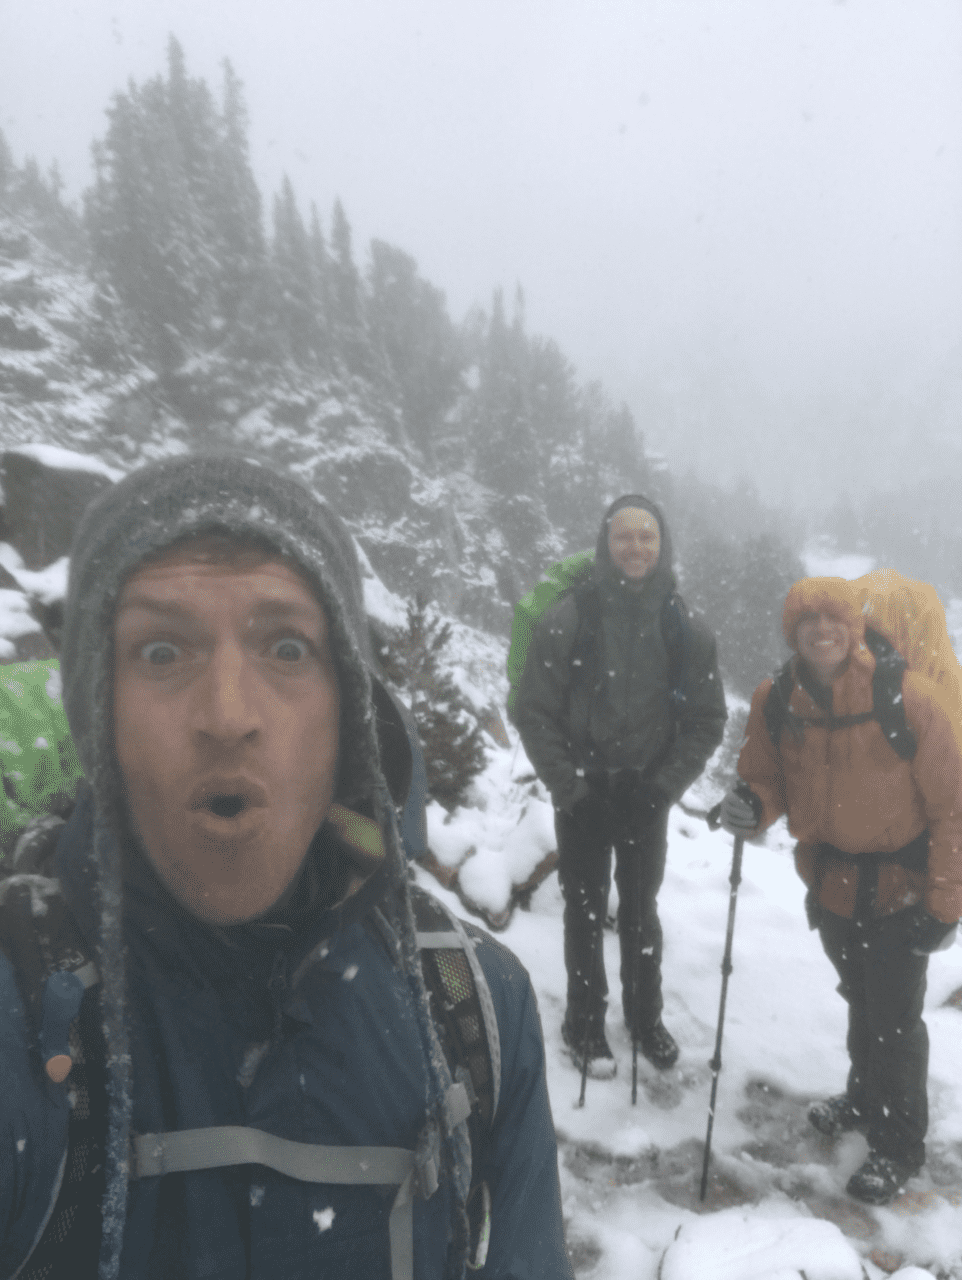
This was a mistake that all of us made.  While we expected to encounter rain during our trek, we did not anticipate snow.

We encountered a blizzard on the top of a mountain pass during our trek, which completely covered the trail.  After several attempts searching for the trail, we still could not find it.  This situation quickly became dangerous as the footprints we made were getting covered by the snowfall as soon as we were making them. 

Fortunately, we got lucky and finally stumbled onto the trail, but this is a situation where having a GPS device such as a Garmin watch would have been extremely helpful to help us navigate the snow-covered path.  

Also, it is worth mentioning that If you find yourself in a situation where you are unable to pick up the trail confidently, it is a good idea to go back to your original path and head back.  Safety should always be your number one priority whenever in the backcountry.

All In All Still A Fun Trip!

No filter, no chapstick, no problem!

Believe it or not, despite all of these mishaps and uncomfortable moments, my first backpacking trip was still an incredible experience.  While I did forget many important things on my first adventure, I did not forget a positive attitude!  

It’s corny, but I always like comparing hiking as a metaphor for life.   There will always be difficult moments, but if you take the time to appreciate the beauty around you, it becomes way more enjoyable.  

If you are new to backpacking and want to learn some of the basics to avoid many of the pitfalls I ran into, you should check out  my article “How To Start Backpacking A Beginners Guide By A City Boy.”

Categories
Outdoors for Beginners backpacking for beginners

How To Start Backpacking | A Beginners Guide By A City Boy

How To Start Backpacking | A Beginners Guide By A City Boy:

Backpacking

Hello friends!  Since you are here, you must be looking to take a dive into backpacking (hiking in the backcountry not city hopping in europe).  You’re right to be interested.  Backpacking is an incredible way to get out of a stuffy city / boring suburb, unplug from social media, and explore some of the most remote areas of the world while connecting with nature. 

Starting backpacking can be a daunting endeavor, especially if you are like I was and have no prior experience.  But do not let this intimidate you.  With the proper practice and preparation, you can enjoy an awesome backpacking trip too.  Trust me.  If I, a New Yorker without any hiking or camping experience, can learn how to backpack, so can you!

While backpacking is no walk in the park, proper outdoor skills, gear, and preparation are essential.  It is more than worth the time and money invested, as these trips give you experiences that you will carry for the rest of your life.  

Where Do I Start?

I find that there are two different approaches to get started backpacking:

  • Jump right in and learn as you go.
  • Take your time to gain experience, skills, and gear prior to embarking on your first backpacking trip.

Jump Right In And Learn How To Backpack As You Go:

How to start backpacking a beginners guide
Me Jumping Right In There

Let me start by saying I DO NOT mean show up on a trail without any gear, skills, guidance, or preparation and go for it.  That is dumb and dangerous.  You need to know some of the basics or at least be hiking with a friend who knows what they are doing, so your first backpacking experience is a safe one.

In my case, although I had little to no prior experience hiking or camping, I had a friend who had backpacked all his life with me on my first trip and showed me the ropes.

There was still a steep learning curve, and I made A LOT of mistakes, having some very uncomfortable moments.  But experience is one of the best teachers, and with each mistake, whether it be gear selection, skill or preparation, I learned and took that lesson with me on my next backpacking trip.  

This approach isn’t for everyone.  There is a lot of trial and error, and like myself you may have some uncomfortable nights sleeping and days hiking.  But if you can keep positive outlook jumping right in is a great way to immerse yourself and learn quickly.  


Build Up For Your First Backpacking Trip:

For those of you who prefer taking things slowly and want to avoid some of the common pitfalls of beginner backpackers building up your skills, gear, and experience is a great way to start backpacking.  

This approach allows you to get a bunch of experience before heading out on the trail and will likely make your first backpacking trip a bit more comfortable than if you jump right into the experience.  

First Start Hiking!

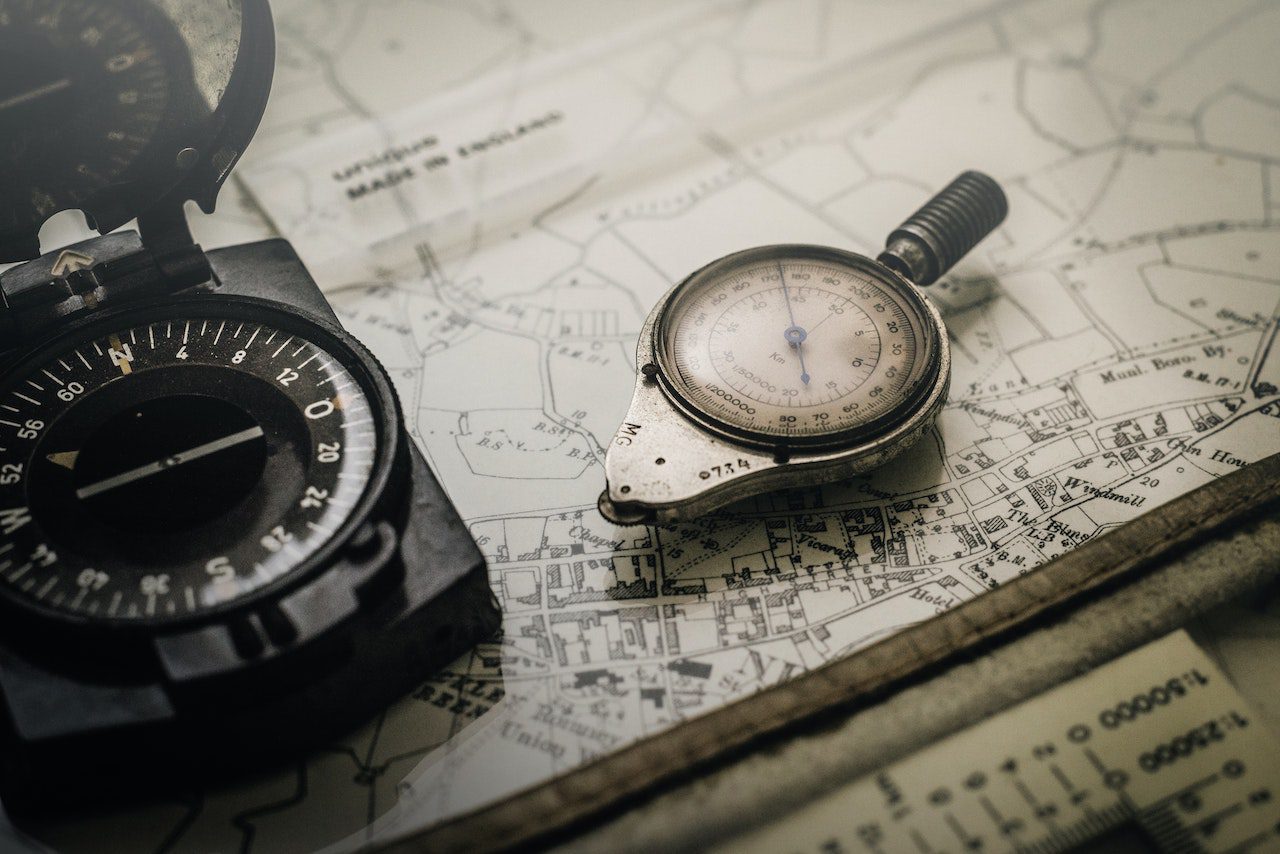
The first step to get started with backpacking is to get out and hike!  It doesn’t need to be anything crazy long or difficult.  Just go to a local park or nature preserve, pick a trail, grab a map and compass, and start hiking.  Getting day hikes under your belt before going on a backpacking trip helps with the following:

  • Gets you in hiking shape:  Hiking consistently will build a solid aerobic base which is essential to get into good backpacking shape.  Keep in mind when you are on a backpacking trip, you are hiking long distances day after day with a full pack on, so your fitness preparation shouldn’t be taken lightly.  You can consider hiking with a full pack to help you prepare for the extra weight you will be carrying with you when backpacking. 
  • Allows you to practice basic outdoor skills:  Spending more time walking on trails also helps familiarize yourself with some of the basic backpacking skills such as trail finding, navigation, and leaving no trace.  These skills along with others are foundational for backpacking and should be honed before entering the backcountry. 

Buy The Right Gear:

Hiking Gear Blog

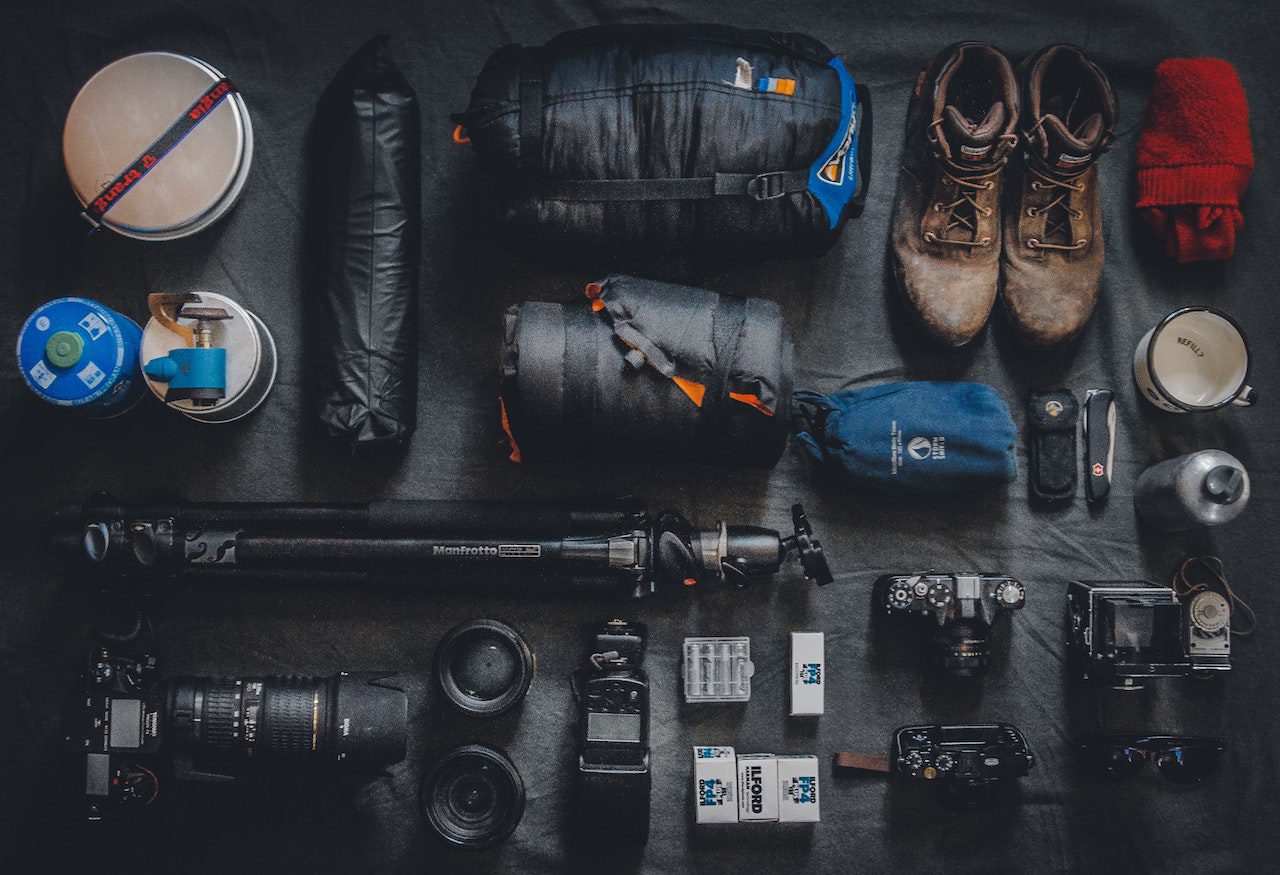
Having the right gear is an absolute must for any backpacking trip.  Here are my tips when it comes to backpacking gear: 

  • Create a gear list
  • Purchase High-quality gear
  • Know how to use all of your gear

Create A Backpacking Gear List:

trip planner

Every backpacker needs to have a gear checklist listing everything needed for your backpacking trip, including the ten essentials.  Having a physical list to reference will help prevent you from forgetting things on your journey.  Keep in mind that different backpacking trips may require different kinds of equipment depending on:

  •  The type of environment you are hiking in:  
    • Desert regions may need more water storage.
    • Rainy areas may require extra rain gear, such as rain pants.
    • Snow may require snow gear such as crampons, ice axes, or snowshoes.
  • How long you are hiking: the shorter duration of the hike the smaller of a pack you can use as you will need less space for food, extra clothes etc.

  Check out my backpacking gear checklist if you’re not sure what to bring.

Purchase High-Quality Gear:

Alright, this one is big.  Get nice gear.  DO NOT be like me and get the cheapest equipment you can find.  Sometimes you can get away with it, but odds are it will be crap and cost you more money in the long run with buying replacements.  I strongly recommend going with higher quality gear, check out our backpacking gear guide or go to your local outdoor store to get assistance with gear selection for your needs. 

Know How To Use Your Backpacking Gear:

preparing for the wonderland trail

It is not enough to have the right gear, but you need to know how to use all of it too.  A water filter is no good to you if you are clueless about how it works!  Try to avoid using equipment for the very first time in the backcountry, test gear out at home or on a day hike to make sure that it functions properly and you know how to use it.  

Learn Basic Backpacking Skills:

One of the most important steps is knowing proper backpacking skills so you can enjoy your time in the backcountry safely and responsibly. Below are some of the basic skills you MUST have before entering the backcountry:

Leave No Trace:

Leave No Trace

The golden rule of doing any activity outdoors is to leave no trace.  Leave no trace is a set of principles to be followed to help preserve the integrity of whatever wilderness you are backpacking in.  Whenever entering a national park or forest, your goal would be to leave the area exactly as you found it packing out any trash and adhering to the leave no trace principles.   You can learn all about these principles with our article “What Are The Leave No Trace Principles?” or at lnt.org

How To Use A Map And Compass:

map and compass

While GPS devices are a great luxury to have, knowing how to use a topographic map and compass is a mandatory skill to have whenever backpacking.  Sometimes technology fails and in those instances, you need to know how to navigate on your own. 

How To Set Up Shelter:

car camping vs backpacking

No matter where you are hiking, you should have some shelter system packed to keep you protected from the elements.  Especially after a long day of hiking, you should know how to set up your shelter quickly and easily so you can get some much-deserved rest.  While tents and hammocks are intuitive to set up, I recommend taking the time before a trip to know the ins and outs of your shelter setup.  

How To Store And Treat Water While Backpacking

how to carry and treat water when backpacking or hiking

We always need water.  So when backpacking it is important to know how to carry and treat water to keep us hydrated.  The problem we run into when backpacking is that it is not feasible to carry multiple days of water in your pack, as it would be way too heavy.  Therefore you need to rely on natural water sources such as rivers and lakes to keep you hydrated when on the trail.  

Since natural bodies of water run the risk of carrying harmful bacteria and microbes, you need to know how to treat your water in the backcountry properly to avoid illness from drinking contaminated drinking water.  Check out our article “How To Carry And Treat Water When Backpacking / Hiking” to learn everything about carrying and treating your water on the trail!

How To Plan And Cook Your Meals:

how big of a pot do I need for backpacking

You are burning a TON of calories whenever you go on a backpacking trip, so properly refueling is an absolute must.  When backpacking, you need to plan out each days meals thoroughly and be sure to pack a bit of extra food in case of emergencies.  

When planning your meals it is a good idea to bring food that is calorie dense, high in salt and is easy to carry.  Typically I do oatmeal for breakfast, granola bars/trail mix/ dried fruit for lunch, and a freeze dried backpacking meal for dinner.  

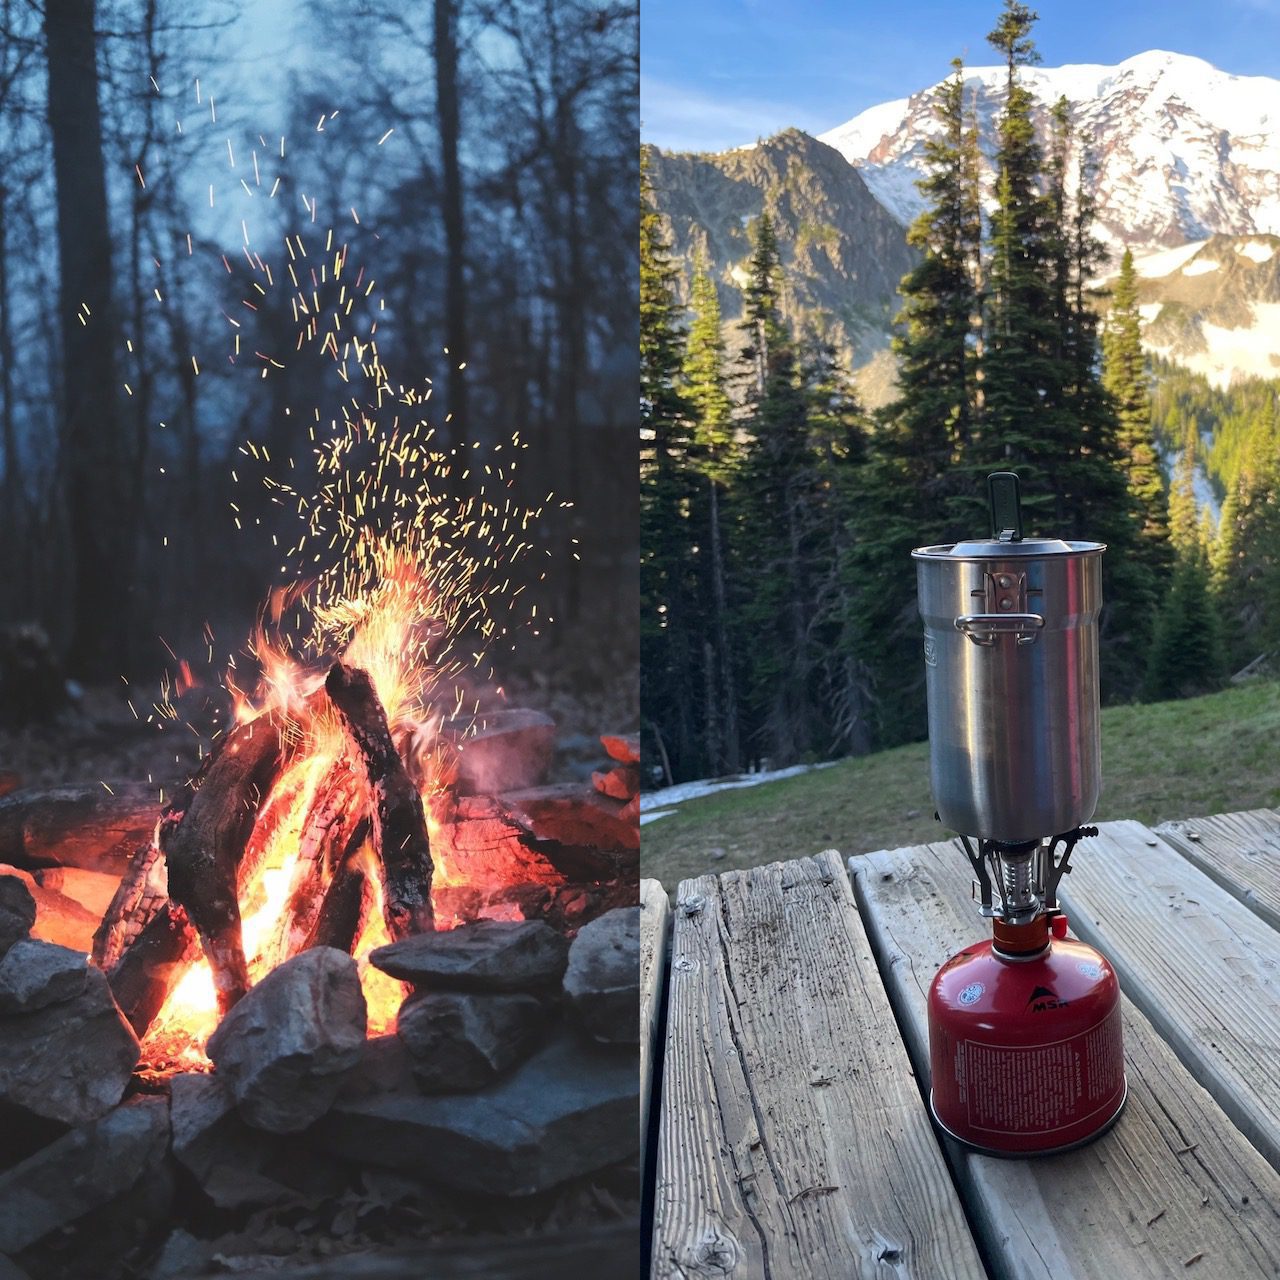
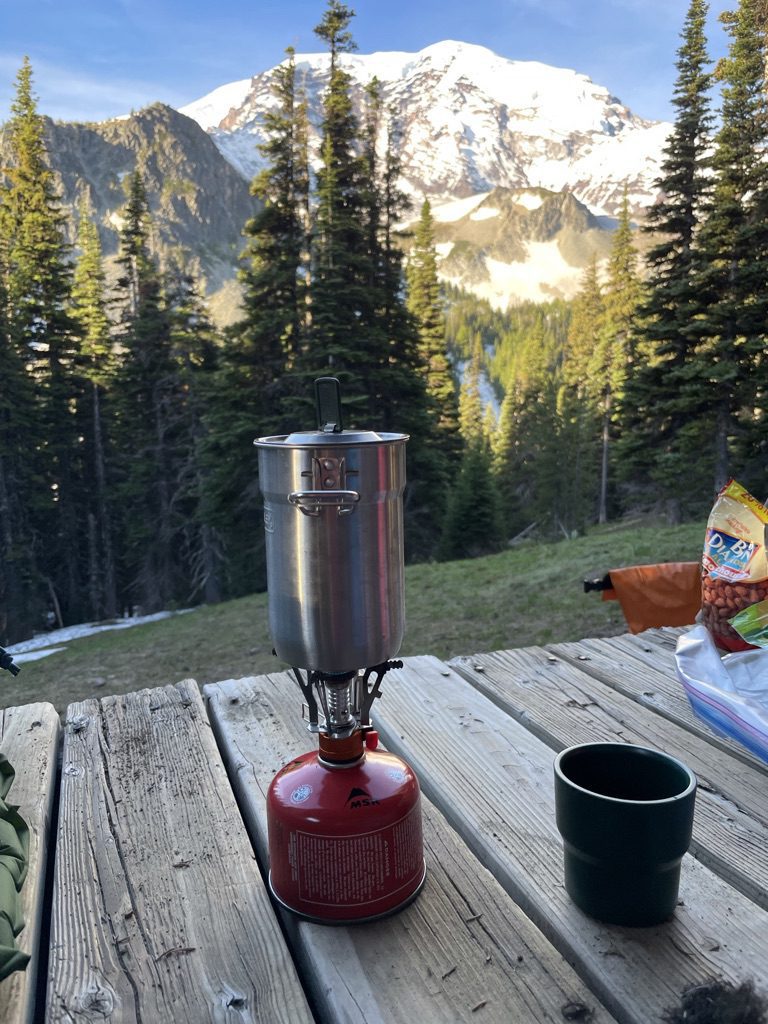
Also, you need to be comfortable with using a backpacking stove for cooking your meals.  These stoves are typically small propane-powered devices that release fuel when attached to the tank and ignite with a clickable flint (or you can use a lighter).  You should make sure you have enough fuel for your trip and practice using your stove before heading into the backcountry.

How To Store Food While Backpacking:

An essential part of leaving no trace is to know how to properly store your food while backpacking.  Improper food storage can be harmful to your well-being and that of local wildlife.  Let me explain…  

  1. It’s harmful to you because improper food storage can lead to your rations being eaten by wildlife.  This will not only leave you without food in the remote wilderness, but it can also put you at risk for a dangerous wildlife encounter.
  2. It’s harmful to local wildlife such as bears because once they taste human food, they are much more prone to seeking it out.  This can lead to more dangerous wildlife encounters with your fellow hikers and necessitate the need for the animal to be put down by local officers.

To prevent this, you need to properly store food and odorous items using approved storage techniques for whatever park you are visiting.  To get a full rundown, check out my article “How To Store Food While Backpacking.”


Basic First Aid:

Conditions on the trail can be rough at times and you will encounter minor scrapes, sprains, and injuries.  Therefore it is important to have a basic first aid kit as well as working knowledge on how to manage common injuries and ailments that you may experience when backpacking. 

How To Pack A Backpack For Backpacking:

How to bring hiking poles on a plane

A good amount of gear comes with backpacking, so it is essential to pack it efficiently to carry your pack as comfortably as possible.  

To start, you should have a pack that fits you well.  You want most of the weight to be on your hips and the backpack to be close to your body so it is not swinging around when hiking, which can throw you off balance. 

Next, you should aim to have the heaviest items at the bottom of the pack.  This will help keep the weight near your hips and prevent your backpack from being top-heavy.

One of my last tips is to avoid attaching things to the outside of your pack.  Items on the outside of your backpack can become loose and fall off, leaving you without a piece of gear and littering the park!  Having equipment on the outside of your pack can also dangle around when hiking, which can throw you off-center on the trail. 

How To Poop While Backpacking:

How To Poop While Backpacking

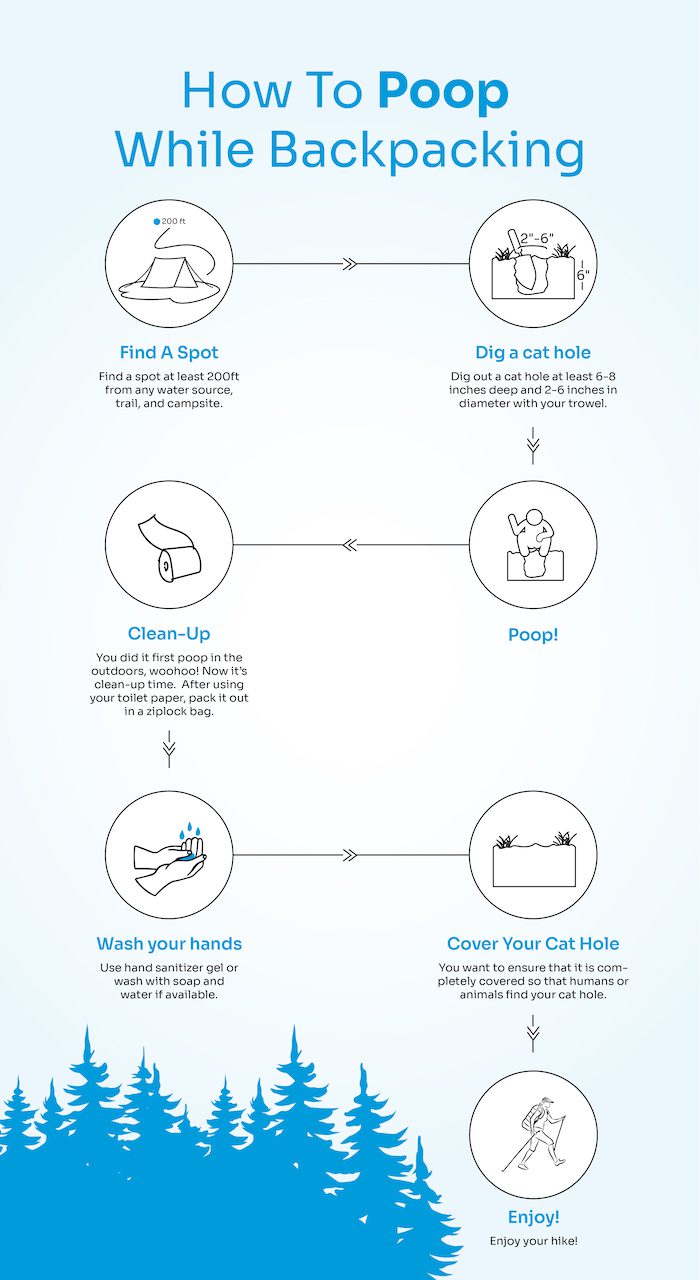
Okay, now I know this one sounds crazy for my fellow city people,  but yes, you will have to poop in the woods, and yes, there is a right way to do it.  The above infographic gives you a brief overview, but take a look at our “how to poop while backpacking” article to learn everything you need about pooping outdoors.  


Practice Your Backpacking Skills:

Okay, you got your gear and learned some of the basics.  Now it’s time to put them to the test! 

A great way of doing this is by going on a car camping trip.  Car camping is a great way to simulate the experiences of a backpacking trip in a more controlled environment.  While doing shorter day hikes and camping in the front country, you can practice essential backpacking skills, but you still have the security of being a short drive from civilization.

Another great way to practice backpacking skills is by joining an outdoor club or taking advantage of some of the REI backpacking classes!

Plan Your First Backpacking Trip:

Look at you go!  You got your backpacking gear and skills down pat now all there is left to do is plan your first backpacking trip!

The steps to planning your first backpacking trip are as follows:

  1. Pick your backpacking destination
  2. Research your backpacking destination
  3. Create a backpacking itinerary
  4. Plan out travel logistics

Pick Your Backpacking Destination:

First things first, you need to get inspired and find a park/wilderness/forest  that excites you and fills you with wonder (#wonderfarr)!  The best way I found to do that is with pictures!

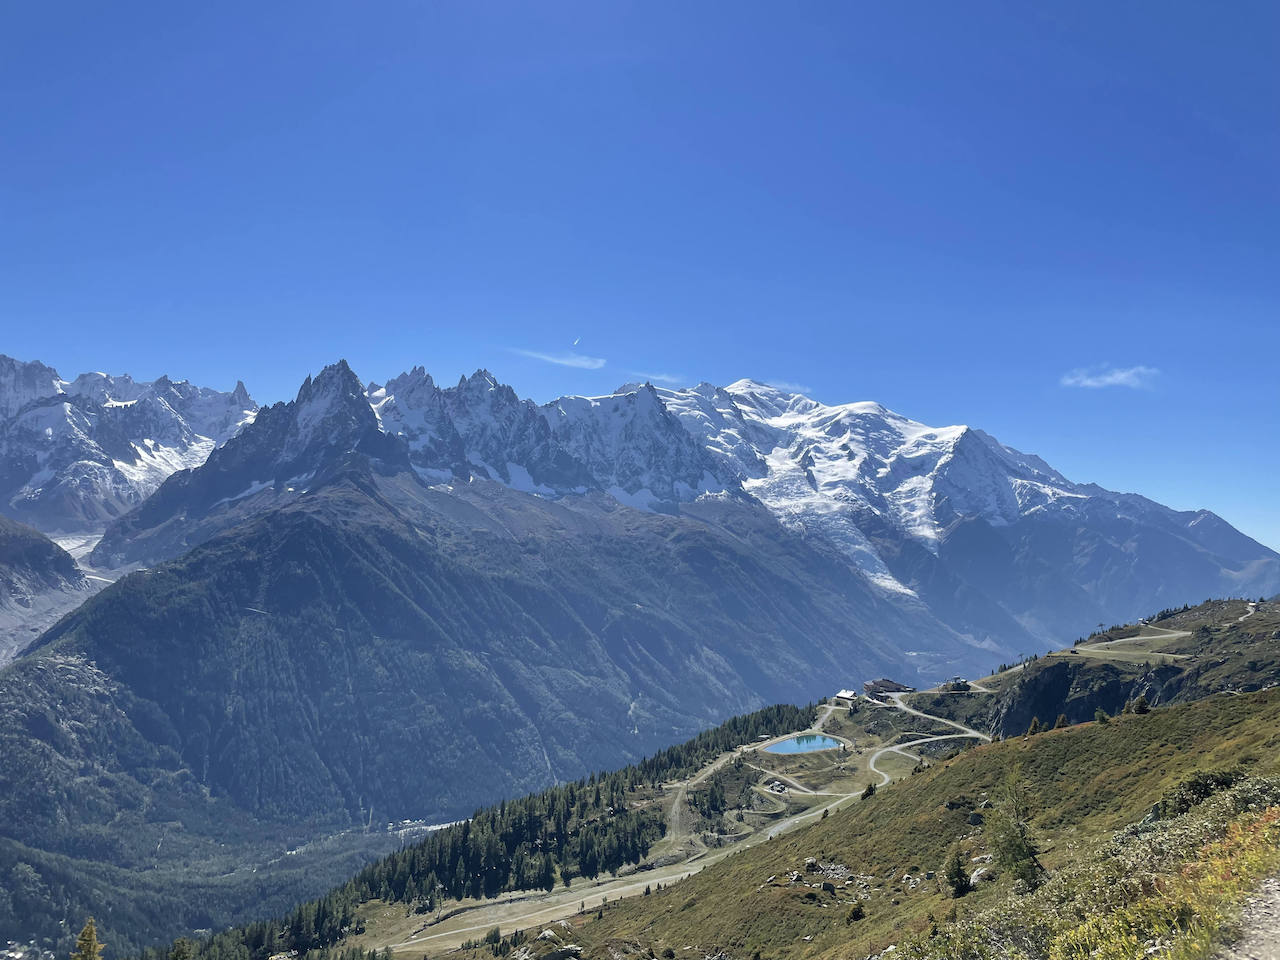
Mont Blanc
ansel adams wilderness backpacking
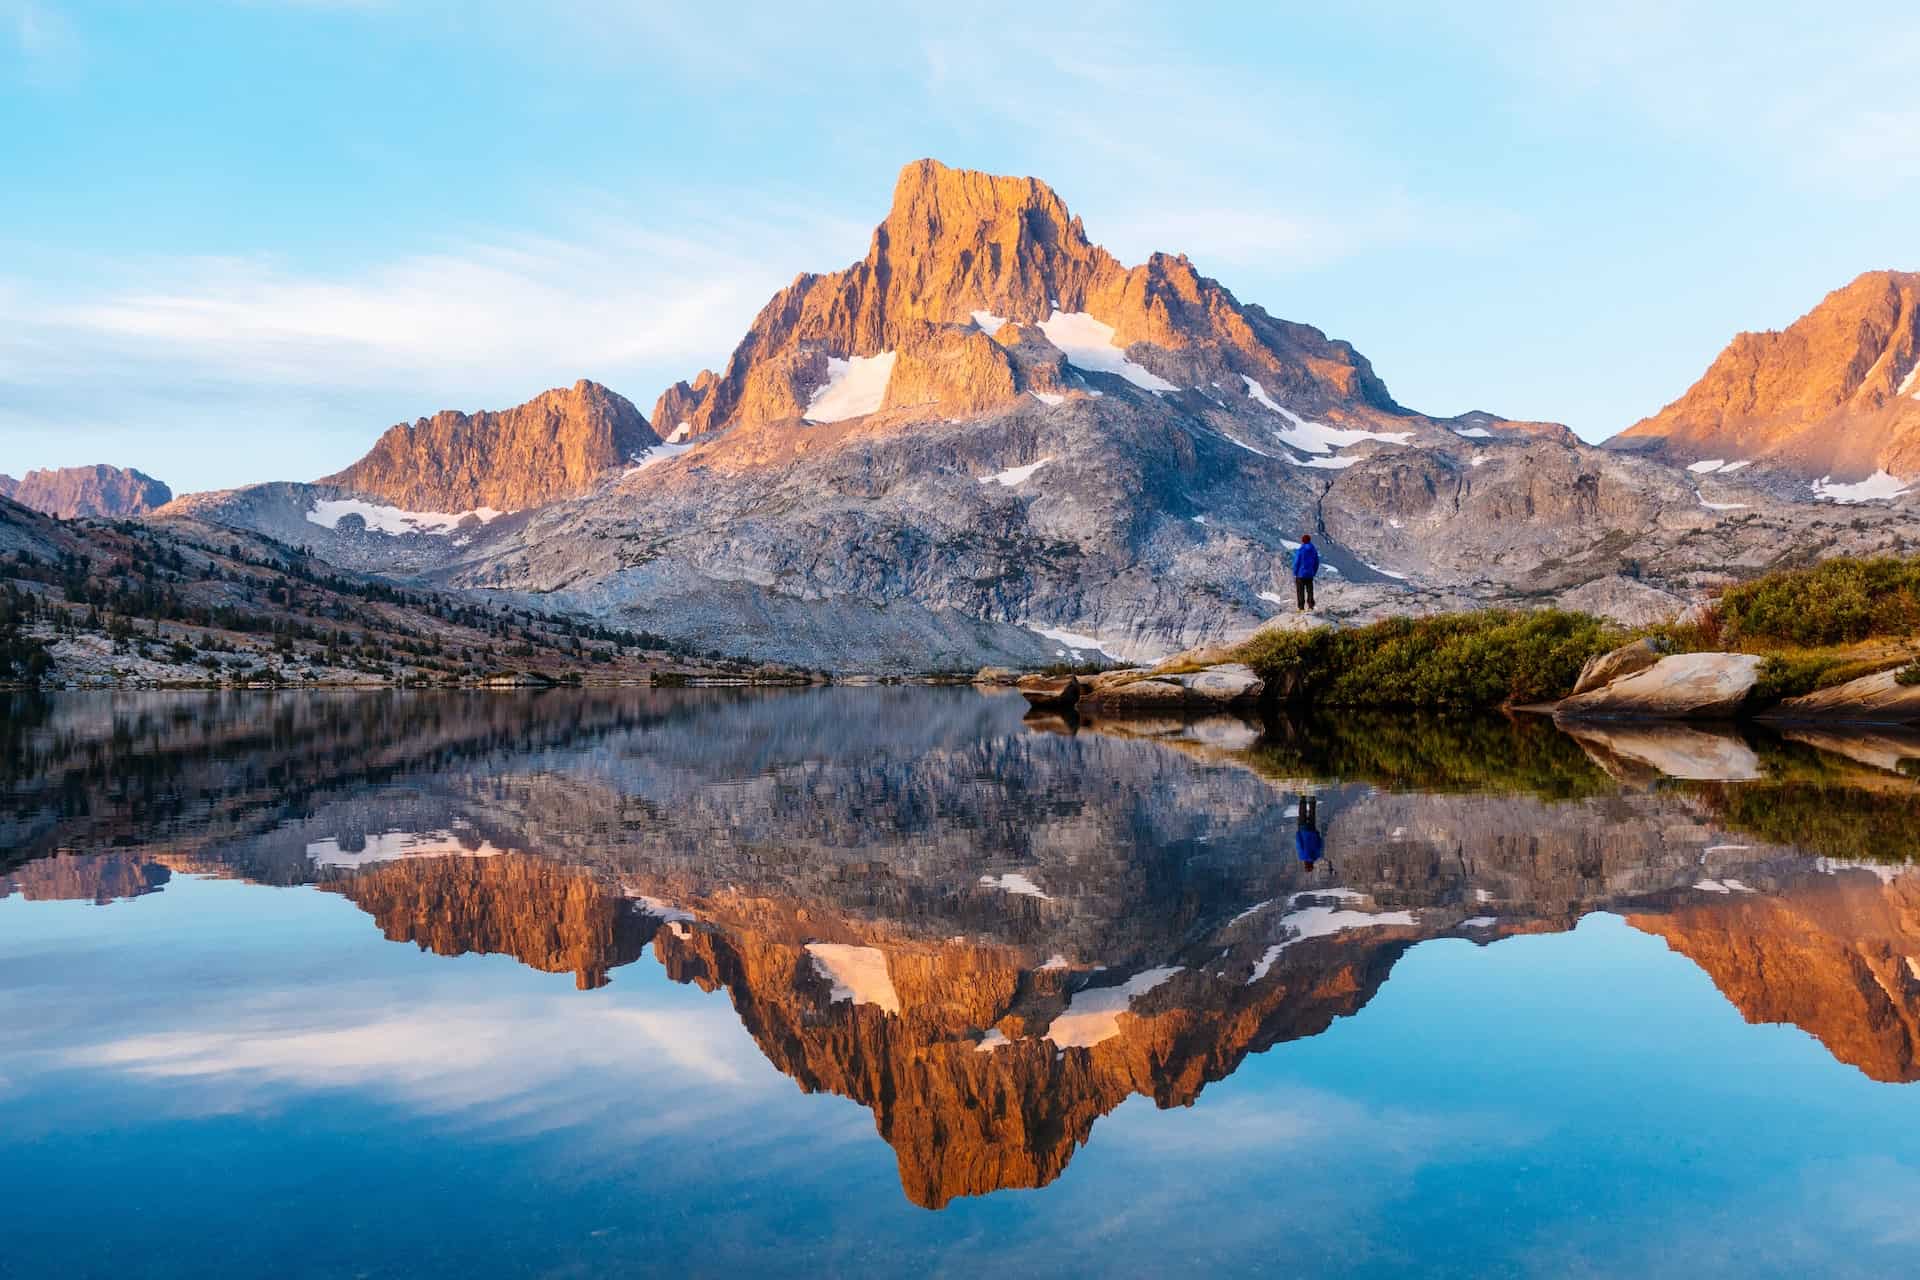
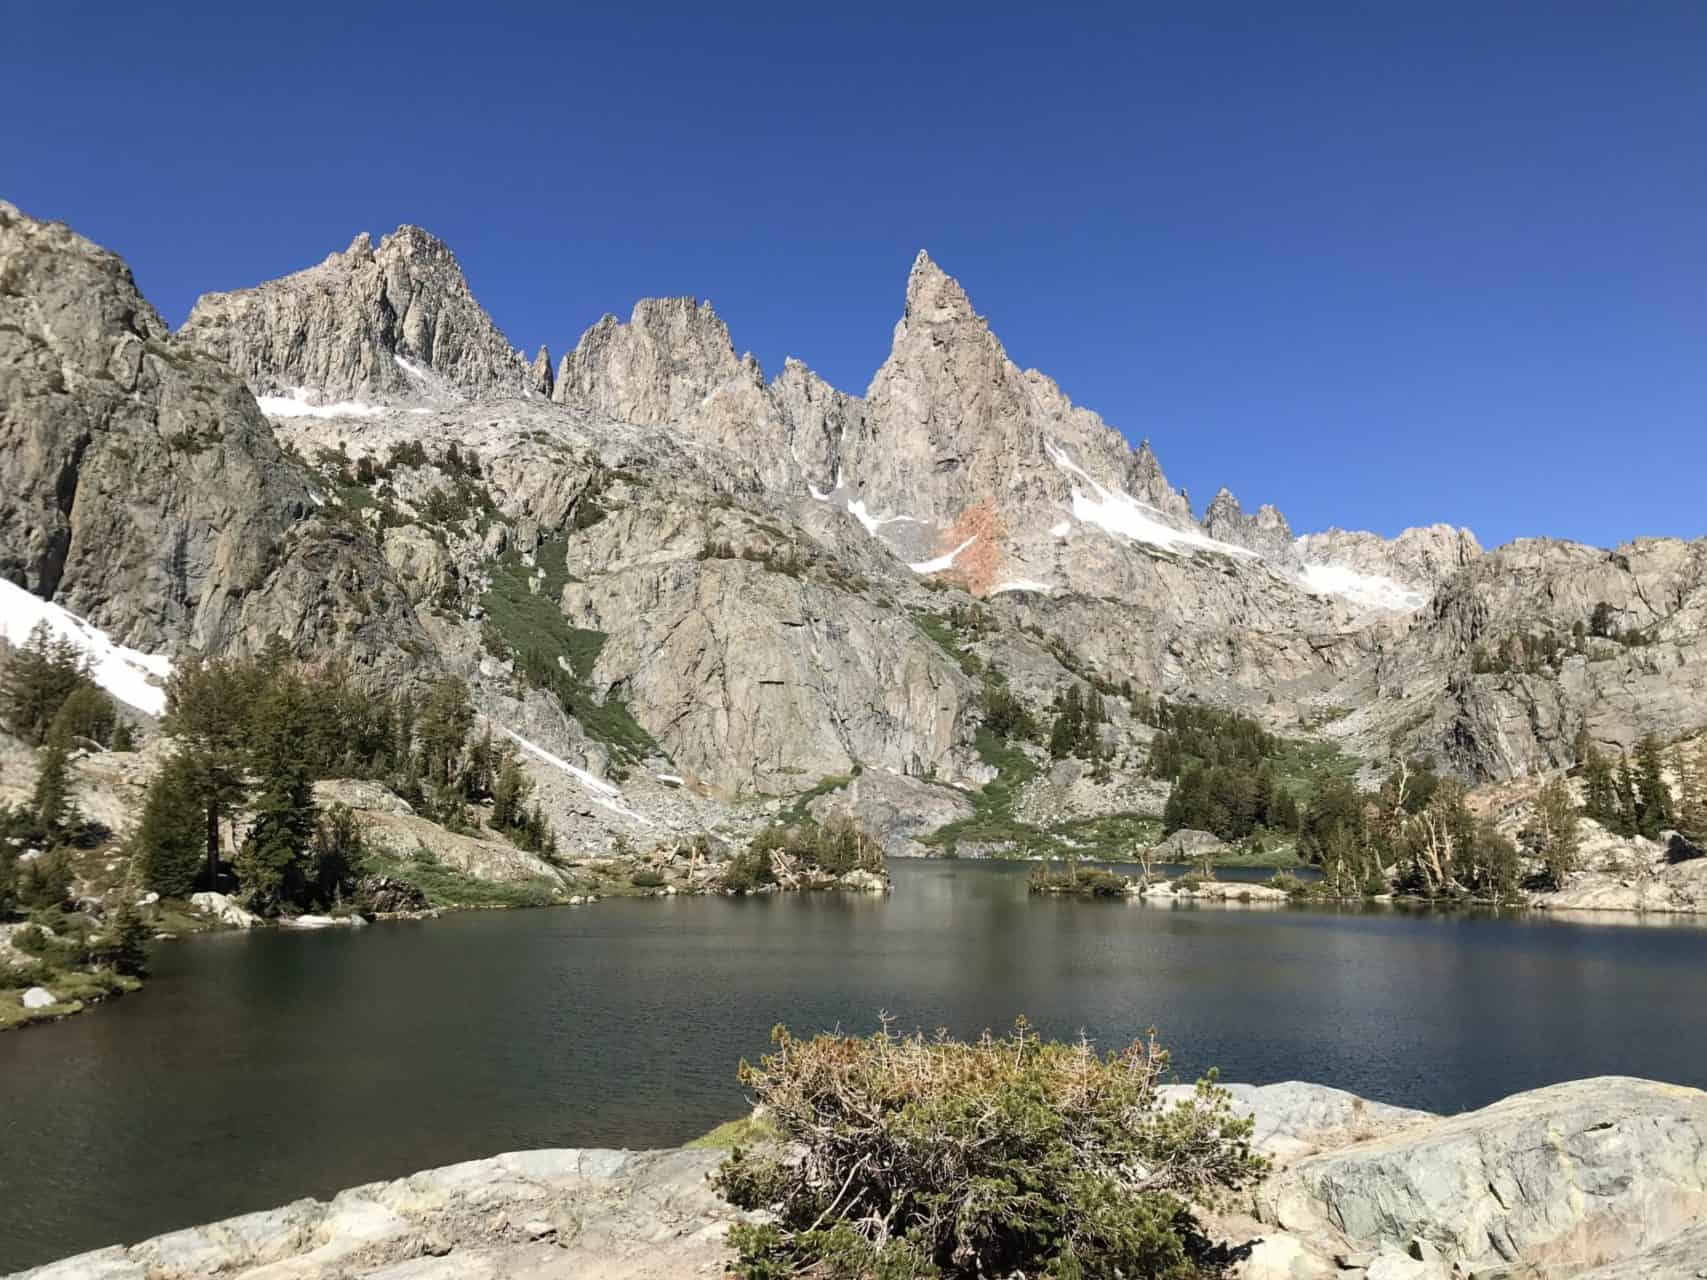
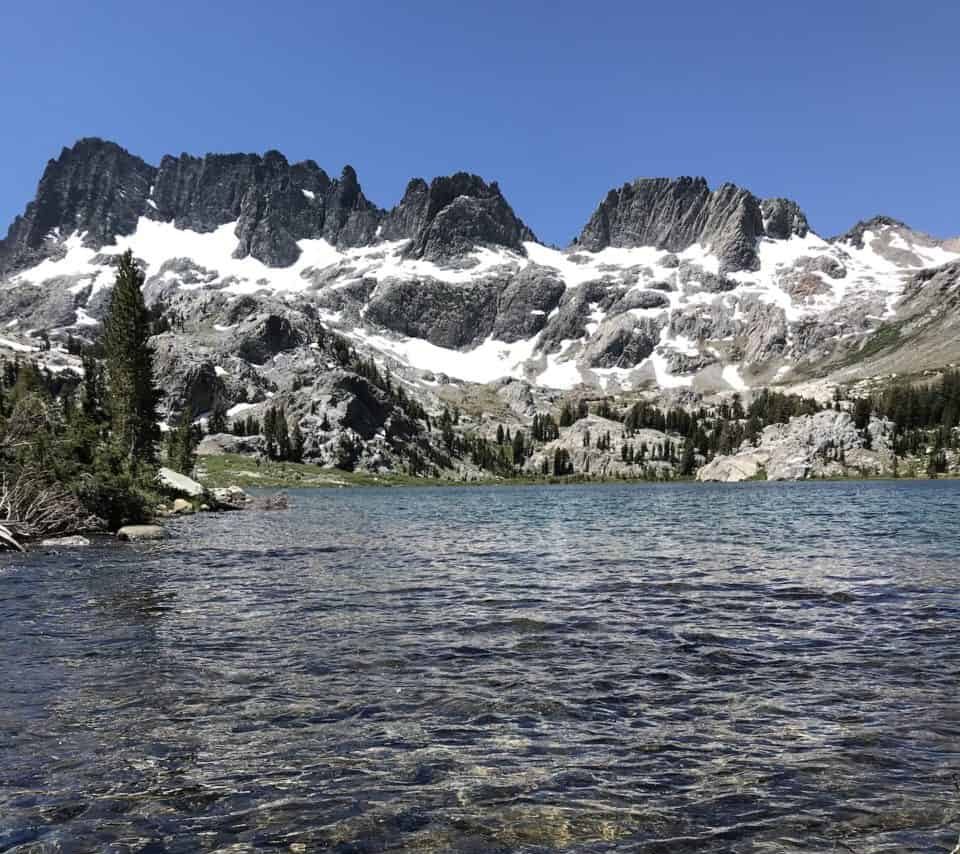
Ediza Lake In Ansel Adams Wilderness
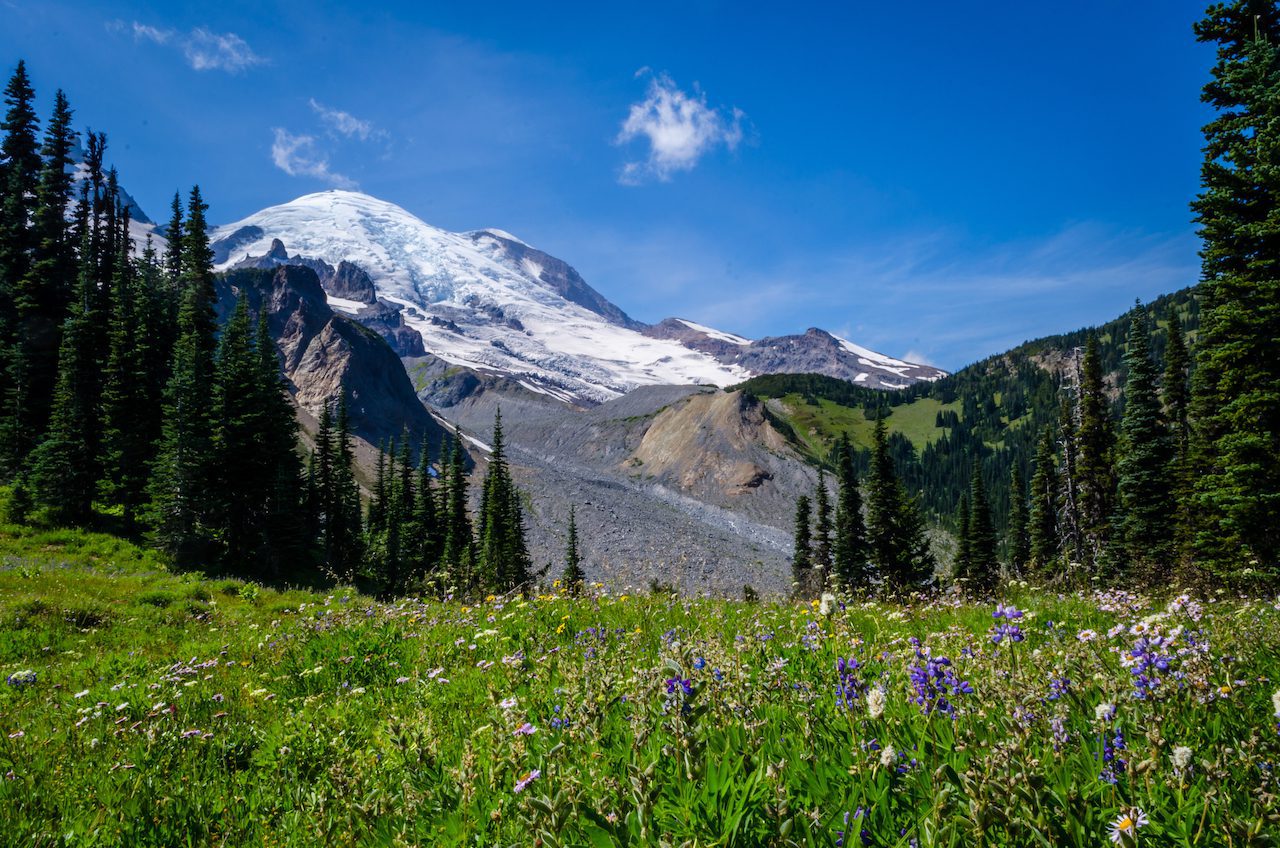
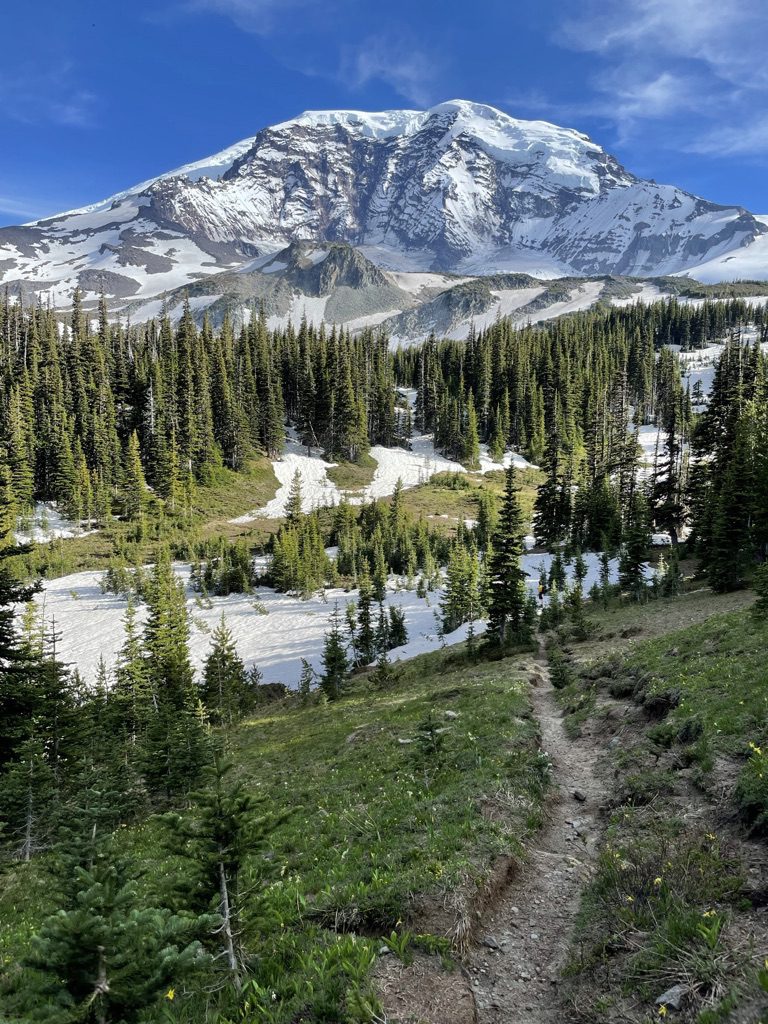
hike to summerland day hikes mt rainier
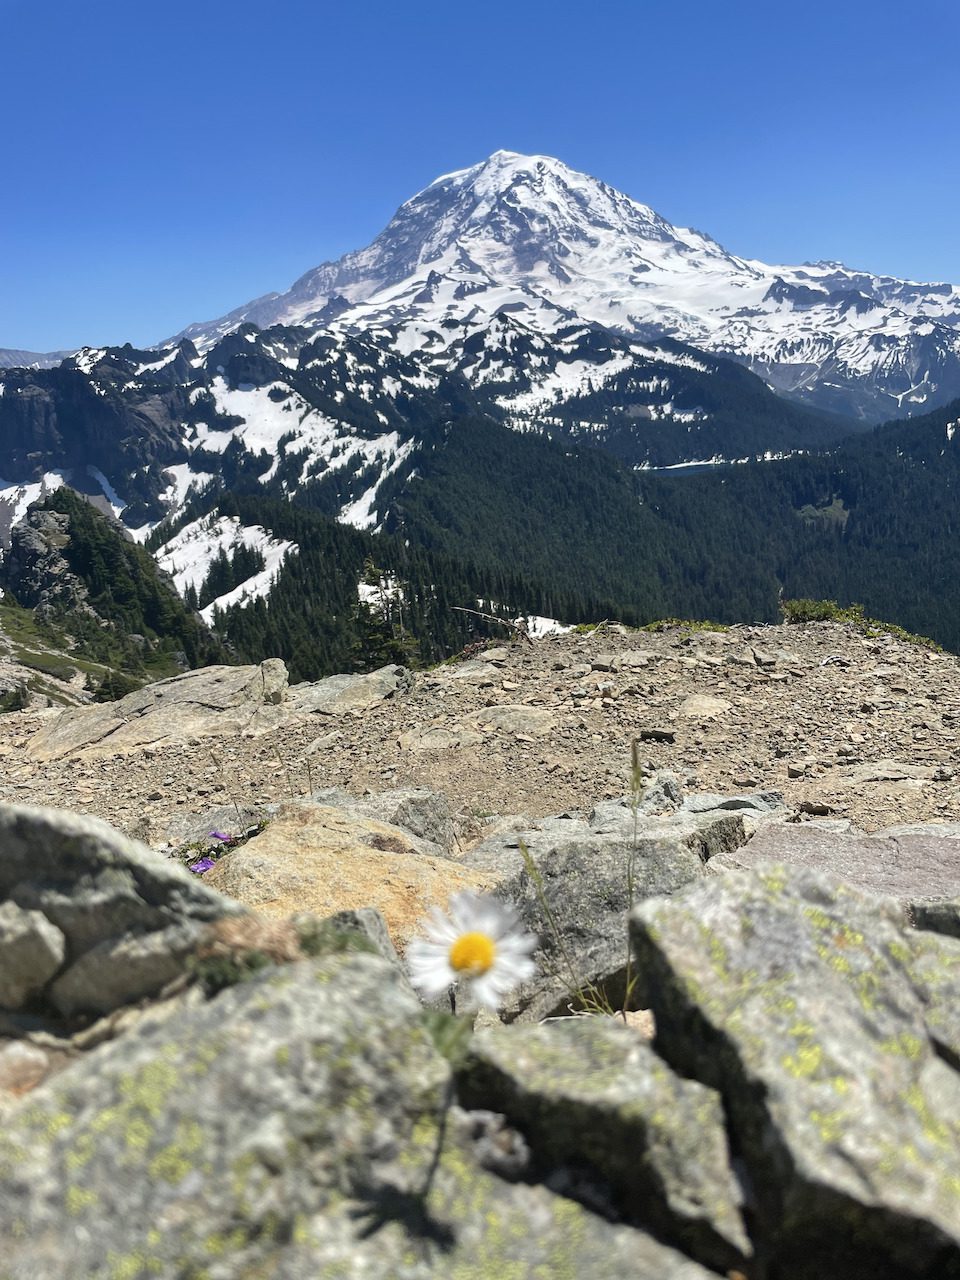
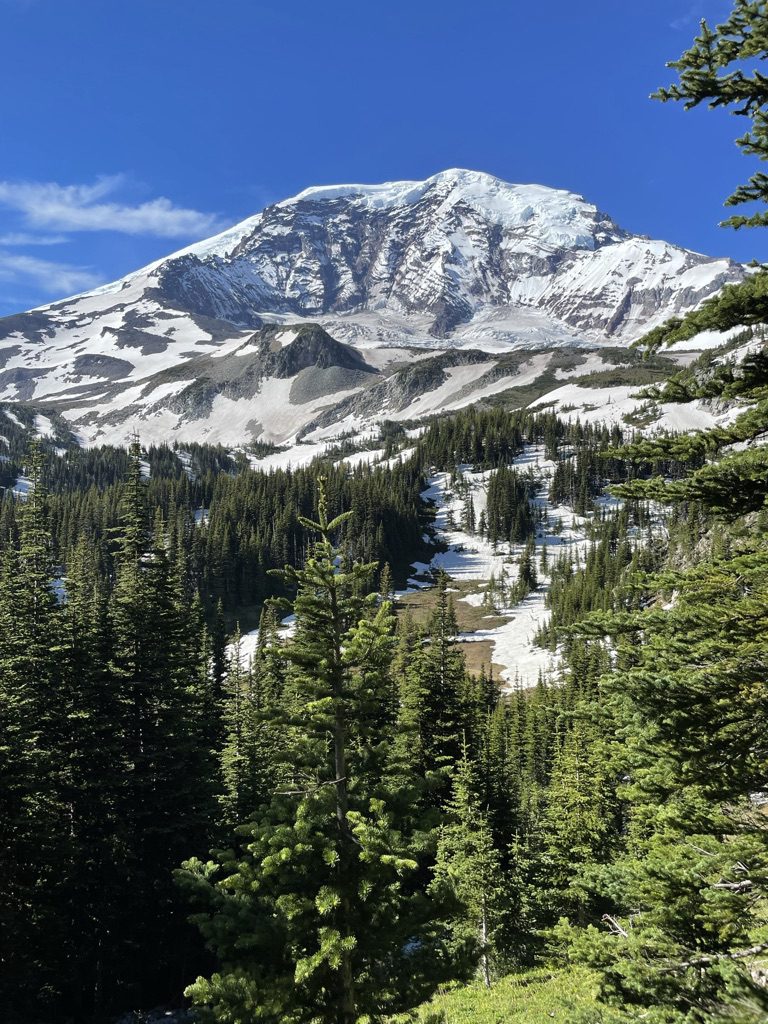
Mt Rainier National Park
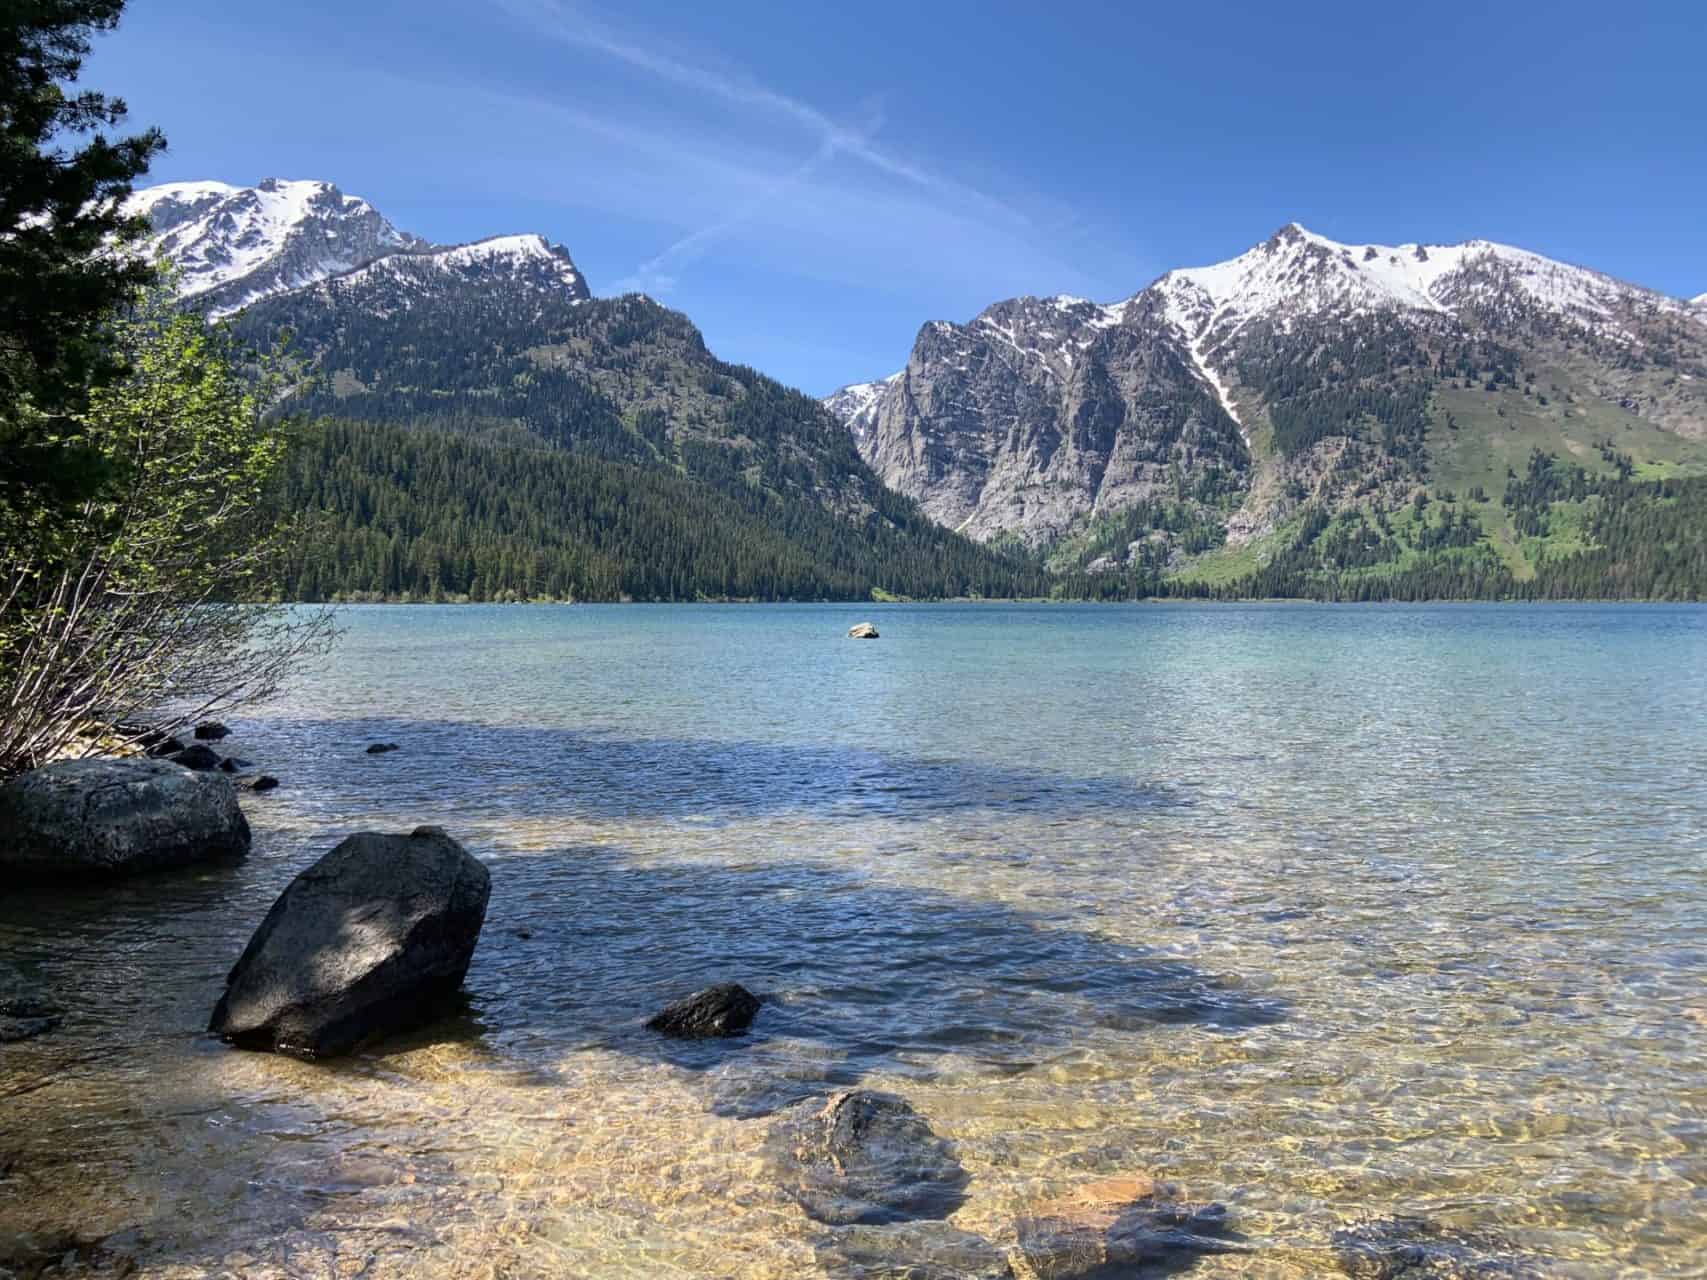
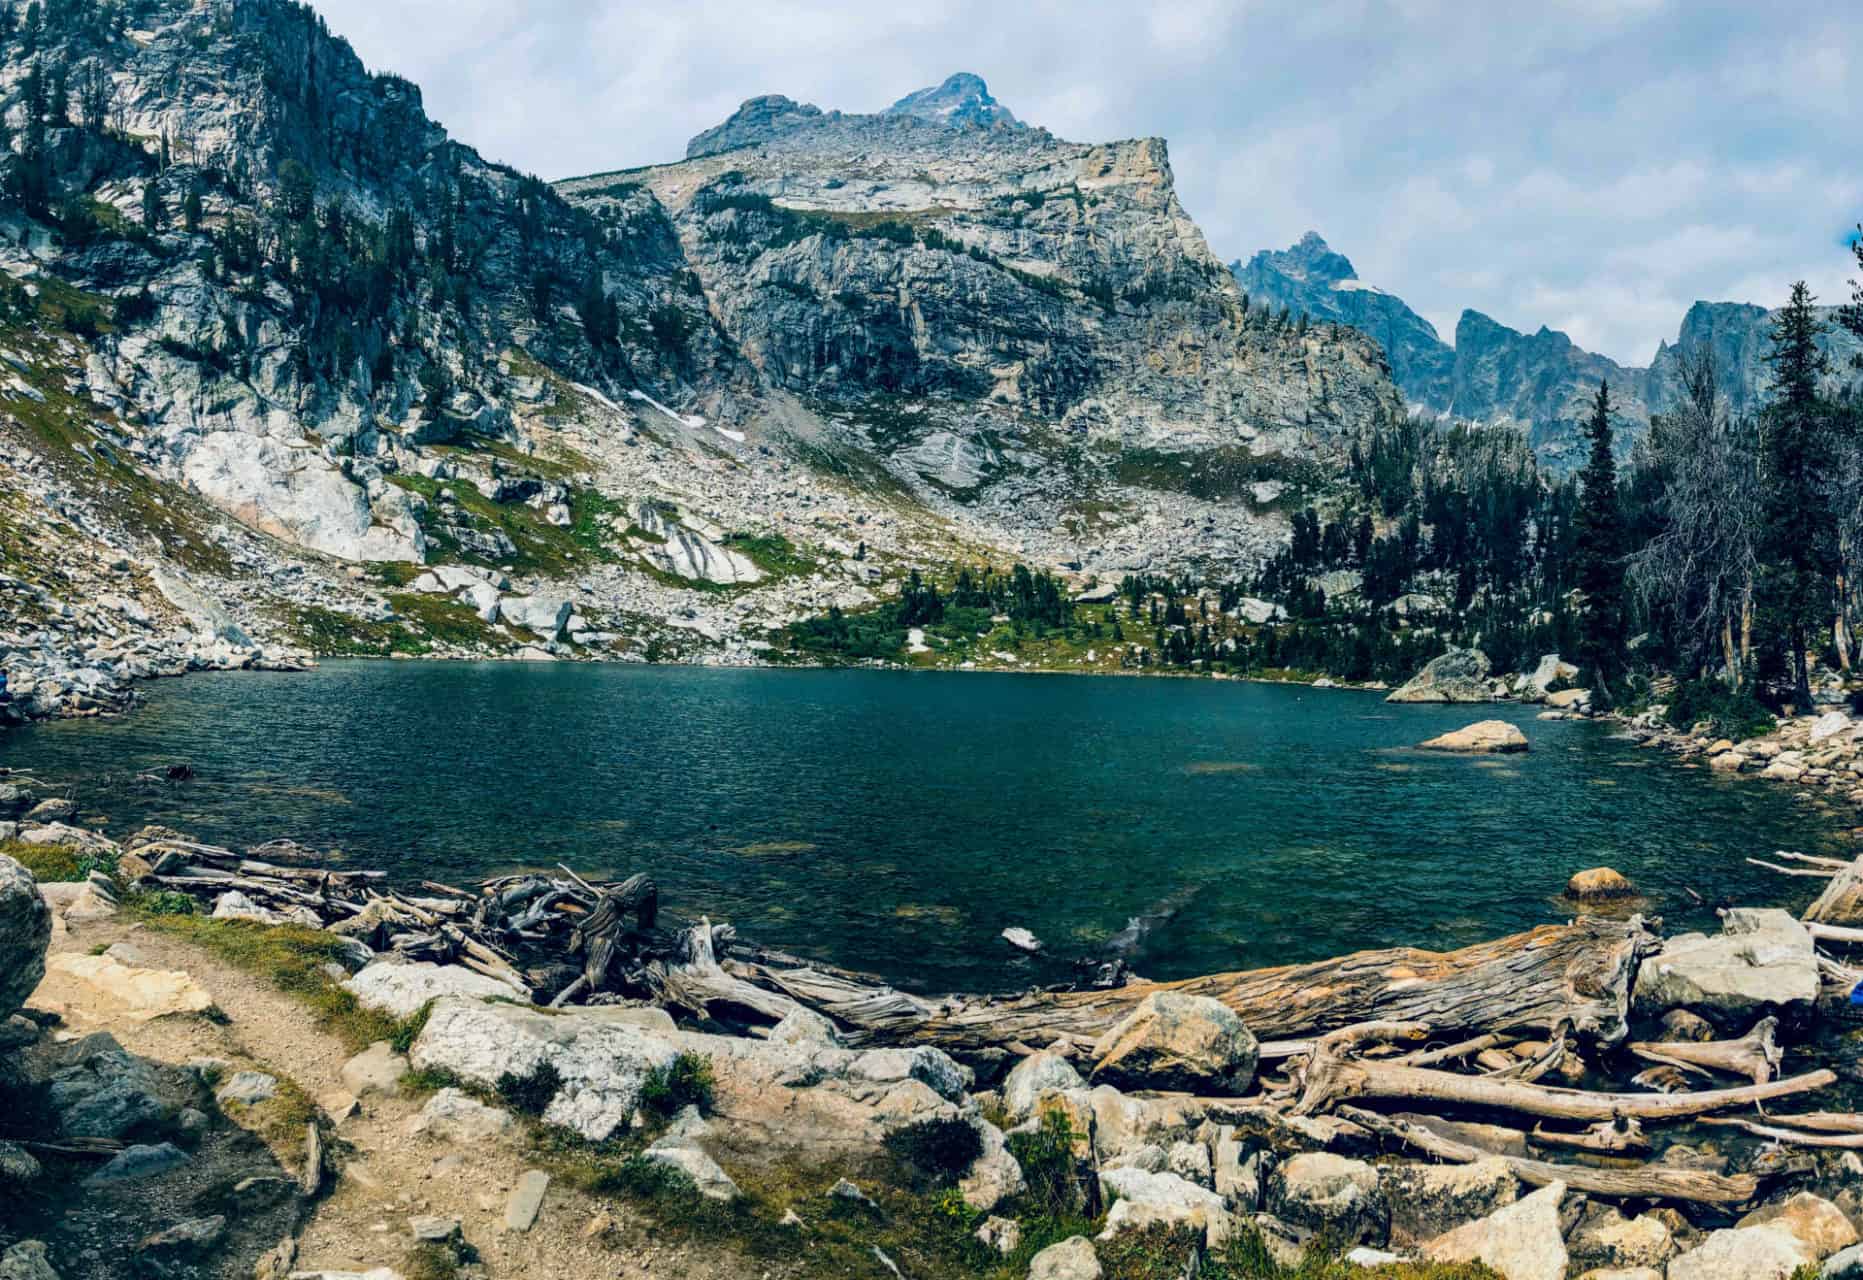
Jenny Lake At Grand Teton National Park

Look at those views!   Don’t they make you want to go out there and explore these areas in real life?!  Check out our hiking destinations for some backpacking inspo or just type in “beautiful mountains” on a google image search either way you’ll find some cool stuff!

Research Your Backpacking Destination:

Now that you picked your dream backpacking destination your next step is doing some in-depth research about where you are going. 

If you are going to a national park I recommend checking out the specific national park service website or see if we made a national park guide for where you are visiting.  The following are questions you should be able to answer through your research:

  • What is the best time of year to visit the park for backpacking?
  • What will the weather conditions be like for your trip?
  • Are there special gear considerations (extra rain gear, snow gear, extra water storage for desert conditions)?
  • What are the backcountry rules and regulations?
  • Are backcountry permits required (learn about backcountry permits here)?
  • Is parking easily accessible?

Plan Out Your Backpacking Itinerary:

After you have completed your general research about the area you plan on backpacking in, it is time to get down to the nitty-gritty of your backpacking itinerary. 

A backpacking itinerary is a day to day schedule of your backpacking trip which includes where you are entering and exiting the wilderness, which trails you will be hiking each day,  and what campsites/shelters you will be camping at after each day of hiking.  

You need to have a well-planned backpacking itinerary for every backpacking trip.  When planning out your backpacking itinerary, some questions you need to answer during your planning include: 

  • How many days do you plan on hiking?
  • How many miles and elevation gain do you want to cover each day?
  • What trails do you want to hike/views do you want to see during your trip?
  • What type of route you want to do (point to point, out and back, or loop)?
  • Which campsites or shelters do you plan on staying at?
  • How to apply for permits for your desired itinerary?

Feel free to check out some of my pre-made backpacking itineraries within our national park guides!

Review Your Backpacking Itinerary With A Park Ranger:
do you need backcountry permits

After you complete a rough draft of your backpacking itinerary, I recommend going over your itinerary with the park rangers.  No one knows the park better than the rangers who hike it on a daily basis, so get their input before applying for backcountry permits.  Keep in mind that no one knows your physical limits and ability better than you so be sure to create an itinerary suitable for your skill level.

Plan Your Travel Logistics

trip planner

Okay, now we are cooking with gas!  All there is left to do is plan the final travel logistics.  Feel free to use our free trip planners within our national park guides for guidance.  Some of the basics you will need to consider include:

  • Flights
  • Hotel stays before and after your trip
  • Travel insurance
  • Rental car insurance
  • Apply and get backpacking permits

Have Fun And Stay Safe!

That’s all guys! I hope this was a helpful starting point for those of you interested in backpacking.  Feel free to reach out to me for any beginner backpacking questions you may have!

Categories
Uncategorized backpacking for beginners Outdoors for Beginners

Do You Need Travel Insurance For Backpacking?

Disclosure: Some links on this page are affiliate links, and if you go through them to make a purchase or a booking, I may earn a commission. Using these links DO NOT affect the cost of the product/booking. The price remains the same affiliate link or not.

Do You Need Travel Insurance For Backpacking?

Do you need Travel Insurance for backpacking

Some of you who may be looking to save a buck may ask “do I need travel insurance for backpacking.”  The answer is yes.  Yes you do. 

While I understand we all want to save money travel insurance (also known as backpackers travel insurance) isn’t where you should cut costs if you are going on a backpacking trip.  The reason being is that no matter how much you prepare for your trip, you can still encounter inclement weather, broken gear, or injury on the trail.  Good travel insurance helps keep you financially covered for any mishaps that may come your way. 

We will go over the benefits of travel insurance, what’s not covered, and the best one for you!

What is Backpackers Travel Insurance?

Backpackers travel insurance is a type of travel insurance that caters to the needs of those participating in adventure activities when traveling.  These policies also have extended coverage options such as gear, emergency medical evacuation, and emergency medical expenses.  I will be using “backpackers travel insurance” and “travel insurance” interchangeably throughout this article as the names don’t matter as much as what their coverages include. 

What Should Your Travel Insurance Cover If You Are Backpacking?

When researching the best backpacking insurance for your next trek, you want to ensure that the following is included in your policy.

  • Trip Cancellation
  • Emergency Medical Expenses
  • Emergency Medical Evacuation
  • 24-hour Assistance
  • Broken / Lost gear
  • Covid 19 Related Cancellations 

Trip Cancellation

No matter what the trip, you should have trip cancellation coverage.  This coverage helps get your money back for nonrefundable trip expenses in situations of such as illness, accident, or bad weather.  It is a nice safety net to have should you have to cancel your trip altogether. 

Emergency Medical Expenses

While this is a benefit that I hope you never have to use, emergency medical expenses must be included in any travel insurance you consider purchasing for your next backpacking trip.  As we said, regardless of how much you prepare for your trip, accidents and injuries can happen, making it essential to have emergency medical expenses included in your travel insurance.

Emergency Medical Evacuation

This is a biggie.  Again I hope that none of you have to use this benefit.  Still, in situations where you are injured in a remote region and can’t continue hiking, emergency medical evacuation may be needed.  These evacuations are costly and can put you in financial trouble if you have to pay out of pocket, so make sure they are included in your plan.

24-Hour Assistance

It would be best if you had an insurer available 24/7.  Accidents can happen anytime, so you need an insurer that is always available to help you through any situation that comes up.

Broken / Lost Gear

Say your baggage is lost or damaged during travel.  Without this coverage, you may be stuck with footing the bill for new gear.  With gear protection, you are covered up to a certain amount of money for any lost or damaged equipment, so you can continue on your adventure without missing a beat!

Covid-19 Coverage

Especially in this day and age, with the ever-evolving rules and regulations of travel restrictions regarding Covid 19.  I recommend purchasing a policy covering Covid 19 related trip delays or cancellations. 

What Does Backpackers Travel Insurance Not Cover?

  • Pre-existing conditions: Your backpacking/travel insurance provider will likely punt the claim back to your health insurance.
  • Travel In Areas Of Political Unrest:  Probably best to avoid these destinations altogether. It’s a big planet pick a safe place to hike.
  • Travel Less Than 100 Miles From Your Residence:  That’s what we have medical insurance for.

What You Should Know Before Buying A Travel Insurance Policy For A Backpacking Trip

Before you jump right in and buy your plan, you should make sure you do your due diligence and ask yourself the following questions:

  • What will I be doing on this trip?
  • How much coverage do  I need?
  • Is the plan I am considering purchasing fulfill all of my needs?

After answering these questions, do a bit more digging into reading some of the policy’s fine print, especially regarding medical evacuation.  Unfortunately, many of these companies use a lot of legal wording when describing their policies, making it difficult to understand.  If you find this to be the case, give the company a call to make sure the plan you want to purchase will handle all of your needs.

Backpackers Travel Insurance Agencies

insuremytrip.com

Insure My Trip is the kayak of travel insurance.  All you have to do is plug in some of your trip details, such as:

  • The type of coverage you are looking to have (recommend the comprehensive for backpacking)
  • The estimated cost of your trip
  • Who needs to be insured

Then, insuremytrip will hook you up with a tone of different insurers to help you compare prices and coverages to find the best policy for you. 

World Normads

World Nomads is an excellent travel insurance company for us adventure folk!  It has a TON of coverage options you can choose from and is an insurance designed for people participating in adventure activities.  Depending on how extreme of a trip you’re going for, you can choose from “the standard plan” or “the explorer,” the explorer being more pricy but covering many more activities with a higher payout. 

Travelex

Travelex is a travel insurance company that has been operating for over 55 years.  They offer a number of different plans at affordable rates.  Click the link below to see if any of their plans would be suitable for your travel insurance needs. 

What Is Digital Nomad Insurance

Since the boom of WFH, Digital Nomad Insurance has become essential for those individuals traveling the world while working remotely.  SafetyWing is a company that has sprouted up in this time of work from home and offers several different policies for digital nomads.  The two major policies they offer include:

  • Nomad Insurance: covers medical and travel insurance expenses when traveling outside one’s home country.
  • Remote Health Insurance: This is health insurance that caters to remote workers abroad from or within their home country.
Click the logo below to read more into SafetyWing’s insurance options to see if any of them would work for you. 

Do I need Travel Insurance If I Am Just Camping And Doing Day Hikes?

Even if you plan on doing day hikes, I think it is better to air on the side of caution and get travel insurance anyway.  All it takes is one hospital visit to make many years of purchasing travel insurance well worth it.  

Now, this does not mean you need the most comprehensive travel insurance policy.  If you are doing shorter day hikes you can probably get one with a bit less coverage but I would still make sure it includes trip cancellation, emergency medical expenses and 24/7 customer support. 

Get The Travel Insurance!

I hope this article has been helpful and answers your questions on backpackers’ travel insurance.  As I said I think it is money well spent.  Have fun and stay safe out there!
Categories
backpacking for beginners Outdoors for Beginners

5 Tips On How To Enjoy Hiking In The Rain

5 Tips On How To Enjoy Hiking In The Rain:

How To Enjoy Hiking In The Rain

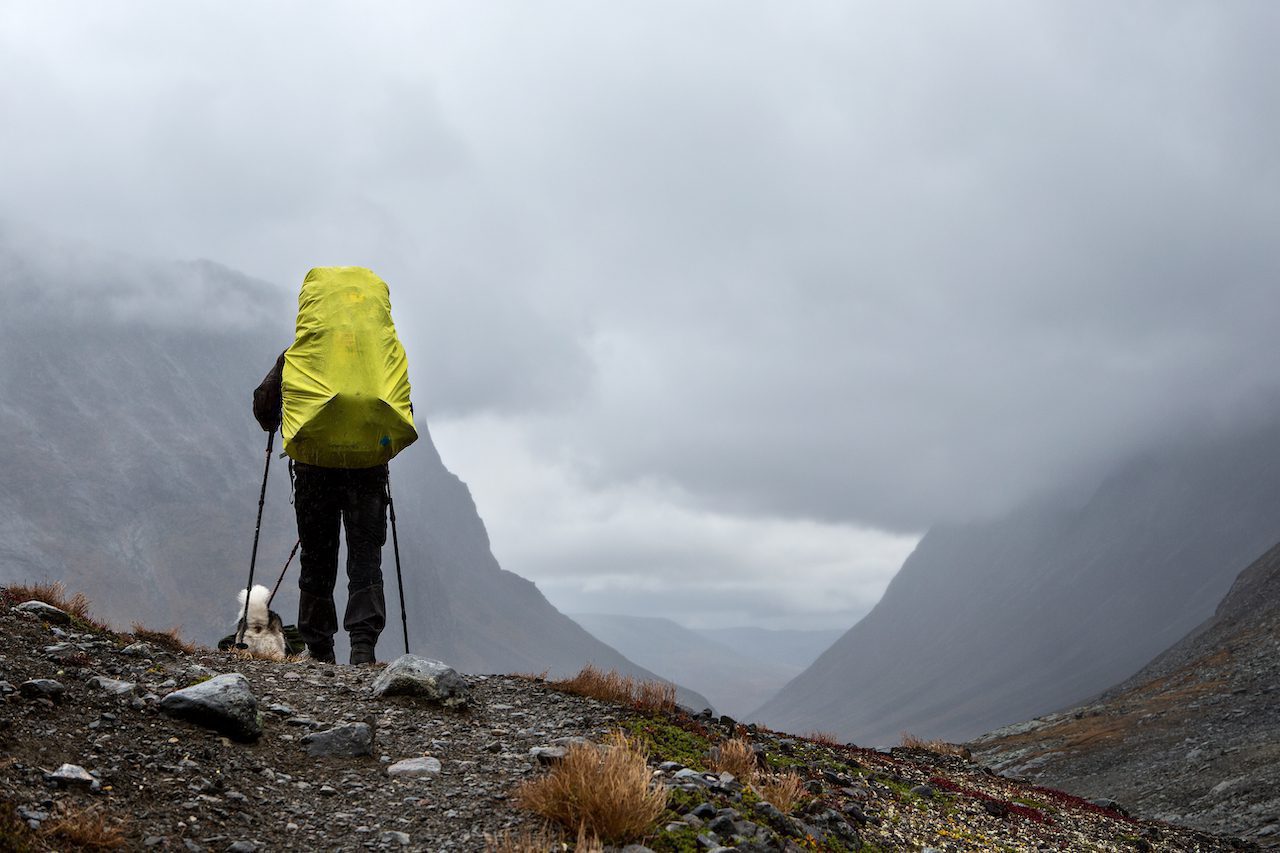
Hiking is fun, but sometimes the weather doesn’t cooperate, and you are stuck hiking in the rain.  For some, rain can be the end of a nice hike and the beginning of misery.  If unprepared, rainfall during a trek can leave you cold, wet, and can even be dangerous depending on how harsh conditions are.  

I know this all too well, as my first backpacking experience in rainy weather was NOT a comfortable one. I was basically dropped from Manhattan into the wilderness of Grand Teton National Park with the wrong gear and no backpacking skills, so at the time, I was miserable.  However, after discovering the following tips, I learned how to enjoy hiking in the rain!

To enjoy hiking in the rain you need to be safe, comfortable, and have a positive outlook.  If you master the below, you will enjoy hiking in the rain:

  • Research and prepare for trail conditions
  • Get the right gear
  • Dry Out Your Gear
  • Safety
  • Perspective
Disclosure: Bear in mind that some of the links on this page are affiliate links, if you go through them to make a purchase, I may earn a commission.  Using these links does not affect the cost of the product, the price remains the same link or not.

Research And Prepare For Trail Conditions:

When heading out in the wilderness, the last thing you want is to be in a situation where a strong storm can bring on dangerous events such as river floodings, avalanches and mudslides.

The best way to avoid these situations is to make sure you thoroughly research and prepare for the conditions you will be hiking or backpacking in. The best ways to do this include:

  • Researching the weather
  • Discuss park conditions with rangers
  • Read trip reports on the park

Research Weather Conditions

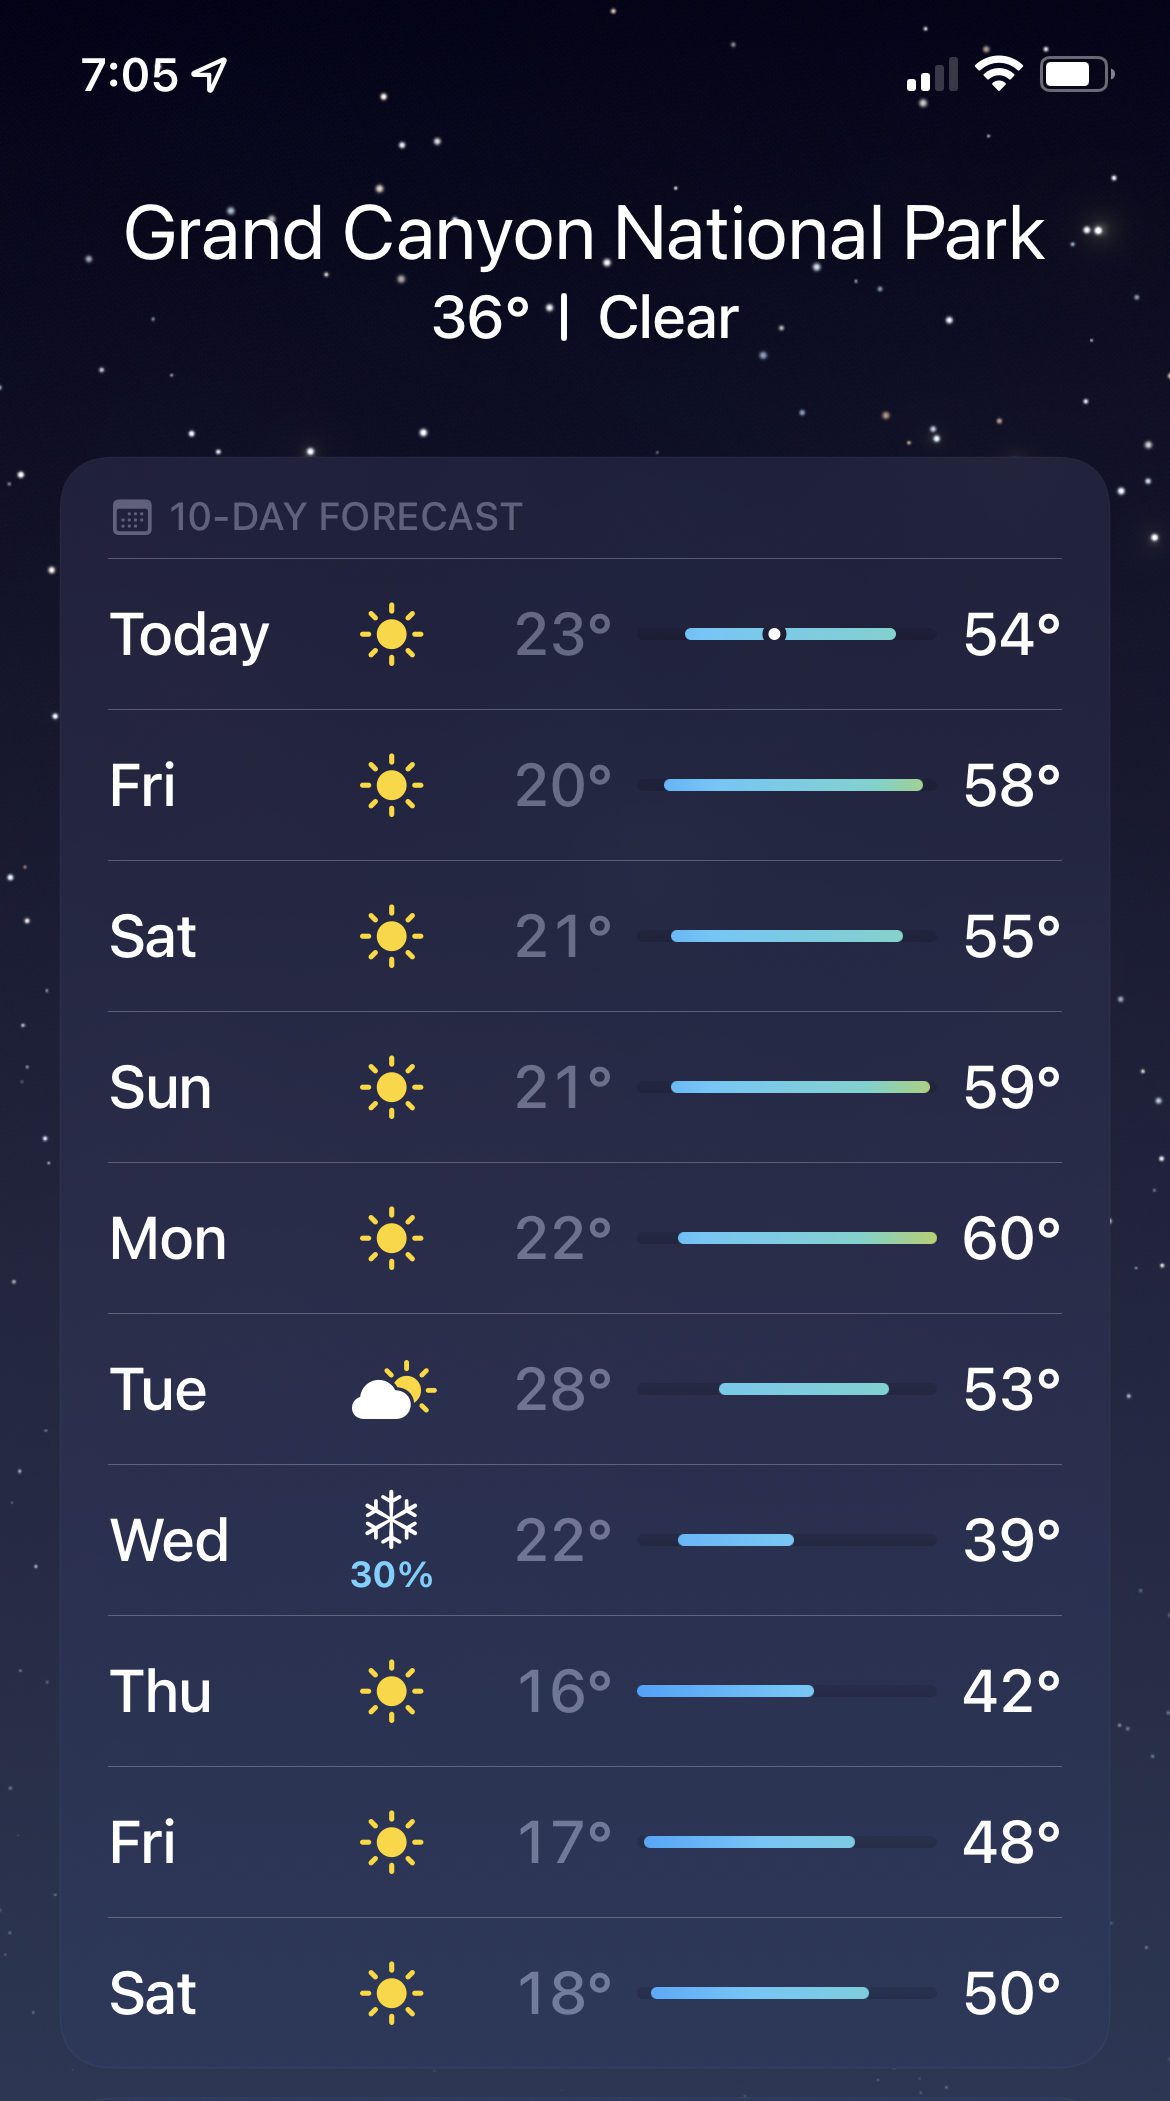
Researching the weather you are hiking in is easy nowadays. Just check your phone to see the chances of encountering rain or snow during your hike.  Then make sure you bring the right gear and choose a trek that will be safe even if you encounter inclement weather.  Better yet, pick a date without a forecast of rain!

Discuss Your Hike Or Backpacking Itinerary With Rangers:

do you need backcountry permits

After you have an idea of what weather conditions you can expect, you should touch base with the park rangers to ask if any particular trails or hikes should be avoided in situations of inclement weather.  Some areas that can be dangerous in times of rainfall are river crossings and steep rock scrambles.  Park rangers are the most knowledgeable people in the park and can provide reliable information on trail conditions. 

Read Trip Reports To Learn More About Trail Conditions:

Another helpful resource for preparing for your hike is by using trip reports.  There are many websites where backpackers and mountaineers submit trip reports detailing the park’s weather and trail conditions.  

Trip reports are a great way to have up-to-date information on the latest trail washouts or downed bridges to give you a better picture of park conditions.  By knowing the most recent trail updates before a hike, you will avoid potentially dangerous situations that can arise from heavy rainfall keeping your hike fun and safe.

Have High Quality Rain Gear:

Hiking Gear Blog

Having high-quality rain gear is essential whenever heading out on the trail, rain gear being no exception.  On my first backpacking trip, I made every gear mistake possible. I had no rain cover, no dry bag, all my clothing was cotton, and I was a mess. After several more equipment fails, I finally got myself some high-quality rain gear that worked. It turns out good rain gear keeps you dry and helps you enjoy hiking in the rain. Who knew!?  

You should be using the research you have done above on the expected weather and trail conditions to help guide you on exactly what pieces of gear you will need.  But we will go over some of the essentials.

Raincover For Your Pack:

A rain cover is a simple yet crucial piece of equipment.  It is essentially a waterproof, elastic piece of plastic that wraps around your pack protecting the contents from the rain. 

YOU NEED THIS.  If you are caught in the rain without a rain cover, you risk ALL of your equipment getting wet.  I’m talking spare clothes, sleeping bag, tent, ALL OF IT.  Not only will you be cold, but all of the rain getting absorbed into your pack will significantly increase the weight you are carrying around, and you will have a terrible time.

**Pro Tip** if you arrived at the trail and forgot a rain cover, you can use a garbage bag!  Just cut holes for your straps, and you will be good to go!

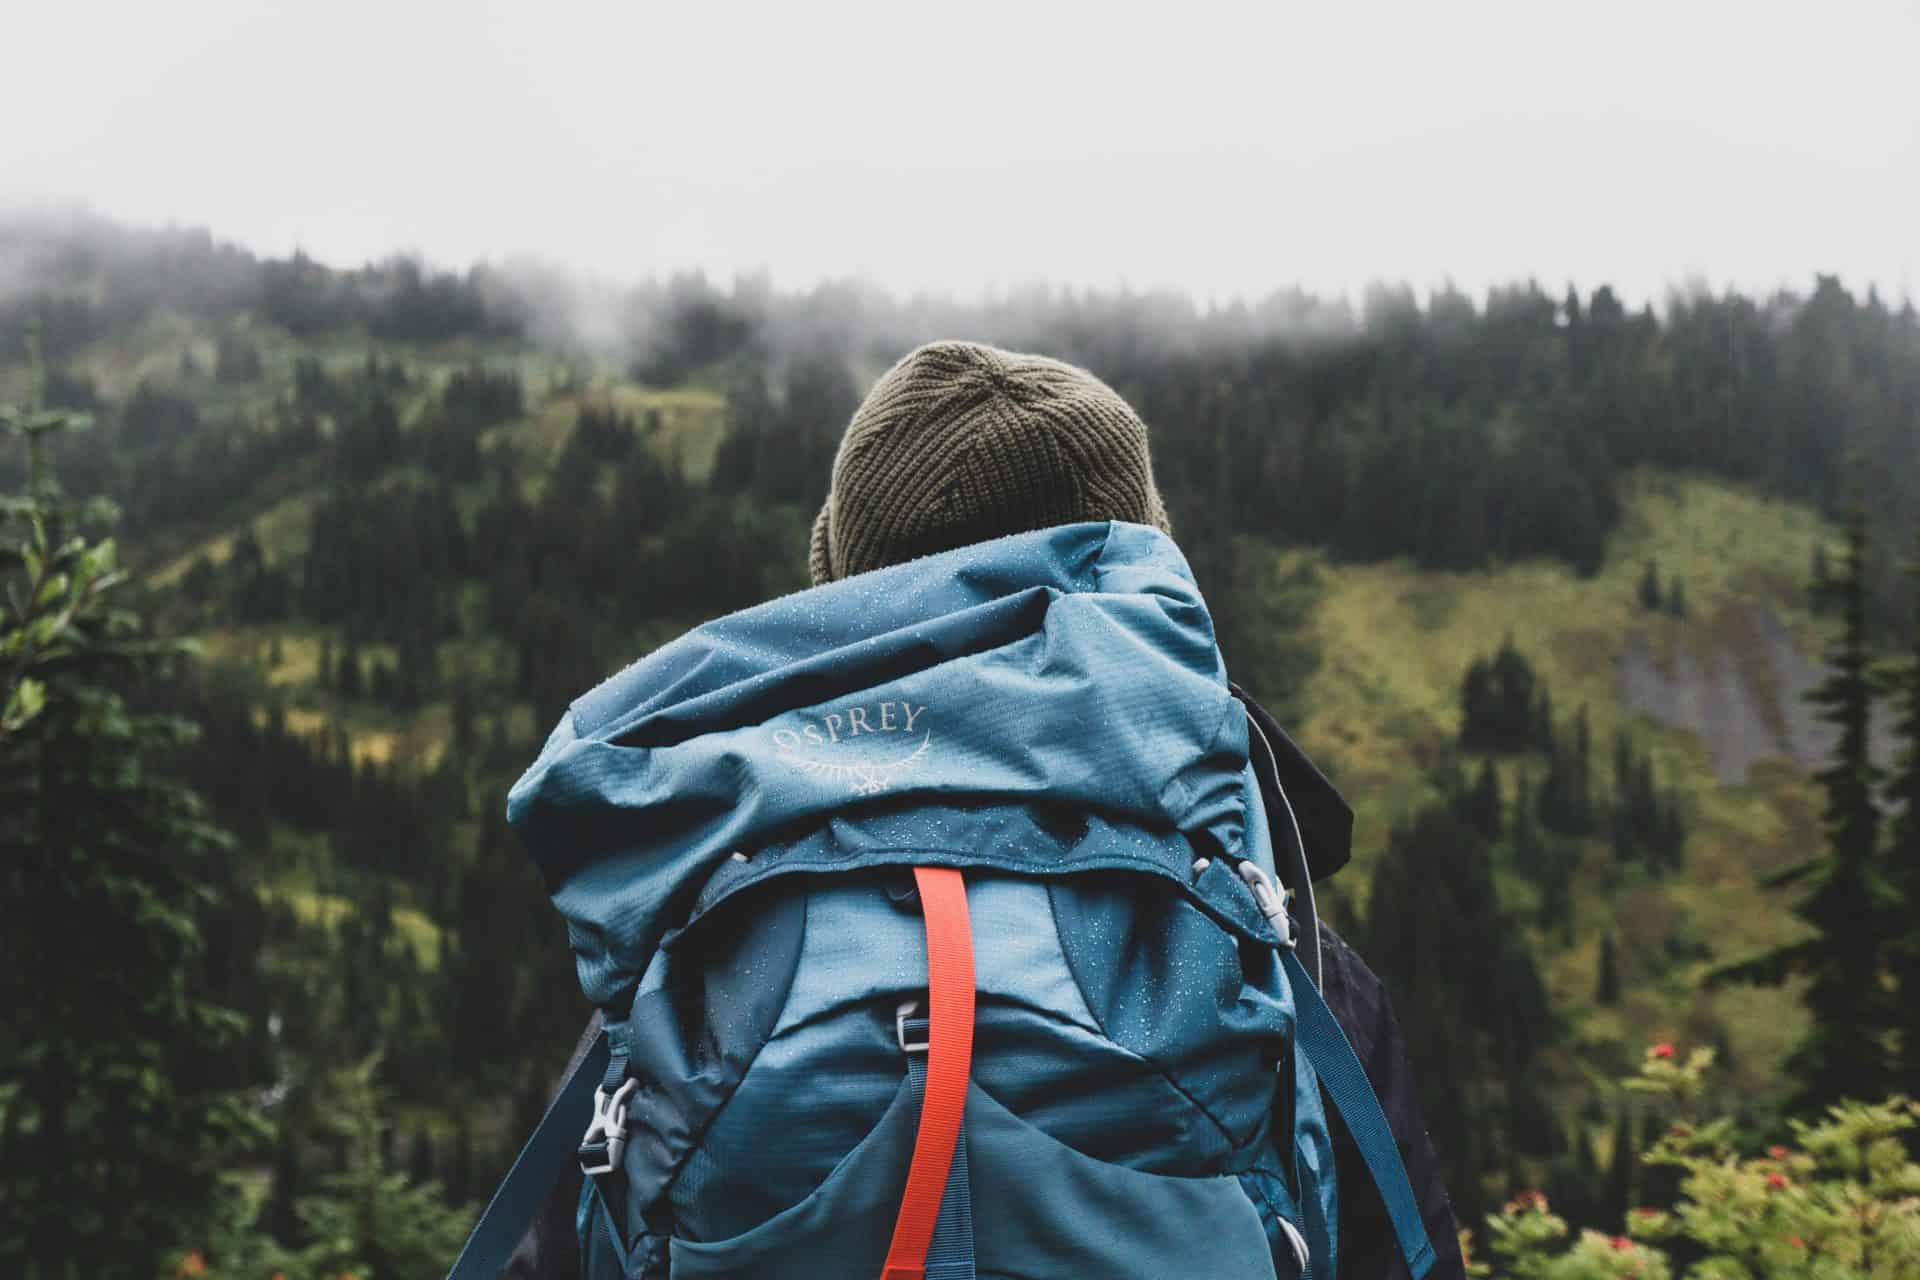
Osprey Ultralight Raincover

or

Rain Jacket:

A rain jacket is another mandatory piece of gear to carry with you no matter where, when, or how far you are hiking.   Not only does it help keep you dry, but it also keeps you warm. Without a rain jacket, you are far more susceptible to developing hypothermia in situations of cold weather and heavy rainfall.

Water Resistant Hiking Boots And Socks

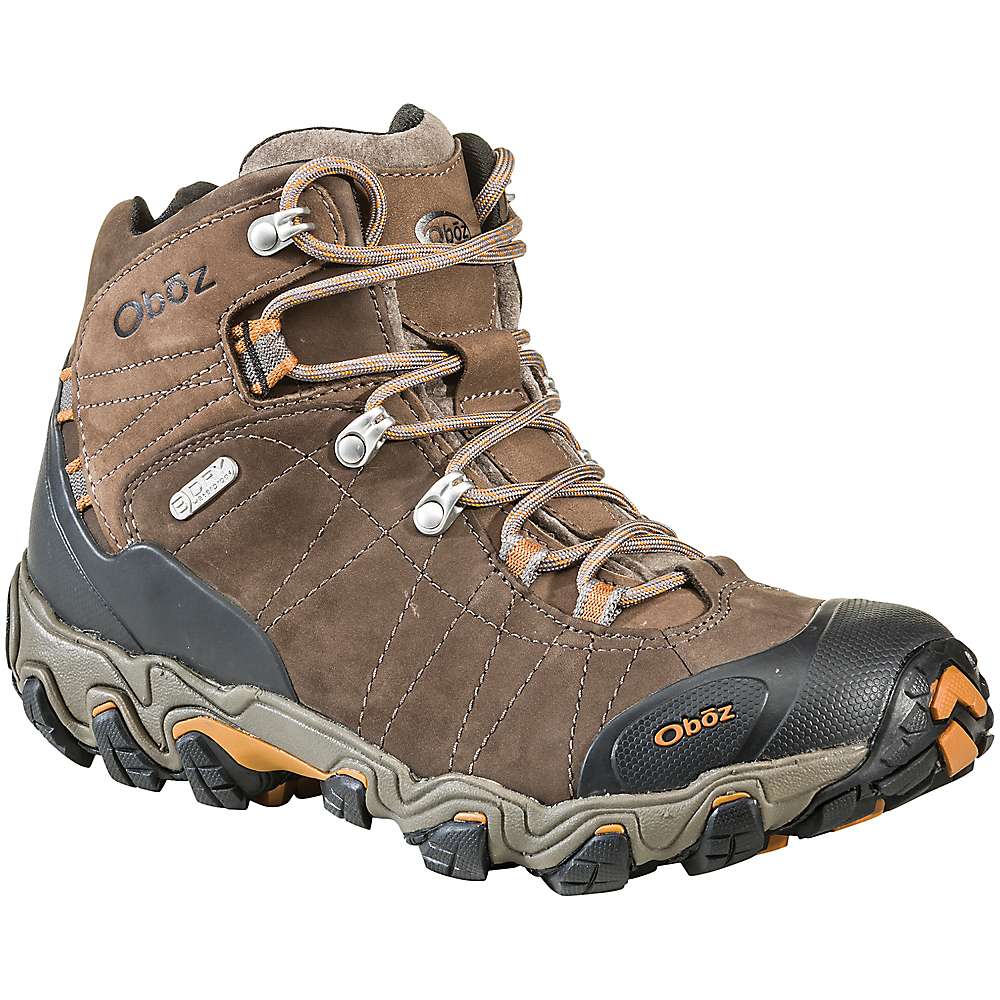
Hiking boots and socks are a must when hiking in the rain as they offer a degree of water resistance are quicker to dry than many other options out there. While there is no such thing as entirely waterproof hiking boots, what is on the market works quite well and dries off rather quickly.  

Wool Hiking socks are also essential as their moisture-wicking properties are great for hiking in the rain and drying quickly.  

Oboz Bridger Mid B-Dry Hiking Boots:

Darn Tough Hiker Cushion Sock:

Dry Bag

A dry bag is another helpful piece of equipment to bring with you when hiking in the rain.  Dry bags are waterproof stuff sacks that add an extra layer of water protection for your gear.  I typically keep extra clothes or electronics in dry bags when hiking.  When I am at camp, I use them to make a bear hang when storing my food and odorous items.  Read “How To Store Food While Backpacking” to learn more about food storage when outdoors.

Rain Pants And Rain Boot Covers (Gaiters)

So rain pants and boot covers are not always essential like the above pieces of gear but can be useful in certain situations.  I would recommend getting rain pants and rain boot covers on longer backpacking trips where you are gauranteed to encounter rain.  While I personally have never used these I wish I had them on my trek of the Tour Du Mont Blanc where it rained for four of my eight days on the trail!

How To Stay Safe When Hiking In The Rain

Hiking in the rain can lead to dangerous situations such as:

  • lightning storms
  • River floods
  • Slippery rock scrambles

  These situations can be sudden, and you may face them regardless of how much you prepare or the quality of your equipment.  So knowing how to respond to these events safely is crucial.

Hiking Safety In Lightning Storms

How To Hike Safely in A lightning storm

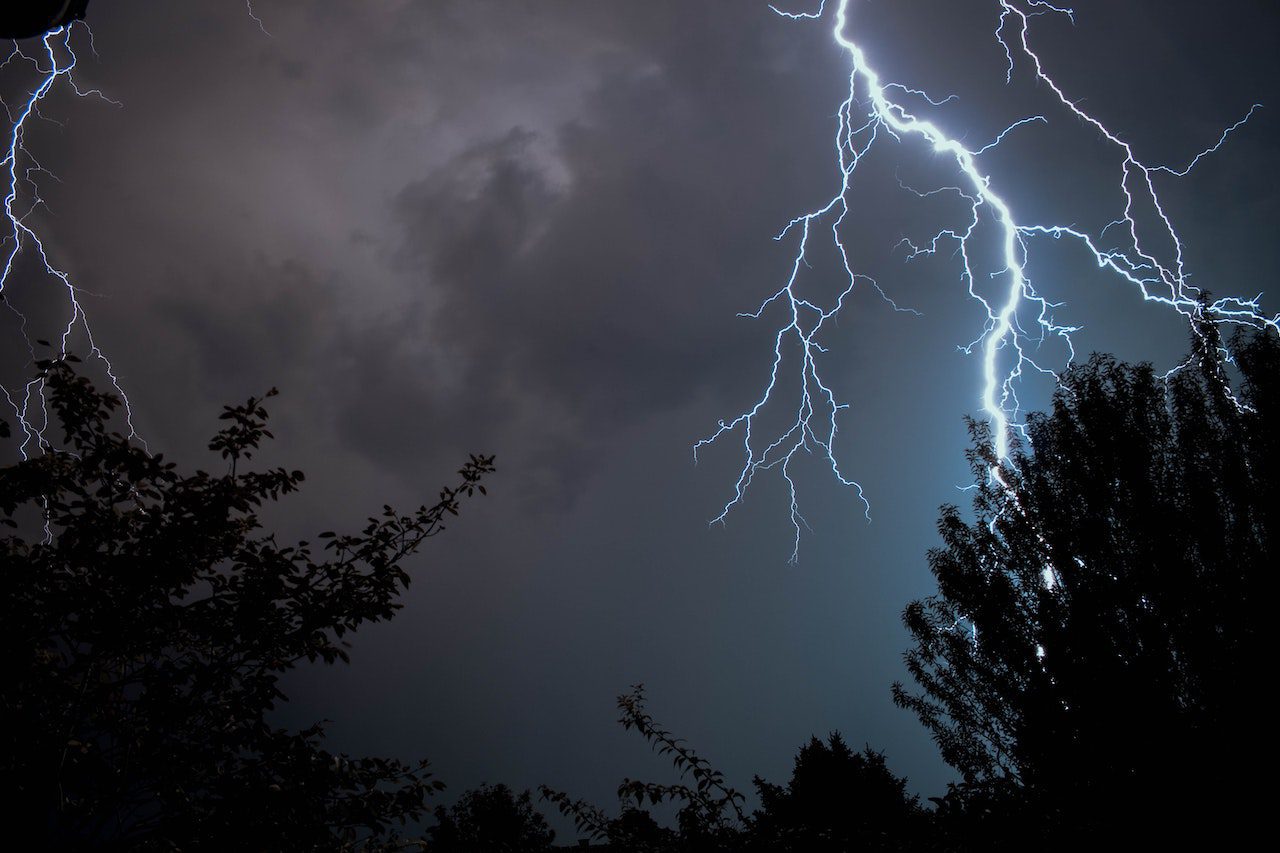
Mountain weather can be unpredictable.  One moment you may have clear skies, the next, you are caught in a raging lightning storm.  Whenever hiking with lightning present, safety is your number one priority.  Here are a couple of tips to keep you safe when hiking in a lightning storm:

  • Find Low Ground:  If you are on a summit or ridgeline, get down from there and find lower ground immediately.
  • Ditch The Metal: you should keep all of your metal equipment (metal frame backpacks, trekking poles, ice axes, etc) at least 100ft away from you if you.
  • Take Cover:  Avoid open spaces such as large fields or hillsides.  These areas act like magnets for lightning.  You need to take coverage, whether in a cave or the forest.  If you go in the woods, be sure not to take shelter under the largest tree in an area as it can act as a lightning rod.
  • Read through the Washington Trail Associations article for more information on lightning safety

River Flooding

hiking saftey during river flooding

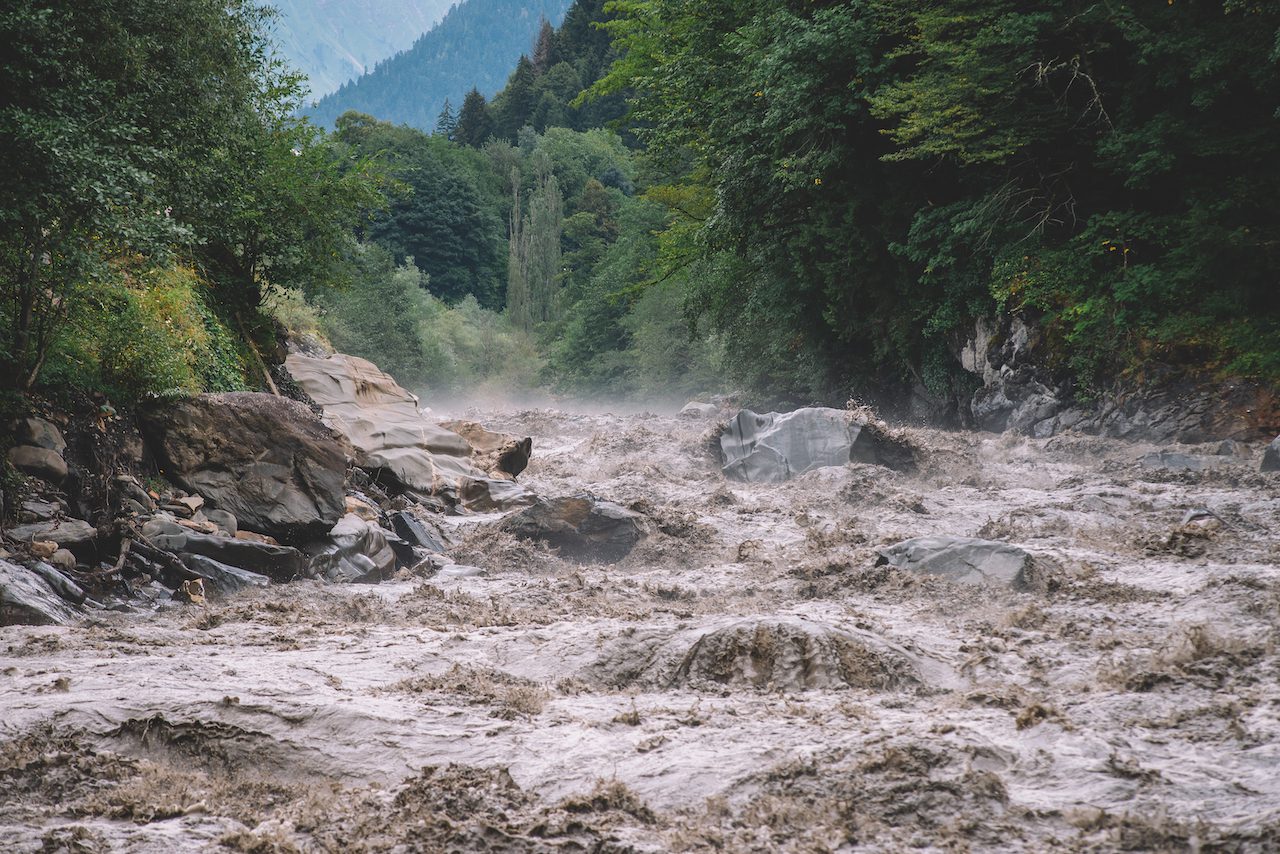
During heavy rainfall, rivers can flood, which can cause strong currents, trail washouts, and destroy bridges.  If you find yourself in a situation where a river is overflowing onto the trail, DO NOT attempt to cross it.  River currents are fastest during and after periods of heavy rainfall and can sweep you away if you try to cross their strong currents.  You should seek high ground immediately and either wait out the storm or begin planning an alternate route.

Rock Scrambles In The Rain

Rock scrambles can be challenging enough in dry weather. When it’s raining, the rocks can be extremely slippery, making them dangerous to scale.  Should you encounter a rock scramble when hiking in the rain, I recommend:

  • Evaluate the situation do not attempt a technically difficult scramble in the rain.
  • Wait for the rain to clear and consider setting up camp. 
  •  Consider taking an alternate route to avoid the scramble.

Dry Off Your Gear And Clothes After Hiking In The Rain

After you spend a day hiking in the rain, you need to make sure you are drying out your gear and clothes for your next day of hiking.  If you are going on a day hike, this is easy. Once you get home, just wash your clothes and throw them in the dryer.  

However, when it comes to backpacking, you need to get creative to dry off your gear and clothes for the next day of trekking.  The last thing you want to do is a hike in wet clothes. It’s uncomfortable, cold, and can cause blisters. A couple of ways to dry off your things after a day of hiking in the rain include:

  • Have a dry change of clothes
  • Remove the soles of your hiking boots
  • Put wet clothes in your sleeping bag while you sleep.
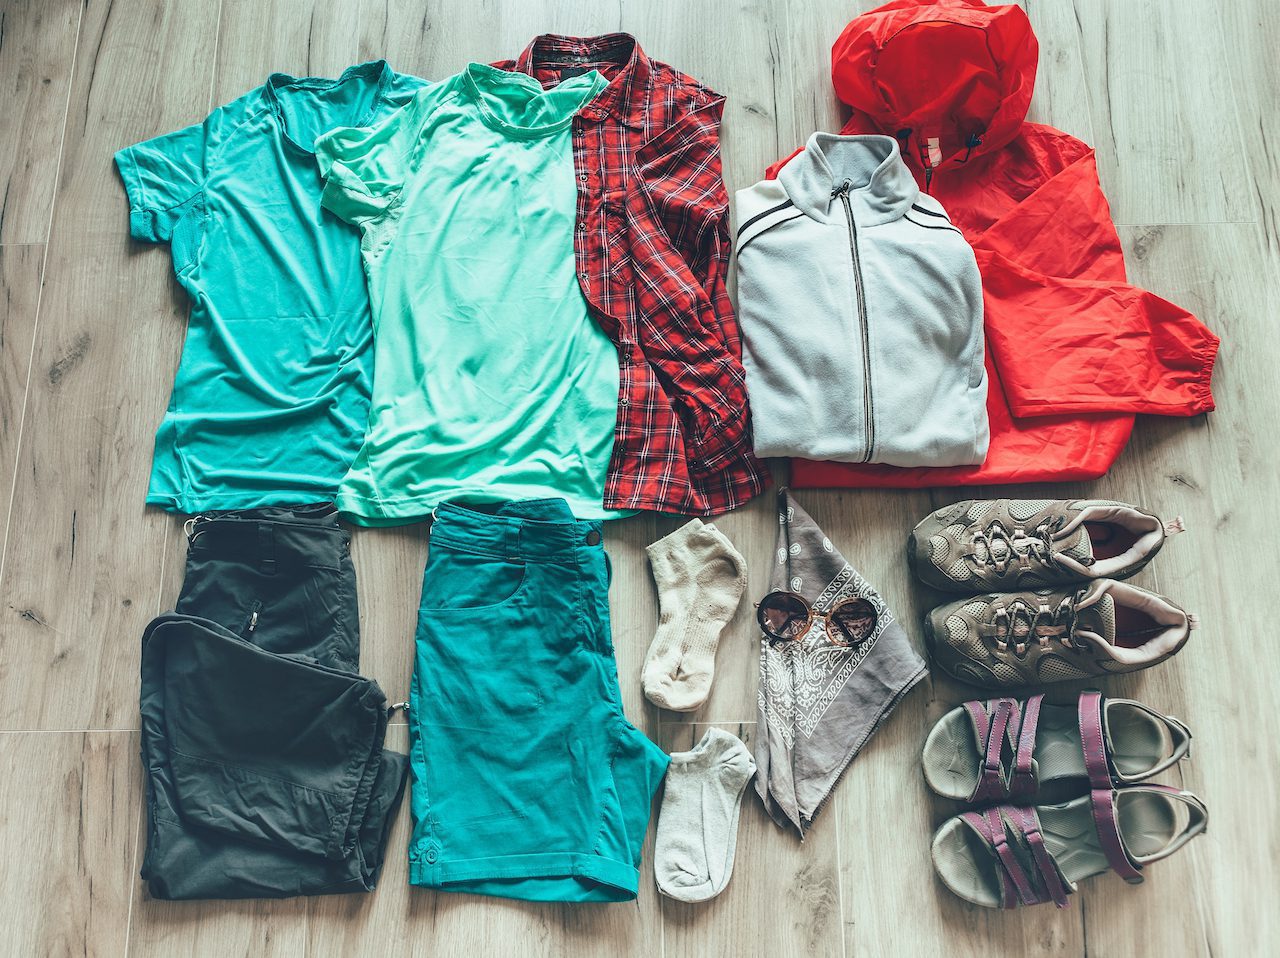
  • Avoid cotton

Have A Dry Change Of Clothes

What Clothes Should You Wear To Sleep When Backpacking

While this isn’t exactly drying off your gear, it is still helpful to have another set of dry clothes to wear after a day of hiking in the rain.  When backpacking, I usually have a set of sleep clothes and extra hiking clothes to change into, which comes in handy if my clothes from the previous day are still wet.  Having a dry set of clothes makes your next day of hiking infinitely more enjoyable.

Remove The Soles Of Your Hiking Boots

Once you arrive at camp, kick off those wet hiking boots to put on your camp shoes.  Then remove the soles from your hiking shoes and them both in the sun to dry.  By separating your soles from your boots, you give the sun a bit more surface area to hit, allowing them to dry quickly for your next day of hiking.

Put Your Wet Clothes In Your Sleeping Bag While You Sleep

When you get back from hiking in the rain, you are soaking wet!  So you want to try to dry those clothes off as quickly as possible.  You’ll find that simply leaving them out overnight to dry doesn’t get the job done.  A little trick I like to use is to put some of my wet clothes in the bottom of my sleeping bag when I am sleeping.  This helps dry them off faster by using my body heat!

Avoid Cotton

The classic hiker’s line is “Cotton Kills.”  While that may be a bit of exaggeration, cotton is a material that will retain more water and will take longer to dry out, making it less than ideal for hiking in the rain.  So whenever purchasing hiking gear, you want to do your best to avoid cotton products when possible.  Maybe instead of “Cotton Kills,” we’ll go with “Don’t use cotton for hiking because it retains water and sweat will leave you super uncomfortable.” 

Keep A Positive Perspective

how to hike in the rain

The next tip is to keep a positive outlook when hiking in the rain.  Staying positive when you are cold and wet can be challenging, but if you use the following tips, you may start to actually enjoy hiking in the rain!

  • Appreciate nature in rain
  • Let loose
  • Be grateful for the little things

Appreciate Nature In Rain

reason for backcountry permits

As I said it can be tough to stay positive when cold and wet, but it is essential to realize hiking in the rain gives you a unique way to experience nature.  Rain makes the smells of the forest and plants come to life, and you get to hear is a symphony of raindrops playing as you trek.  To put it simply, nature is pretty cool when it is raining, so take a second to appreciate it and don’t get bogged down by the inconvenience of rain. 

Let Loose

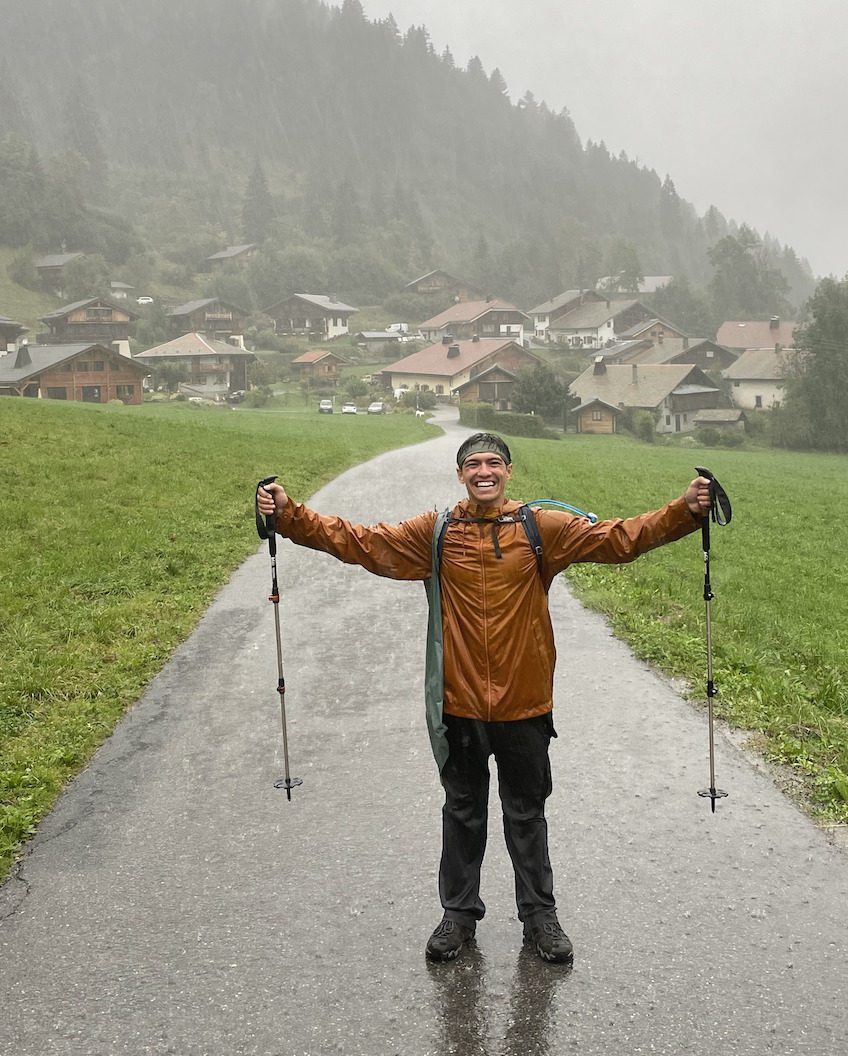
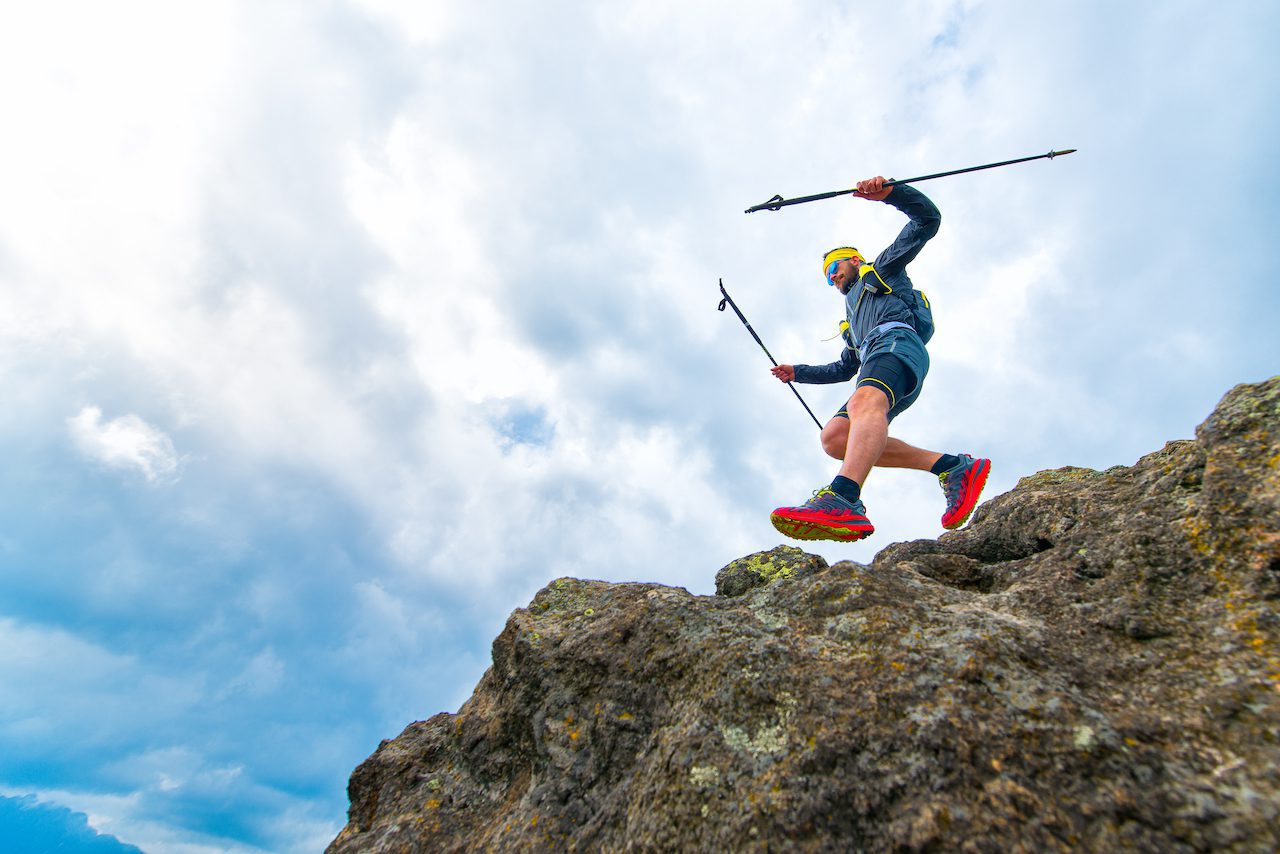
Let loose!  Don’t worry about being wet anymore. It doesn’t matter. Nothing you can do will stop the rain, so why worry about it.  Keep on hiking, and eventually, being cold and wet won’t bother you.  You may even start to feel free, running and yelling like a wild child through the wilderness (or maybe that’s just me).  Either way, you need to finish your hike, so you might as well do it with a smile on your face enjoying yourself in nature!
Be Grateful For The Little Things

When you finally arrive at camp or your car you will be so excited and happy because you are now free to relax, change your clothes and get comfortable.  When you get warm and have your first bite of food, it will taste amazing no matter what it is! 

There are very few times I have been as happy as when I arrive at camp from a rainy hike treating myself to the most basic needs shelter, dry clothes and a warm meal.  

Hope This Helps!

I hope these tips help you out for your next hike in the rain.  Post your hiking in the rain tips in the comments!

Categories
Ansel Adams Wilderness

Ansel Adams Wilderness Hiking Trip Planner In 9 Easy Steps

Ansel Adams Wilderness Hiking Trip Planner In 9 Easy Steps:

thousand island lake day hike

Planning a hiking trip is one of the most challenging parts of the trip for me. But follow our Ansel Adams Wilderness Hiking Trip Planner, and you will find yourself hiking in the Sierras in no time at all!

Disclosure: Some links on this page are affiliate links, and if you go through them to make a purchase or a booking, I may earn a commission. Using these links DO NOT affect the cost of the product/booking. The price remains the same affiliate link or not.

#1. Plan Your Hikes / Backpacking Itinerary:

Ansel Adams Wilderness Hiking Trip Planner

Your first step in planning your Ansel Adams Wilderness vacation is to figure out precisely what you want to do and see in the park. Whether it be day hiking or backpacking, you should decide what you want to see and how long you need to be there to get the most out of your trip.  

Be sure to always discuss backpacking itineraries or day hikes with a park ranger, to make sure conditions are safe for when you plan to hike. 

Determining what you want to do in the park should be your first step because it will affect all other aspects of planning your trip that we will discuss throughout this guide. 

Whether you opt for day hiking or backpacking, I highly recommend going through our “Ultimate Guide To Ansel Adams Wilderness “. It is a great resource to find insane day hikes and pre-made backpacking itineraries to help you plan your adventure.

#2. Pick Your Dates

Now that you know what you want to do in the park and how long you expect to stay, the next step is deciding which dates you want to go. For hiking and camping, summertime is your best bet. Anywhere from June to October would work. Keep in mind these dates may require some flexibility depending on the campsite and permit availability.

#3. Book Your Campsite, Permits Or Hotel Stay

Now that you have your dates, you need to work on getting campsite, backcountry permit, or hotel reservations.  

Campsite & Backcountry Permit Reservations:

All overnight stays in Ansel Adams Wilderness require a wilderness permit which can be obtained at either Inyo National Forest or Sierra National Forest websites, depending on where you are entering the park. The above links are the same ones you should use to go backpacking in the park. Fortunately, backcountry permits for Ansel Adams Wilderness are typically easier to obtain compared to other parks in the region. Cough cough Yosemite. 

Hotel Stays Near Ansel Adams Wilderness

Now, if camping isn’t your style and you need a little more comfort, not to fear there are many different hotel stays located around the park. Be sure to book a hotel close to the area of the park where you plan to spend most of your time. The two towns closest to the park’s entrances are Mammoth Lakes and Bishop, CA. Use the below links to find some excellent stays near Ansel Adams Wilderness.

#4. Decide Which Airport You Are Flying Into

Ansel Adams Wilderness is pretty large. Because of this, there are a couple of different airport options available.

  • Reno-Tahoe Airport (RNO) **Closest Option**: ~ 2 1/2 hr drive to Mammoth Lakes, CA 
  • Los Angeles (LAX):  ~4hr drive from Bishop, CA
  • Las Vegas (LAS):  ~4 1/2hr drive from Bishop, CA

#5. Check Flights And Book Your Tickets

Now that we picked our dates and what airport we want to fly into, it is time to check flights! I always like using Kayak to help find the cheapest flights. Use the link below to do some flight research.

#6. Book A Rental Car For Your Ansel Adams Wilderness Vacation

The next step needed is to book your rental car. While a shuttle bus service is available from Mammoth Mountain Adventure Center to Red Meadows/Devils Postpile, having a car is significantly more convenient. I usually use one of the below services to research and book my rental cars.

#7. Consider Travel Insurance Especially If Backpacking

You never know what is going to happen when hiking in the wilderness. While travel insurance may be overkill if you only plan on doing day hikes, it is worth considering if you are backpacking. The reason being is injuries on the trail are always unexpected. If you were to get one bad enough that it requires you to be airlifted out of the park, that is a bill you DO NOT want.

 
Click the link below to check out different plans with Travelex. After you put in your information and get quotes, click “show more features” to view travel coverage benefits for emergency medical expenses and emergency medical evacuation.

#8. Brush Up On Your Hiking/Backpacking Basics

If you are new to hiking or backpacking but want to visit Ansel Adams Wilderness, that is awesome! You do not need to be a seasoned veteran outdoorsman to enjoy a park. If you are a beginner, I recommend going on some day hikes before your trip to prepare you for your hiking vacation! 

If you want to learn about hiking and backpacking, check out our “Hiking / Backpacking Tips Page.”

#9. Make Sure You Have All Of The Necessary Gear:

Hiking Gear Blog

Whenever going into the wilderness, having the right gear is absolutely essential. Fortunately, whether you are backpacking or just doing day hikes, you can use our gear guides to ensure you have everything you need.

Enjoy Your Trip!

I hope this guide was helpful for you guys.  Enjoy your time in the Ansel Adams Wilderness!

Categories
Grand Tetons

Grand Teton National Park Hiking Trip Planner In 10 Easy Steps

Grand Teton National Park Hiking Trip Planner In 10 Easy Steps:

The Teton Crest Trail BAckpacking Itinerary

Planning a hiking trip is one of the most challenging parts of the trip for me. But follow our Grand Teton National Park Hiking Trip Planner, and you will find yourself hiking in the Tetons in no time at all!

Disclosure: Some links on this page are affiliate links, and if you go through them to make a purchase or a booking, I may earn a commission. Using these links DO NOT affect the cost of the product/booking. The price remains the same affiliate link or not.

#1. Plan Your Hikes / Backpacking Itinerary:

Jenny Lake

Your first step in planning your Grand Teton National Park vacation is to figure out precisely what you want to do and see in the park. Whether it be day hiking or backpacking, you should decide what you want to see and how long you need to be there to get the most out of your trip.  Be sure to always discuss backpacking itineraries or day hikes with a park ranger, to make sure conditions are safe for when you plan to hike. 

Determining what you want to do in the park should be your first step because it will affect all other aspects of planning your trip that we will discuss throughout this guide. Whether you opt for day hiking or backpacking, I highly recommend going through our “Grand Teton National Park Guide“. It is a great resource to find insane day hikes and pre-made backpacking itineraries to help you plan your adventure.

#2. Pick Your Dates

Now that you know what you want to do in the park and how long you expect to stay, the next step is deciding which dates you want to go. For hiking and camping, summertime is your best bet. Anywhere from mid May to early September would work. Keep in mind these dates may require some flexibility depending on the campsite and permit availability.

#3. Book Your Campsite, Permits Or Hotel Stay

Now that you have your dates, you need to work on getting campsite, backcountry permit, or hotel reservations.  

Campsite & Backcountry Permit Reservations:

All campsites at Grand Teton National Park require a reservation which you can make at recreation.gov for front-country campsites. You will need permits to do a backpacking trip through the backcountry. You can reserve these permits through recreation.gov as well. While I always recommend booking your permits in advance, if you forget to do this you may still be in luck as Grand Teton National Park sets 1/3rd of their permits aside for first come first serve backpackers! 

Hotel Stays Near Grand Teton National Park

Now, if camping isn’t your style and you need a little more comfort, not to fear Grand Teton National Park is a quick half-hour drive from Jackson Hole, where there are many hotel options available. Use the below links to find some fantastic stays near Grand Teton National Park.

#4. Decide Which Airport You Are Flying Into

There is only one sensible option when it comes to which airport to fly into when visiting Grand Teton National Park, and that is Jackson Hole Airport to see which airport, which is just a six-minute drive from the park!

#5. Check Flights And Book Your Tickets

Now that we picked our dates and what airport we want to fly into, it is time to check flights! I always like using Kayak to help find the cheapest flights. Use the link below to do some flight research.

#6. Book A Rental Car For Your Grand Teton National Park Vacation

The next step needed is to book your rental car. Grand Teton National Park is a fantastic park. However public transport is virtually nonexistent here so having a car is a must. I usually use one of the below services to research and book my rental cars.

#7. Consider Travel Insurance Especially If Backpacking

You never know what is going to happen when hiking in the wilderness. While travel insurance may be overkill if you only plan on doing day hikes, it is worth considering if you are backpacking. The reason being is injuries on the trail are always unexpected. If you were to get one bad enough that it requires you to be airlifted out of the park, that is a bill you DO NOT want.

 
Click the link below to check out different plans with Travelex. After you put in your information and get quotes, click “show more features” to view travel coverage benefits for emergency medical expenses and emergency medical evacuation.

#8. Look Into Excursions In Grand Teton National Park

Suppose you have an extra day and want to do other activities outside of hiking. I highly recommend looking through some of the excursions available through TripAdvisor. Click the link below and search “Grand Teton National Park,” then click “Things To Do” to look through some of the excursions available through TripAdvisor.

#9. Brush Up On Your Hiking/Backpacking Basics

If you are new to hiking or backpacking but want to visit Grand Teton National Park, that is awesome! You do not need to be a seasoned veteran outdoorsman to enjoy a park. If you are a beginner, I recommend going on some day hikes before your trip to prepare you for your hiking vacation! If you want to learn about hiking and backpacking, check out our “Hiking / Backpacking Tips Page.”

#10. Make Sure You Have All Of The Necessary Gear:

Hiking Gear Blog

Whenever going into the wilderness, having the right gear is absolutely essential. Fortunately, whether you are backpacking or just doing day hikes, you can use our gear guides to ensure you have everything you need.

Enjoy Your Trip!

I hope this guide was helpful for you guys.  Enjoy your time in the Tetons!

Categories
Mt Rainier

Mt Rainier National Park Hiking Trip Planner In 10 Easy Steps

Mt Rainier National Park Hiking Trip Planner In 10 Easy Steps:

Tolmie Peak Backpacking Itinerary

Planning a hiking trip is one of the most challenging parts of the trip for me. But follow our Mt Rainier National Park Hiking Trip Planner, and you will find yourself hiking along the Wonderland Trail in no time!

Disclosure: Some links on this page are affiliate links, and if you go through them to make a purchase or a booking, I may earn a commission. Using these links DO NOT affect the cost of the product/booking. The price remains the same affiliate link or not.

#1. Plan Your Hikes / Backpacking Itinerary:

Hiking / Backpacking Tips

Your first step in planning your Mt Rainier vacation is to figure out precisely what you want to do and see in the park. Whether it be day hiking or backpacking, you should decide what you want to see and how long you need to be there to get the most out of your trip.  Be sure to always discuss backpacking itineraries or day hikes with a park ranger, to make sure conditions are safe for when you intend on visiting the park. 

Determining what you want to do in the park should be your first step because it will affect all other aspects of planning your trip that we will discuss throughout this guide. Whether you opt for day hiking or backpacking, I highly recommend going through our “Mt Rainier National Park Guide“. It is a great resource to find insane day hikes and pre-made backpacking itineraries to help you plan your adventure.

If you are a looking to go on an extended backpacking trip and backpack the famous Wonderland Trail you should check out our “Wonderland Trail Backpacking Guide”

#2. Pick Your Dates

Now that you know what you want to do in the park and how long you expect to stay, the next step is deciding which dates you want to go. For hiking and camping, summertime is your best bet. Anywhere from early July to mid September would work. Keep in mind these dates may require some flexibility depending on the campsite and permit availability.

#3. Book Your Campsite, Permits Or Hotel Stay

Now that you have your dates, you need to work on getting campsite, backcountry permit, or hotel reservations.  

Campsite & Backcountry Permit Reservations:

When planning your stays at front-country campsites in Mt Rainier National Park you may make reservations at Cougar Rock Campground and Ohanapecosh Campground.  Fortunately for you last minute planners like myself there are also two campgrounds that are first-come-first-serve only, these are White River and Mowich Lake campground. 

If you plan backpacking you  will need permits to camp in the backcountry. You can reserve these permits through recreation.gov. Backcountry permits during the busy season can be difficult to obtain last minute, so I recommend applying for them way in advance. 

Hotel Stays Near Mt Rainier National Park

Now, if camping isn’t your style and you need a little more comfort, there are several hotel options most of them located south of the park in Ashburn and Packwood Washington.  Use the below links to find some cool stays near Mt Rainier National Park.

#4. Decide Which Airport You Are Flying Into

Mt Rainier National Park is pretty large. Because of this, there are a couple of different airport options available. There are two different ways you can go with picking an airport. Either go with the closest to where you plan on lodging or with whichever one has the most convenient flights for you, and if you can get both, great! Refer to our post “Closest Airports To Mt Rainier national Park” to see which airport would work best for you!

#5. Check Flights And Book Your Tickets

Now that we picked our dates and what airport we want to fly into, it is time to check flights! I always like using Kayak to help find the cheapest flights. Use the link below to do some flight research.

#6. Book A Rental Car For Your Mt Rainier National Park Vacation

The next step needed is to book your rental car.   Mt Rainier National Park is a fantastic park to drive through with many scenic roads. Unfortunately, public transport is virtually nonexistent here so having a car is a must. I usually use one of the below services to research and book my rental cars.

#7. Consider Travel Insurance Especially If Backpacking

You never know what is going to happen when hiking in the wilderness. While travel insurance may be overkill if you only plan on doing day hikes, it is worth considering if you are backpacking. The reason being is injuries on the trail are always unexpected. If you were to get one bad enough that it requires you to be airlifted out of the park, that is a bill you DO NOT want.

 
Click the link below to check out different plans with Travelex. After you put in your information and get quotes, click “show more features” to view travel coverage benefits for emergency medical expenses and emergency medical evacuation.

#8. Look Into Excursions In Mt Rainier National Park

Suppose you have an extra day and want to do other activities outside of hiking. I highly recommend looking through some of the excursions available through TripAdvisor. Click the link below and search “Mt Rainier National Park” then click “things to do” to look through some of the excursions available through TripAdvisor.

#9. Brush Up On Your Hiking/Backpacking Basics

If you are new to hiking or backpacking but want to visit Mt Rainier National Park, that is awesome! You do not need to be a seasoned veteran outdoorsman to enjoy a park. If you are a beginner, I recommend going on some day hikes before your trip to prepare you for your hiking vacation! If you want to learn about hiking and backpacking, check out our “Hiking / Backpacking Tips Page.”

#10. Make Sure You Have All Of The Necessary Gear

Hiking Gear Blog

Whenever going into the wilderness, having the right gear is absolutely essential. Fortunately, whether you are backpacking or just doing day hikes, you can use our gear guides to ensure you have everything you need.

Enjoy Your Trip!

I hope this guide was helpful for you guys.  Enjoy your time in the Mt Rainier National Park!

Categories
Great Smokey Mountain

The Great Smoky Mountains National Park Hiking Trip Planner In 10 Easy Steps

The Great Smoky Mountains National Park Hiking Trip Planner In 10 Easy Steps:

Planning a hiking trip is one of the most challenging parts of the trip for me. But follow our Great Smoky Mountain National Park Trip Planner, and you will find yourself hiking in the smokies in no time at all!

Disclosure: Some links on this page are affiliate links, and if you go through them to make a purchase or a booking, I may earn a commission. Using these links DO NOT affect the cost of the product/booking. The price remains the same affiliate link or not.

#1. Plan Your Hikes / Backpacking Itinerary:

Your first step in planning your Great Smoky Mountain vacation is to figure out precisely what you want to do and see in the park. Whether it be day hiking or backpacking, you should decide what you want to see and how long you need to be there to get the most out of your trip.  Be sure to always discuss backpacking itineraries or day hikes with a park ranger, to make sure conditions are safe for when you plan to hike. 

Determining what you want to do in the park should be your first step because it will affect all other aspects of planning your trip that we will discuss throughout this guide. Whether you opt for day hiking or backpacking, I highly recommend going through our “Great Smoky Mountain National Park Guide“. It is a great resource to find insane day hikes and pre-made backpacking itineraries to help you plan your adventure.

#2. Pick Your Dates

Now that you know what you want to do in the park and how long you expect to stay, the next step is deciding which dates you want to go. For hiking and camping, summertime is your best bet. Anywhere from late May to mid-September would work. Keep in mind these dates may require some flexibility depending on the campsite and permit availability.

#3. Book Your Campsite, Permits Or Hotel Stay

Now that you have your dates, you need to work on getting campsite, backcountry permit, or hotel reservations.  

Campsite & Backcountry Permit Reservations:

All campsites at Great Smoky Mountain National Park require a reservation which you can make at recreation.gov for front-country campsites. You will need permits if you want to do a backpacking trip through the backcountry. You can reserve these permits through the park’s website. Backcountry permits during the busy season can be difficult to obtain last minute, so I recommend applying for them way in advance. 

Hotel Stays Near Great Smoky Mountain National Park:

Now, if camping isn’t your style and you need a little more comfort, not to fear there are many different hotel stays located around the park. Be sure to book a hotel close to the area of the park where you plan to spend most of your time. That way, you will spend less time driving and more time on the trail! Use the below links to find some cool stays near Great Smoky Mountains National Park.

#4. Decide Which Airport You Are Flying Into

Great Smoky Mountains National Park is pretty large and even goes through two states (North Caroline and Tennessee). Because of this, there are a couple of different airport options available. There are two different ways you can go with picking an airport. Either go with the closest to where you plan on lodging or with whichever one has the most convenient flights for you, and if you can get both, great! Refer to our post “Closest Airports To Great Smoky Mountains National Park” to see which airport would work best for you!

#5. Check Flights And Book Your Tickets

Now that we picked our dates and what airport we want to fly into, it is time to check flights! I always like using Kayak to help find the cheapest flights. Use the link below to do some flight research.

#6. Book A Rental Car For Your Great Smoky Mountains National Park Vacation

The next step needed is to book your rental car. The Great Smoky Mountains is a fantastic park to drive through, being one of the first national parks designed with vehicles in mind. Unfortunately, public transport is virtually nonexistent here so having a car is a must. I usually use one of the below services to research and book my rental cars.

#7. Consider Travel Insurance Especially If Backpacking

You never know what is going to happen when hiking in the wilderness. While travel insurance may be overkill if you only plan on doing day hikes, it is worth considering if you are backpacking. The reason being is injuries on the trail are always unexpected. If you were to get one bad enough that it requires you to be airlifted out of the park, that is a bill you DO NOT want.

 
Click the link below to check out different plans with Travelex. After you put in your information and get quotes, click “show more features” to view travel coverage benefits for emergency medical expenses and emergency medical evacuation.

#8. Look Into Excursions In GSMNP

Suppose you have an extra day and want to do other activities outside of hiking. I highly recommend looking through some of the excursions available through TripAdvisor. Click the link below and search “Great Smoky Mountains National Park,” then click “tours and tickets” to look through some of the excursions available through TripAdvisor.

#9. Brush Up On Your Hiking/Backpacking Basics

If you are new to hiking or backpacking but want to visit Great Smoky Mountains National park, that is awesome! You do not need to be a seasoned veteran outdoorsman to enjoy a park. If you are a beginner, I recommend going on some day hikes before your trip to prepare you for your hiking vacation! If you want to learn about hiking and backpacking, check out our “Hiking / Backpacking Tips Page.”

#10. Make Sure You Have All Of The Necessary Gear:

Hiking Gear Blog

Whenever going into the wilderness, having the right gear is absolutely essential. Fortunately, whether you are backpacking or just doing day hikes, you can use our gear guides to ensure you have everything you need.

Enjoy Your Trip!

I hope this guide was helpful for you guys.  Enjoy your time in the Smokies!

Categories
Outdoors for Beginners Hiking Basics

Why Is Hiking Fun? 6 Reasons Why You Should Hike

Why Is Hiking Fun? 6 Reasons Why You Should Hike.

why is hiking fun? 6 reasons why you should hike

Why is hiking fun? It’s something that my city friends constantly ask me and is a fair question. Hiking is physically challenging, uncomfortable, and potentially dangerous. But despite all that, hiking is the single greatest hobby that I have taken up.  

I was not always a hiker. As a New Yorker, six years ago, the closest I have ever come to hiking was walking to the subway and certainly never considered it as something I would do “for fun.”  However, after my first trekking vacation, I fell in love with the freedom and beauty of hiking in nature.  Below are some of the reasons why hiking is so much fun and why everyone should do it!

#1. Great Exercise

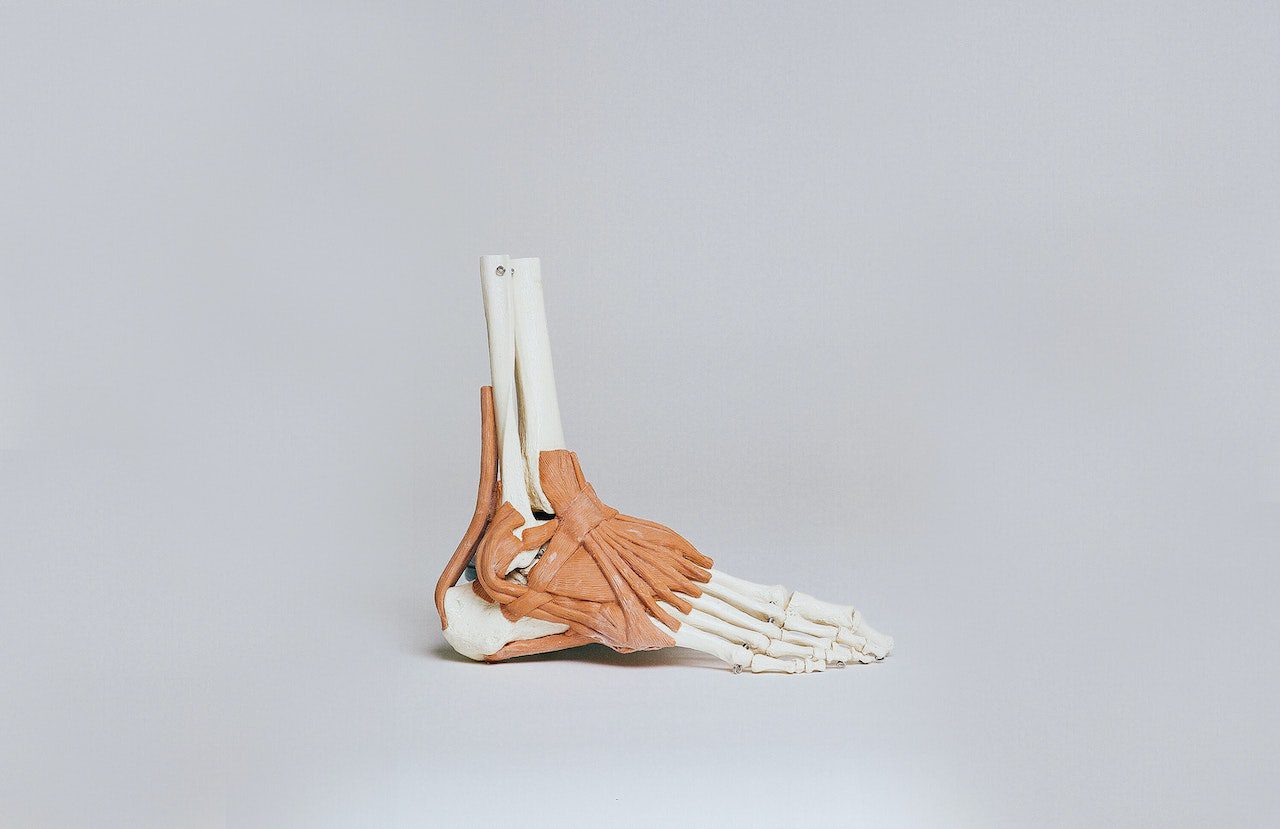
What is toe bang hiking

Hiking is a great form of aerobic exercise that, if done regularly, can improve your cardiovascular health and endurance.  What’s great about it is that people of all fitness levels can do it; after all, all you have to do is walk!  Some health benefits of aerobic exercise include:

  • Weight loss
  • Lower blood pressure
  • Boost mood
  • Boost immune system
  • Lowers bad cholesterol raises good cholesterol
If you want to learn more about the health benefits of hiking, you should check out my article “Is Hiking Aerobic Or Anaerobic Exercise?  10 Health Benefits Of Hiking”.

#2. Unplug:

where a pair of camp shoes

One of the best parts about hiking and something our society needs most is that it allows you completely unplug from the crazy tech world we live in.  It’s easy to get lost in the endless barrage of emails, texts, and social media feeds.  Hiking gives you an escape from it all and an opportunity just to enjoy yourself in nature.  Although it may be daunting for some of you to spend a day without wifi or cell service, you may realize that hiking is a fun way to cut loose.  You may even find that it helps you recenter your headspace, focusing on more important things.

#3. Amazing Views:

Hiking has given me breathtaking experiences seeing the beautiful landscape views from the trail. Coming from the concrete jungle, I always found it so much fun to experience different environments when on a hiking trip.  But keep in mind that these views aren’t free. Your payment for these incredible vistas includes sore legs, swollen ankles, and a whole lot of sweat.  But it is the struggle and difficulty that makes the experience and the views you witness that much more special.  You had to earn them. You didn’t take the easy route because there is no easy route. If you want to see beautiful things, you have to hike the trail like everyone else!

#4. Improve Your Mental Health

Hiking through nature can also do wonders for your mental health.  As we previously mentioned, aerobic exercise helps with boosting mood and decreases stress.  This, combined with being outdoors allows you to relax and enjoy the present moment. For me, I compare hiking to wringing my mind out like a dirty sponge getting all of the unnecessary thoughts and stresses out of there.  

As someone who used to suffer from anxiety, it can be difficult to break the cycle of having a thought, worrying about it, then having anxiety.  Hiking serves as a great way to break this cycle.  When out hiking, I am not worrying about the past or future but enjoying myself in the present. If you want to learn more about the mental health benefits of hiking in nature, you should check out this article from heart.org.

#5. Connect With Nature

reason for backcountry permits

Hiking is an amazing way to connect with nature.  Especially if you are from a city like myself, being in a wilderness is a much-needed break switching the concrete sidewalks and skyscrapers for a footpath and beautiful mountains.  Like me, you may find that you get this strange feeling of connectedness when you are spending a prolonged time in nature.  It’s weird to say or describe and is almost a mystical experience where you feel like you are exactly where you belong among the trees, mountains and wildlife. If you get into hiking, you may even start to look at hiking trails like amusement parks where you can climb mountains, hike through deserts, and sleep under the stars.

#6. Get A New Perspective

Hiking and backpacking are great ways of putting things into perspective.  Unlike everyday life when on the trail you do not have wifi, a laptop, or even toilets. All you have is the clothes on your back and the gear in your pack.  But if you spend enough time hiking, you realize that there is not much you need to be happy.  Sometimes all you need is a goal, good friends, and to enjoy the views along the way despite those sore legs! 

Now Get Out There And Hike!

I have always thought of hiking as a metaphor for living a good life.  Hiking, like life, is about making progress and enjoying your time during the journey.  It can be tempting to put your head down and just trudge along a trail until you reach your destination.  But if you do this without picking your head up to enjoy the view, you may miss the best parts.

Coming from a guy who lives in one of the funnest cities on the planet (NYC), I can tell you that hiking in a beautiful national park is an experience unlike a night out in any city.  You learn about yourself and experience nature with every trail you walk.  So If you have never been give hiking a shot, you’ll find it is a fun way to explore the world and unleash your sense of wonder.  

Get Your Backpacking Checklist!!!

Get your free backpacking checklist!

Join our mailing list to get the latest news, updates, posts, trails, and itineraries!