Canyonlands National Park Hiking Guide:
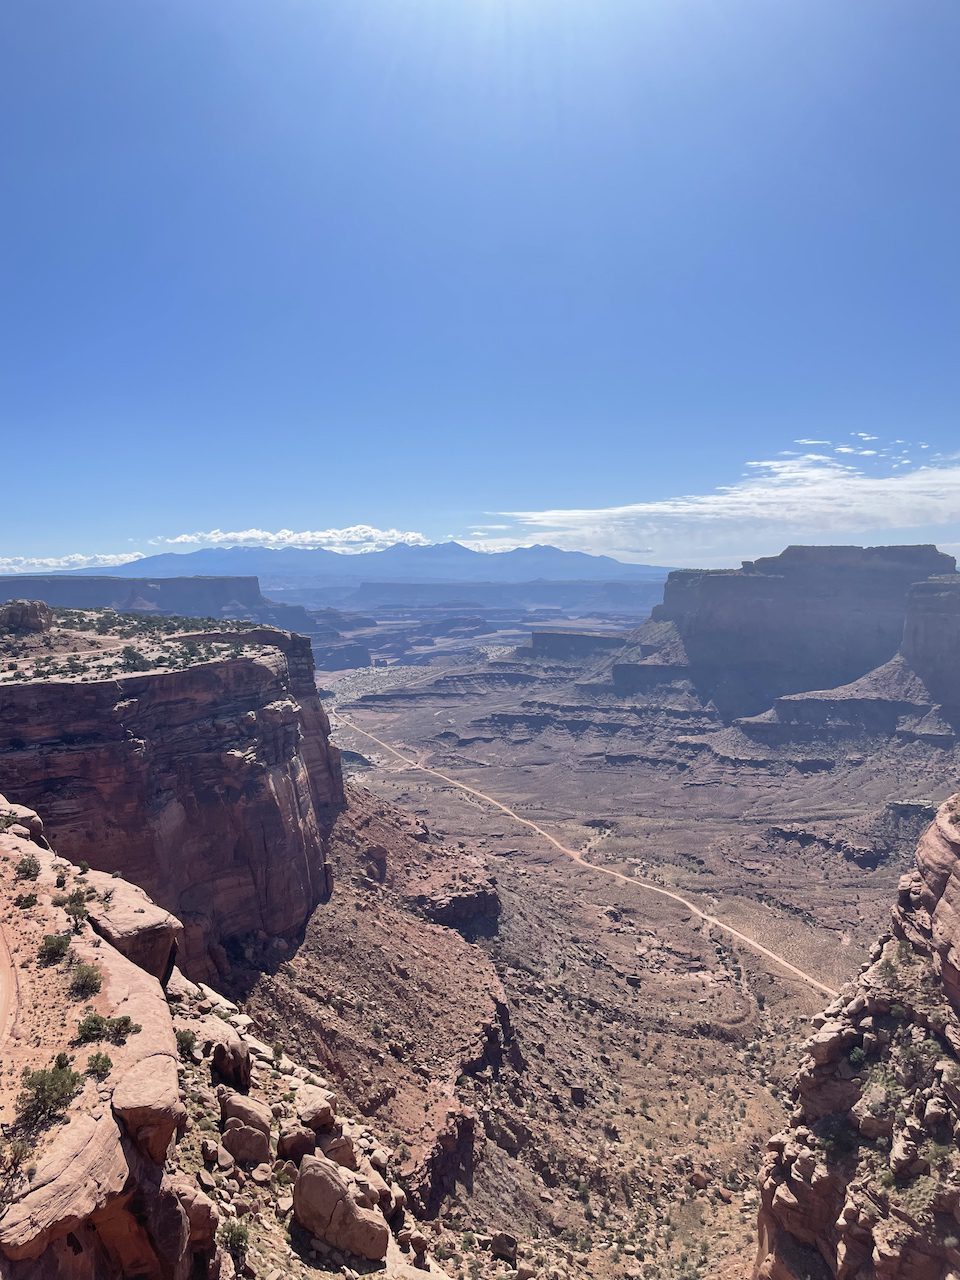
Made up of remarkable canyons, giant sandstone towers, and beautiful desert landscapes, Canyonlands National Park is a must on any hiker’s bucket list! With over 330,000 acres of land, this park is so massive that it has been divided into four different sections, including:
- Island In The Sky
- The Needles District
- The Maze
- Horseshoe Canyon
The endless opportunities at Canyonlands National Park are exciting but can make planning a trip difficult. Fortunately, you’re in the right place! I will give you the skinny on hiking in Canyonlands based on my experience, and you’ll be on the trail in no-time!
The Four Sections Of Canyonlands National Park Explained
As I said, the park is massive, and driving to different areas can take anywhere from two to six hours! So knowing where to go and how to spend your time efficiently will help you get the most out of this incredible national park.
Island In The Sky:
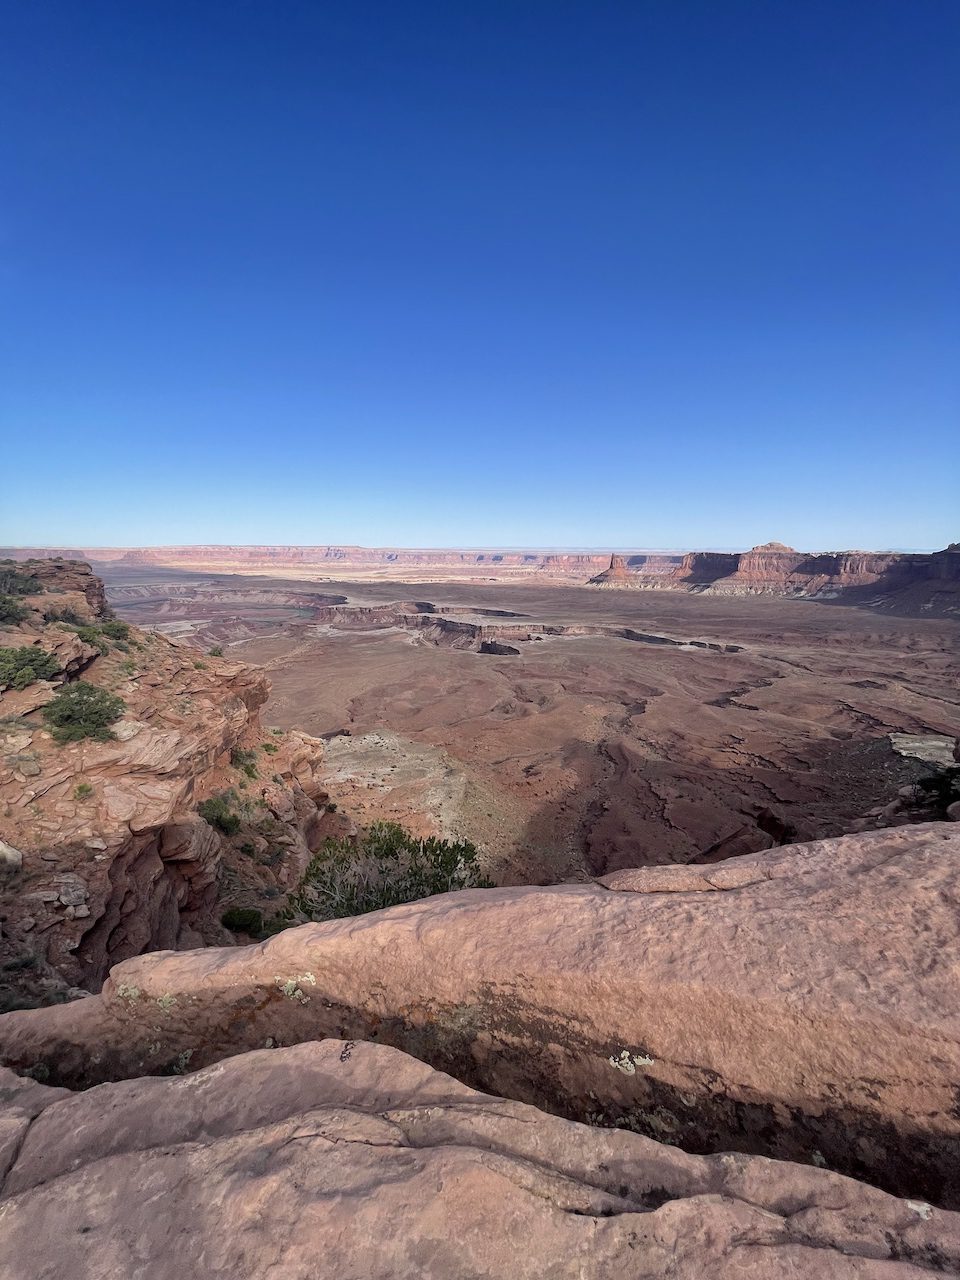
Island In The Sky is the most visited area of the park and is just a short drive from Moab, Utah. The site has aptly been named as it is a large field sitting atop of a gigantic mesa. As you drive up, you will be reminded of how far removed you are from the world with the number of free-range cattle grazing along the road leading to the park entrance.
Island In The Sky is a must-see section of your visit. It boasts several fantastic day and half-day hikes, driveable viewpoints, and even has some opportunities for an overnight backpacking trip.
The Needles District:
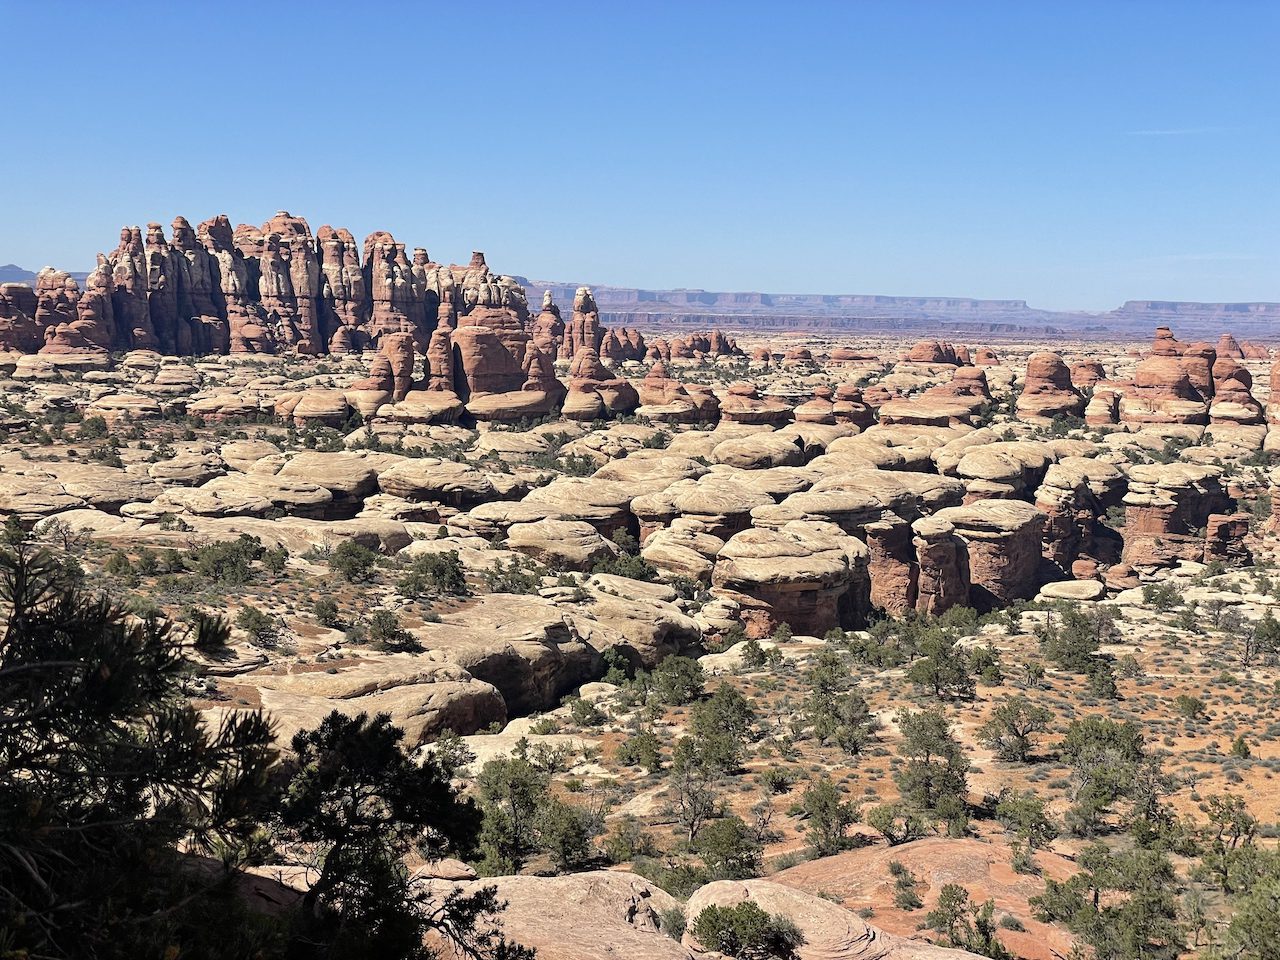
Next up is The Needles District, situated about an hour and a half south of Moab. Here you will see a more rugged desert-like environment than Island In The Sky. The Needles district is where you are looking to go for some heavy-duty day hikes or on a multi-day backpacking adventure.
The Maze:
Next up is the Maze! This is located in the most remote part of the park and is the most difficult to get to, requiring 4WD with high clearance to tackle those unpaved roads. Great for off-roading, and there are opportunities for cross-country hiking but not the place for your average hiker, so I skipped this one.
Horseshoe Canyon:
Located within the maze, Horseshoe Canyon offers fascinating archaeological sites which contain ancient rock drawings down by the indigenous peoples who used to inhabit the area. Again not too much hiking here so I skipped it. However, if you are a big history buff, Horseshoe Canyon may be worth visiting.
What Are Best Areas Of Canyonlands National Park For Hiking?
Now that we are familiar with the different areas of the park, let’s focus on why you’re here. The hikes! The best areas of Canyonlands National park for hiking are:
Island In The Sky & The Needles District
How Much Time Do I Need At Canyonlands National Park?
seven to ten days
Honestly you can easily spend months exploring the park but for times sake I think seven to ten days is reasonable for getting the most out of it.
I only spent six days because I was on a time crunch but easily could have stayed for ten. Between The Needles District and Island In the Sky there are so many incredible day hikes and backpacking trips you can do!
Planning Your Trip To Canyonlands
Keep in mind both Island In The Sky and The Needles District offer campgrounds by reservation. I highly recommend making a reservation in advance if not you still have the opportunity to camp on local BLM land for free!
Also there are non amenities other than toilets and potable water at both visitor centers so make sure you stock up on food prior to heading to the park.
How To Hike Island In The Sky
I only had three days here so my plan was to do predominantly day hikes, since many of the trails are one off making backpacking unnecessary. So I stuck with day hikes and boondocking on BLM land just outside the park.
My Top 6 Hikes Of Canyonlands Island In The Sky
With so many amazing trails available in Island In The Sky choosing a top five is a toughie but here it goes!
#1 Mesa Arch Trail
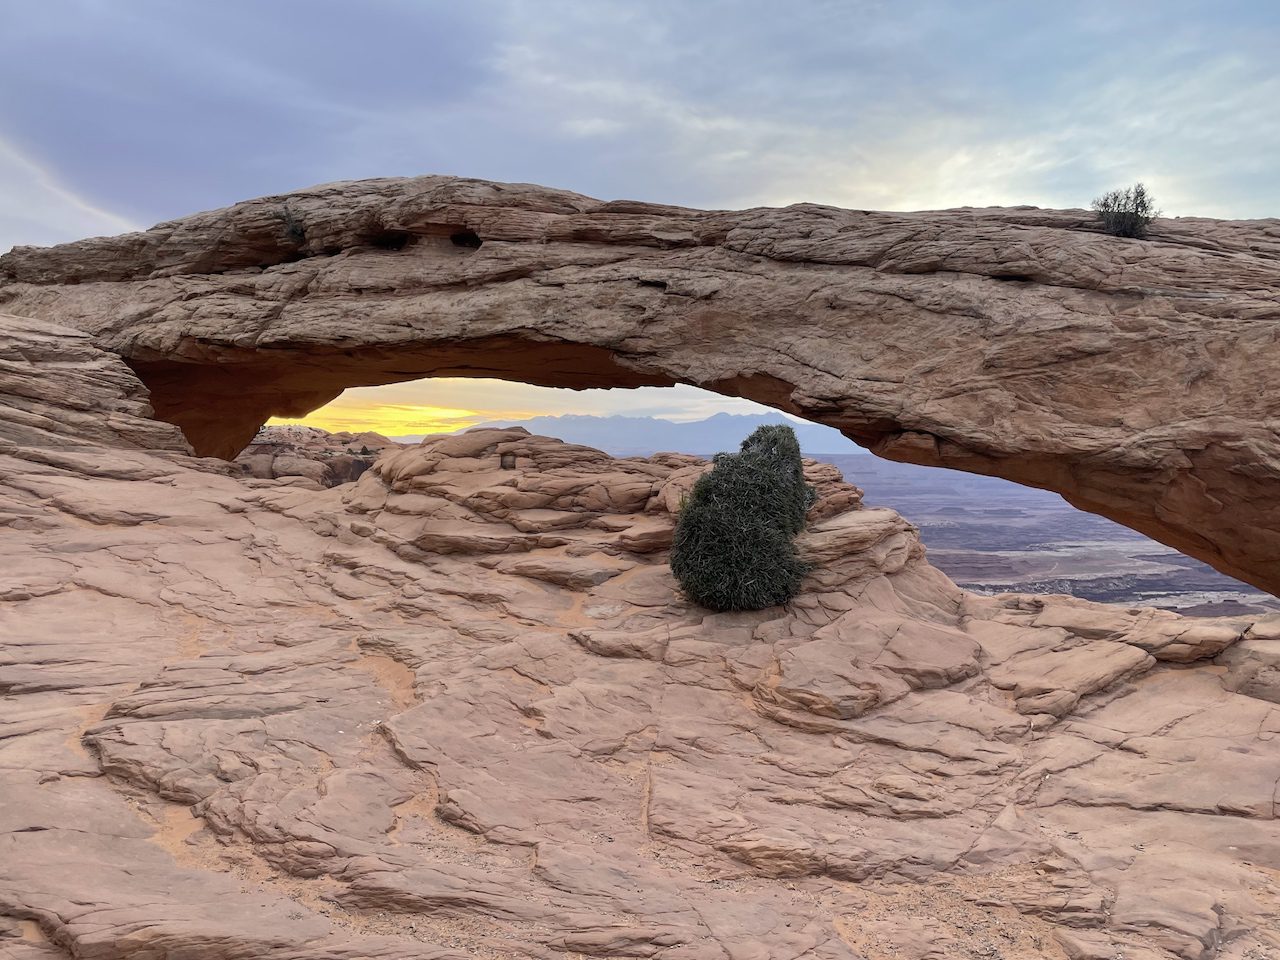
Distance: ~1.4 miles round trip
Permits Required: None
Type: There and back
Mesa Arch Trail is a staple in Canyonlands, and you CANNOT MISS IT!!! It is an easy hike with minimal elevation gain leading to the beautiful Mesa Arch with endless canyons in the background. If you want to get the best views, I recommend catching the sunrise here.
#2 The White Rim Trail
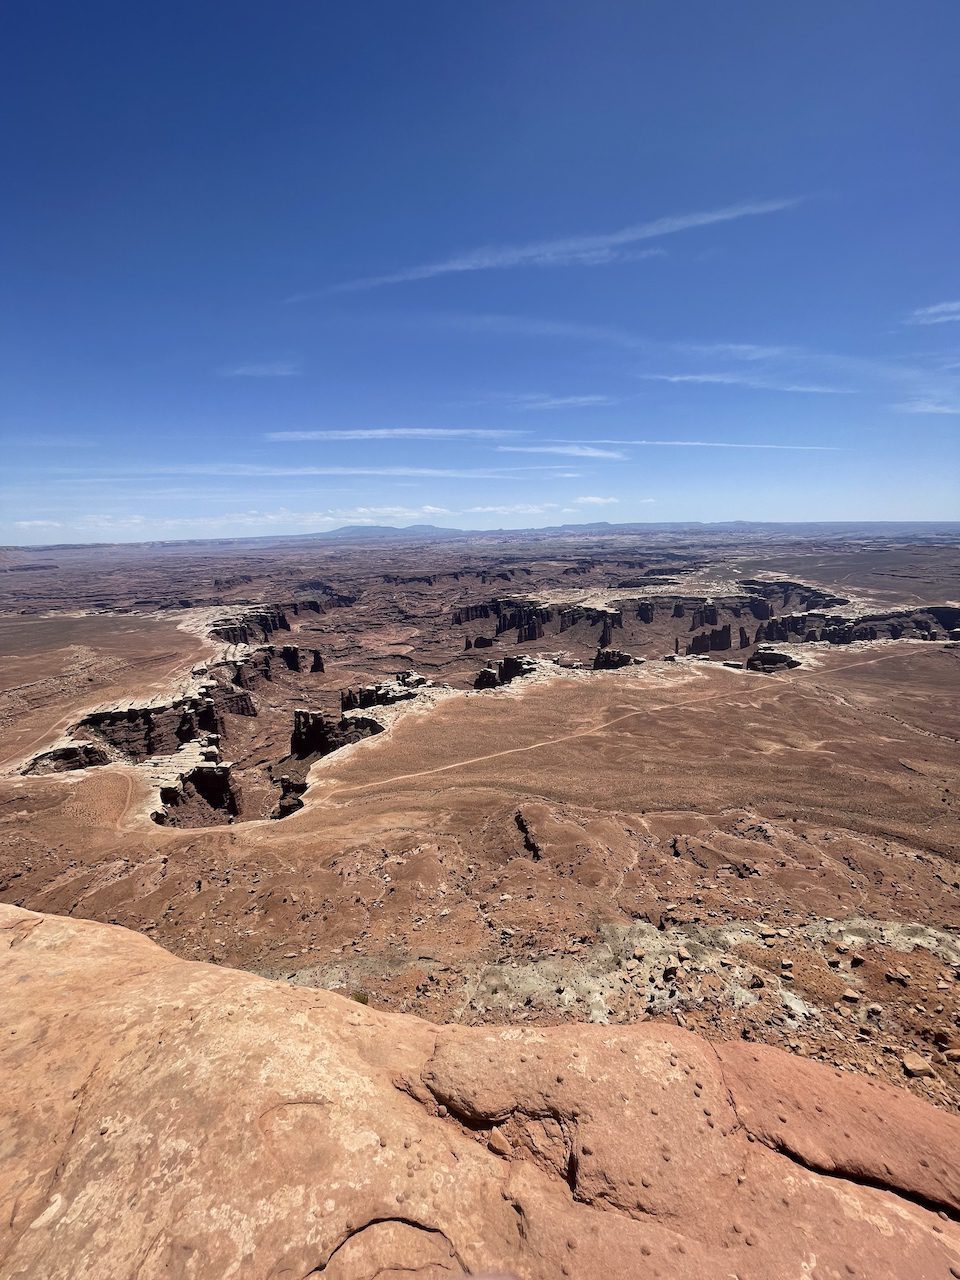
Distance: ~1.8 miles round trip
Permits Required: None
Type: There and back
The white rim trail is an AWESOME easy hike and is great, especially if you are crunched for time. You will get amazing panoramic canyon views after just a short 1.8 miles round trip walk.
#3 Murphy Point Trail:
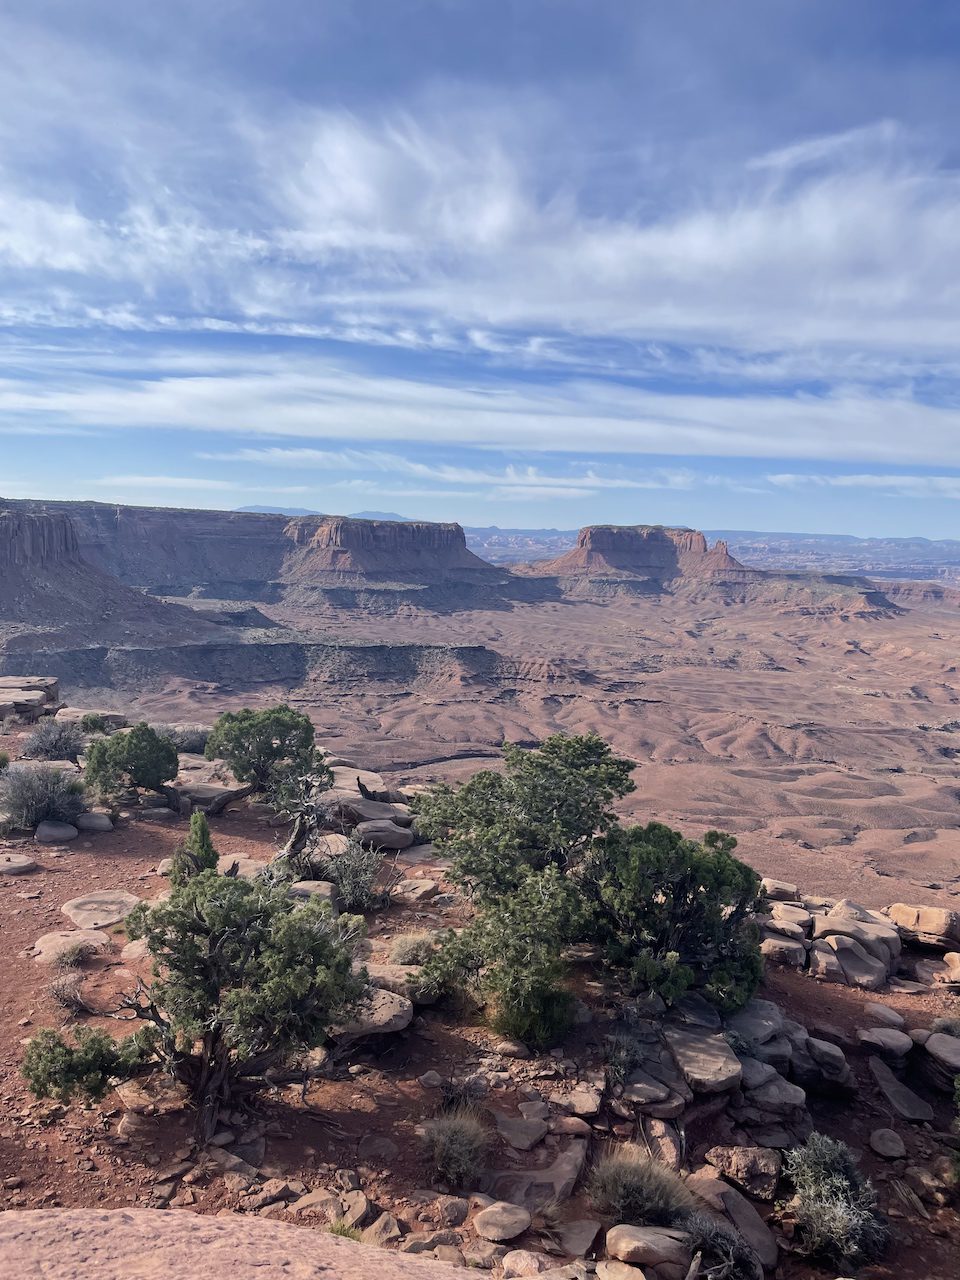
Distance: 2.6 miles round trip
Type: There and back
Permits Required: None
Here is another easy hike with some terrific views of Soda Springs Basin and Canyon! Like Mesa Arch and White Rim Overlook, this is a hike you want to squeeze in if you are short on time.
*I recommend adding this on the the Murphy loop if you have the time and energy.
#4 The Murphy Loop Trail
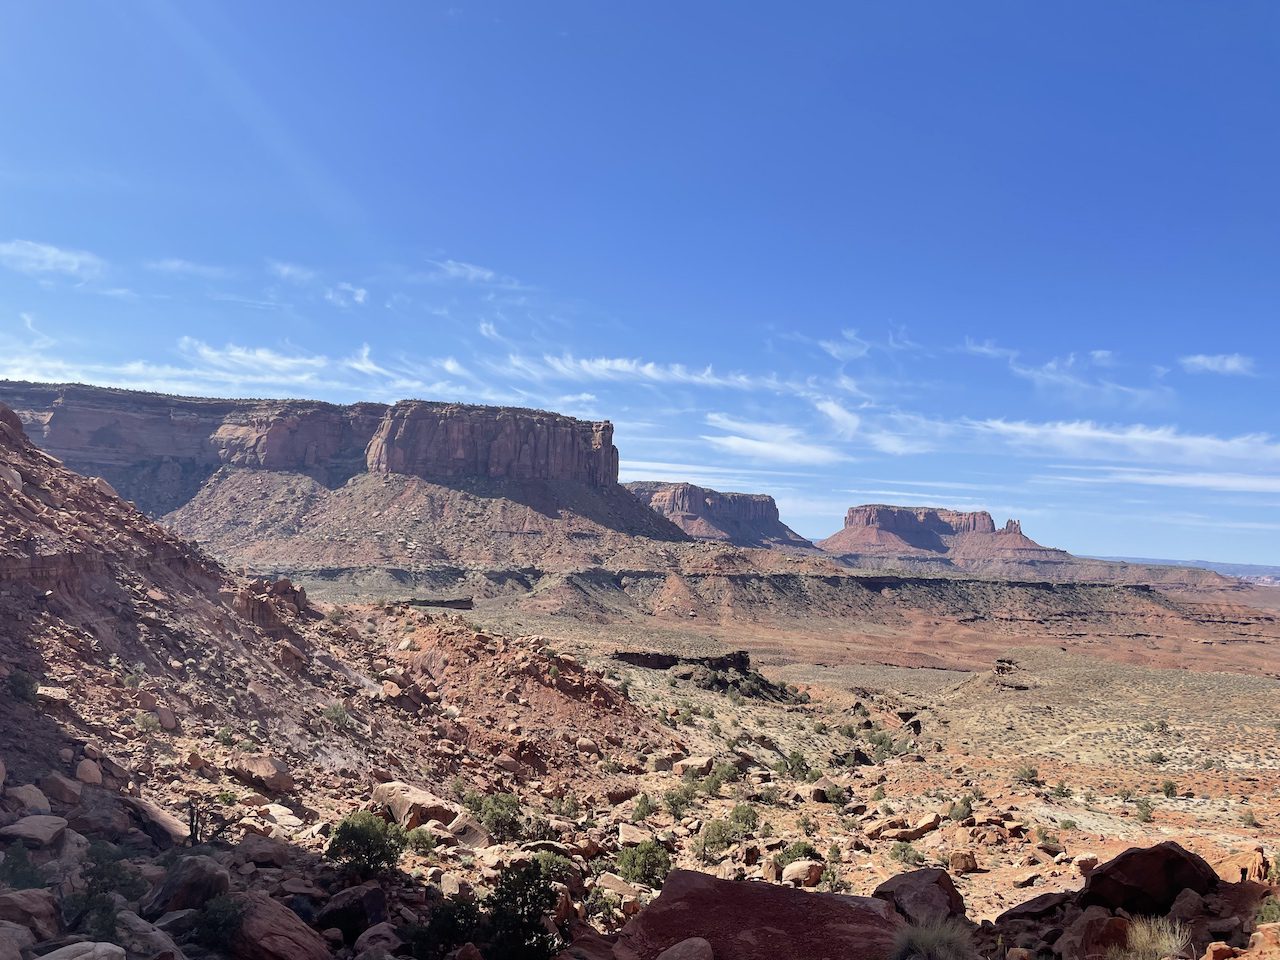
Distance: ~8.9miles
Type: Loop
Permits required: None
The Murphy Trail starts with a steep decline where you get terrific canyon views, and then you can go clockwise through the wash first or counterclockwise on hogback. I did counterclockwise and think it’s the way to go because it lets you go downhill White Rim Road going down instead of having another climb.
You will get amazing views of canyons and buttes making your way through Hogback, but views coming back from the wash were kinda boring if I’m being honest. Still this was an incredible hike and is definitely worth the trek!
*If you are up for it, I recommend adding the short hike to Murphy Point onto the loop. It isn’t out too far out of the way and gives some spectacular canyon views!
**Keep in mind there is a steep descent at the beginning of the trail that is doable but requires attention and mindfulness when descending. If you are out of shape or don’t have the best coordination, you may want to skip this one.
#5 The Gooseberry Trail
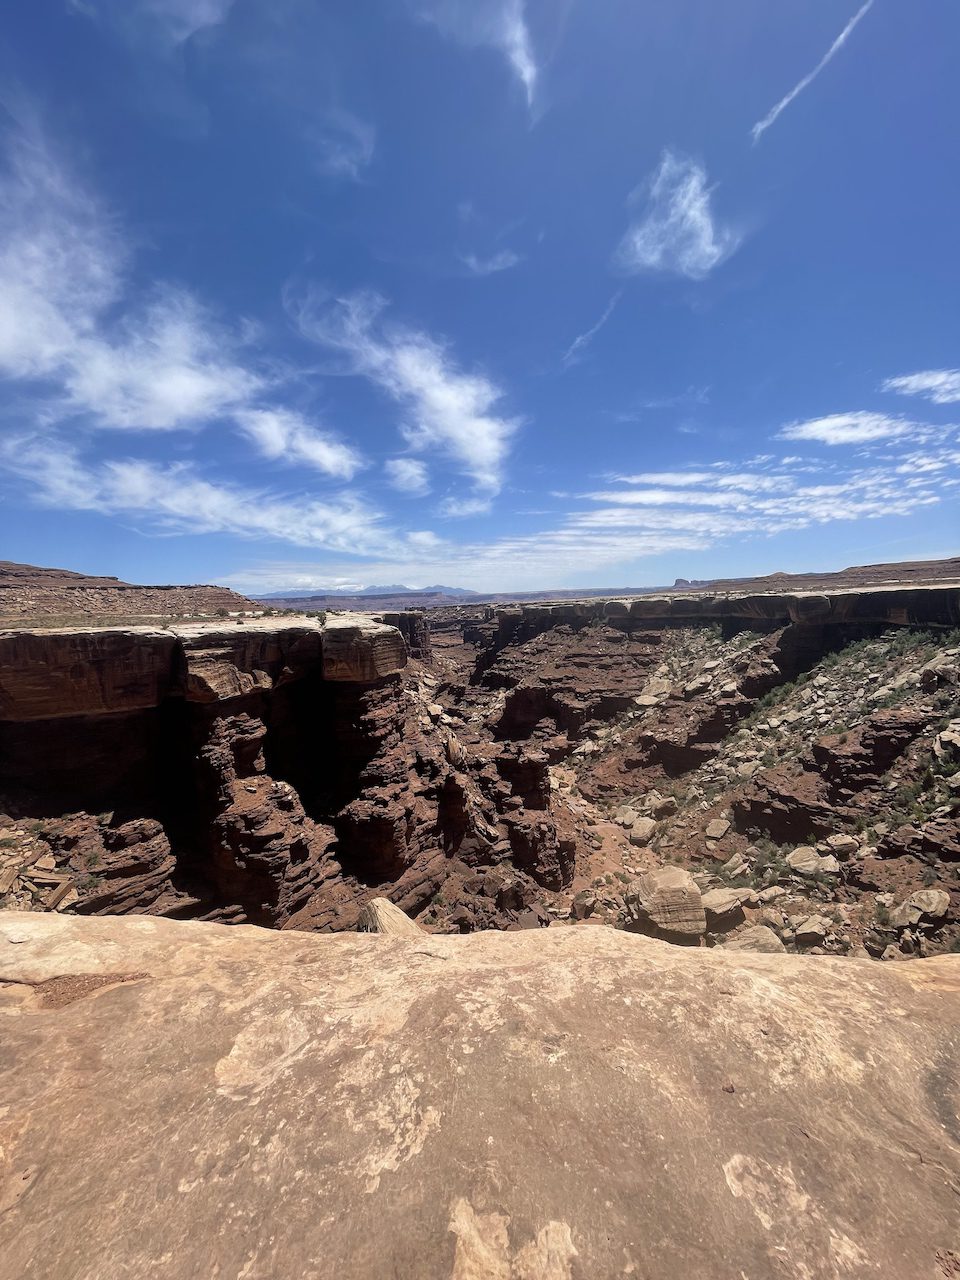
Distance: ~4.4 miles round trip
Permits Required: None
Type: There and back
Let me start by saying this isn’t a walk in the park. Although there isn’t much distance, there is a very steep elevation change at the beginning and end of the hike. So make sure you are in good shape before you tackle this one!
You get spectacular views of Gooseberry Canyon on your descent until you reach White Rim Road right on the canyon’s edge. Once you get there, you have reached the perfect spot to take a break for lunch and rehydrate!
#6 The Syncline Loop
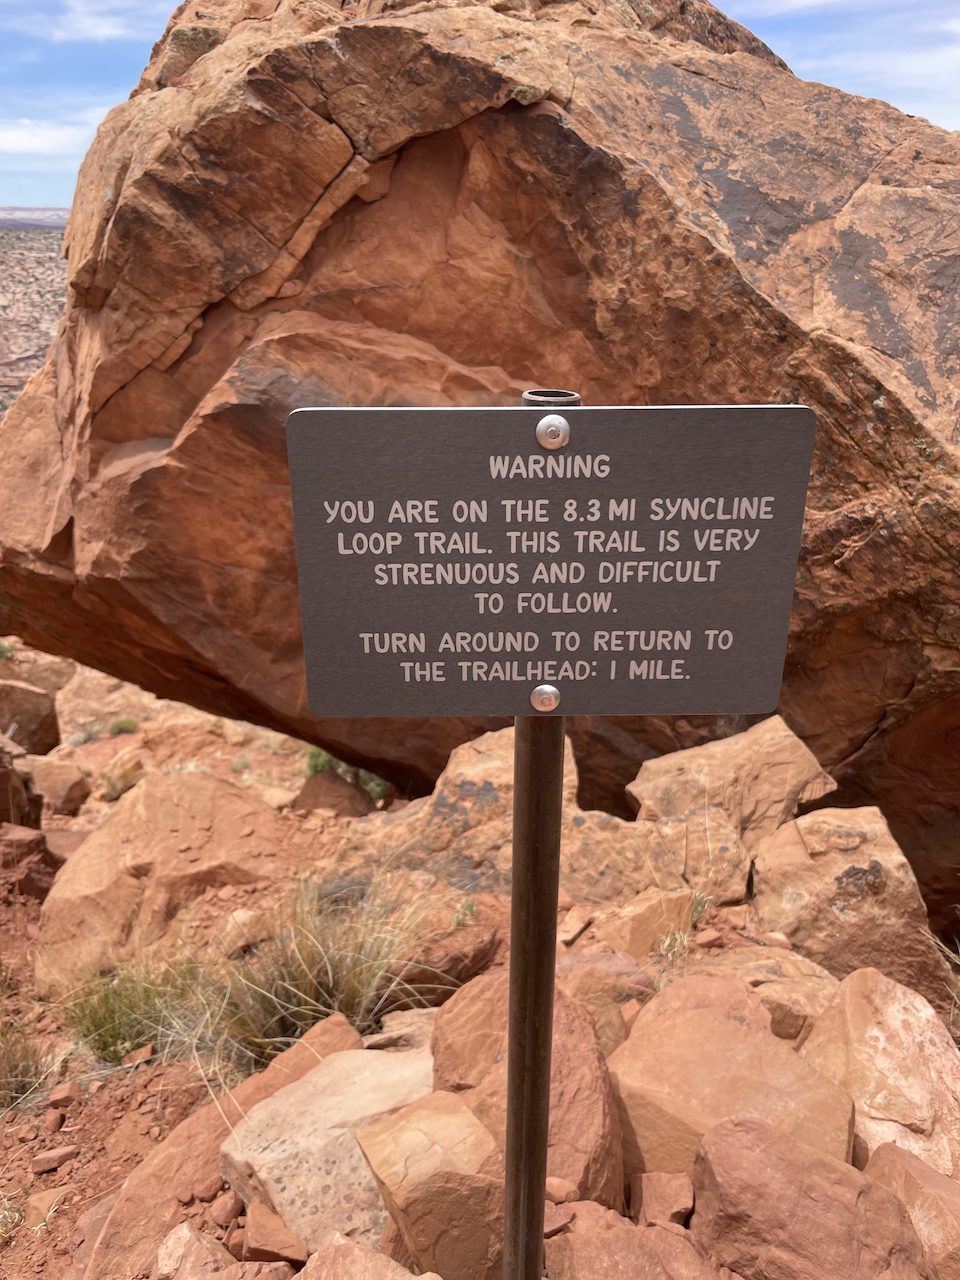
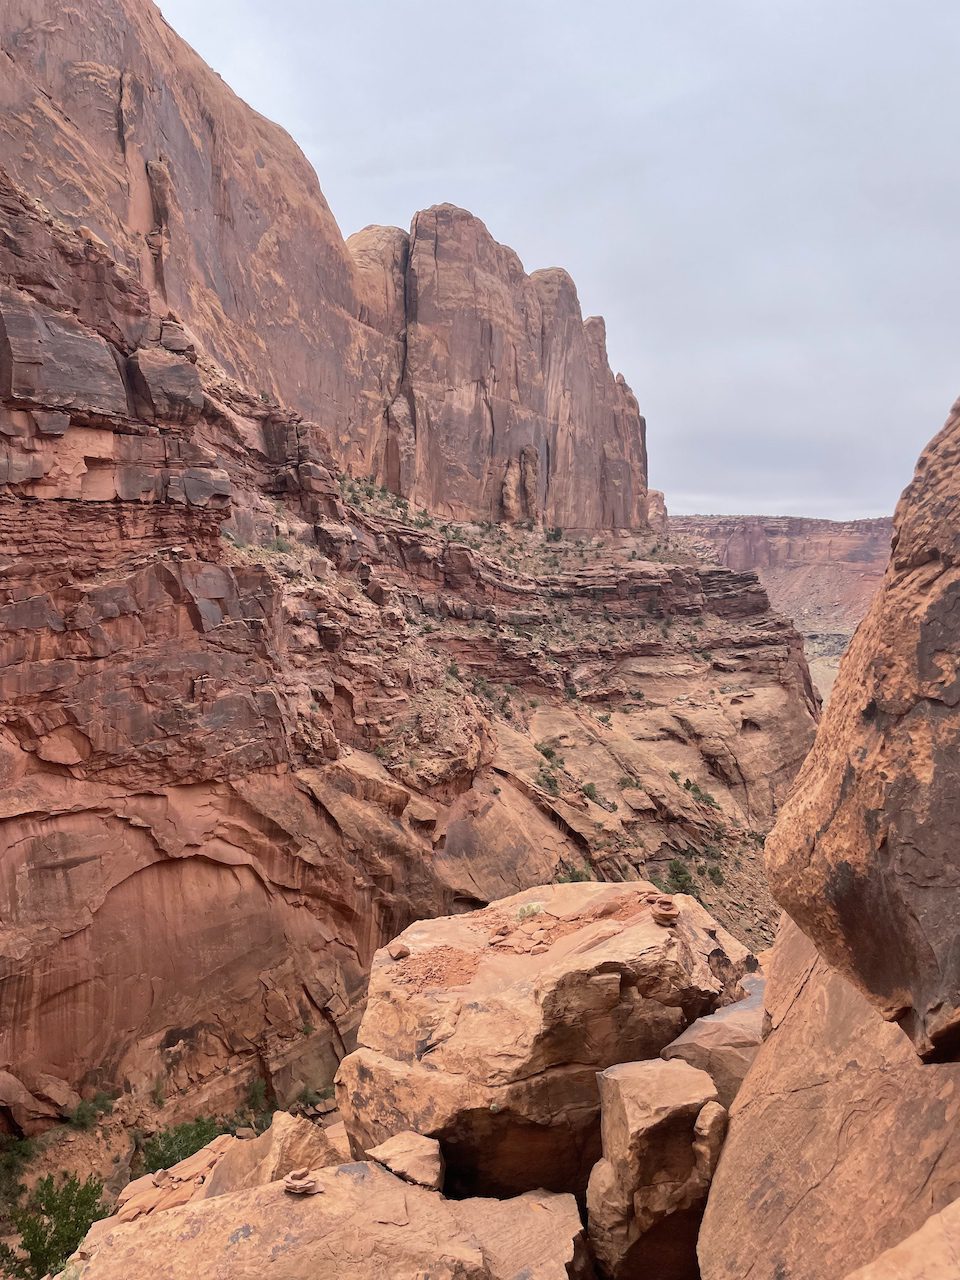
Distance: ~8.1 miles round trip
Permits Required: None
Type: Loop
STRENUOUS HIKE NOT FOR BEGINNERS!
Not only is the Syncline loop physically strenuous, but it also requires good trail-finding skills and a bit of agility to scramble up “The Breach.” The park puts numerous signs warning about the trail’s difficulty, advising them to turn back if it seems too much. But I would say if you are physically fit and are an experienced hiker, you should go for it!
The most important part of this hike is constantly staying focused on the trail because it is easy to miss a cairn. You won’t get sweeping canyon views like some of the other trails in Island In The Sky, but it is undoubtedly a fun adventure if you are up for it!
*I recommend hiking the extra mile to reach upheaval dome it’s a pretty cool side trip!
**It can make a cool spot for backpacking with a few offshoot trails you can take through Upheaval Canyon.
The Needles District

Now that you finished with your time in Island In The Sky next stop the Needles District. As you make your way over from You will enter an area of massive sandstone buttes and canyons signifying you are close to the park entrance. As I mentioned The Needles District is an amazing spot for long day hikes and backpacking so I decided to make a backpacking trip out of it!
Tips For Backpacking In The Needles District
Are Backcountry Permits Required In Canyonlands?
Yes
Backcountry permits are required for all overnight stays. Reservations can be made at recreation.gov.
How To Poop In Backcountry Of Canyonlands
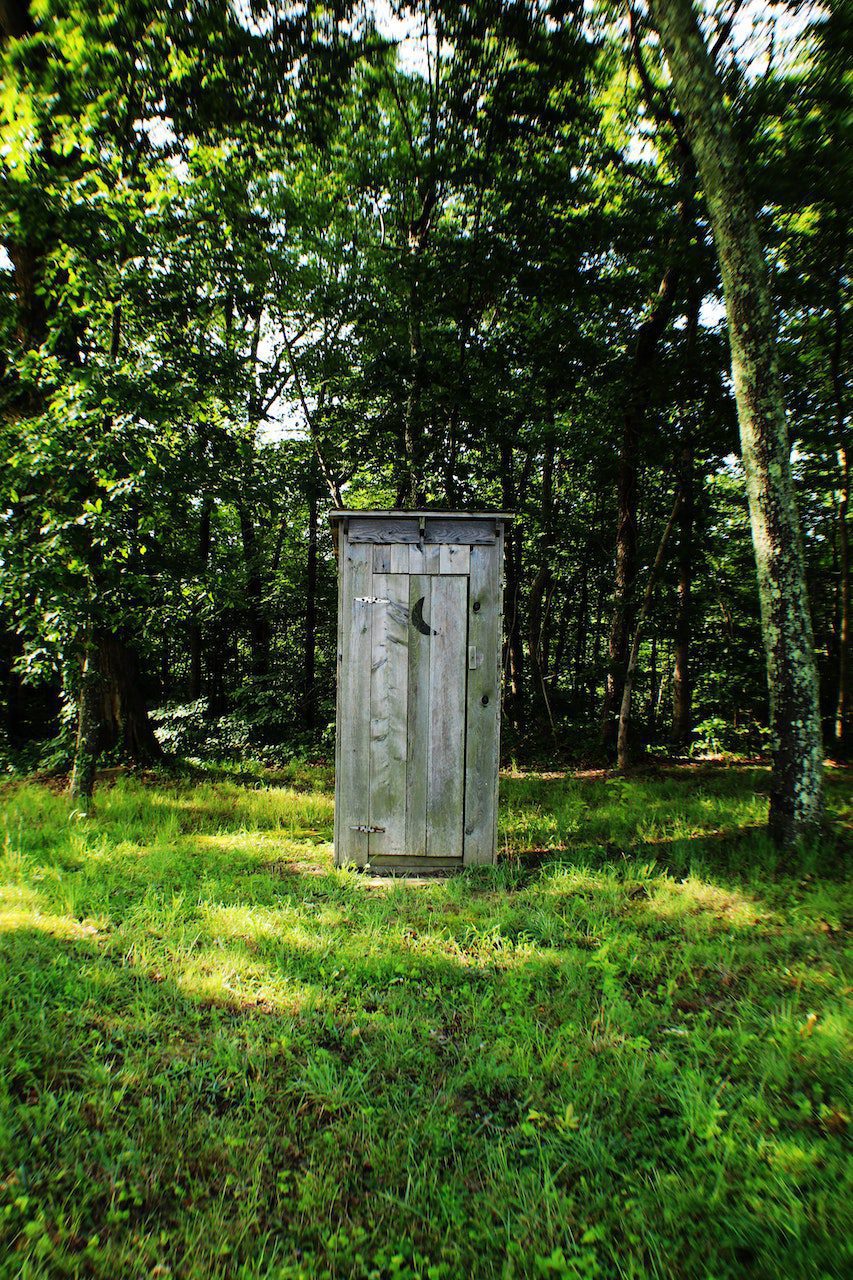
No catholes allowed.
You must pack out all of your waste using a W.A.G. bag. See “How To Poop While Backpacking” for more tips on going in the backcountry.
Water Planning:
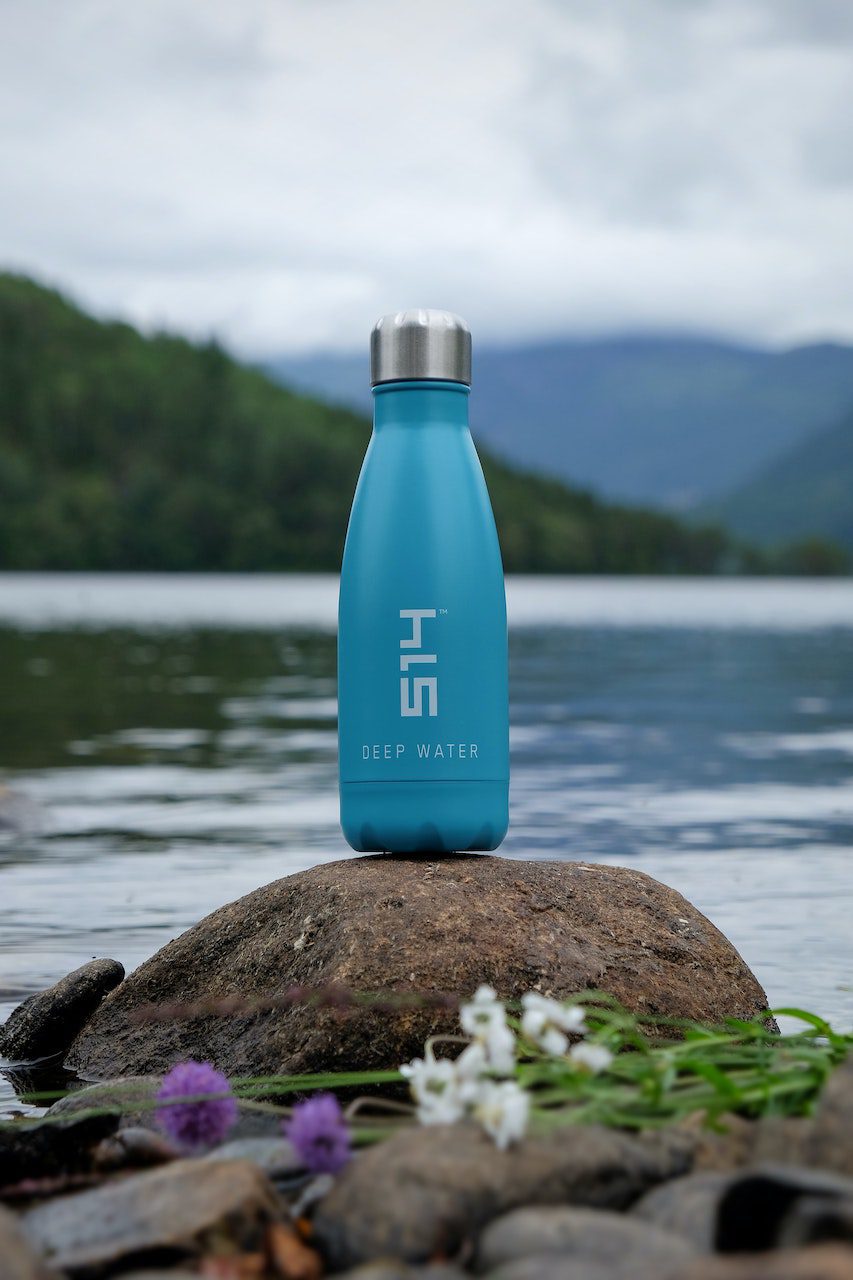
There are little to no areas to filter water in the park.
Plan to carry all of the water you will need with you. I recommend at the MINIMUM 4L a day or one liter per an hour of hiking. You may need more or less depending on your individual water intake.
Prepare For The Sun

Remember you are hiking in the desert! Proper sun protection including sunglasses, sunscreen and a hat are a must!
Navigating In The Backcountry
Many of the routes in Canyonlands are in desert areas or on slick rock so they are frequently marked by rock cairns. Always stay focused when hiking be aware of where you last cairn was and keep your eyes peeled for the next on. As always make sure you have a map and a compass.
Highlights Of The Needles District
I went on a three day two night backpacking trip through the needles and it was amazing! Here are some of the highlights.
#1 Chesler Park & The Joint Trail
The “Joint” as the rangers refer to it is a very thin slot canyon carved from running water thousands of years ago. You will have a towering stone on each side as you pass through!
As you hike through Chesler Park, you will encounter a myriad of sandstone towers standing on an open plain.
#2 Peekaboo
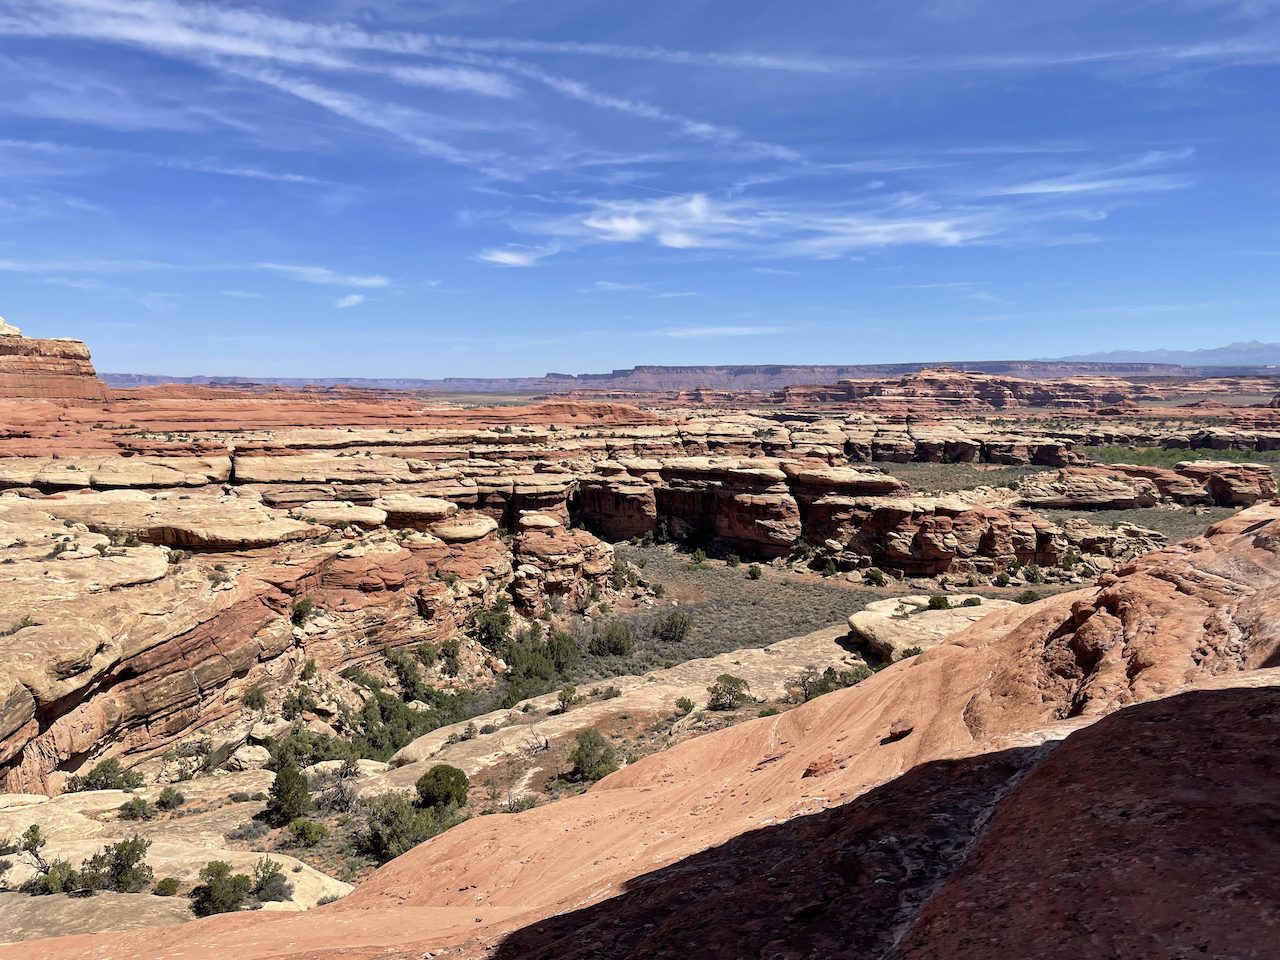

Peekaboo is a fantastic hike where you will be traveling primarily on slickrock while seeing massive red rock formations and eventually coming upon an archaeological site containing ancient Puebloan markings!
#3 Big Spring Canyon Trail:
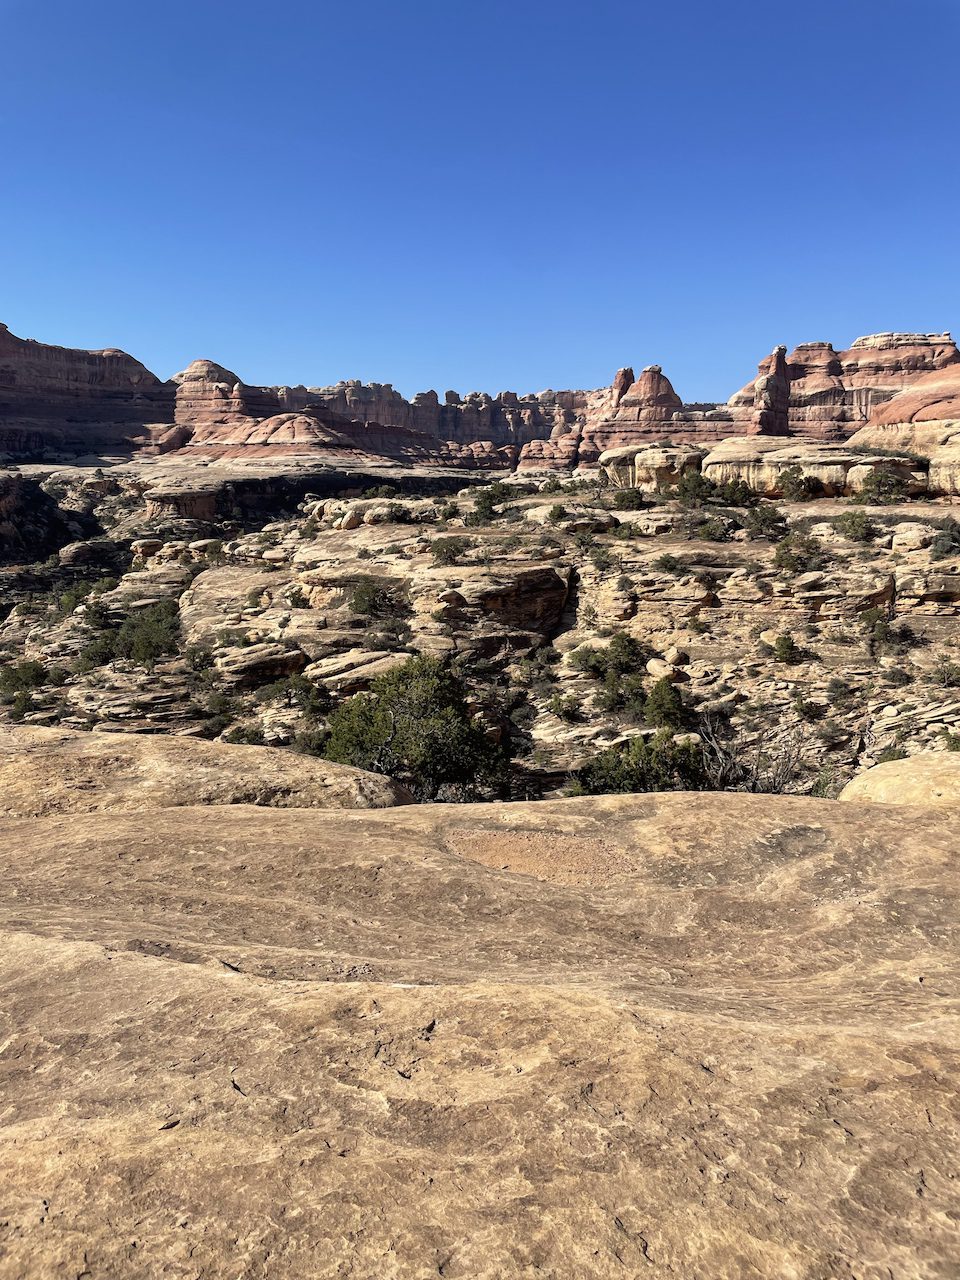
Another incredible hike that gives you awesome views of the massive sandstone spires known to the Needles District.
My Canyonlands Travel Itinerary:
The below is how I structured my own Canyonlands travel itinerary. Keep in mind I can hike all day long and don’t mind multiple high mileage days in a row. This itinerary may not be for everybody so always keep track of your mileage. You are here to have fun not miserable!
Day 1: Arrive in Island In The Sky. Hike Gooseberry Canyon Trail and the White Rim Trail after this I went to Dead Horse State Park just 15 minutes outside the park to hike their east and west rim catching the sunset here. Camped on BLM land for free just outside the park.
Day 2: Wake up early to hike to Murphy point then hike the Murphy loop trail. After this I ate lunch and drove around to see some viewpoints. Camped on BLM land for free just outside the park.
Day 3: Wake up at dawn to catch the sunset at the Mesa Arch. After this, I hiked to Upheaval Dome Overlook and the Syncline loop. Drove to Moab where I yet again camped on BLM land for free.
Day 4: Rest in Moab. See the down get dinner.
Day 5: Drove to the Needles District. Pick up backcountry permits at the visitor center. Start the first day of a backpacking trip from “Needles Campground Loop A” hiking the Chesler Loop. I stayed at Big Spring Campground 1 very close to the Needles Campground so I could refill on water the next day.
Day 6: Hiked from Big Spring Campground one to the Needles Campground to refill on water. After this, I hiked to Lost Canyon Campground 1 where I unloaded most of the stuff in my pack to make the rest of my hike to Peekaboo and back easier.
Day 7: Hike from Lost Canyon Campground back to my car in Needles campground A via Lost Canyon Trail and Big Spring Canyon Trail.
What I Would Have Done Differently:
If I could have done it again I would have planned for an additional two days. One in Island In The Sky where I would have done all of the shorter hikes such as:
- Whale Rock
- Aztec Butte
- Green River Overlook.
Especially Green River Overlook which was supposed to have some amazing panoramic views! I can’t believe I missed that!
My second extra day would be in the Needles District where I would have done a day hike to the Confluence Overlook. I heard so many amazing things from multiple rangers but time just didn’t allow for it, unfortunately.
That's Canyonlands!
I hope this was helpful let me know what you guys think!

