Wonderfarr

Categories
Itineraries Mt Rainier

Incredible Tolmie Peak Backpacking Itinerary

3-Day 2-Night Tolmie Peak Backpacking Itinerary:
Tolmie Peak Backpacking Itinerary

This 3-day 2-night Tolmie peak backpacking itinerary is great for a beginner with a log mileage and elevation gain.  Designed as an in and out route you will need either two cars or plan for someone to give you a lift either to the start of the trailhead or when your finish.  You will get amazing views of Mowich Lake, Ipsut Pass, Lake Eunice, and of course Tolmie Peak!

Overview:

Type Of Route:  In and Out

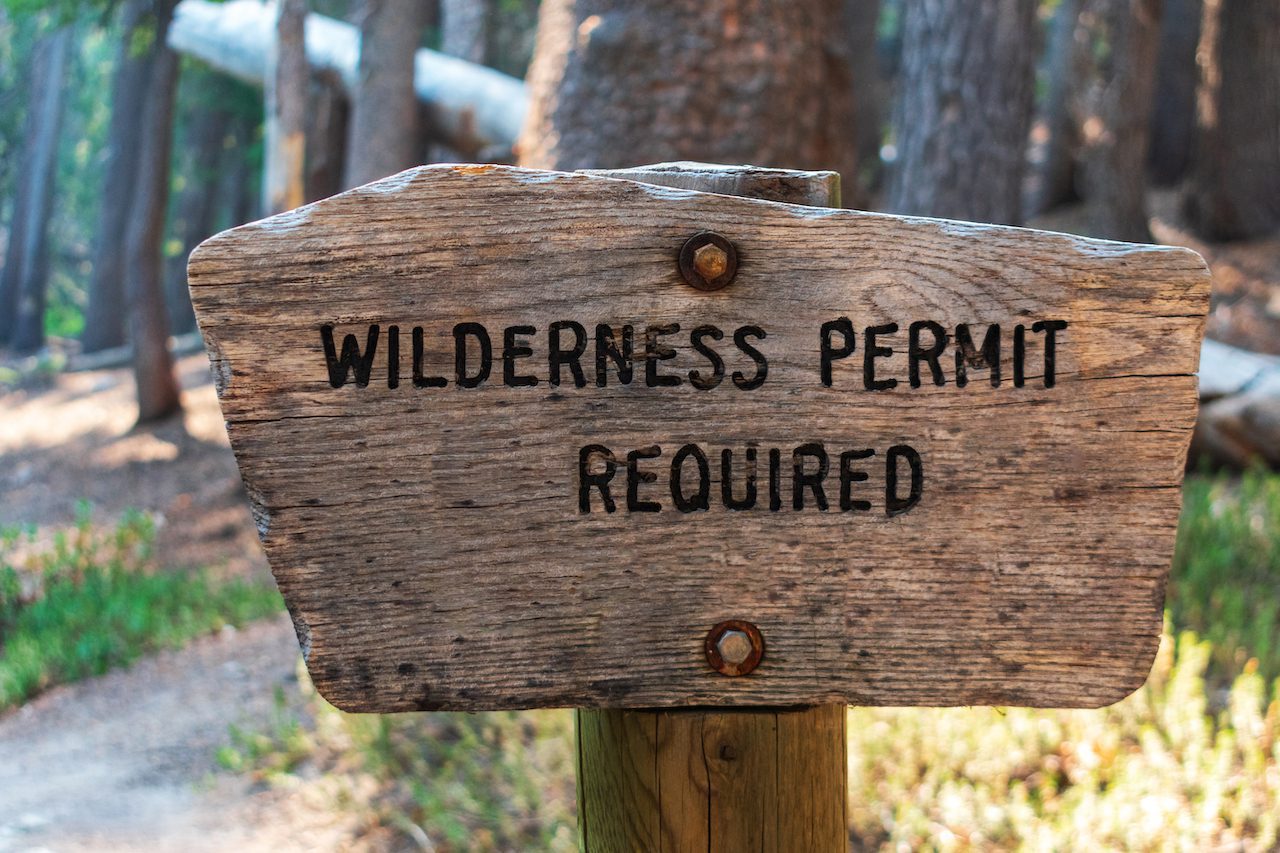
Permits Required:  Yes

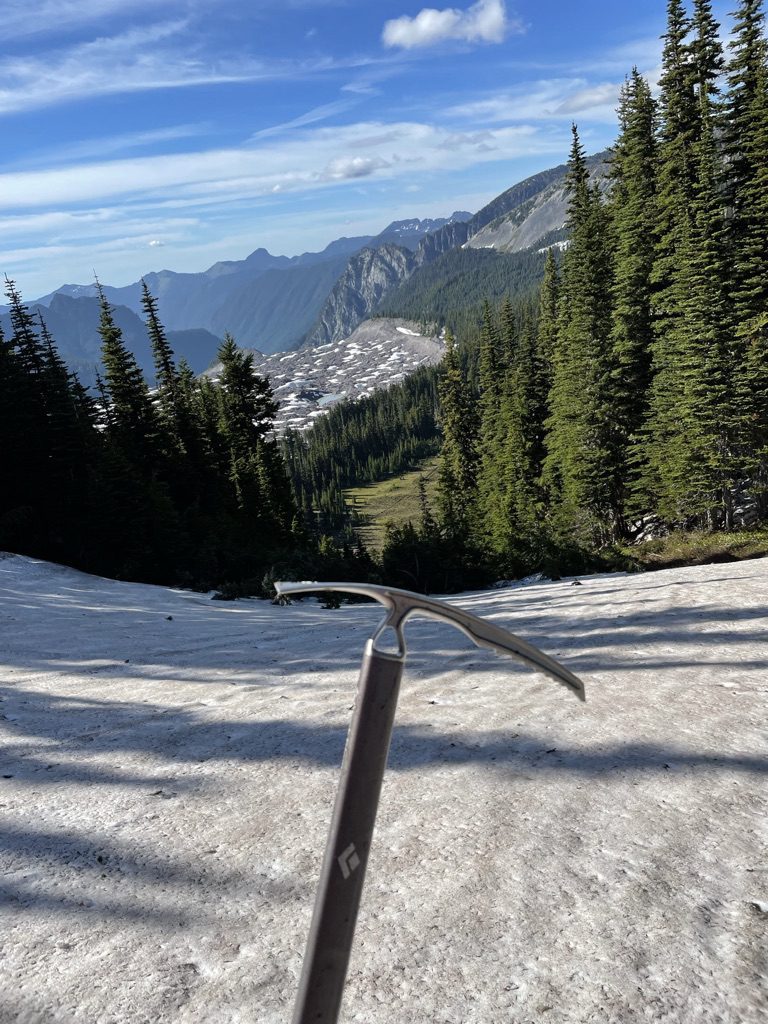
Special Gear Considerations: May require ice-ax and crampons depending on trail conditions.  Need bear hang equipment. 

Mileage:  ~19.7 miles

Total Elevation Gain:  ~3,802ft

Day 1: Mowich Lake Entrance to Mowich Lake Campground

  • Via Paul Peak Trail
  • Mileage: ~6 miles
  • Elevation Gain:  2,247ft
Day 2: Mowich Lake Campground to Ipsut Creek Campground (with a climb of Tolmie peak in between)
  • Via Wonderland Trail clockwise>Tolmie Peak Trail>Wonderland Trail Clockwise>Carbon River Trail.
  • Mileage: ~8.85 miles
  • Elevation Gain: 1,549ft

Day 3: Ipsut Creek Campground to Carbon River Trailhead

  • Via Carbon River Trail 
  • Mileage:  ~4.90 miles
  • Elevation Gain:  Minimal to no elevation gain
Tolmie Peak Backpacking Itinerary
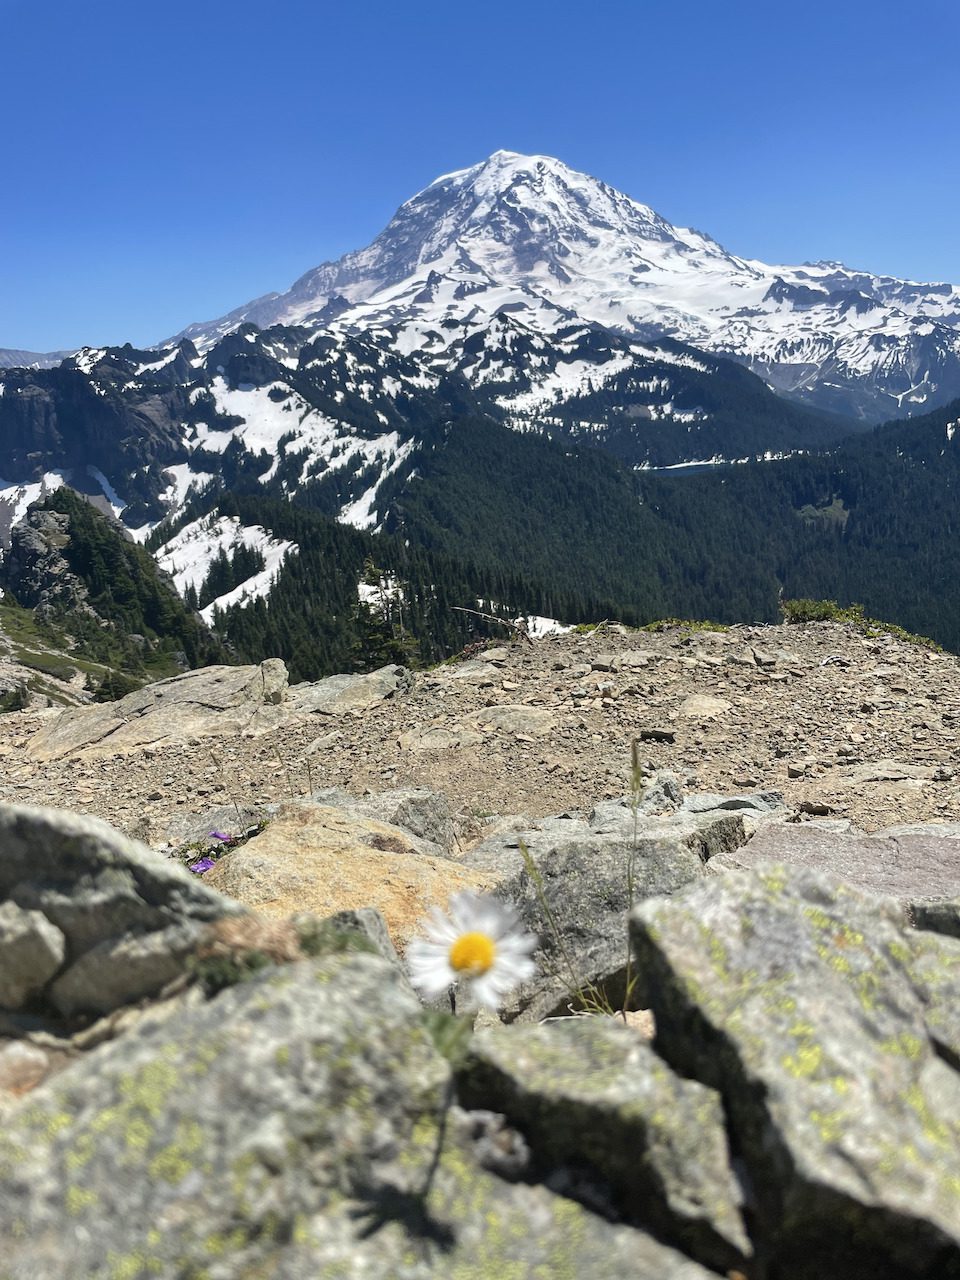
awesome views from the top of Tolmie Peak

Check Out More Mt Rainier Backpacking Itineraries!

Backpack The Wonderland Trail

Backpack Through Spray Park

Backpack The Northern Loop Trail

Categories
Mt Rainier Itineraries

Breathtaking Northern Loop Backpacking Itinerary

5-Day 4-Night Northern Loop Backpacking Itinerary:

Northern Loop Trail backpacking itinerary

This Northern Loop Backpacking Itinerary is a loop trail starting and ending at Carbon River Trailhead(you can park on the side of Fairfax Forest Reserve Road).  You will travel along a northern detour of the Wonderland Trail, getting views from Windy Gap, Yellowstone Cliffs, and James Lake.  You will then return to your starting point, taking the Wonderland Trail counterclockwise back to Carbon River, where you will get views of Mystic Lake, Winthrop, and Carbon Glacier

Overview:

Type Of Route:  Loop

Permit Required:  Yes

Special Gear Considerations:  May require ice-ax and crampons depending on trail conditions.  Need bear hang equipment. 

Mileage:  ~42 miles

Total Elevation Gain:  10,040ft

Day 1:  (park car at Fairfax Forest Reserve Road) Carbon River Ranger Station to Yellowstone Cliffs

  • Via Carbon River Trail>Wonderland Trail>Northern Loop Trail
  • Mileage: ~10.2 miles
  • Elevation Gain:  ~3,560ft

Day 2:  Yellowstone Cliffs to Fire Creek Camp

  • Via the Northern Loop Trail
  • Mileage:  ~6.75 miles
  • Elevation Gain: ~2,067ft

Day 3:  Fire Creek Camp to Mystic Lake

  • Via Nothern Loop trail> Wonderland Trail Counterclockwise
  • Mileage:  ~11.70 miles
  • Elevation Gain:  ~3,947ft

Day 4: Mystic Lake To Ipsut Creek Campground

  • Via Wonderland Trail Counterclockwise>Carbon River Trail
  • Mileage:  ~8.0 miles
  • Elevation Gain ~463ft

Day 5: Ipsut Creek Campground to Carbon River Ranger Station

  • Via Carbon River Trail
  • Mileage: ~5.2 miles
  • Elevation Gain:  minimal to none


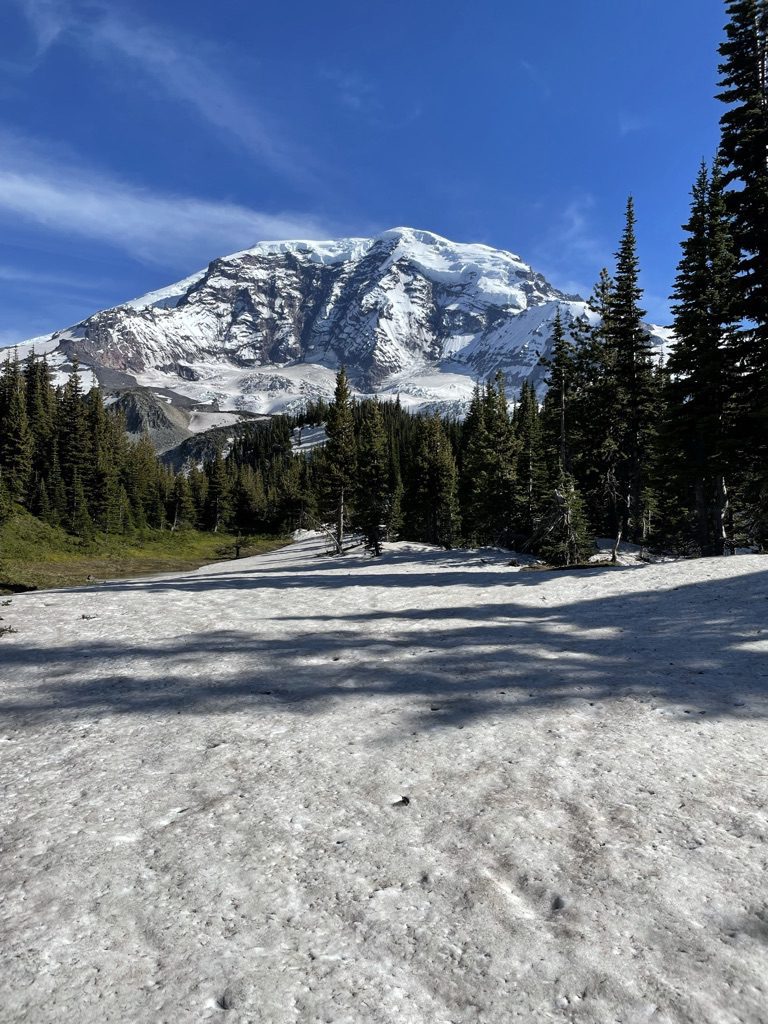
view of Mt Rainier from Mystic lake
Mt Rainier From Mystic Lake

Check Out Some More Mt Rainier Backpacking Itineraries!

Backpack The Wonderland Trail

Backpack To Tolmie Peak

Backpack To Spray Park

Categories
Itineraries Mt Rainier

Amazing Spray Park Backpacking Itinerary

3-Day 2-Night Spray Park Backpacking Itinerary:​

Spray Park Backpacking Itinerary

Spray Park is a popular detour off the Wonderland Trail loop, giving you up-close views of  Russel and Carbon Glacier.  It is commonly called the  “Mothers Mountain” hike as it loops around Mothers Mountain while traveling on the wonderland and Spray Park Trail. This loop route starts and ends at Mowich lake, offering fantastic views of Mowich Lake, Carbon River, and Ipsut Pass.

Overview: 

Type Of Route:  Loop

Permits Required:  Yes

Special Gear Considerations:   May require ice-ax and crampons depending on trail conditions.  Need bear hang equipment. 

Mileage:  ~17 miles

Total Elevation Gain: 4,720ft

Day 1:  Park car at Mowich Lake Road.  Mowich Lake to Cataract Valley

  • Via Wonderland Trail>Spray Park Trail
  • Distance: ~6.4 miles
  • Elevation: ~1,825ft

Day 2: Cataract Valley to Ipsut Creek

  • Via Spray Park Trail>Wonderland Trail
  • Distance: ~5.2 miles 
  • Elevation Gain: ~131ft

Day 3:  Ipsut Creek to Mowich Lake

  • Via Wonderland Trail
  • Distance ~5.2 miles
  • Elevation Gain: ~2,766ft

Check Out Some More Mt Rainier Backpacking Itineraries!

Backpack The Wonderland Trail

Backpack To Tolmie Peak

Backpack The Northern Loop Trail

Categories
Gear Reviews

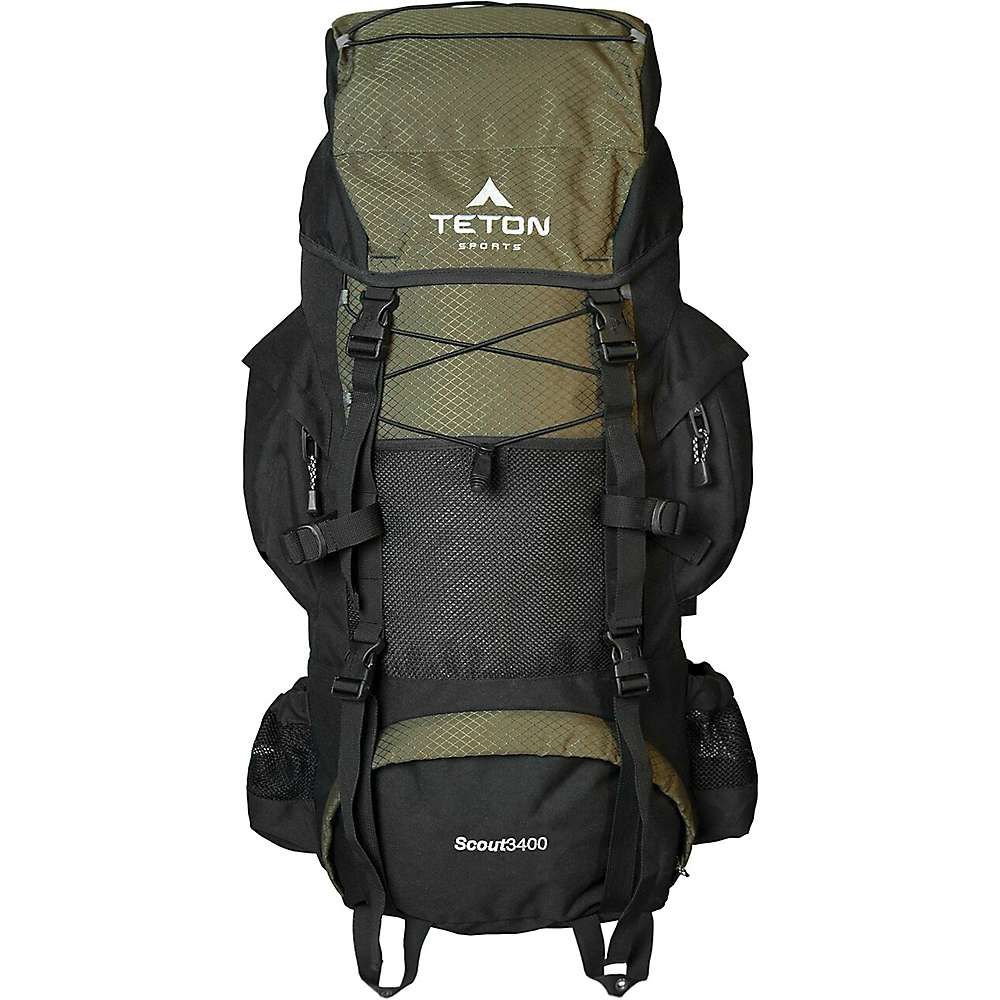
Teton Sports Scout 3400 Backpack Complete Review

Teton Sports Scout 3400 Backpack Review:

How to Attach Hiking Poles To The Outside Of Your Pack

The Specs:

Volume: 55 liters

Weight: 4.5lbs

Frame: Internal Frame

Shell:  600D Canvas Shell

Colors: Hunter Green, Black, Metallic Silver, Navy Blue

My Experience With The Teton Sports Scout 3400:

When on the trail, a backpack is your home,  so a functional one is crucial when undergoing a multi-day trek.  I have personally used the Teton Sports Scout 3400 for several years. It is a durable and affordable pack, although it does have its drawbacks.  Throughout this review, I will discuss my personal experience with it, including a thorough discussion of its pros and cons.  

Pros and Cons

Pros:

  • Price (extremely affordable)
  • Lifetime warranty
  • Durable
  • Enough space to comfortably pack for a 3-5 day backpacking trip
  • Rain cover included
  • Adjustable torso strap going from 15” to 19.5”

Cons: 

  • Abrasive material particularly at shoulder straps and hips.
  • Heavier weight, not ideal for ultralight backpacking. 

Pros Of The Teton Scout 3400 Backpack

The Size And Storage:

Teton Sports has several different-sized packs available to purchase. For this review, we will focus on the Teton Sports Scout 3400, which is 55 liters by volume, ideal for multiday backpacking trips (typically three to five-day trips).  

The storage space consists of the brain (top flap of the bag), main compartment, 3 liters for water bladder storage, side pockets, and a bottom section for a sleeping bag and pad storage.  Something to keep in mind with the sleeping bag and pad section is that you must have a compressible sleeping bag made of some form of down or synthetic down material otherwise it is unlikely the sleeping bag will be able to fit in this compartment.  

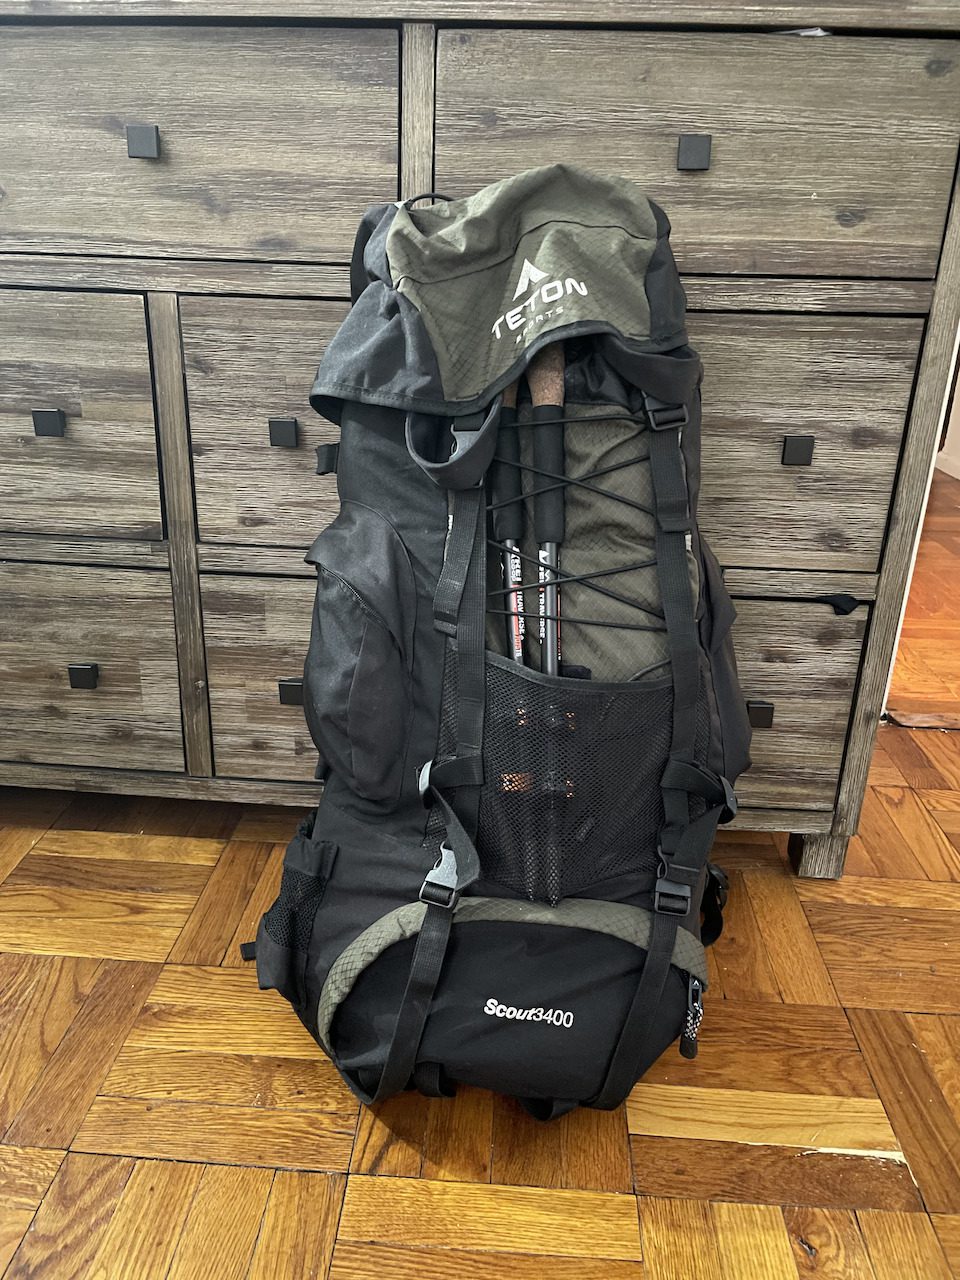
Regarding the outside of this pack, there are many different storage options to lash things onto the backpack.  Specifically, the Scout is equipped with compression straps to help pack your contents down and buckles outside of the bag where you can attach additional equipment such as hiking poles, tents, extra clothes, or ice axes.

Price:

When it comes to value, you really cannot beat this pack as it comes in at a price of less than a hundred dollars, which is difficult to find in the industry.  This is excellent for people looking into trying backpacking for the first time but who do not want to spend a ton of money on starting out.  Worst case scenario, if you do not enjoy backpacking/hiking (doubt it),  you can use this affordable backpack as luggage when traveling abroad. 

Durability:

This pack has withstood the test of time for my first four years as a backpacker.  Not only did I bring this pack across the United States on various backpacking trips, but I have also used it as a suitcase when traveling abroad through Europe and Asia.  This pack has taken a beating over several years, yet it still works great and does not have a single scratch.  This is thanks to the durable 600D Canvas shell which protects both the pack and its contents from the harsh conditions of the wilderness.  

Lifetime Warranty:

Another nice perk of this pack is the excellent warranty that comes along with it.  Teton Sports offers a lifetime warranty and will fix or replace your backpack if it sustains any damage during your ownership of it.  I have yet to use this warranty because of its previously mentioned durability.  However, it is nice to have the peace of mind that your purchase is protected under a lifetime warranty. 

Cons Of The Teton Sports Scout 3400 Backpack

Weight:

To start the cons, we will begin with its weight.  The Teton Sports Scout 3400 weighs significantly more than its cohorts at a whopping 4.5lbs. This additional weight can slow you down and tire you out faster, especially for long-distance backpacking trips.  If you are looking for your next ultralight backpack, this is certainly not it.

Material:

While the pack has padding around the hips and shoulders, the material is quite abrasive. It can cause some discomfort, particularly in the shoulders during longer hikes carrying a heavy load.  The abrasive material of the shoulder straps has even led to me developing blisters in the past, especially during rainy days or when I am wearing a thin material shirt.  While the pack is durable and very affordable, the abrasive material is one of its significant drawbacks that can be an annoyance on the trail.

Who Should Purchase The Teton Scout 3400 Backpack

The Grand Teton Scout 3400 backpack is an excellent buy for individuals looking to get started in backpacking.  Although it is not the highest quality pack, it has all of the necessary features to allow you to go on a multi-day backpacking trip and enjoy your time on the trail.  Between its durability, space, and price, this is an excellent bargain backpack for a beginner!  If you are a more experienced backpacker, I recommend looking into one of our higher-end recommendations on our backpacking gear blog.

Teton Sports Scout 3400 Final Overview:

This backpack gets the job done.  There are some drawbacks, including heavier weight and abrasive material. However, it is a sturdy backpack that will last you a while and provides a great value at its price point.  

Categories
Itineraries Mt Rainier

Backpacking The Wonderland Trail The #1 Complete Guide

Backpacking the Wonderland Trail

What Is The Wonderland Trail?

The Wonderland Trail is a popular backpacking trek in Mt Rainier National Park that encircles the park’s dormant volcano, Mt Rainier.  On this hike, you will get not only beautiful views of Mt Rainier but will also get to hike through lovely meadows, pristine sub-alpine lakes, views of Mt Helens and so much more!  The Wonderland Trail is a very strenuous hike with a lot of mileage and elevation gain/descent.  We will go over everything you need to know about the Wonderland Trail so you can prepare for your own adventure, so without further adieu, let’s get started!

Overview Of The Wonderland Trail:

Mileage:  93 miles (150 kilometers) 

Cumulative Elevation Gain & Loss:  ~ 22,000ft 

Type of Trail:  Loop Trail

Estimated Number Of Days:  About 6-8 Days

Permits Required:  Yes

Wonderland Trail Elevation Profile
Wonderland Trail Elevation Profile Courtesy of the National Park Service

Who Should Hike The Wonderland Trail?

The Wonderland Trail is a strenuous hike and should only be attempted by individuals with backpacking experience and basic outdoor skills.  The trek is lengthy at 93miles with 22,000ft of total elevation gain and descent, and this is not a hike you do coming right off the couch.  If you want some tips on how to improve your hiking endurance, you can take a look at our post. 

When Is The Best Time Of Year To Hike The Wonderland Trail?

Best time to visit Mt Rainier National Park

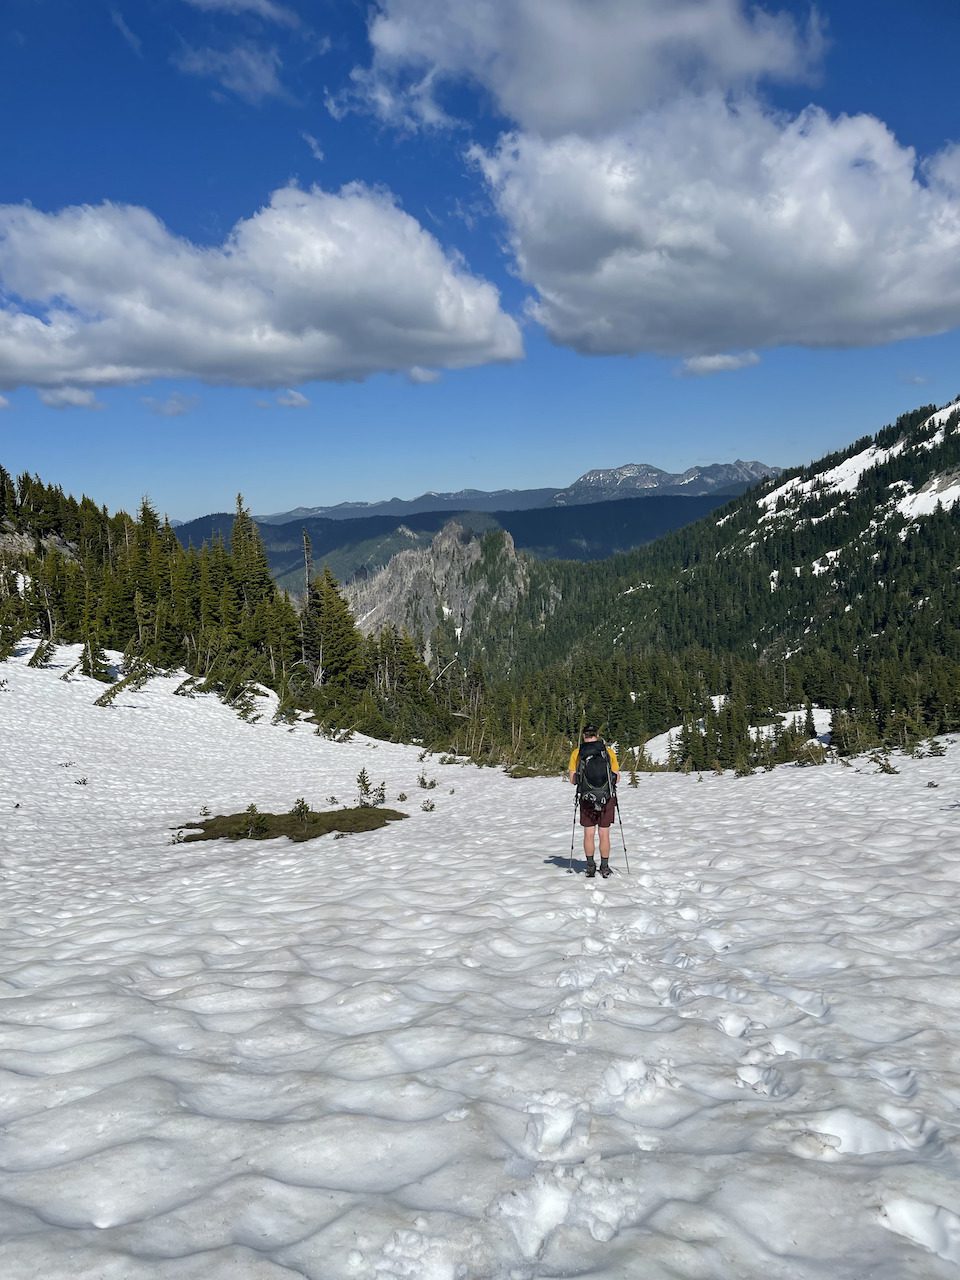
If you are shooting to hike in the best weather and avoid snow-covered trails, I recommend doing this trail from mid-July to early September.  I made the error on my attempt to hike the trail in mid-June, where much of the park was still covered in snow, requiring us to hike with snow gear and deal with a whole lot of postholing!

How To Plan Your Own Wonderland Trail Backpacking Adventure:

  1. Decide if you want to go clockwise or counterclockwise
  2. Figure out how many days it would take for you to hike the trail confidently.
  3. Pick a starting location.
  4. Plug your information into Wonderland Guides. This is a very helpful website that takes the legwork out of planning a Wonderland Trail Itinerary.
  5. Plan where you want to cache your food along the trail.
  6. Make sure you can secure permits for your intended itinerary. This may require some flexibility on your end if you do not have available permits for your planned itinerary.
  7. Have the right gear.

Hike The Wonderland Trail Clockwise Or Counterclockwise:

The classic direction for the Wonderland Trail is clockwise, typically starting and ending in Longmire Ranger Station.  I do not believe it matters which direction you decide on hiking this trail. I would just try to find out whatever works best for the permit situation you find yourself in, then go with that.

Where To Start Hiking On The Wonderland Trail?

There are three major trailheads with available parking and camping nearby to start your wonderland trail trek.  These are as follows:

  • Longmire
  • Mowich Lake
  • White River

How To Get Permits For The Wonderland Trail:

backcountry permits great smoky mountains

There are three ways to obtain backcountry permits for the wonderland trail.  

  1. Reservation: Mt Rainier National Park allocates two-thirds of their backcountry permits for reservations, during the summer season.  Reservations can be made on recreation.gov starting on April 27th where you can make reservations from June 1st to September 30th.  All reservations must be made 2 days prior to the start of your trip. Permits cost about $26.00 per a trip with a maximum of 13 days.  
  2. Walk-Up Permits:  Mt Rainier National Park allocates the remaining one of third of their backcountry permits to walkups.  Walk-up permits can be obtained no earlier than one day prior to the start of your trip, and can only be issued at one of the park’s wilderness information centers.  There is a non-refundable $6.00 fee for walk-up backcountry permits.
  3. Early-Access Lottery:   Because the Wonderland Trail is such a popular attraction for the park permits are in extremely high demand which prompted the park to start a lottery  This lottery is the BEST way to obtain permits for the Wonderland Trail because it allows you to make reservations before anyone else for the season.  The lottery is typically open during the first couple of weeks in March, be sure to check the NPS website, for the latest lottery information.

***Keep in mind ALL permits must be activated at a ranger station to confirm your information, as well as go over safety, food storage and route information.  Your Permit must be with you at all times when hiking, if you run into a ranger they will ask to see your permit information. 

Can You Hike The Wonderland Trail Without A Permit?

Yes.

While only recommended for veteran ultralight backpackers as you have to hike the trail in three days.  You would have to stay at three front-country campgrounds including Mowich Lake Campground, Cougar Rock Campground, and White River Campground.  Mowich Lake is a free campground all you have to do is register in the parking lot, then for Cougar Rock and White River Campground each cost $20.00 to camp for the night.  The nice thing about these campgrounds is that they are relatively spaced out from each other.

  •   Cougar Rock Campground to Mowich Lake: ~36 miles
  • Mowich Lake to White River Campground: ~26 miles
  • White River Campground to Cougar Rock Campground: ~33 miles

Food Caches On The Wonderland Trail:

With over 93 miles of hiking fortunately the park has several locations where you can cache your food and fuel.  You have the option of either mailing your cache to your desired destination or bringing it yourself to the ranger station.  You want to use a sealable plastic container and properly label your cache with the name of the permit holder, where the cache will be picked up, when the cache will be picked up, and the permit number.

The areas where you can cache food are:

  • Longmire Wilderness Information Center (Fuel must be stored separately from cache)
  • White River Campground
  • Sunrise Old Gas Station
  • Carbon River Ranger Station

Preparing For Wonderland Trail Conditions:

preparing for the wonderland trail

Mountain weather conditions are always rapidly changing and Mount Rainier is certainly no exception.  Be sure to properly research and study the trail conditions prior to setting out on your trip.  A few ways you can do this is by reading through trip reports of people who recently hiked the trail or by reaching out to the ranger station to inquire about the most recent scouting reports of various parts of the park.  I especially encourage the latter as this is often some of the most accurate and up-to-date information regarding the trail conditions. 

Backpacking Gear For The Wonderland Trail:

backpacking gear

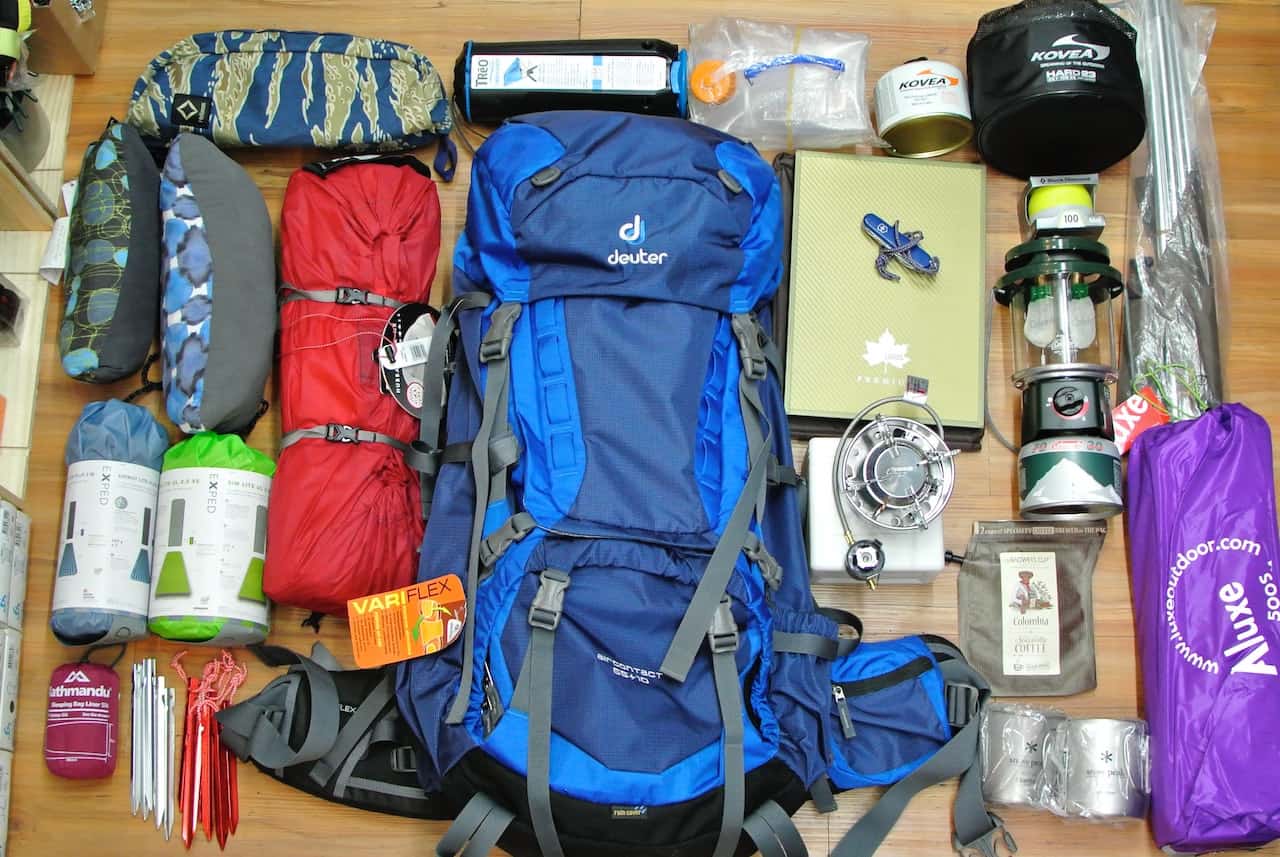
You would need the standard backpacking gear as on a typical backpacking trip. Refer to our backpacking checklist to ensure that you have everything you need for your hike.  If there is a chance you will be hiking in the snow, I would highly recommend snow gear, including an ice-ax, crampons, and GPS navigation.  

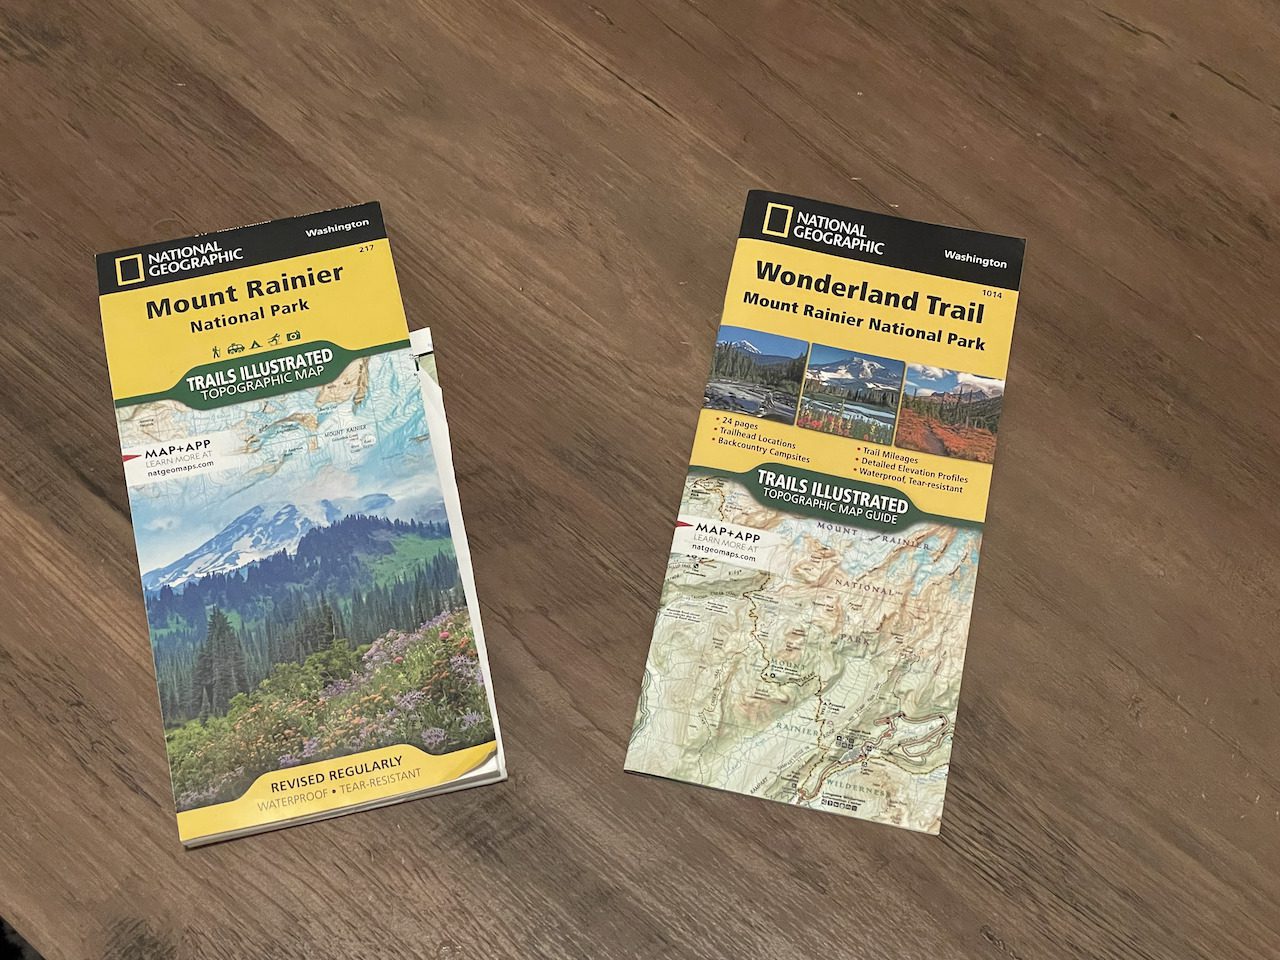
Get the most up-to-date maps!  Because of the harsh climates in the park, there can be changes to the trail or detours that are necessary depending on environmental factors.  I would recommend purchasing the latest National Geographic topographic map of Mount Rainier National Park.   

On our backpacking gear blog, you can check out some of our highly recommended gear for your Wonderland Trail adventure.

Wonderland Trail Maps
Click Here to Get Your Map On Amazon!

I Hope This Helped!

I hope we answered all of your questions about hiking the Wonderland Trail!  Please feel free to reach out if you have any other questions about the trek.

Categories
Itineraries Mt Rainier

3 Closest Airports Near Mt Rainier National Park

Closest Airports To Mt Rainier National Park

If you are not fortunate enough to live in the pacific northwest odds are you are flying to Mt Rainier!  Below are the three closest airports to Mt Rainier National Park 

  • Seattle-Tacoma International Airport
  • Portland International Airport
  • Vancouver International Airport

Seattle-Tacoma International Airport (SEA):

At about 51 miles away,  Seattle-Tacoma International Airport is the closest airport to Mt Rainier National Park.  A hub for Alaska and Delta Airlines, SeaTac also hosts 34 other airline companies, which gives many flight options and variety when planning your trip. 

Distance From Mt Rainier: 51 miles (from Carbon River Ranger Station)

Estimated Driving Time: about 1hour and 10 minutes to Carbon River Ranger Station

Address:  17801 International Blvd, Seattle, WA 98158

Phone Number:  (206) 787-5388

Website:  Click Here

Portland International Airport (PDX):

If you are having difficulty getting flights  intended schedule at SEA-TAC then Portland International Airport is your next closest option.  

Distance From Mt Rainier: 144 miles (to Longmire Wilderness Information Center)

Estimated Driving Time: 2hours and 30minutes to Longmire Wilderness Information Center

Address: 7000 NE Airport Way, Portland, OR 97218

Phone Number: (503) 460-4234

Website:  Click Here

Vancouver International Airport:

This would be a last resort option if you are unable to get a flight from the other two airports, reason being this is the farthest from the park no matter how you slice it. 

Distance From Mt Rainier: 195 miles (to Carbon River Ranger Station)

Estimated Driving Time: 4hours and 40minutes to Carbon River Ranger Station

Address: 3211 Grant McConachie Way, Richmond, BC V7B 0A4, Canada

Phone Number: +1 604-207-7077

Website:  Click Here

Categories
Outdoors for Beginners Gear Articles Hiking Basics Hiking Boots

Are Hiking Socks Necessary? 5 Reasons Why You Should Buy A Pair Of Hiking Socks

Are Hiking Socks Necessary? Why You Need A Pair

are hiking socks necessary?

Yes.

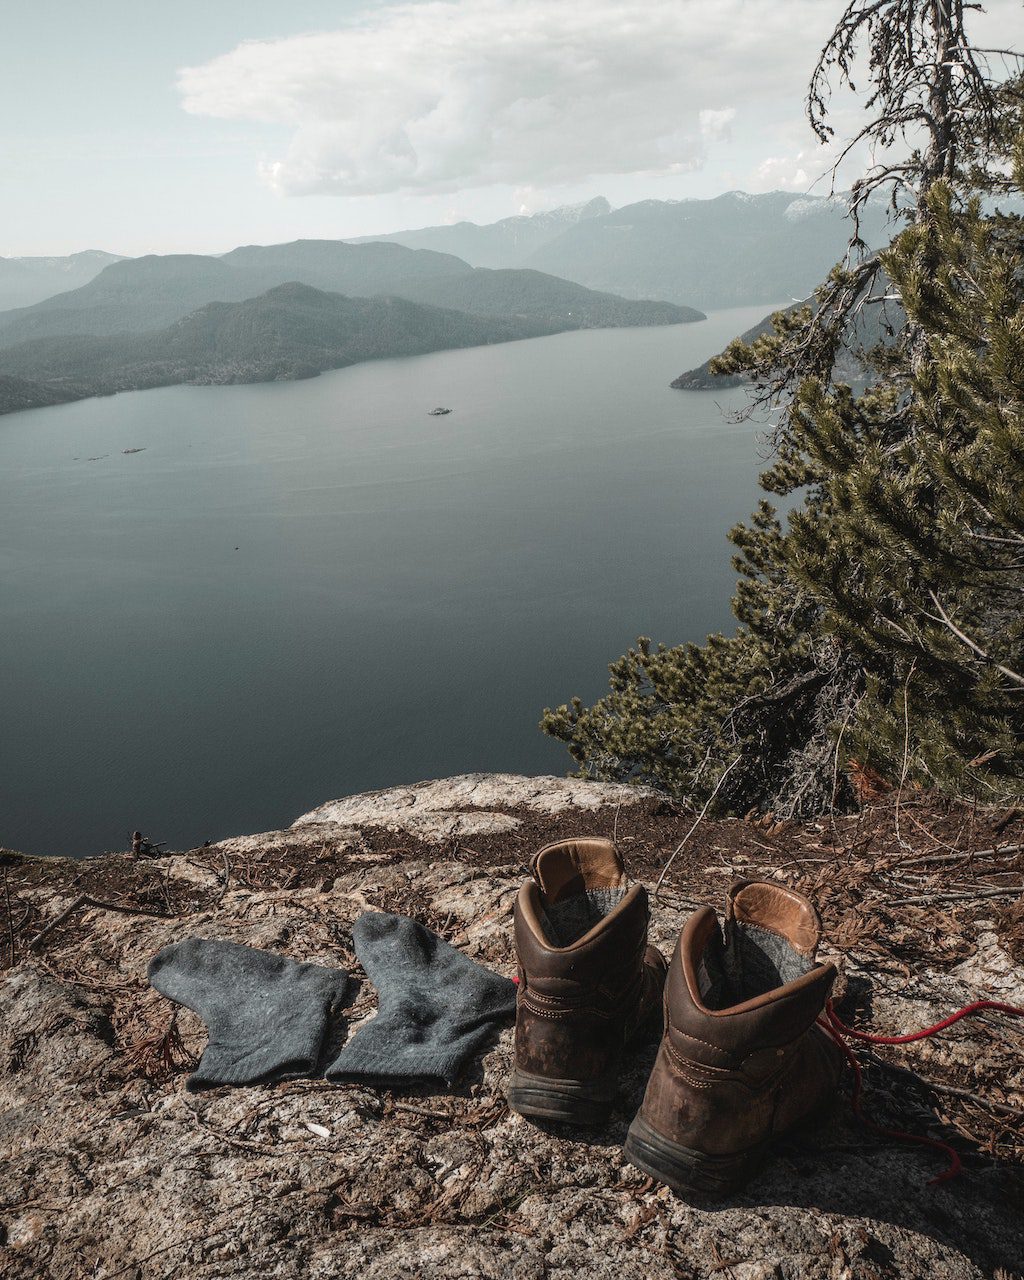
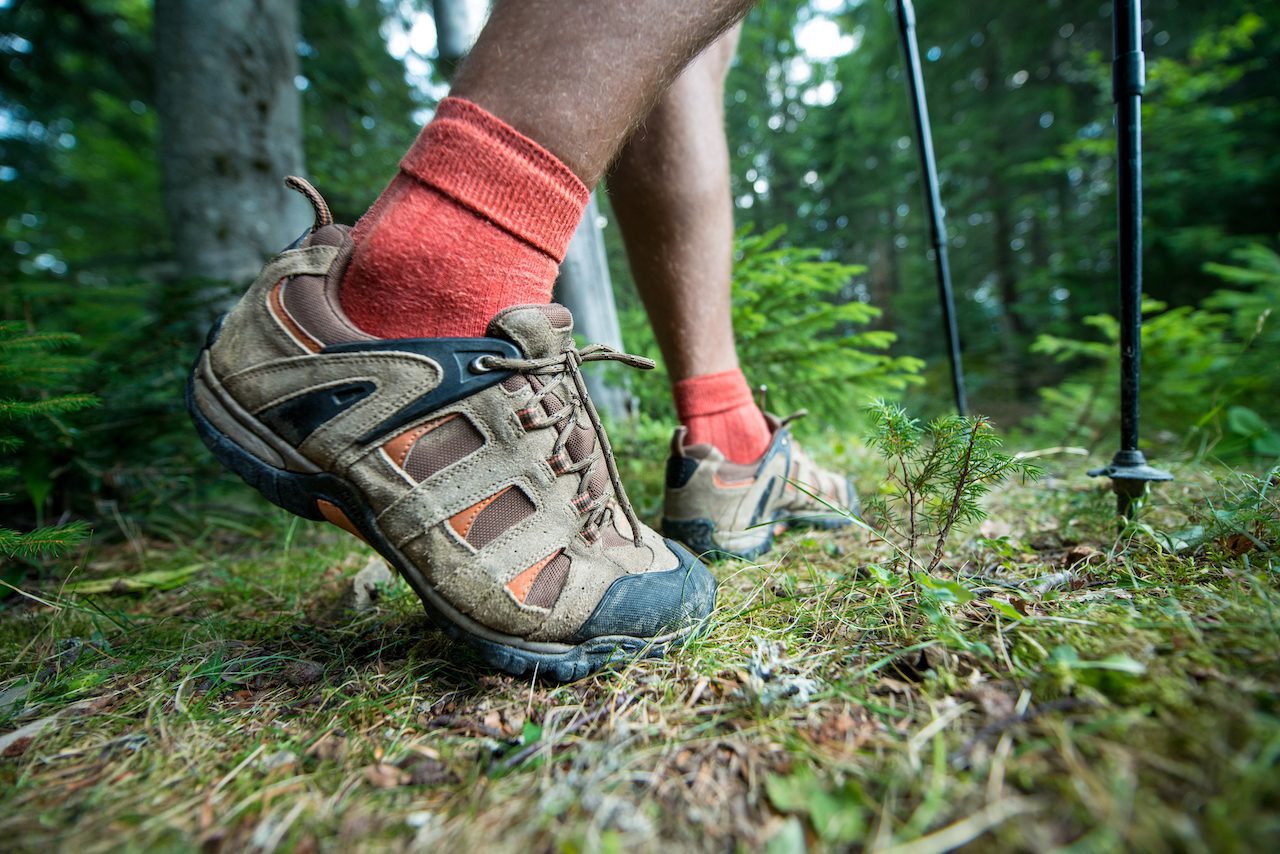
Hiking socks are a necessary piece of gear to have on your hiking trip. Typically made out of wool, hiking socks offer several benefits when on the trail, including durability, warmth, and blister protection. Although it is possible to hike in classic cotton socks, this cheaper option has many drawbacks, which can lead to pain and discomfort during your backpacking trip.  We will go over the benefits of hiking socks and some recommended socks for you to pick up for your next backpacking adventure!

Why You Should Avoid Using Cotton Socks For Backpacking and Hiking?

Before getting into why you need hiking socks, I will start with why your run-of-the-mill cotton socks just won’t cut it.  Although cheaper and more available, cotton socks are much more likely to leave you with blisters and cold/wet feet.  Blisters and dampness are a terrible combination and can lead to discomfort, pain, and even infection when on the trail.  

Although great for casual everyday sock use, cotton is not a material meant to undergo long-distance hikes in the wilderness.  These types of socks are simply not designed to hold up when in a wilderness setting where weather conditions can vary, and the environment itself has many more abrasive features such as branches, gravel, dirt, and boulders.  Such an environment needs a sock explicitly designed to take a beating from the natural surroundings and the many miles of wear and tear brought on from hiking.  

Why Are Hiking Socks Necessary?

Hiking have a number of benefits when on the trail, some of them include:

  • Durability
  • Warmth
  • Blister Prevention
  • Moisture Wicking

Hiking Socks Are Durable:

why hiking socks are necessary

Outdoor and hiking socks are typically made from wool fabric, a thicker material built to last.  Durability is a crucial feature for all of your backpacking gear. The wilderness can be a harsh environment full of debris and fauna that can damage your equipment, and your socks are no exception.  The last thing you want on the trail is to get a hole in your sock leading to direct skin contact with your boot. This would lead to some painful hiking, not to mention gnarly blisters. 

Having more durable socks also helps with ultralight backpacking because you do not have to worry about bringing many extra pairs, as two should do just fine, one for hiking and one for sleeping.  The added durability of hiking socks will also save you money over the long run, as a good pair of wool socks can last you several years instead of spending more money each year on regular cotton socks. 

Hiking Socks Keep You Warm:

Wool socks are inherently better insulated than cotton or nylon socks, thanks to their thicker design.  This is especially helpful when hiking in more temperate climates to help make your hike all the more comfortable.  Hiking socks also come in handy when you are trying to sleep. It is very easy to lose heat from your extremities, so you want to make sure you have a nice pair of hiking socks to keep you comfortable at night.  The added warmth of hiking socks is crucial for those embarking on winter hiking trips to reduce the risk of frostnip and frostbite.

There are also different degrees of warmth associated with different kinds of wool socks.  “Heavier” wool socks are better suited for travel in colder or snowy climates but if you are planning on hiking in an arid or desert-like environment you can elect to go with a more lightweight sock so your feet don’t overheat. 

Hiking Socks Prevent Blisters:

Okay, now this is a big one for many reasons. First off, blisters can be very uncomfortable and painful, being the bane of many hikers’ existence(or maybe just mine!).  Blisters can be painful, and they risk popping, which leads to an open wound, leaving you susceptible to infection.  These can be a nuisance on the trail and lead to a miserable hike, so it is essential to take the proper measures to prevent them from developing.

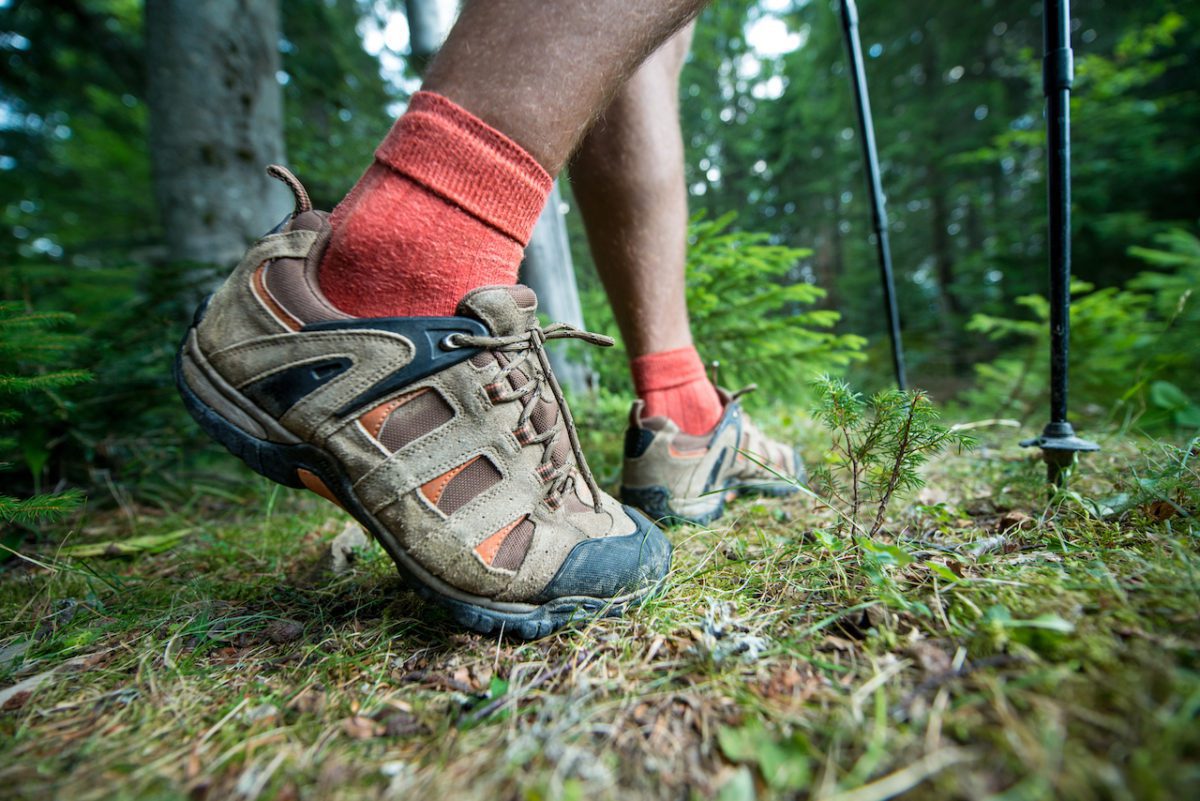
Having a good pair of hiking boots can go a long way in blister prevention.  These socks are specifically engineered for the activity of hiking, having added padding and protection at high impact points at your foot, including your toe and heel.  This added protection pays dividends when on the trail because it reduces the risk of developing blisters, leaving you free to go out and enjoy your hike.

Hiking Socks Are Quick-Drying:

hiking socks are quick-drying

Wool hiking socks are moisture-wicking thanks to the properties of wool fabric.  Moisture-wicking and quick-drying clothing are especially important when backpacking because mountain weather can be fleeting, going from clear skies and sunny to a rainstorm at the drop of a hat. So on those days where you get stuck in the rain, it is of the utmost importance to have quick-drying gear, so you are not soaked for your next day of hiking.  Since your feet are stuck in a boot whenever you are hiking, it is even more important that your socks are quick drying. 

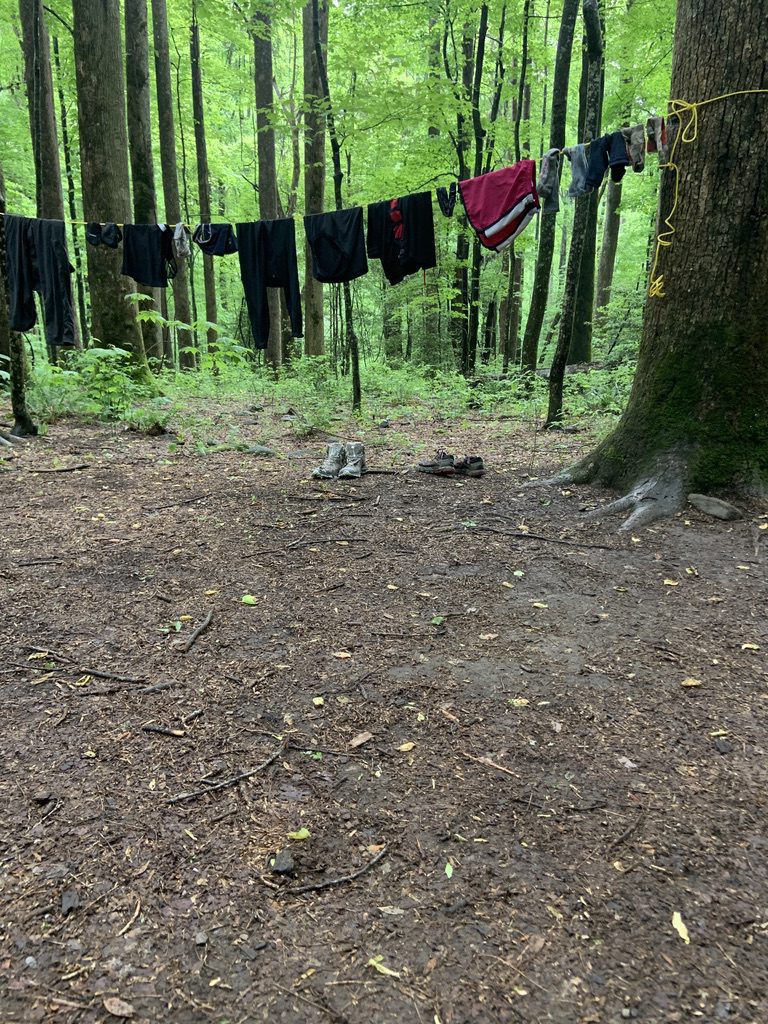
 The problem with cotton socks is that they can retain water for a while before drying, leaving you stuck with wet feet for days on end!  This can lead to your feet developing blisters, becoming macerated, and even turning into trench footHaving damp clothing while on a hike can be miserable, so spend a couple of extra bucks and get the fast-drying hiking socks!

How Much Do Hiking Socks Cost?

Hiking socks are more expensive than your classic cotton sock, typically in the price range of $20.00-$30.00, despite being more expensive they are certainly worth the investment due given their value and durability. This is one of those purchases that will save you money, in the long run.  A pair of quality merino wool hiking socks will outlast a pack of cotton socks by many years saving you money and trips to the store.

What Kind Of Hiking Socks Should I Get?

Categories
Outdoors for Beginners Gear Articles

How To Bring Hiking Poles On A Plane? 7 Helpful Tips

How To Bring Hiking Poles On A Plane

Flying for a backpacking trip can be stressful with all the gear needed to bring on each trip.  It is hard to know what to pack (leave the fuel canisters at home) and how to pack all of your gear safely. 

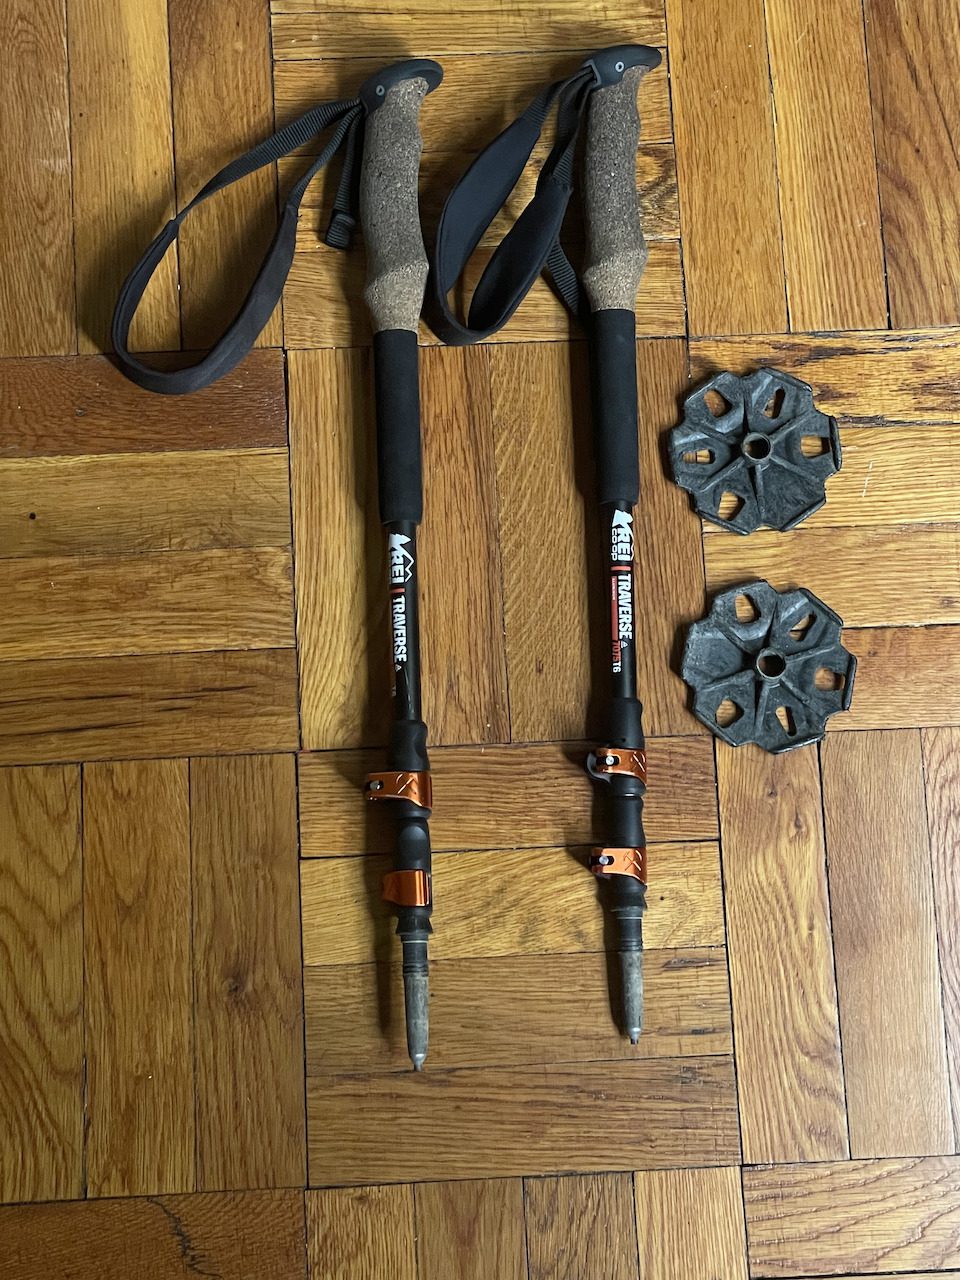
Hiking poles are a piece of equipment that many people have difficulty with because they are inflexible, large, and awkward pieces of gear, making them difficult to pack in any bag.  Although these are essential pieces of equipment for protecting your knees on the trail, they can be challenging to bring on a plane if you have never traveled with them before.  Here are some basic things to know to make it easy to bring your hiking poles on a flight:  

  • Hiking poles must be checked-in on a flight. 
  • Collapse them down as small as possible.
  • Remove tip protectors
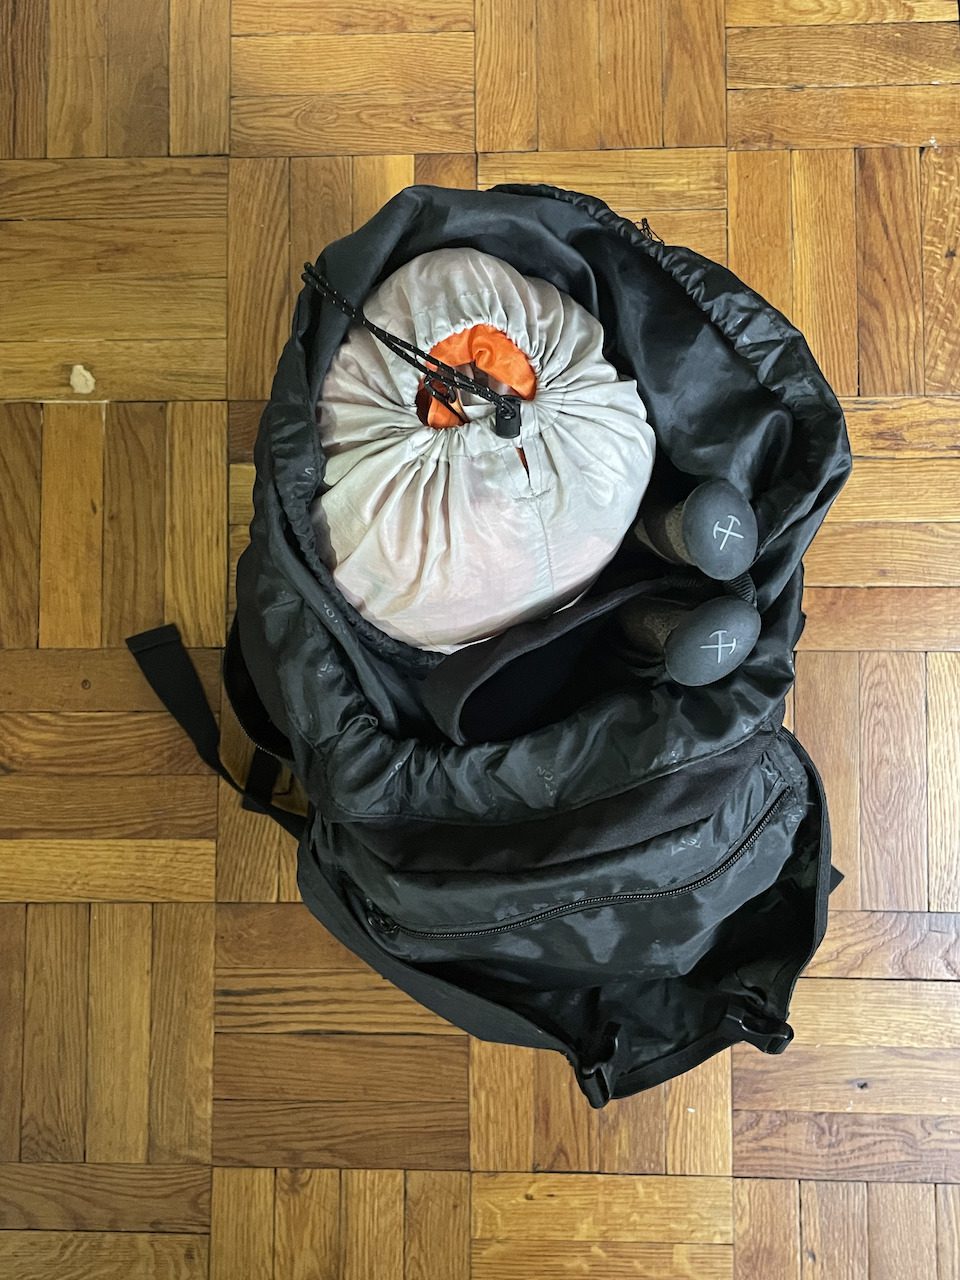
  • Pack inside your pack if they can fit. It’s the safest and most secure way of packing your hiking poles.
  • Do not overstuff your hiking poles in your bag.
  • If attaching to the outside of the pack, buckle clips through straps. 
  • Use elastic cords to fasten down poles as tightly as you can

Can I Bring Hiking Poles In My Carry On?

No.

According to the TSA, you may NOT bring hiking poles in a carry-on bag, meaning that you have to find a way to pack them with your check-in bag.  Unfortunately, this rule applies to hiking poles across the board, including collapsible poles.  The most likely reason these cannot be brought as a carry-on during a flight is that they can be viewed as weapons, so the only option we have is to pack them with our check-in bag.    

How To Pack Hiking Poles For A Flight?

Although helpful, hiking poles are pretty cumbersome to pack due to their lack of flexibility and awkward size.  Here are some tips to make traveling with hiking poles as easy as possible

  • Try to get them to fit in your pack.
  • Collapse them down
  • Remove tip protectors
  • Clip buckle through poles straps
  • Use elastic cord to sinch down poles to your pack
  • Do not try to overstuff your poles into your bag

Make Your Poles As Small As Possible Before Packing Them:

How to Bring Hiking Poles On a Plane

The first and most obvious thing you want to do to your poles before packing them is to make sure they are packed down to their smallest size.  To do so, you want to make sure they are fully collapsed and remove the tip protectors.  Although tip protectors are helpful on the trail when packing, they serve no purpose other than to get caught in the most inconvenient places.  You can remove them easily by just twisting them counterclockwise off of your hiking pole, then just screw them back on to reattach. 

Do Everything You Can To Fit Your Hiking Poles In Your Pack:

After you break your poles down, you want to pack your poles in your pack. Again this is the safest way to travel with hiking poles because it eliminates the risk of it becoming detached from your bag.  When packing, you want to ensure you do not overstuff your sticks in your backpack because you risk puncturing a hole in your bag with the trekking pole tips.  One precaution you can take to prevent this is wrapping your tips in foam or bubble wrap. 

Best Way To Attach Your Hiking Poles To Your Backpack For A Flight

How to Attach Hiking Poles To The Outside Of Your Pack
Hiking poles attached to Teton Scout 3400

You want to inspect your backpack and see if it has any dedicated straps for attaching your hiking poles to for flight.  If you do not see any, you will want to keep them as adhered to your backpack as possible.  You need to sinch your poles down wherever you can using the elastic cords of your pack and point the tips pointing in a pouch or one of the water bottle holders.  After this, as a final precaution, you should clip buckles on your backpack through your hiking pole straps to prevent them from getting separated from your backpack. 

Hope This Helps!

Packing for a backpacking trip that requires flying can be stressful. Hopefully, this article helped making packing your hiking poles easier for your next flight.  If you have any other tricks or tips for packing your trekking poles, be sure to leave them in the comment section

Check Out Some Of Our Other Articles!

Categories
Hiking & Camping Hiking Basics Outdoors for Beginners

Is Hiking An Aerobic Or Anaerobic Exercise? 10 Health Benefits Of Hiking

Is Hiking An Aerobic Or Anaerobic Exercise? 10 Health Benefits Of Hiking

What Type Of Exercise Is Hiking?

Hiking is predominantly an aerobic exercise because it is a low-intensity endurance activity that increases your respiratory and heart rate.  Like all aerobic exercises, hiking consists of repetitive rhythmic movements over an extended period of time. However, hiking is a unique form of exercise because it also triggers anaerobic fitness, especially when carrying a heavy pack or climbing steep hills.   

Since hiking is a combination of aerobic and anaerobic exercise, it yields many health benefits to its participants.  Before getting into this, we should go over the differences between aerobic and anaerobic exercise and each of their advantages.

Aerobic Vs Anaerobic Exercise

Is Hiking aerobic or anaerobic exercise

As we mentioned, aerobic exercise is a sustained low-intensity effort that increases your breathing and heart rate.  Aerobic exercise relies on oxygen for energy, requiring your body to take oxygen in and pump it to your body’s active muscle groups.  This process relies heavily on your heart and lungs, making aerobic exercise very beneficial for our cardiovascular health. 

Some different forms of aerobic exercise include:

  • Hiking (duh)
  • Running/jogging
  • Swimming
  • Cycling
  • Rowing
  • Elliptical
  • Skiing

As you can tell, all of these activities involve rhythmic movements and typically take place over an extended period.  

Anaerobic exercise is short bursts of intense exercise that rely on energy stored in our muscles.  This exercise can only be sustained for a few seconds and leads to lactic acid development within our muscles, causing soreness and fatigue after exercise.  Some of the benefits of anaerobic exercise include burning fat, building muscle, and increasing bone density. 

There are a variety of different types of anaerobic exercise, including:

  • Sprinting
  • Weight lifting
  • High-Intensity Interval Training 
  • Calisthenics 
  • hiking?

Check out this informative article to learn more about the differences and benefits of aerobic and anaerobic exercise.

Benefits Of Hiking As A Blend Of Aerobic And Anaerobic Exercise:

Hiking, a combination of aerobic and anaerobic exercise, lends itself to many fantastic health benefits.  Some of the aerobic benefits that come with hiking include a boost in the immune system, the elevation of mood, improved endurance, and lowering your blood pressure.  It is no surprise that these benefits come with hiking because hiking is mainly an aerobic activity.  The steady lengthy, cyclic movements of hiking make it the quintessential aerobic exercise.  

However, I said there are parts of backpacking that can trigger your anaerobic system, including steep inclines, a weighted backpack, and scrambles. Hiking steep trails turn into lunge workouts,  a calisthenic exercise for your quad’s, glutes, and hamstrings. At the same time, trekking miles in a day, carrying your pack can serve as a weightlifting program working your back and trapezii.  

Finally, the almighty scramble to get up highly precipitous mountainsides using your hands and feet serves as a full-body calisthenic workout.  This anaerobic aspect of hiking gives many other health benefits, including fat burning, building muscle, and increasing bone density.

To recap, hiking provides both aerobic and anaerobic exercise benefits, including:


Aerobic Exercise Benefits:

  • Weight loss
  • Lower blood pressure
  • Boost mood
  • Boost immune system
  • Lowers bad cholesterol raises good cholesterol
  • Increases endurance

Anaerobic Exercise Benefits:

  • Build muscle
  • Burn fat
  • Increase bone density

How To Improve Your Hiking Endurance:

After all we have discussed, it should come as no surprise that the best way to improve your hiking endurance from a fitness perspective is to increase the amount of aerobic exercise you do regularly.  By doing so, you are prepping your cardiovascular system to take on a physically demanding backpacking trip.  Some ways of doing this include the aerobic exercises mentioned above, but I would focus on activities similar to hiking, such as jogging or going on long brisk walks.


Another great way to improve your endurance while backpacking that does not even require a shred of exercise is to focus on making your pack as lightweight as possible.  You will be shocked how much further and faster you can hike after cutting excess weight from your backpack.

A personal example of this for me was when I hiked around Mont Blanc in just a day pack.  Here, I was able to knock out twenty-mile-plus days for multiple consecutive days thanks to dropping my pack weight by nearly fifty percent.  Check out our backpacking gear blog to find great equipment to take pounds off your pack weight!  


Other tricks that can help you improve your endurance include:

  • Keeping adequately hydrated
  • Being sure you are eating enough calories on the trail
  • Using trekking poles to take pressure off your needs
  • Aerobic exercise training

Tracking Your Aerobic Activity While Hiking:

Tracking aerobic activity while hiking

Tracking your aerobic activity is a helpful tool that helps establish a baseline of your aerobic fitness and logs your hikes giving tons of fitness data from each one.  This data can vary from device/application, but often it will include your pace, distance hiked, elevation gained/lost, route, and estimated calories burned.  

These data points are helpful because they track your fitness and can help you see if changes in backpacking strategies lead to any measurable differences in your pacing or amount of distance covered daily.  So if you try a new water filtration system or pack your backpack a different way than usual, tracking your aerobic activity can help show you if your changes helped or hurt you as the old saying goes that which is not measured cannot be improved.  

 There are several different ways out there to track your hikes and your health stats while backpacking.  From free apps on your cell phone, such as Strava or the health app, to expensive smartwatches, there are several options to choose from when it comes to tracking your aerobic fitness while hiking.  

If you are starting out I would recommend starting with a free service such as one of the above applications before purchasing a more expensive smartwatch.  If you find yourself looking to buy one, I would do your research to find the best one for you as there are quite a few on the market, each with its benefits.  

Some popular brands I recommend looking into include Garmin, Apple, and Fitbit.  Check out this very informative article comparing some of the different types of hiking watches.

That's A Wrap!

Hiking is a great activity that can not only bring amazing views and experiences with friends but can also be a great way to keep your body in excellent condition.  I hope this article helped shed some light on what kind of exercise hiking is and its health benefits.  Be sure to sign up for our email list stay in the loop for all of our latest articles!.

Categories
Outdoors for Beginners backpacking for beginners Food Gear Articles

How Big Of A Pot Do I Need For Backpacking? Ultimate Guide

How Big Of A Pot Do I Need For Backpacking? The Complete Guide.

how big of a pot do I need for backpacking

A common question I find myself asking whenever going on a backpacking trip is how big of a pot do I need?  The size of your pot can vary based on how many people you are cooking, and what you are cooking. 

If you eating backpackers freeze dried meals the straightforward equation you can use to determine the correct sized pot for you is below:

How Big Of A Pot Do I Need For Backpacking =

Most Volume Of Water Needed For A Meal x Number Of People Eating

Now, if you do not want to use freeze-dried meals and want to cook something on your own, the equation above would not work for you as you may require more space depending on what exactly you plan on cooking.

In this article we will discuss the importance of having the proper size cookware as well as which one will be the best for your next adventure. 

Why Is It Important To Have The Correct Sized Pot When Backpacking?

Everyone needs a good cooking set when out on the trail, but an important question is how big of a pot you need.  When backpacking you need to have a pot that is big enough to cook all your food in one shot but not unnecessarily large where it takes up valuable pack space and weight.

Things To Consider Before Buying Your Backpacking Pot:

As I  said, the two important factors that determine what kind of backpacking pot you need are the number of people you are cooking for and what you plan on cooking.  Let’s take a deeper dive into this to discover what kind of backpacking pot you need for your next trip

What Will You Be Cooking:

Camping Cooking

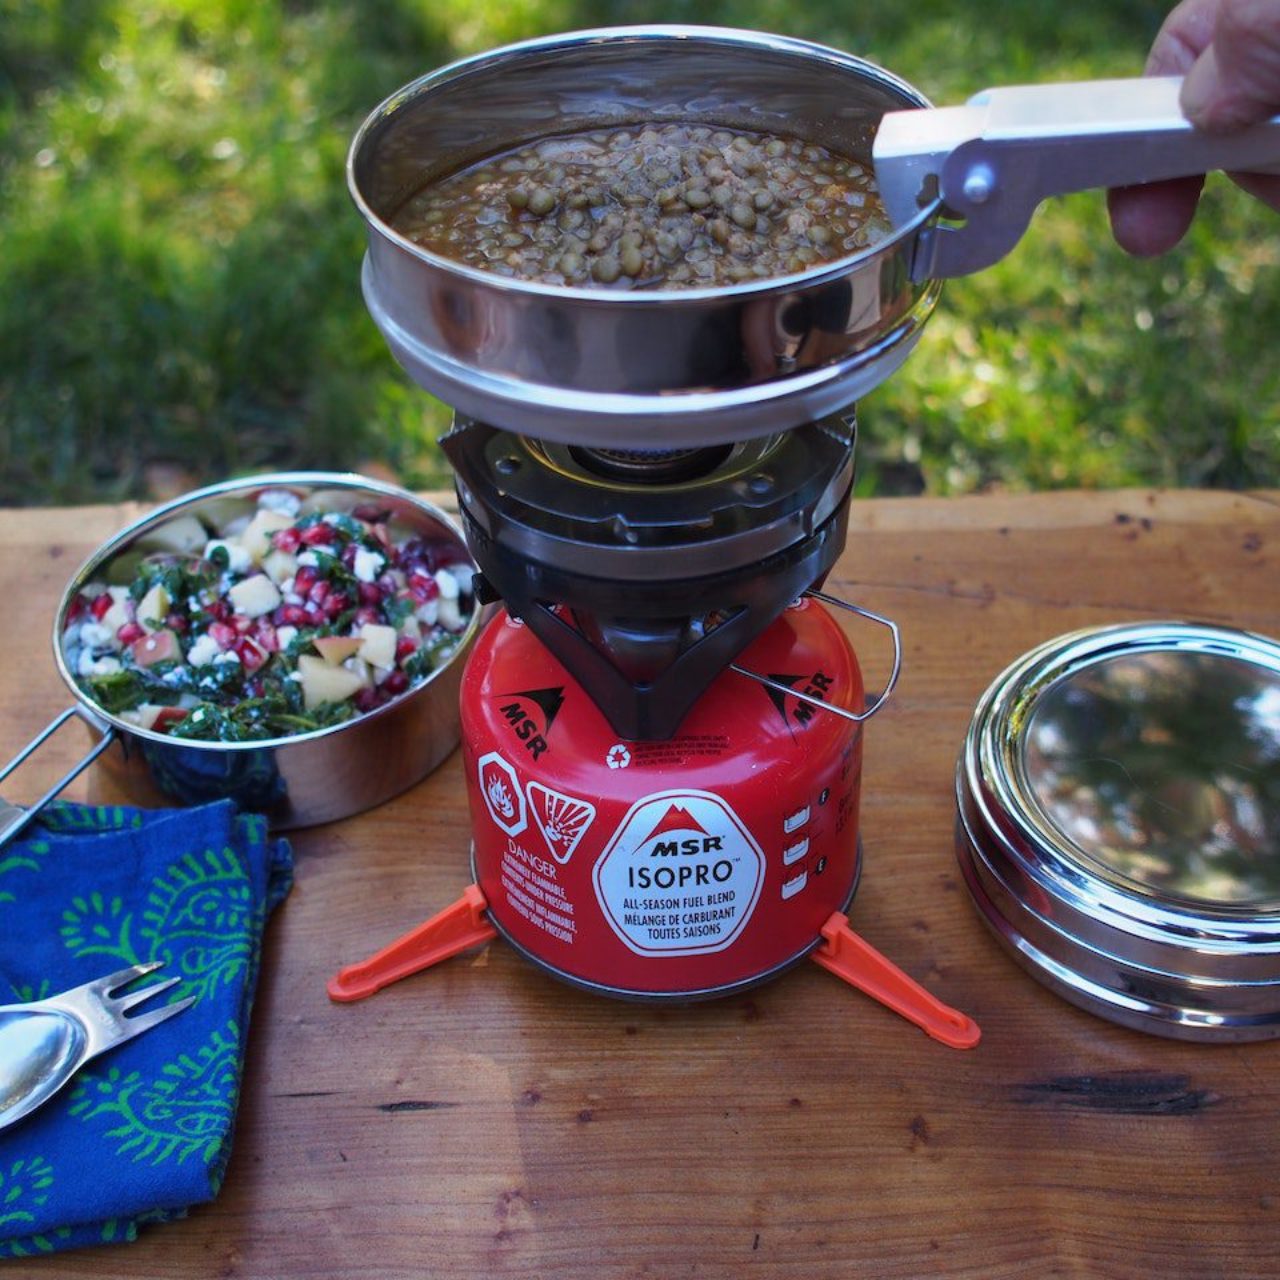
Knowing your meals beforehand will give you an idea of how much space you will need in your pot to cook your meals in.  Your meal choice comes down to preference, would you rather pack light and keep it simple with instant freeze-dried meals, or would you prefer to cook something a bit more elaborate for your backcountry adventure?

How Big Of A Pot Would You Need For Simple Backpacking Meals?

When I say “simple backpacking meals,” I am referring to meals that just require adding hot or boiling water to cook them, such as oatmeal and freeze-dried backpacker meals.  

I prefer simple backpacking meals because they allow you to pack lighter, and it is easier to know how big of a pot you need for backpacking because you just have to use our equation above.


For example:  For breakfast, I typically eat 2 instant packets of oatmeal requiring ¾ of a cup of water each and coffee which requires 1 cup of water.  Totalling 2.5 cups of water needed for breakfast.  For dinner, I eat a freeze-dried backpacking meal which, although the amount of water varies, usually comes out to about 2 ½ cups of water needed for dinner.  

2 1/2 cups is the most water I will need for any given meal and I am only cooking for myself so if I plug that into our equation….

I need at least a 2.5 cups backpacking pot

For The Backpacking Chef:

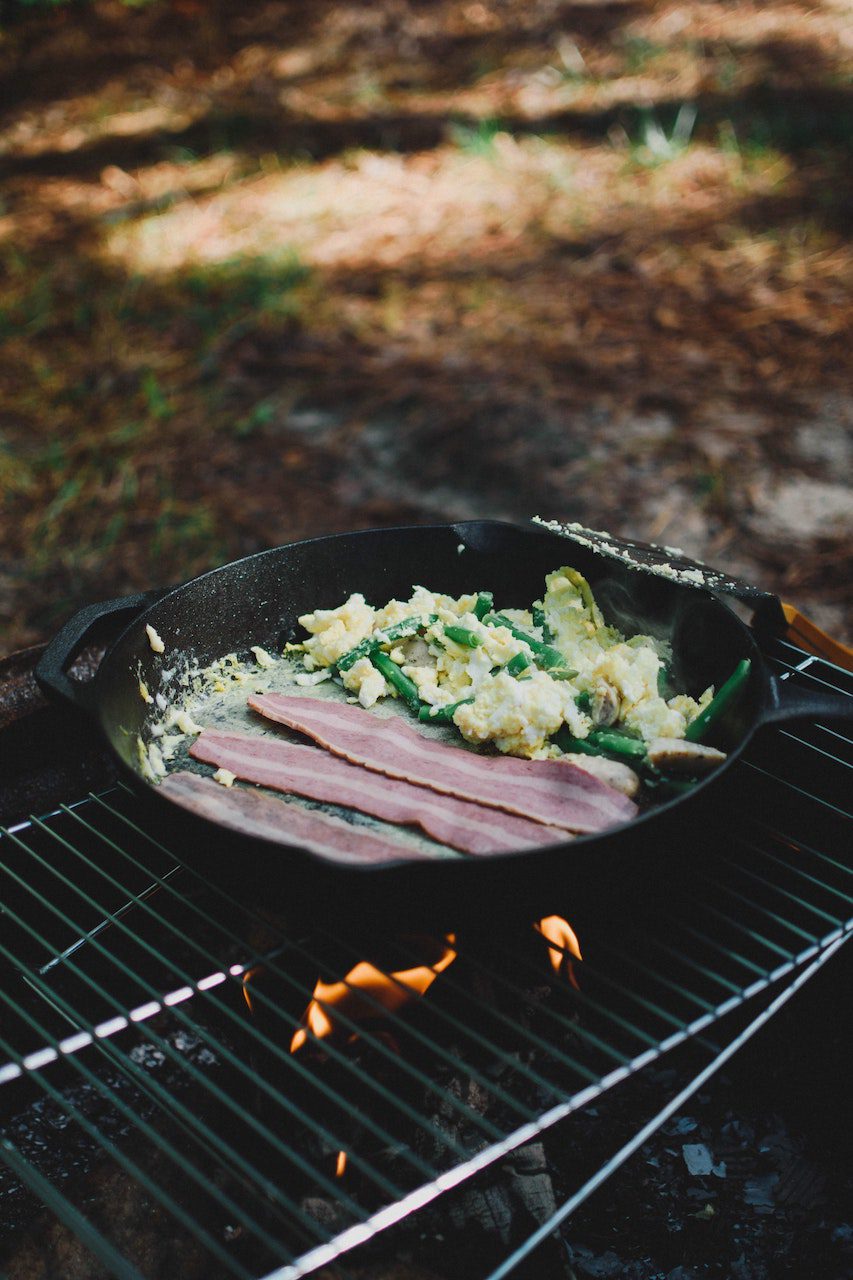
Now, if you enjoy more variety or need to have eggs and bacon for breakfast, you may need to do a little research before selecting the correct sized backpacking pot for you.  The reason being is that you are going to want to make sure that what you have is wide enough to cook your meals in a reasonable amount of time. 

For those of you trying to chef it up on the trail, you may be better off with a collapsible backpacking cook set where you have the option of different-sized cookware for whatever it is you plan on making.  While you can’t use our formula for more meals that require actually cooking, you can use trial and error when car camping before you bring your set into the backcountry

Who Are You Cooking For

Okay, after you decide what you are cooking, the last thing you need is to figure out how many people you will be cooking for.  It is helpful for those of you cooking for a group to get a pot big enough to cook for the entire group in one shot.  Otherwise, you may wind up wasting fuel by cooking multiple meals in the same pot.  

Pot vs Mug:

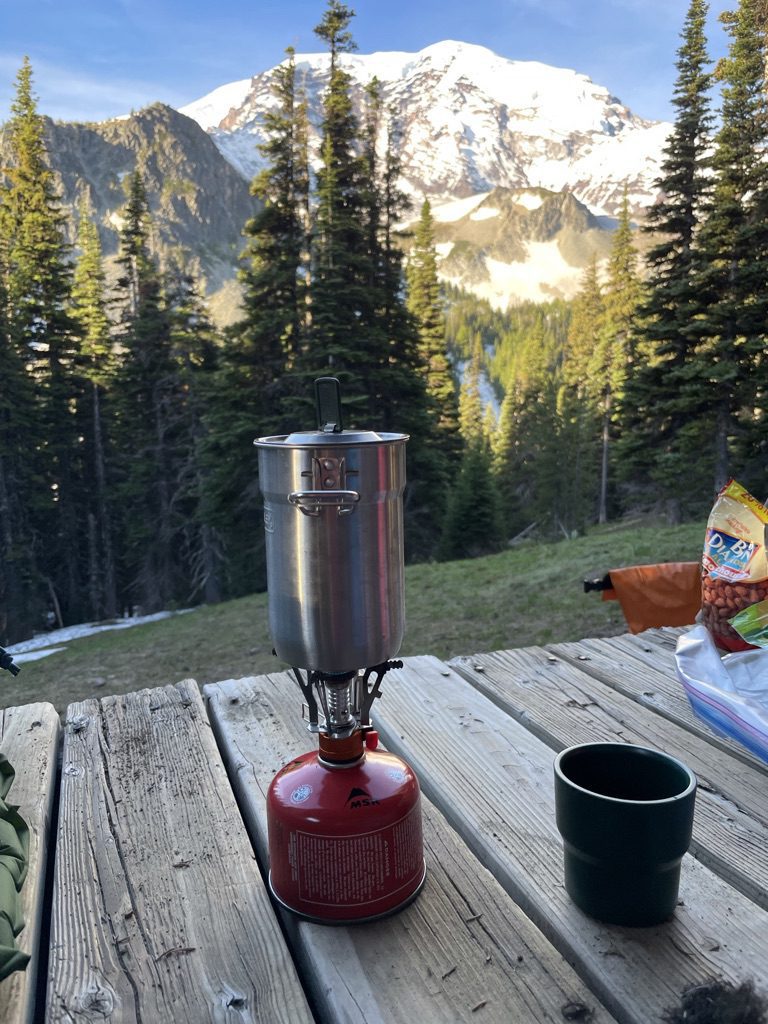
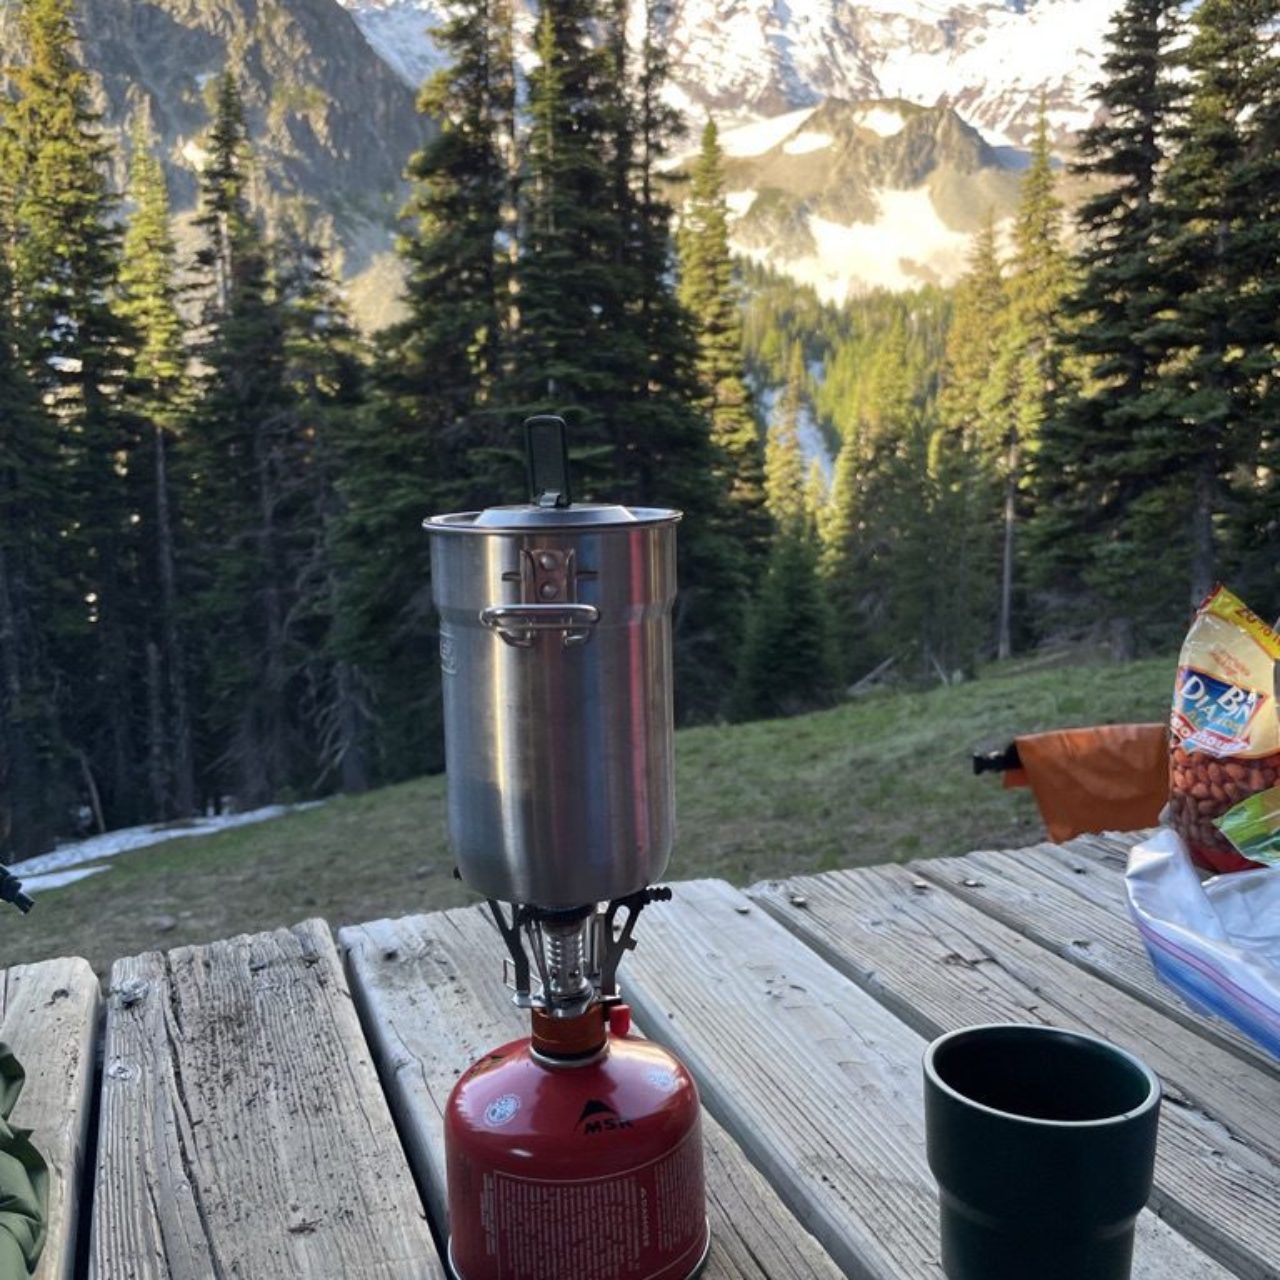
Backpacking Pot
Backpacking Pot
how big of a pot do I need for backpacking
Backpacking Mug

Okay now that you know about what size you need it’s time to decide whether a backpacking pot or mug would be best for you.

Backpacking Pot:  A Backpacking pot is the larger of the two, inherently making it more bulky and tougher to pack.  However, on the upside, the extra volume is beneficial when cooking for multiple people, or if you actually plan on cooking meals that require more skillet-type surfaces, such as bacon, eggs, or rice.  

Backpacking Mug:  The backpacking mug is essentially a little can that packs down well, making it great for ultralight backpacking.  In contrast to the pot, a mug does not have the volume needed to cook for a group or to cook actual meals. Backpacking mugs are best for simple meals that can just require adding hot water.   So if you are a solo backpacker looking to travel ultralight and cook relatively simple meals, the backpacking mug would serve you well. 

Check Out Some Backpacking Pots and Mugs!

Backpacking Pots:

ItemVolumeDescriptionCheck Prices
MalloMe Camping Cookware Mess Kit
1 Liter
  • 10 piece set
  • Aluminum cookware
  • Collapsible 
  • Nonstick pot and pan included
Check Prices On Amazon
Snowpeak Trek 1400
30 fluid ounces
  • 3 piece set
    • Pot
    • Skillet (doubles as a lid)
    • Ignition
  • Lifetime Guarantee 
Check Prices On Amazon
Toaks Titanium Pot
2 Liters
  • Bail handle and lid included
  • Titanium material
Check Prices On Amazon

Backpacking Mugs:

ItemVolumeDescriptionCheck Prices
Toaks Titanium Pot 
750 ml
  • Bail and foldable handles
  • Titanium
Check Prices On Amazon
Stanley Adventure Cook Set
24 ounces
  • Collapsible set lid and locking handle
  • includes 2 mini coffee cups 
  • Stainless steel
Check Prices On Amazon
Solo Stove Solo Pot
30 ounces
  • Foldable handles
  • Stainless steel
Check Prices On Amazon

Get Your Backpacking Checklist!!!

Get your free backpacking checklist!

Join our mailing list to get the latest news, updates, posts, trails, and itineraries!